Hi Friends! It was this time last Summer that I had the privilege of designing 8 or 9 short term rental spaces over a two and a half month span in several major U.S. cities. The opportunity ended as quickly as it began when the company that hired me as a freelancer restructured and brought all the designing in house. But I still think about each of the units and randomly wonder from time to time if there is anyone occupying them right at that moment. And I pray that they're safe during their travels and feeling the comforts of home while they're away, and that they have loved ones to return to. I have never been a frequent traveler but have family and friends who travel regularly and exhaustively for work. I designed each stay-place as I would if one of my own loved ones were staying there.
Sharing a round up of some of my favorite units from last Summer! Each has it's own style and vibe, some more 'me', others a bit experimental. All were completed on a budget the size of a chocolate chip and turned in within 36 hours of being handed the sketched out floorplan. Some didn't even come with 'before' pictures so I was going on measurements alone! But the experience was invaluable to me as a new designer and I'd say the nights I worked through to complete any of these jobs on time was worth it.
Let's take a trip down memory lane!
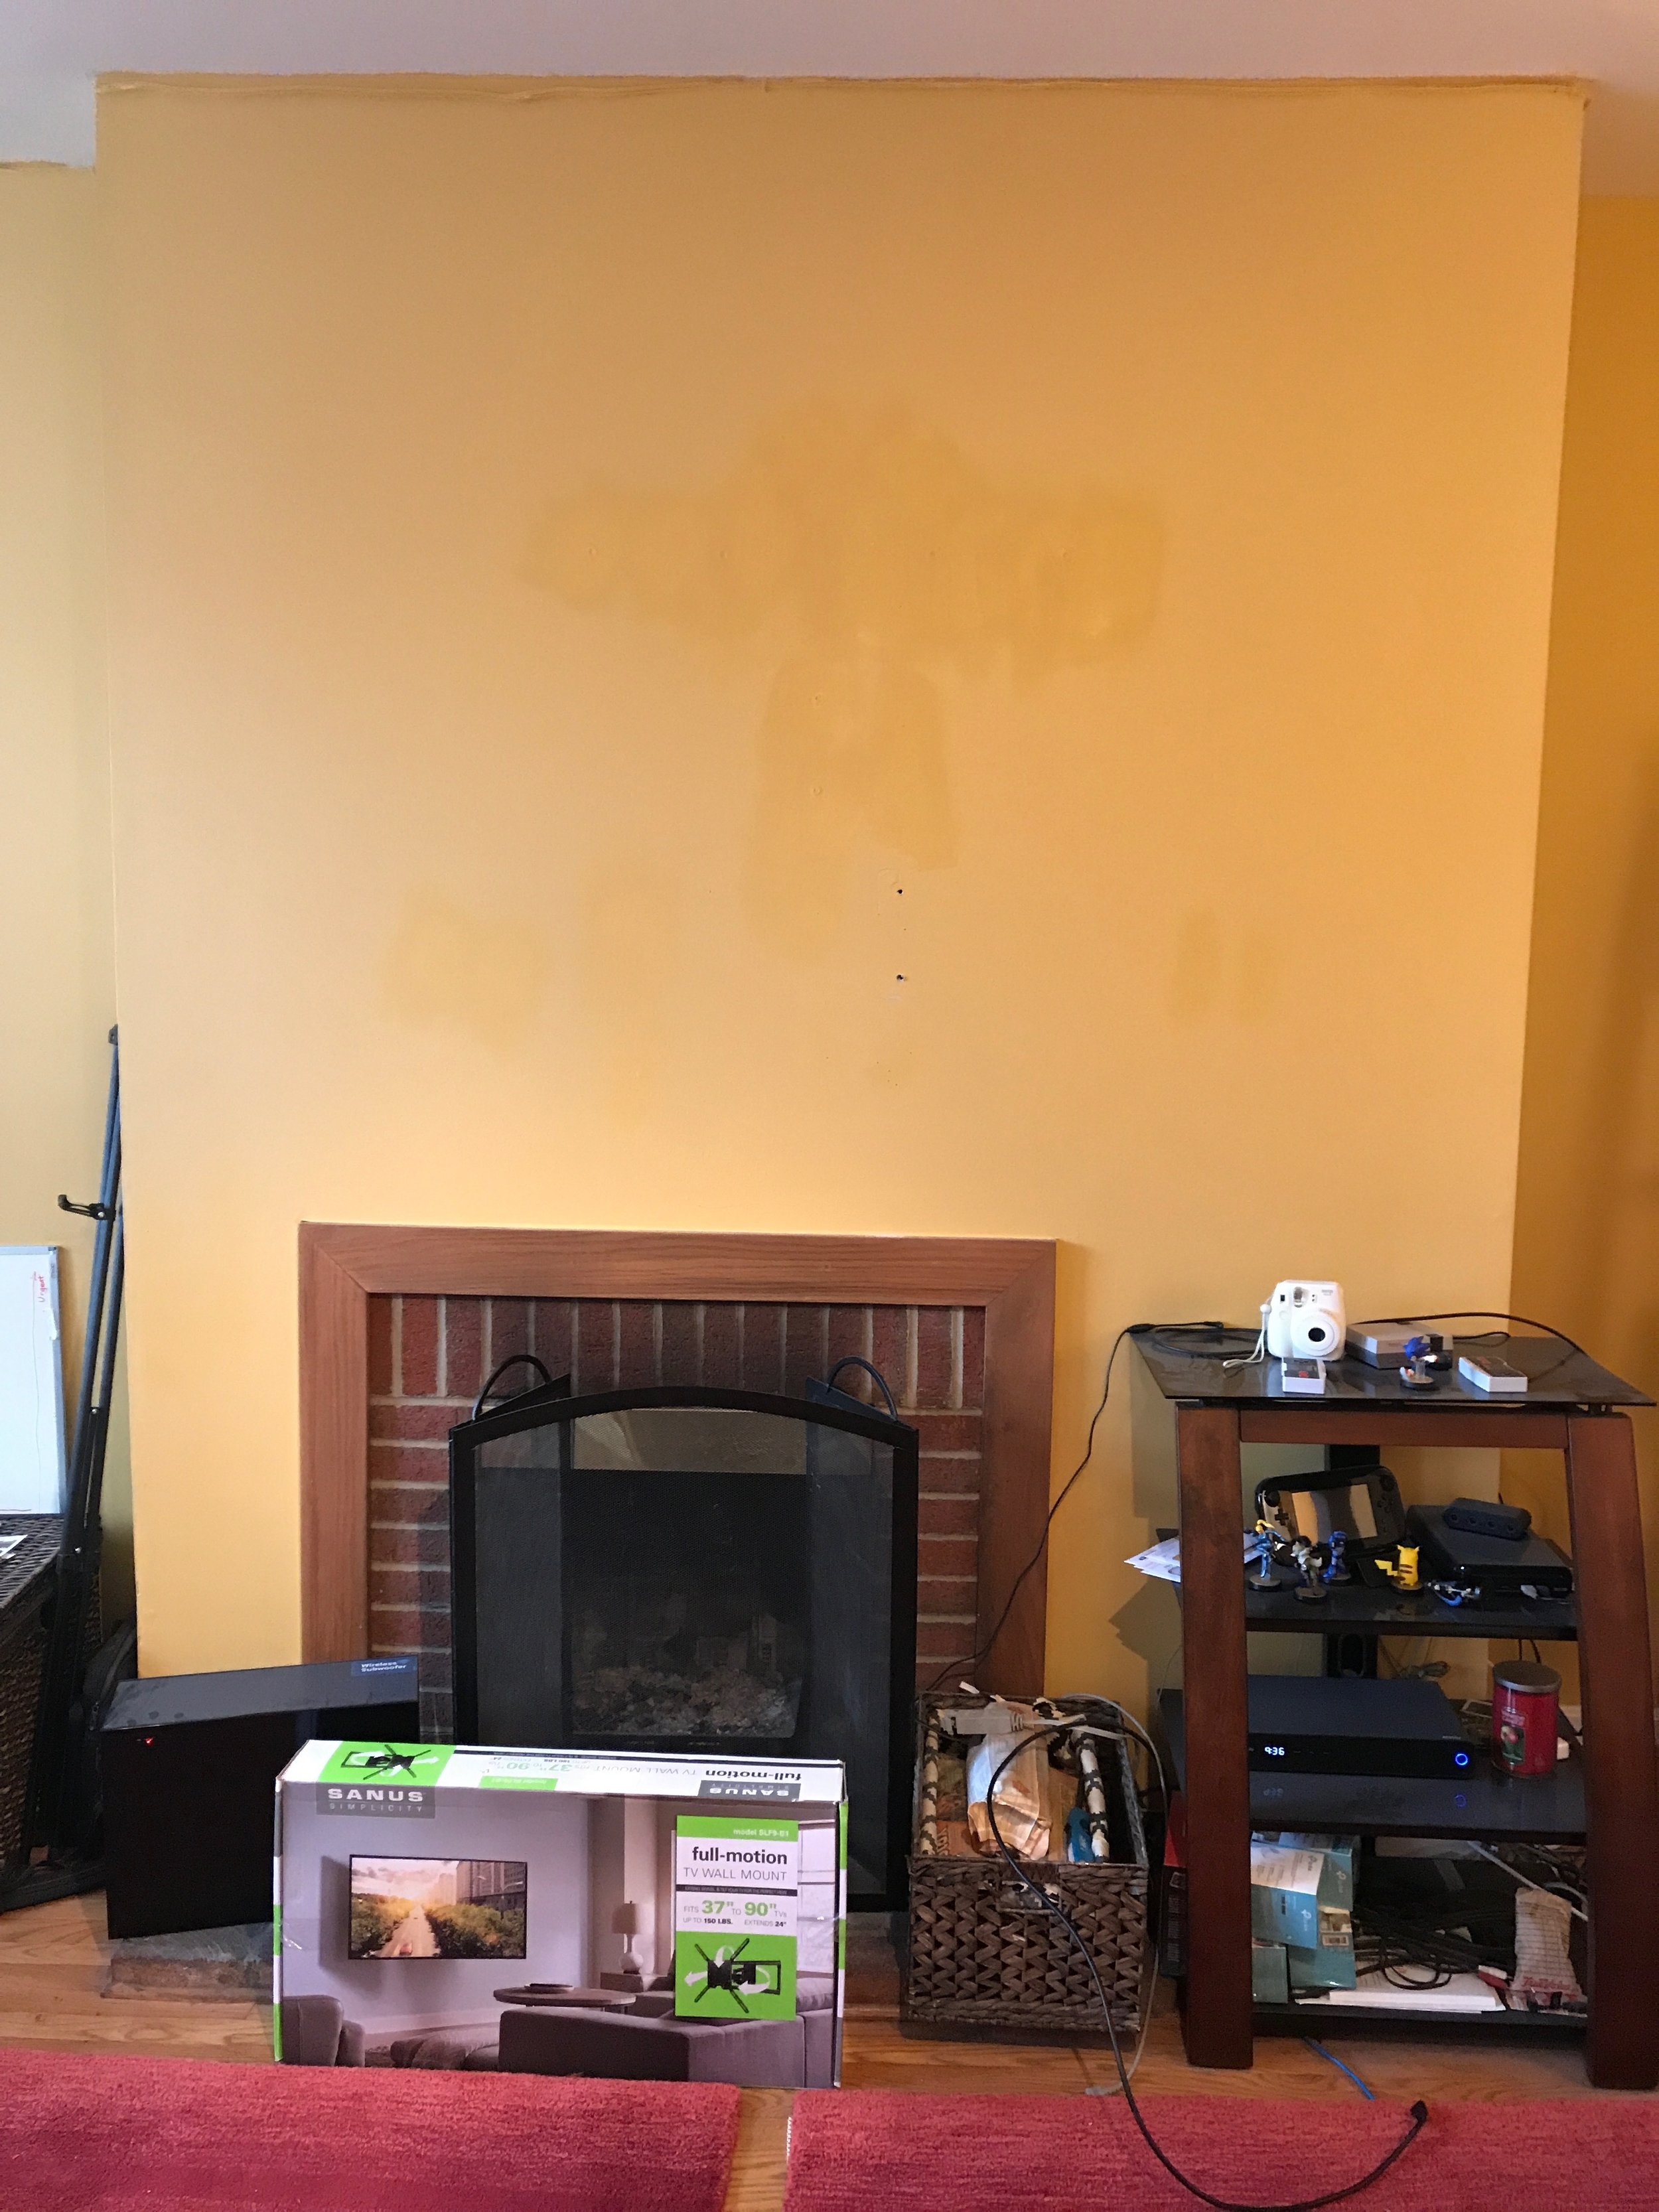
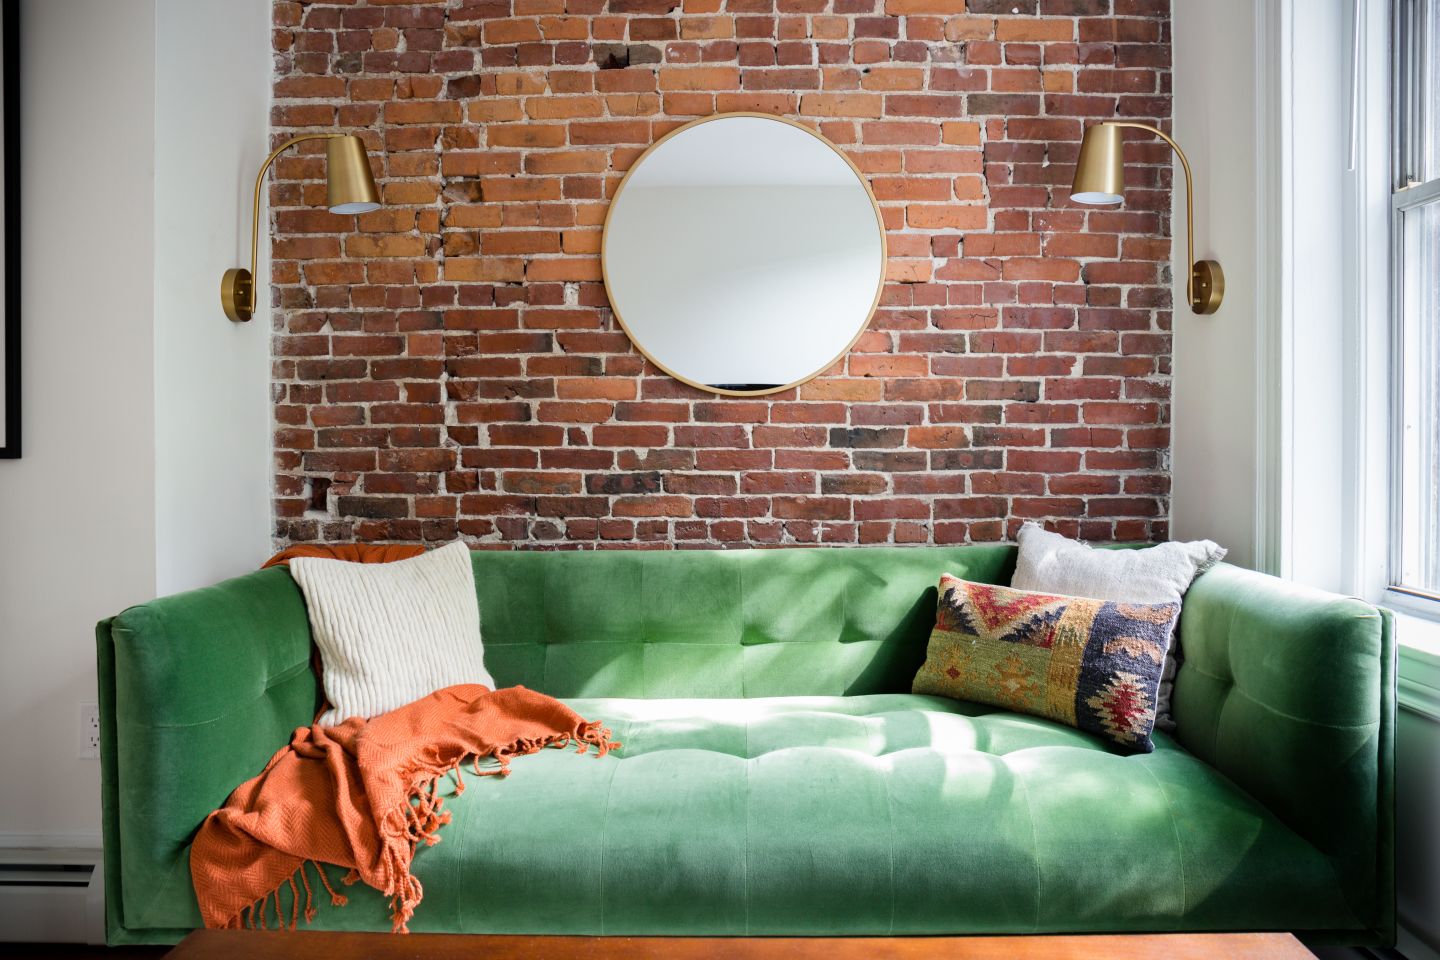
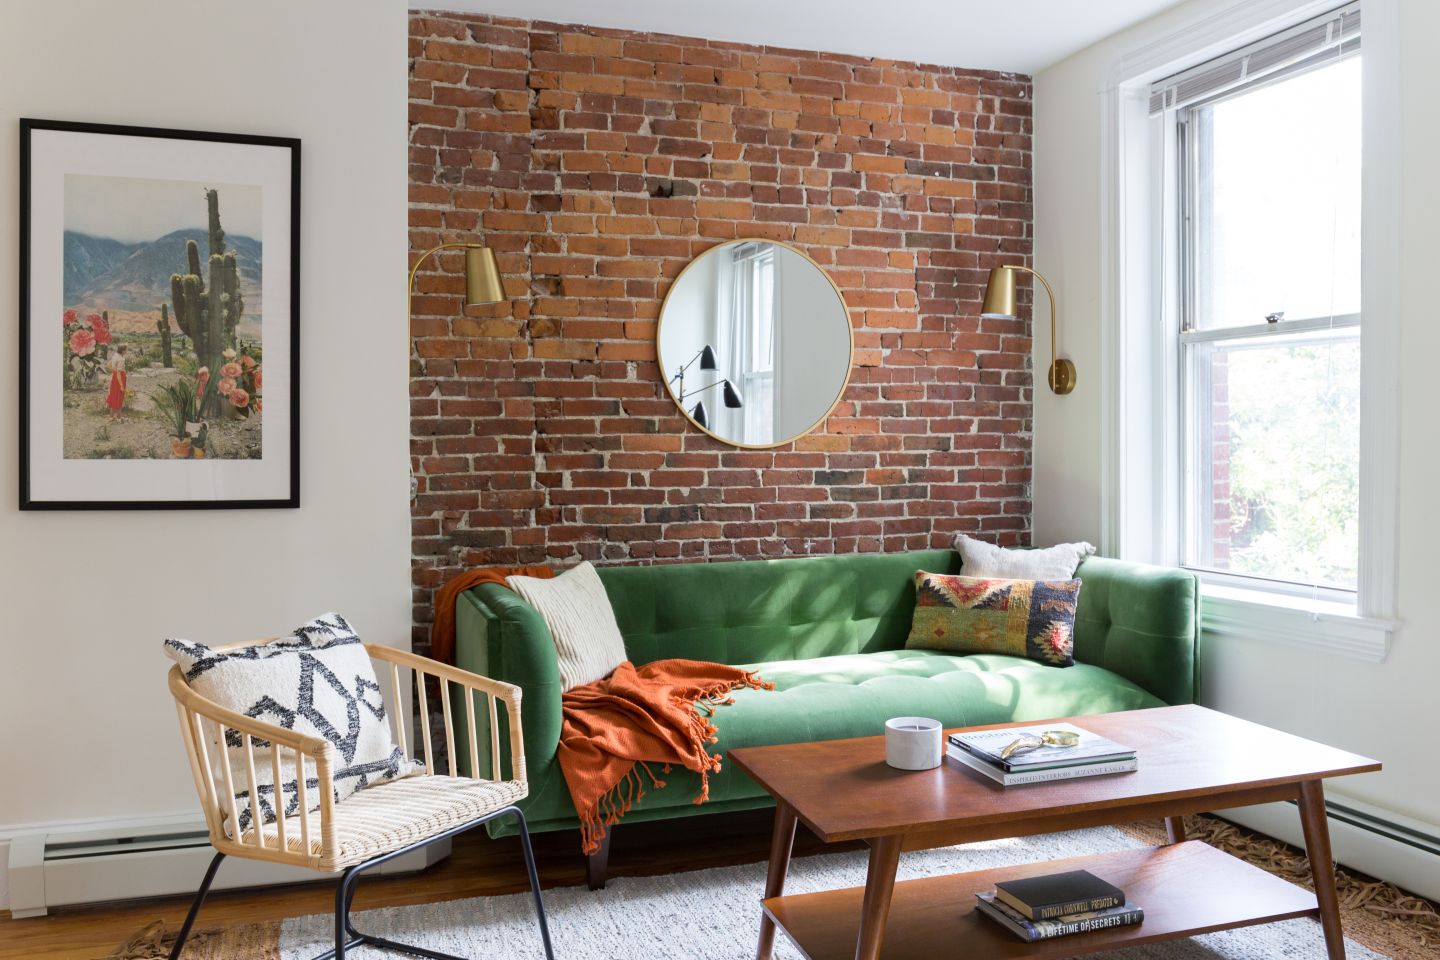
Cozy Up In Beantown


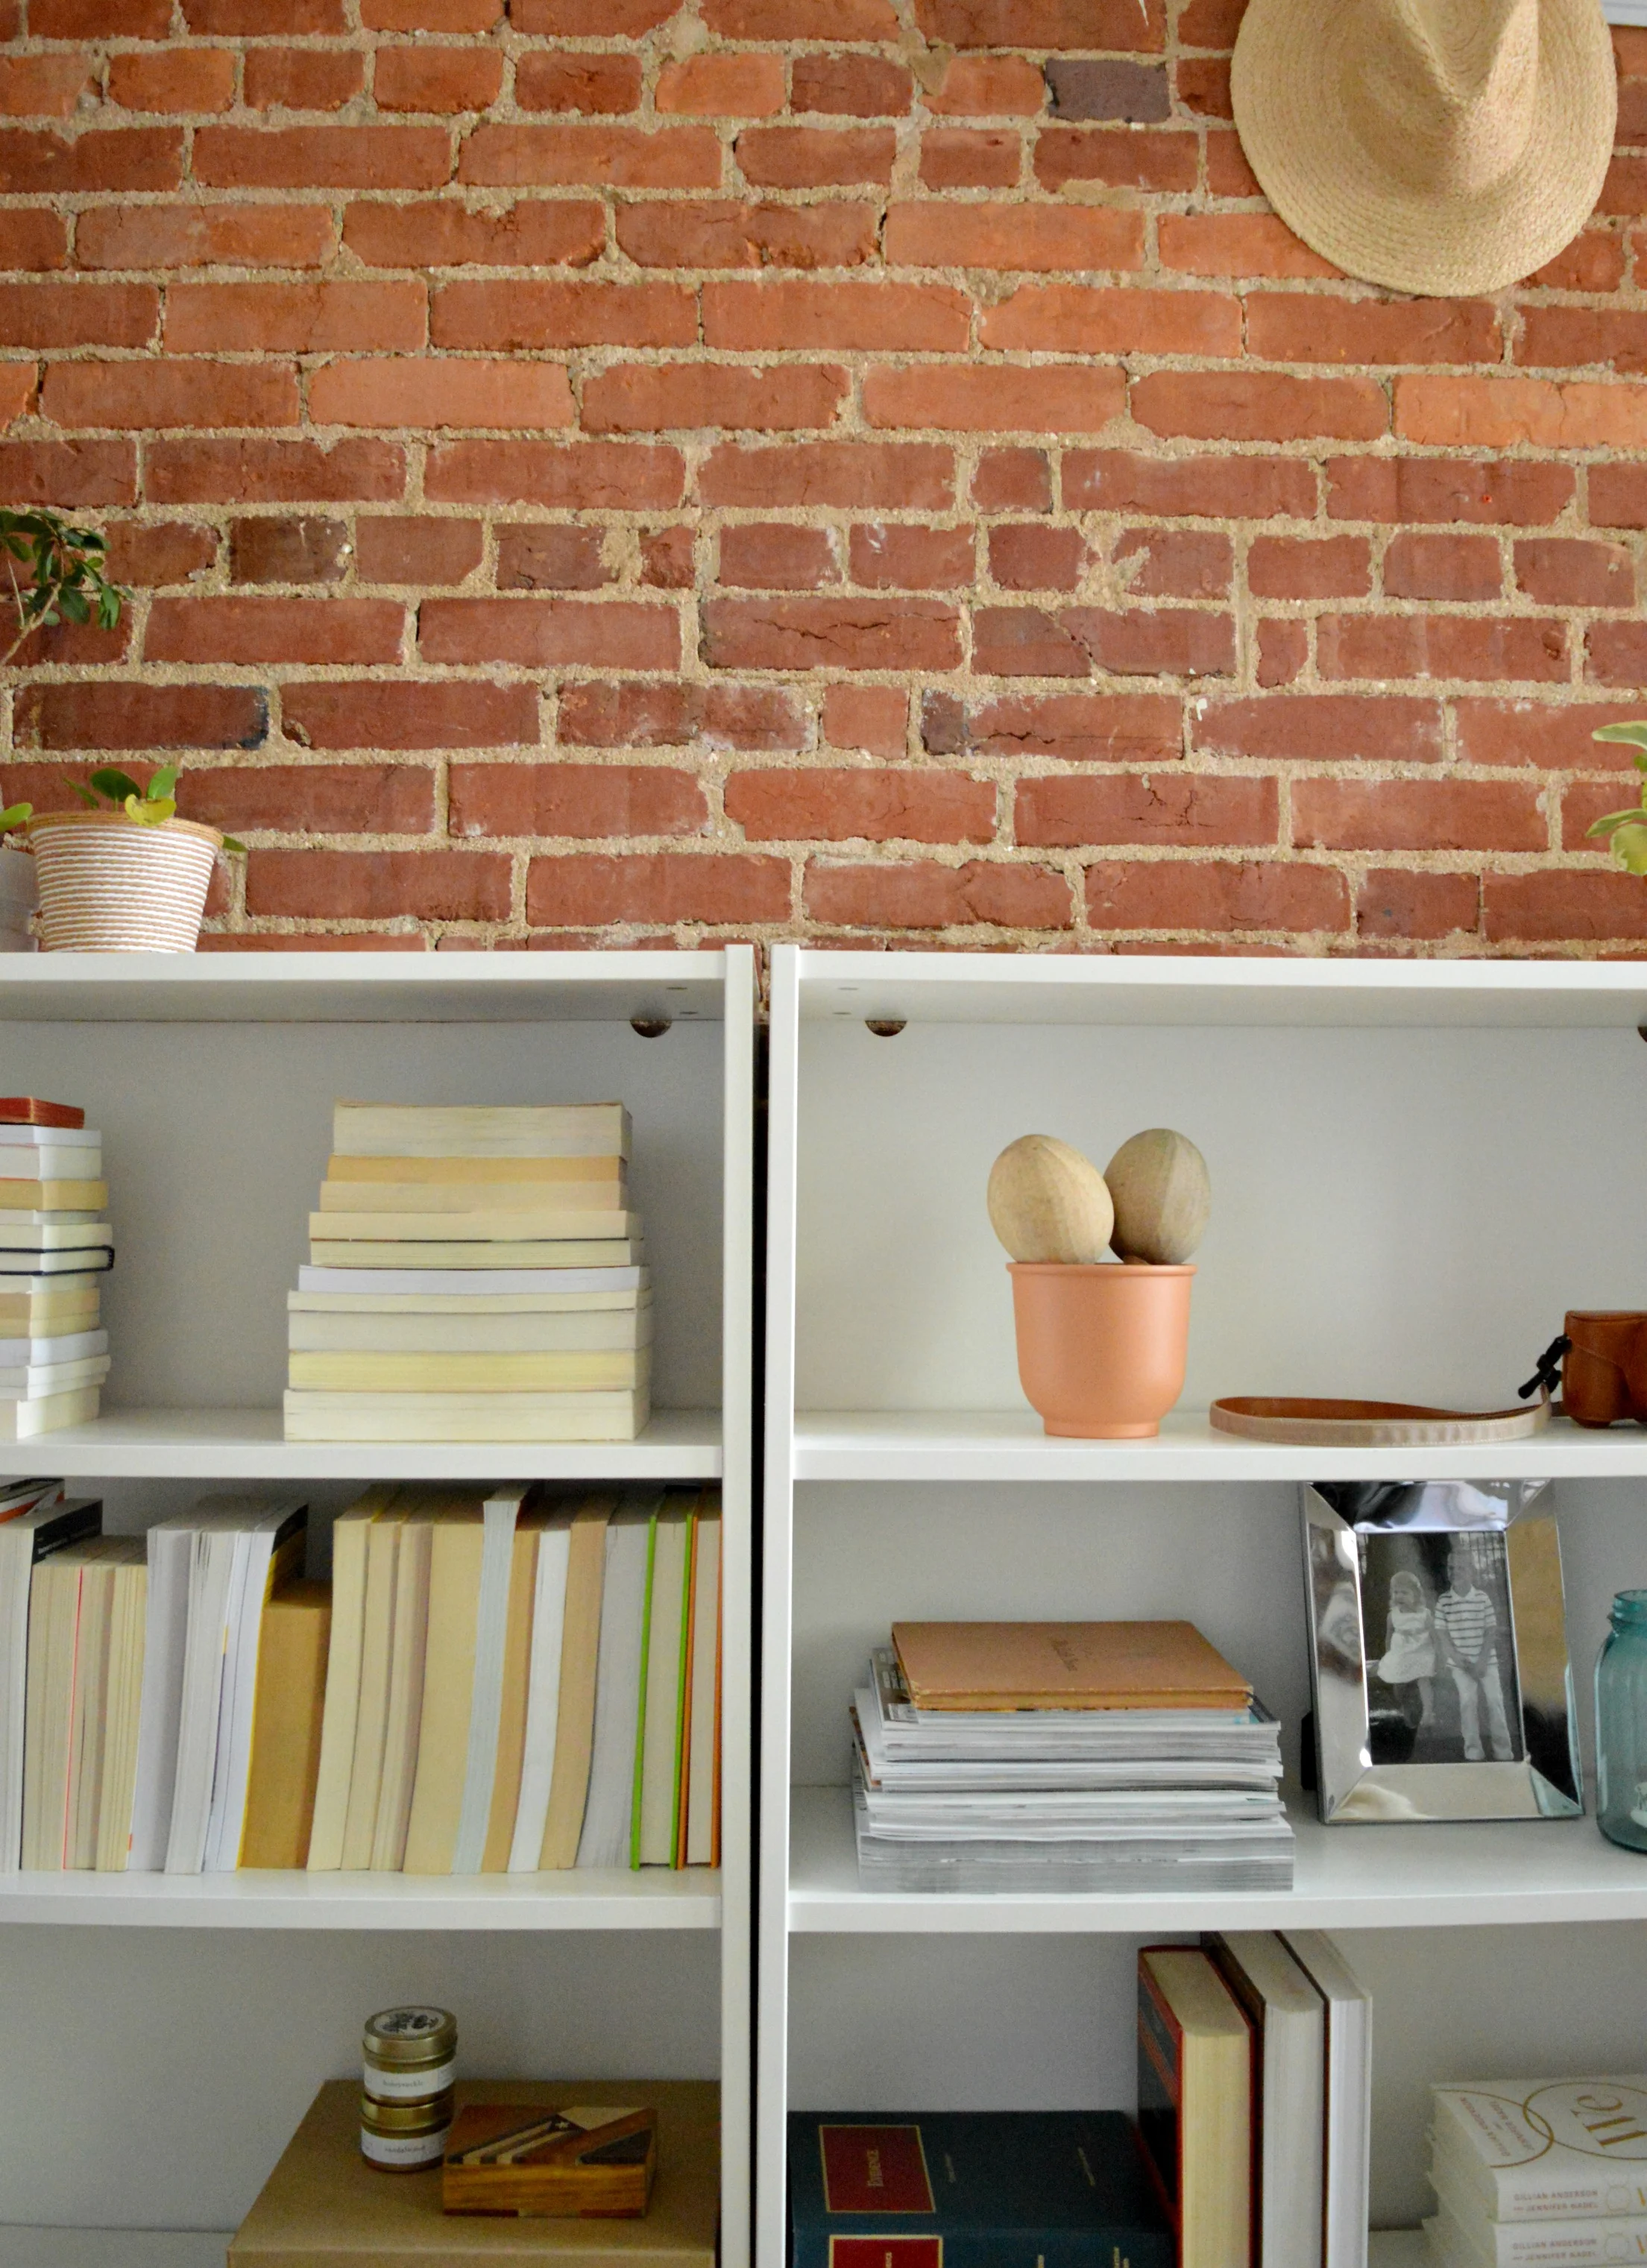
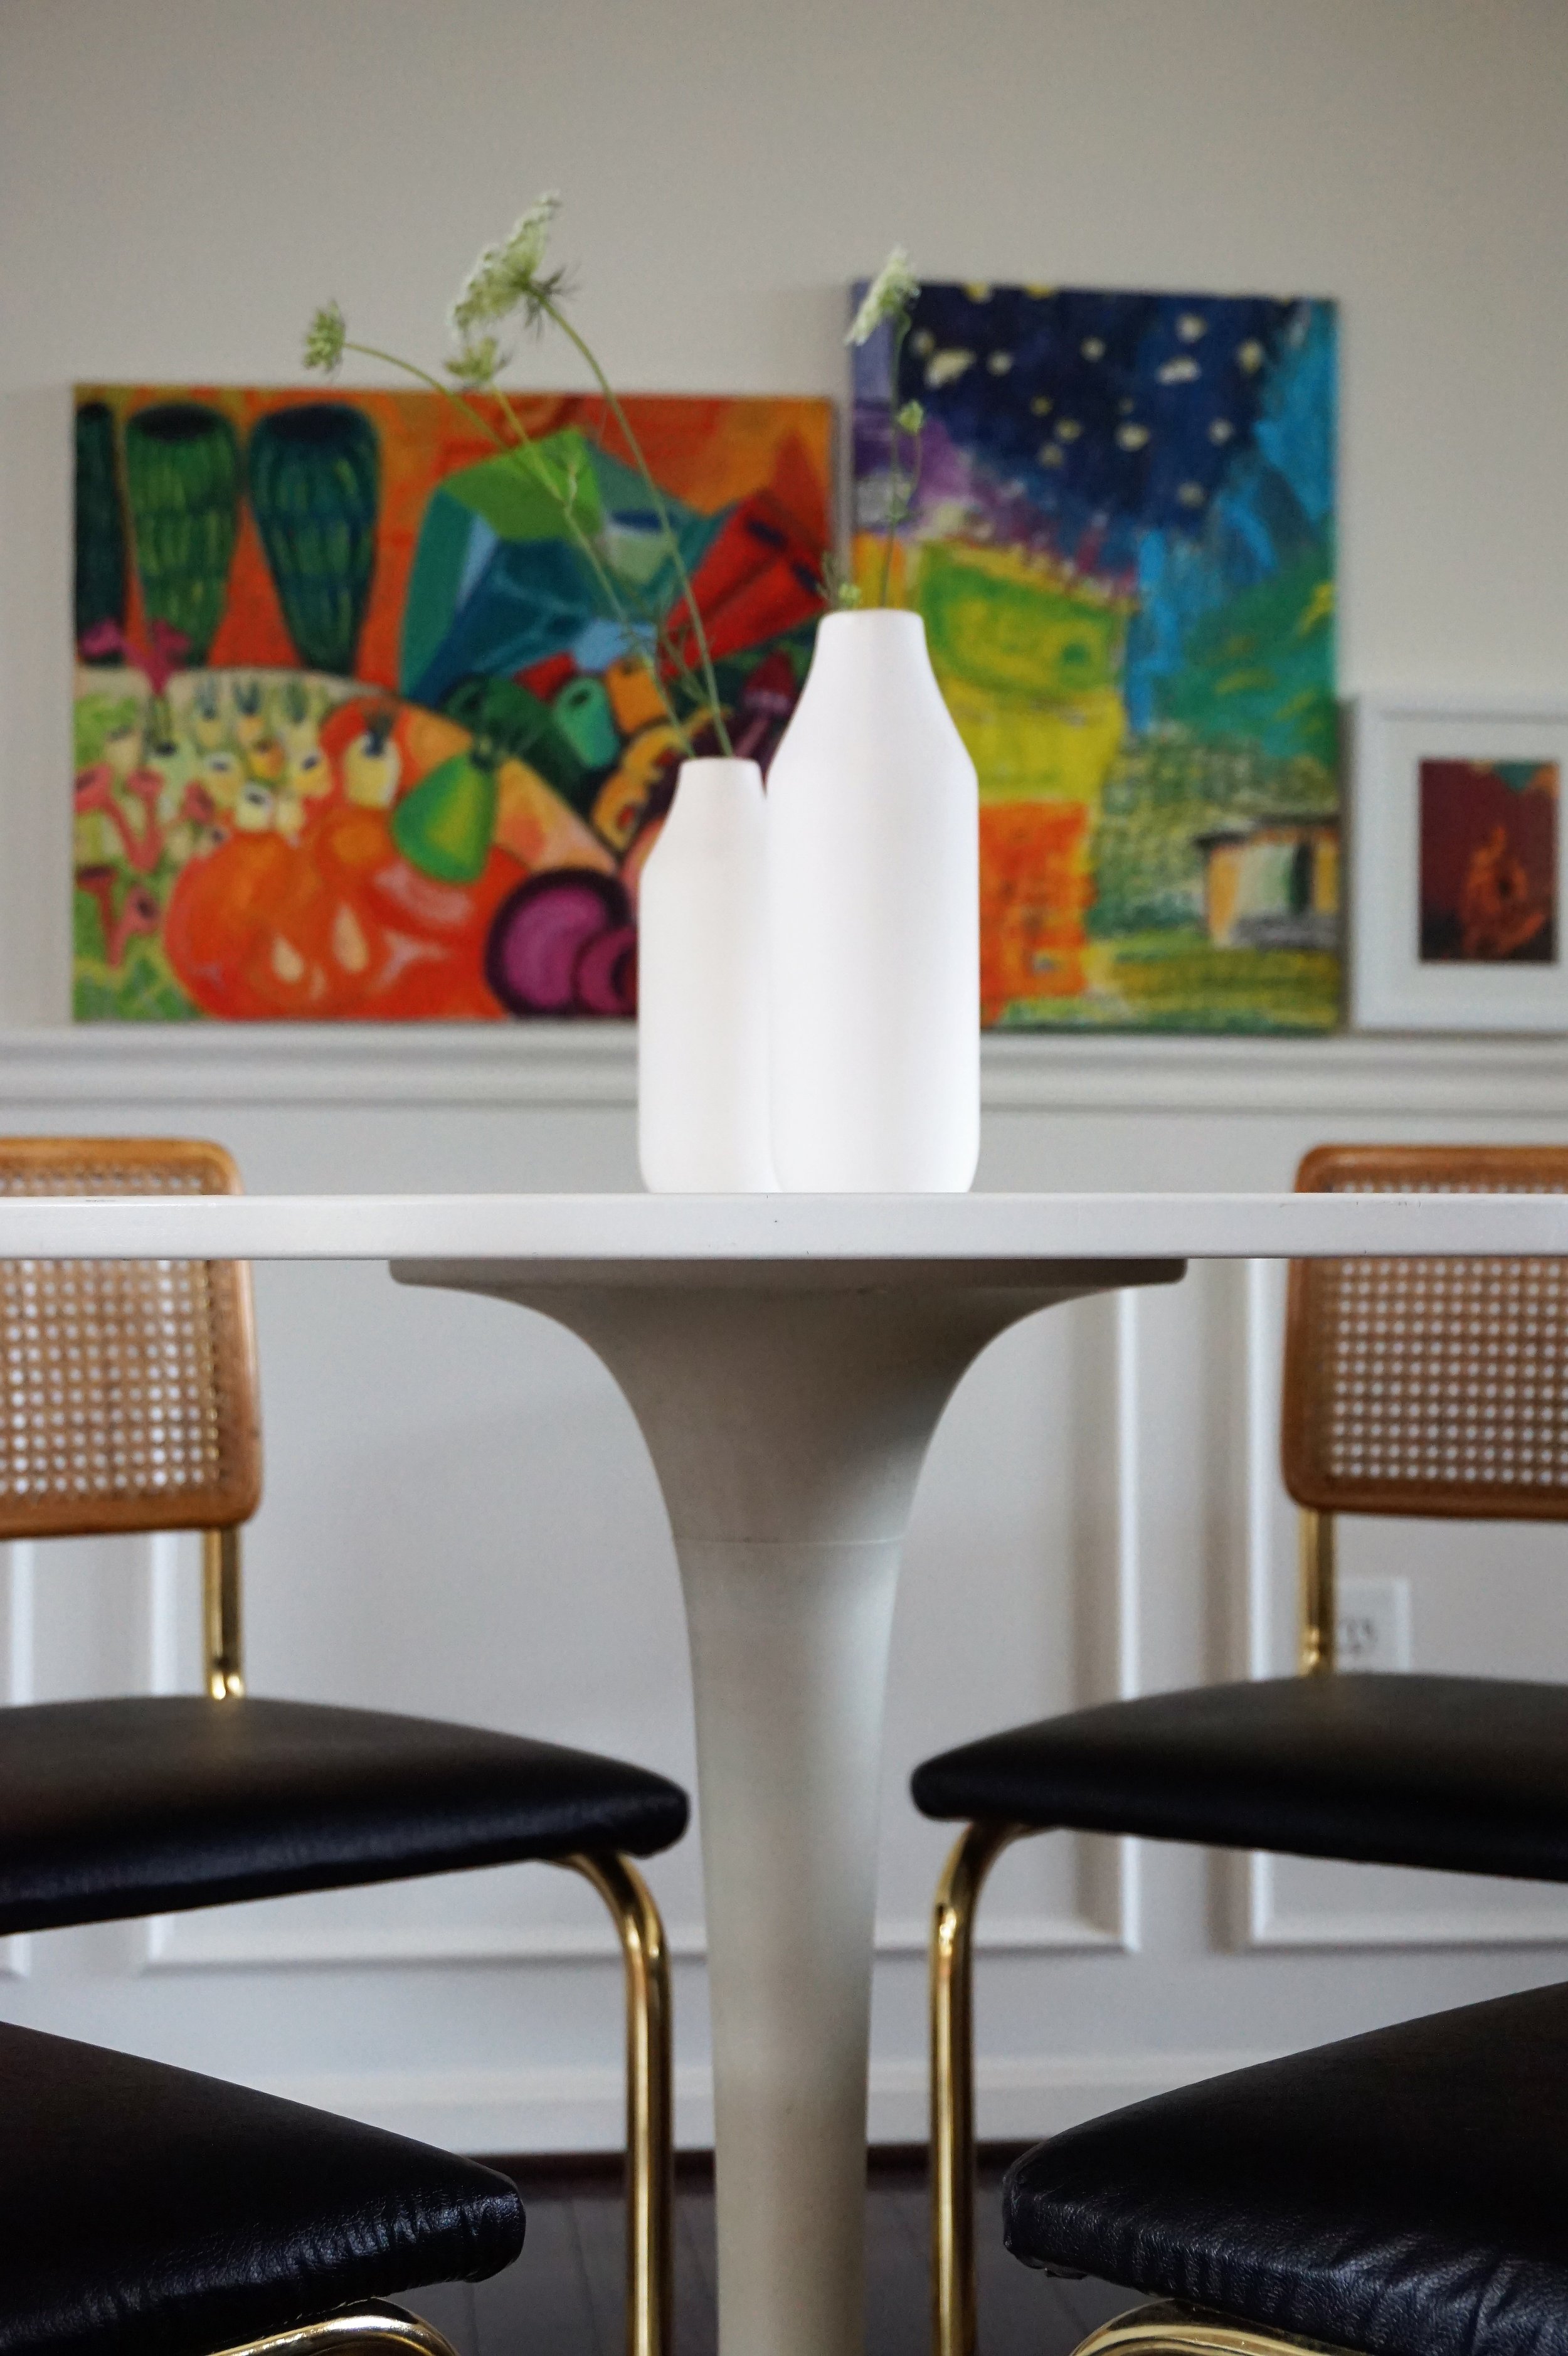
Color Rich Sanctuary


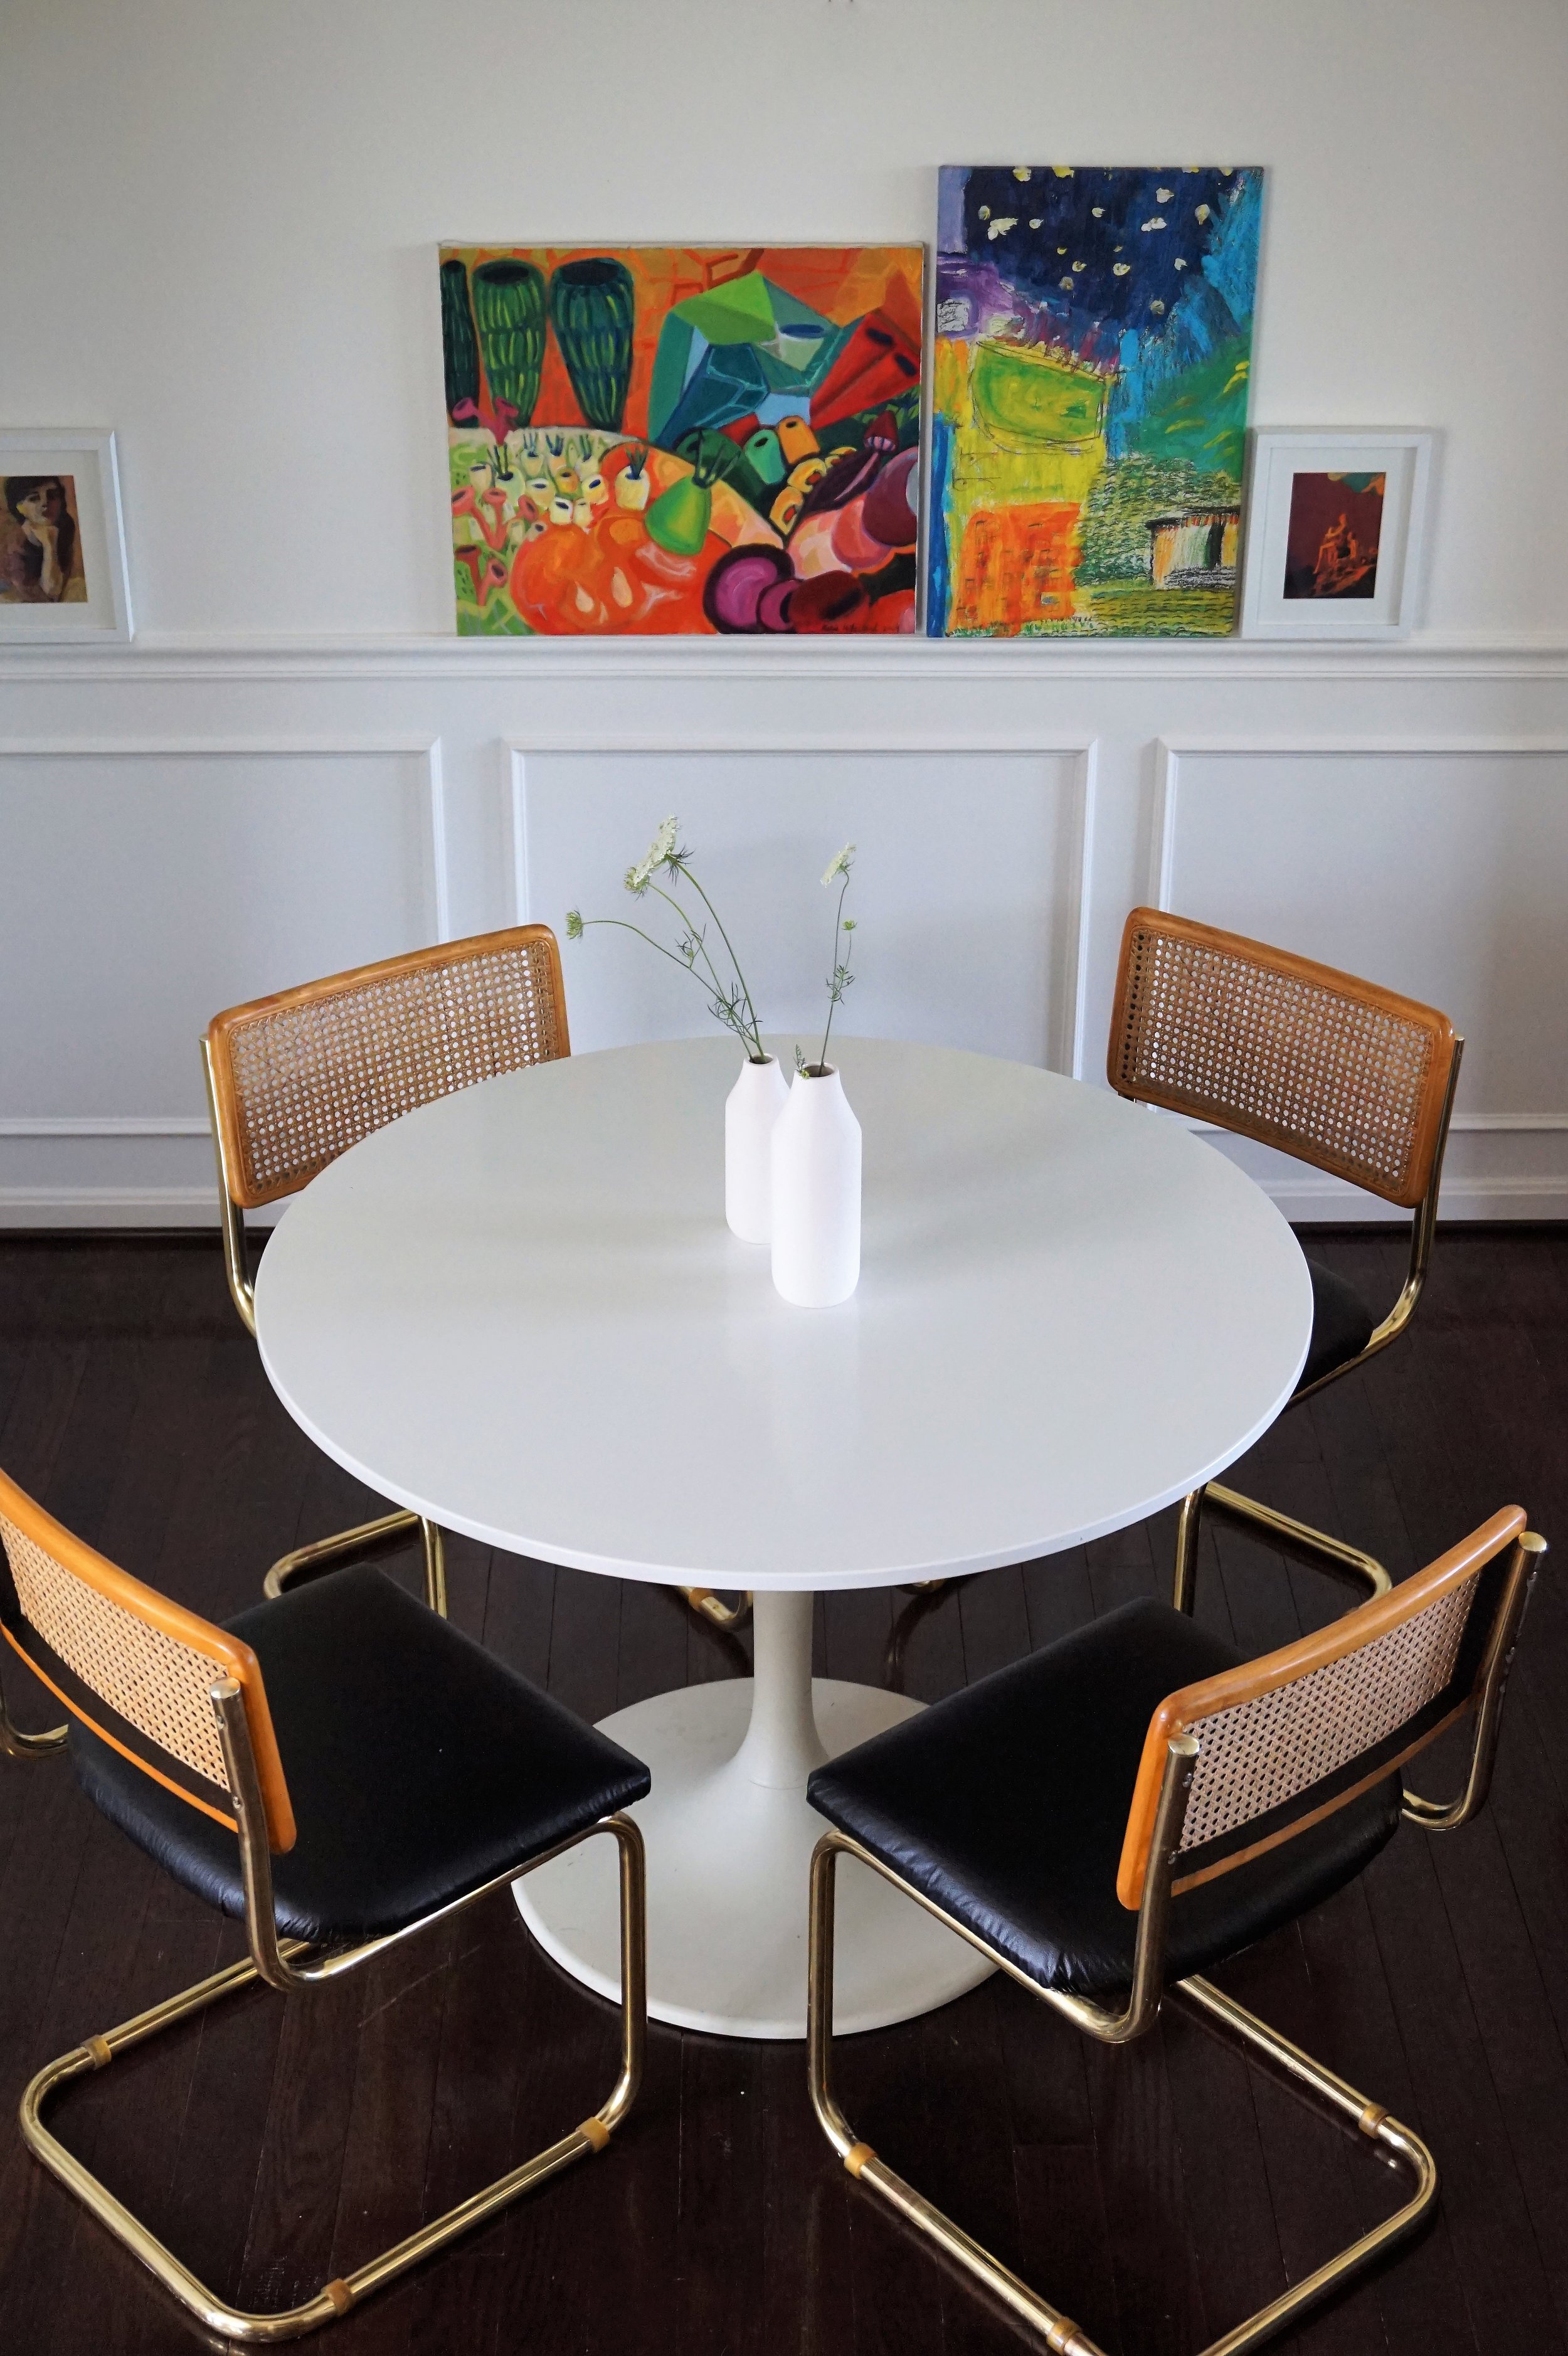
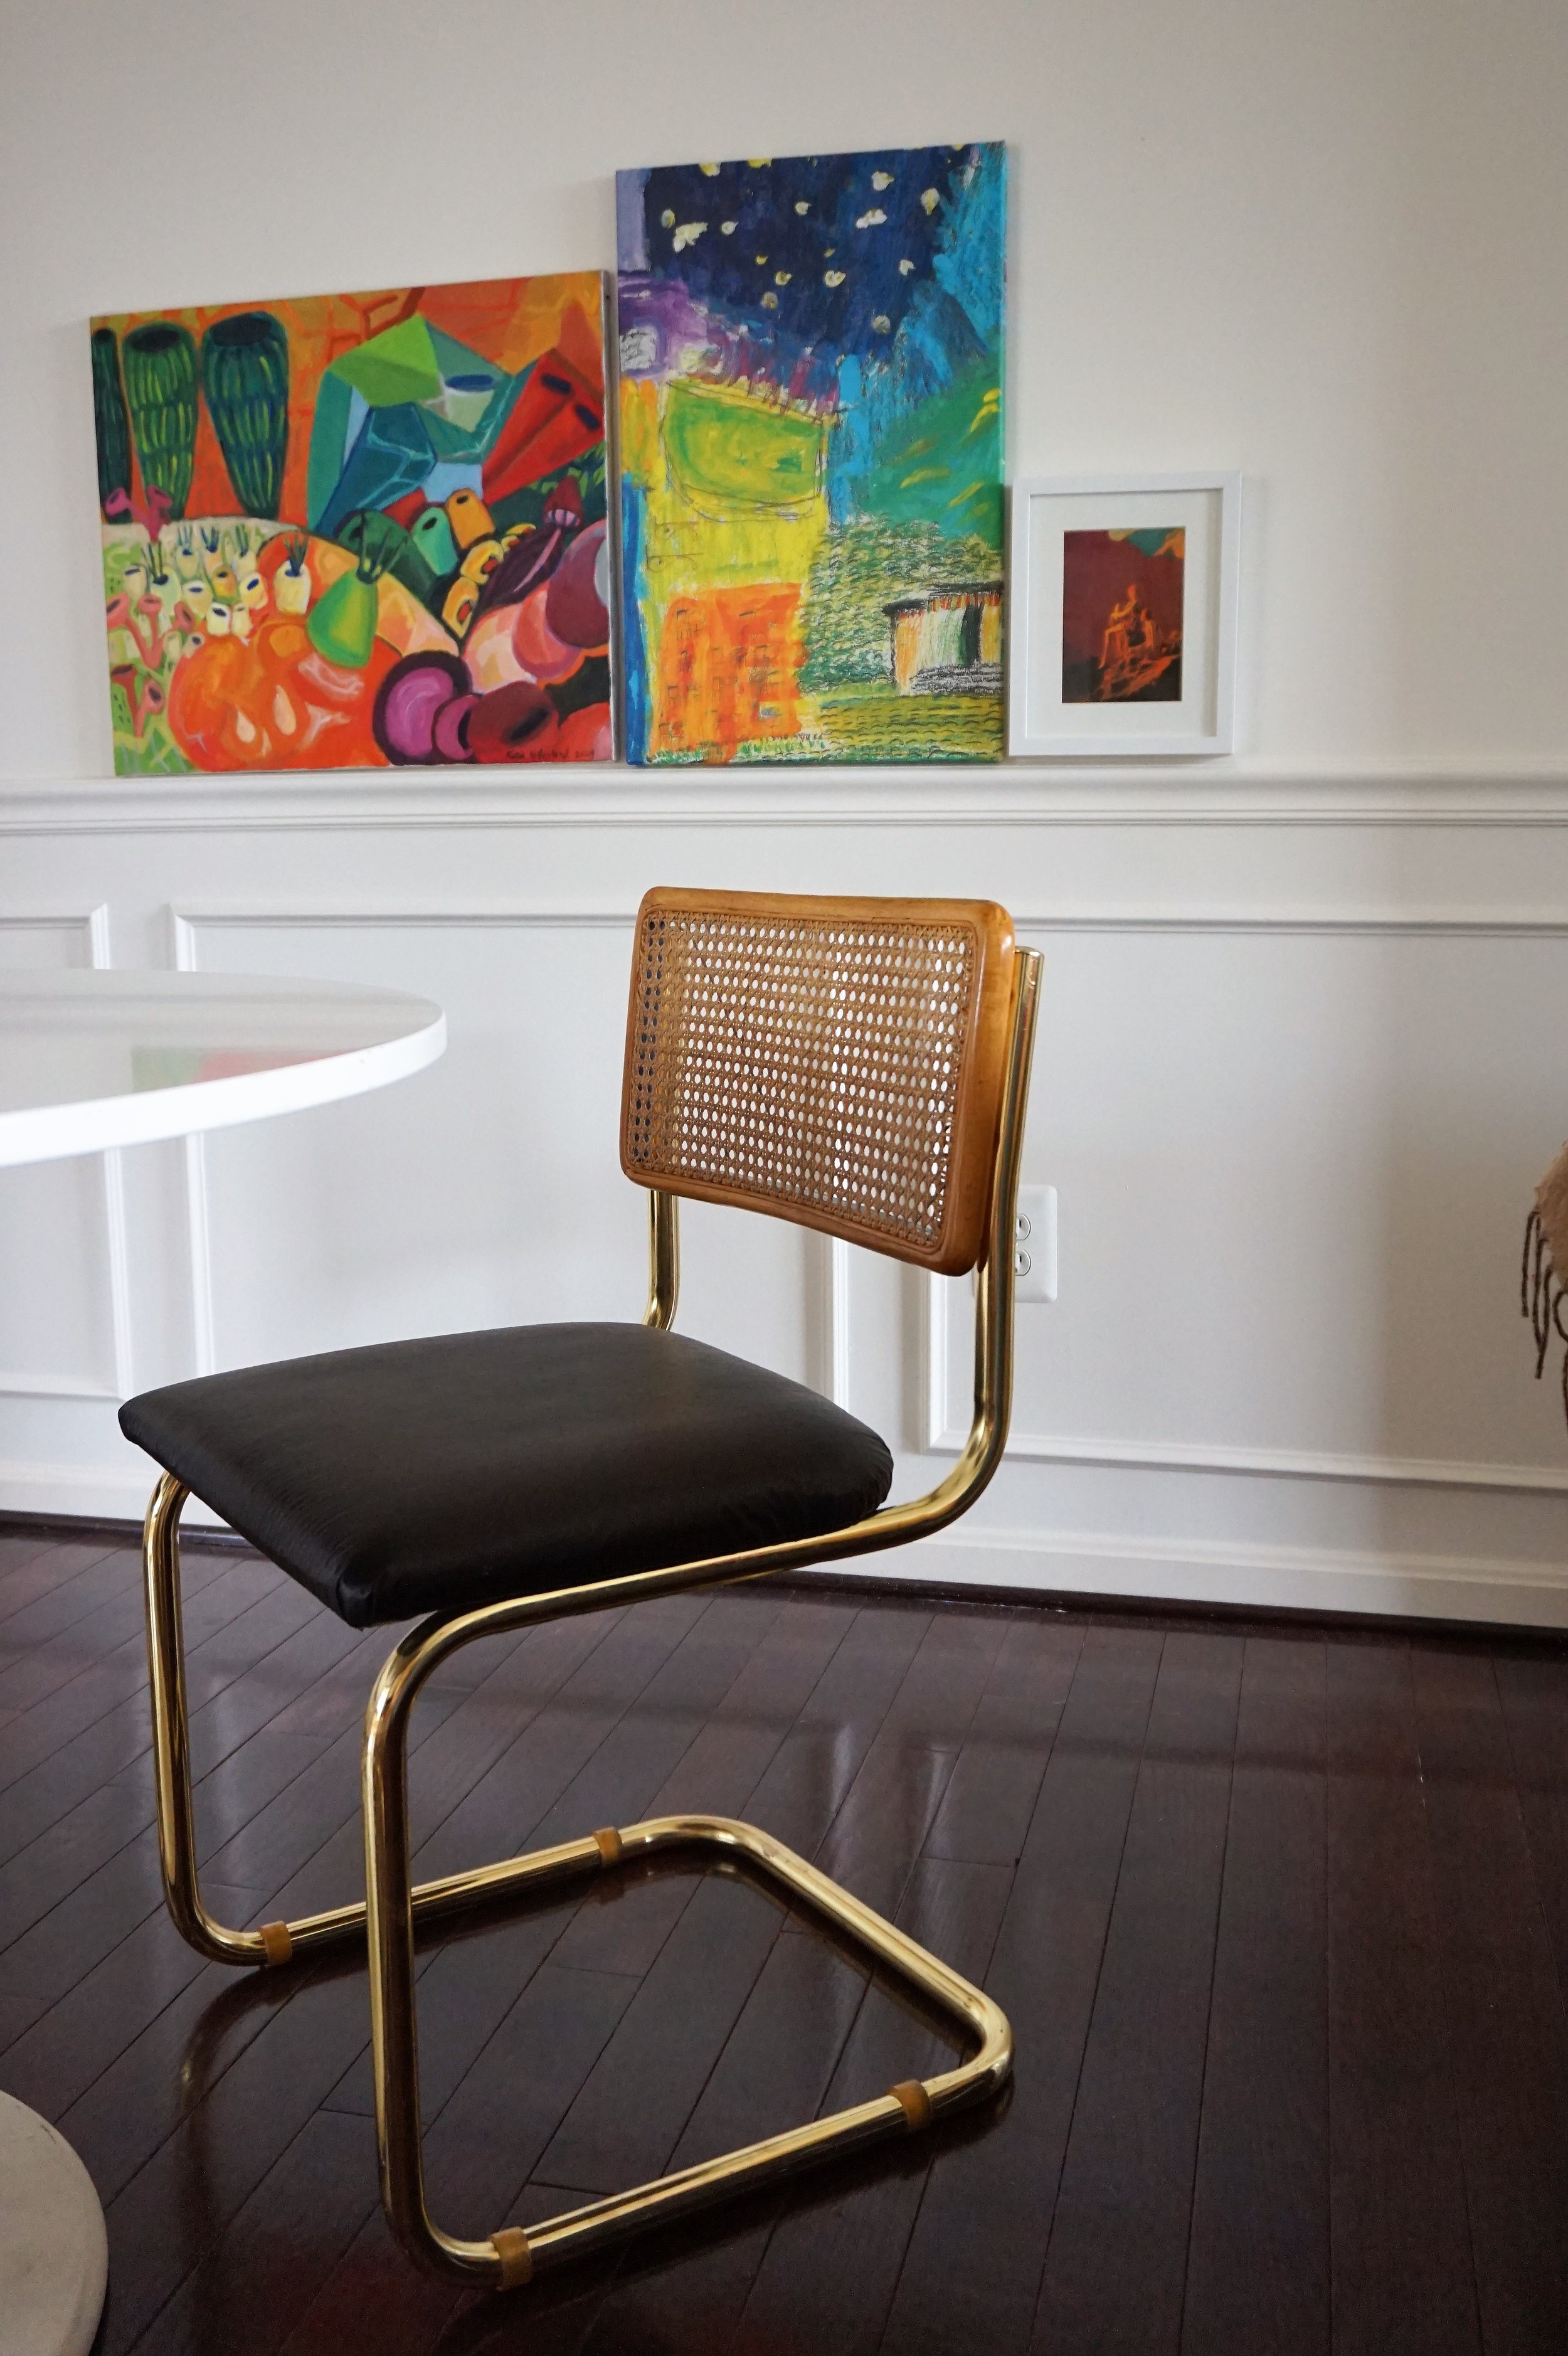
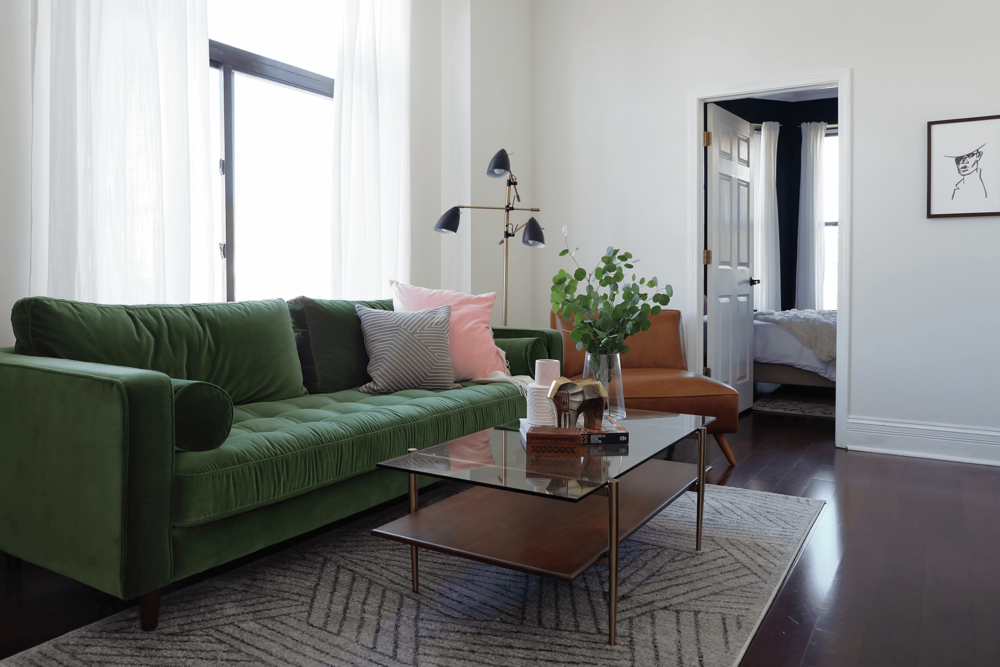
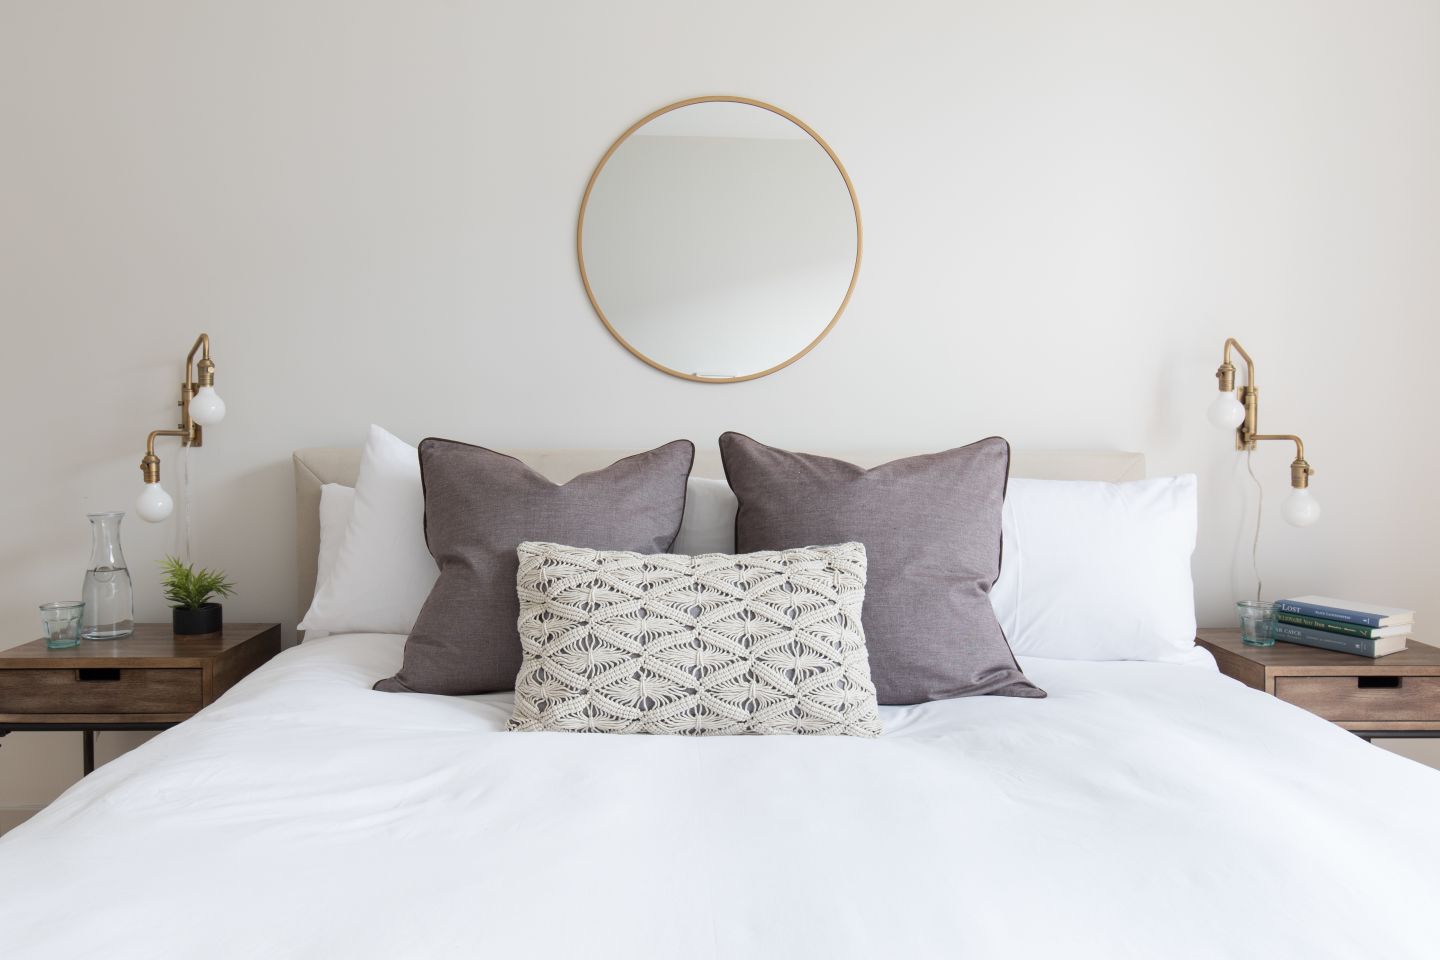
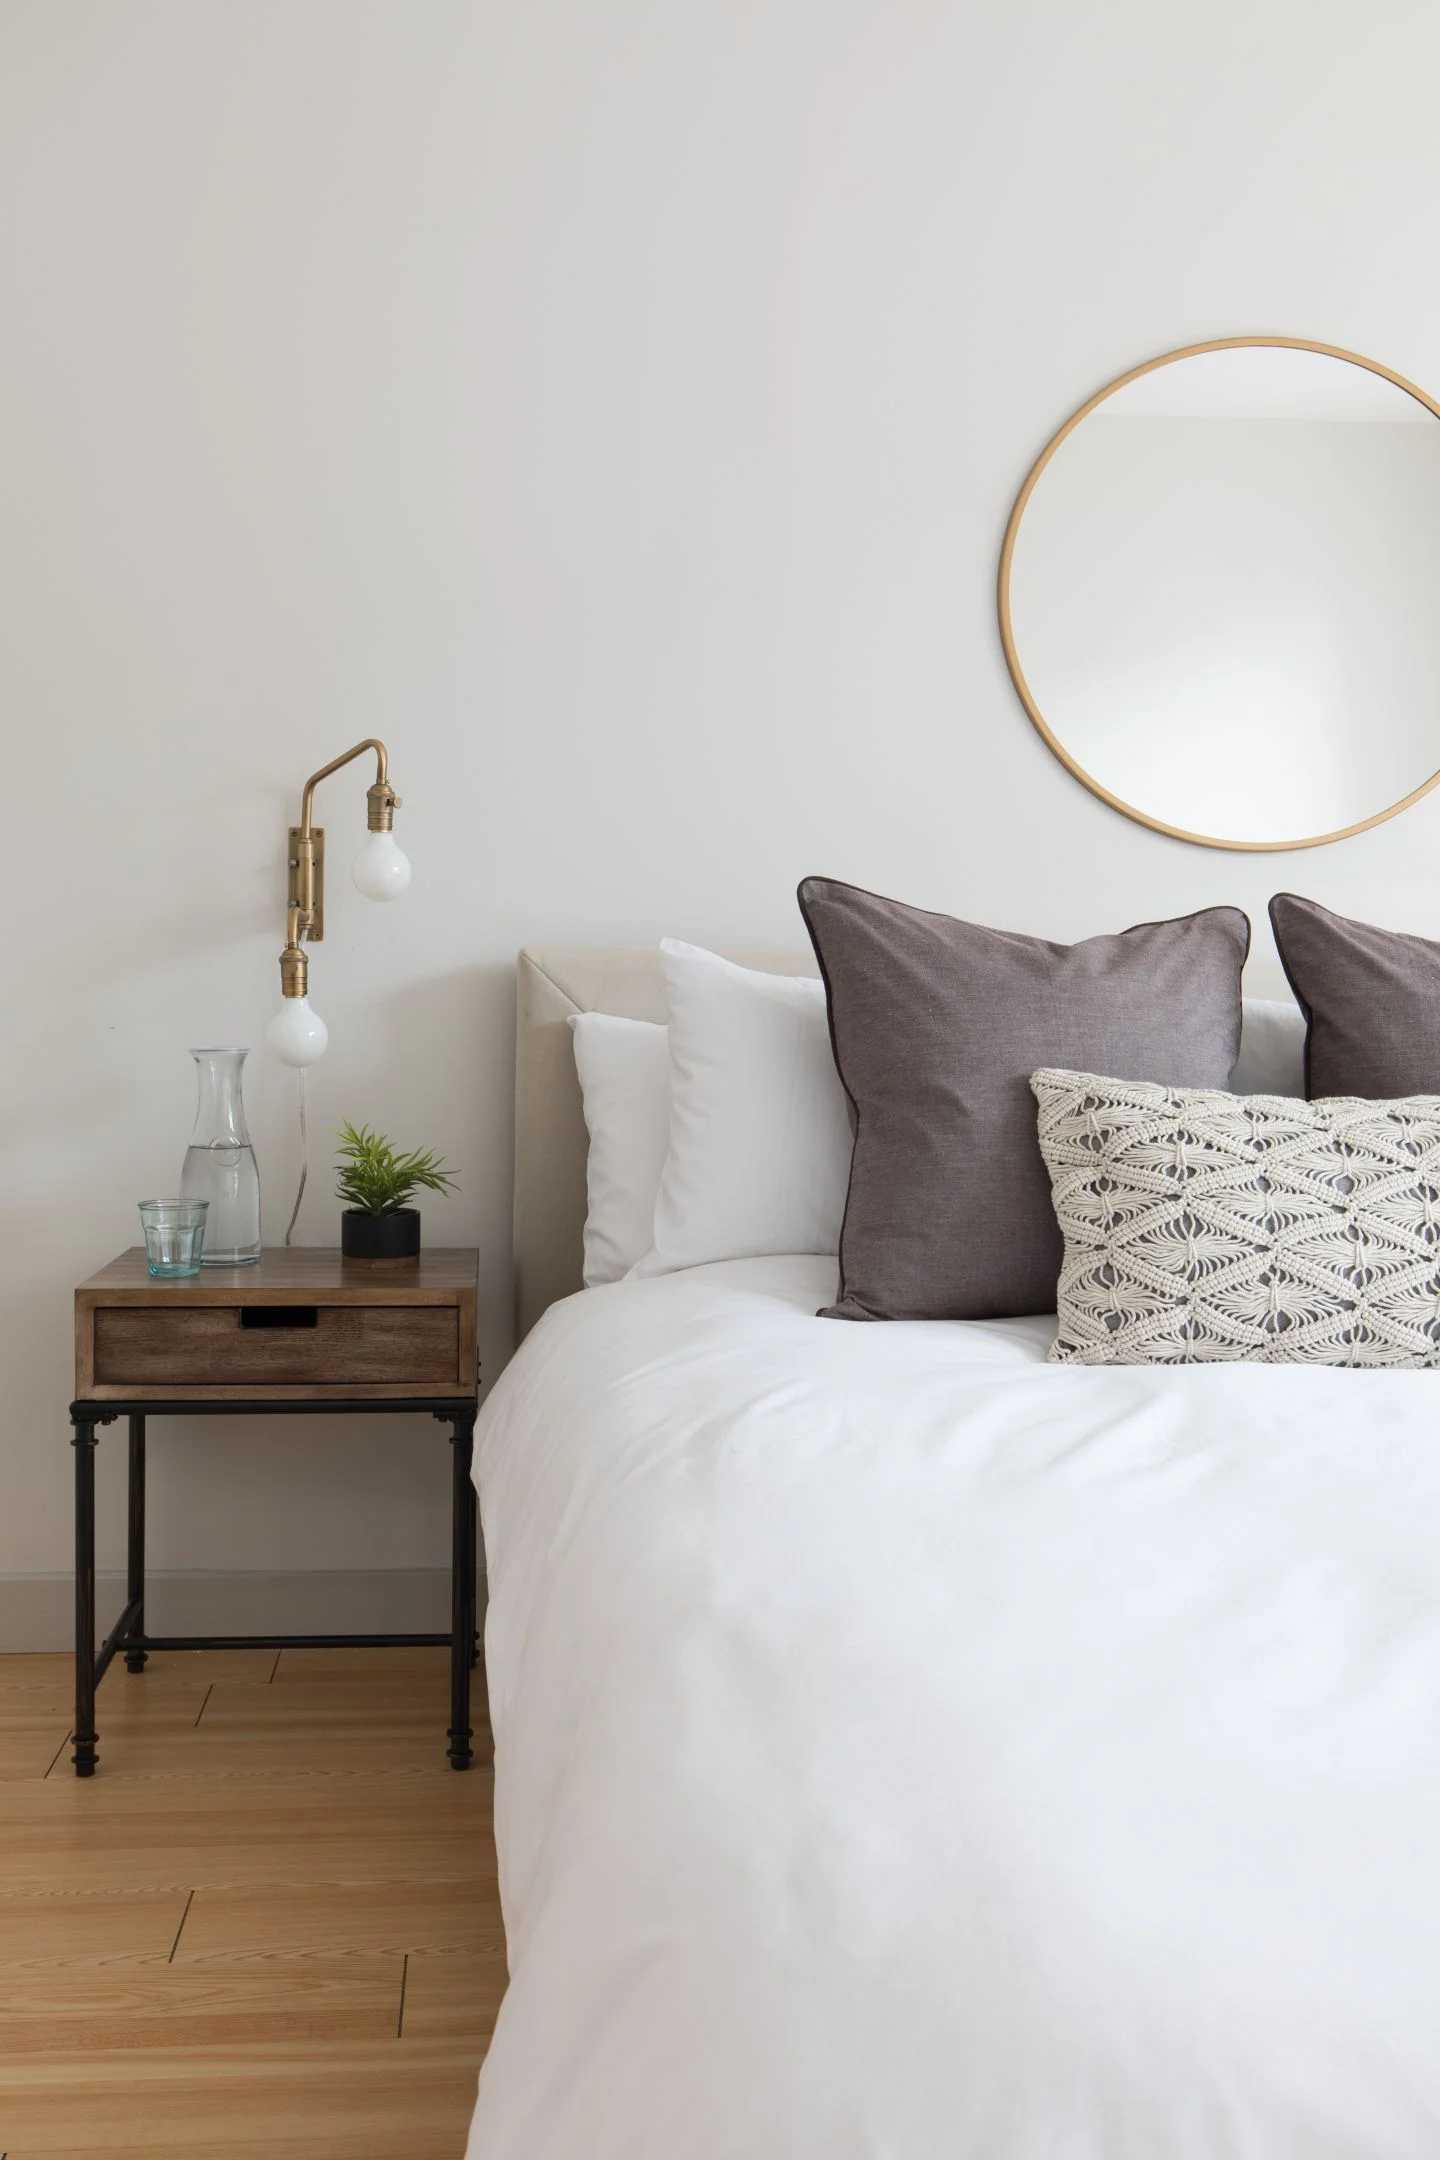
Sophisticated Playing It Cool


Inviting LivingBedDining Room


"Serenity Now!!!"


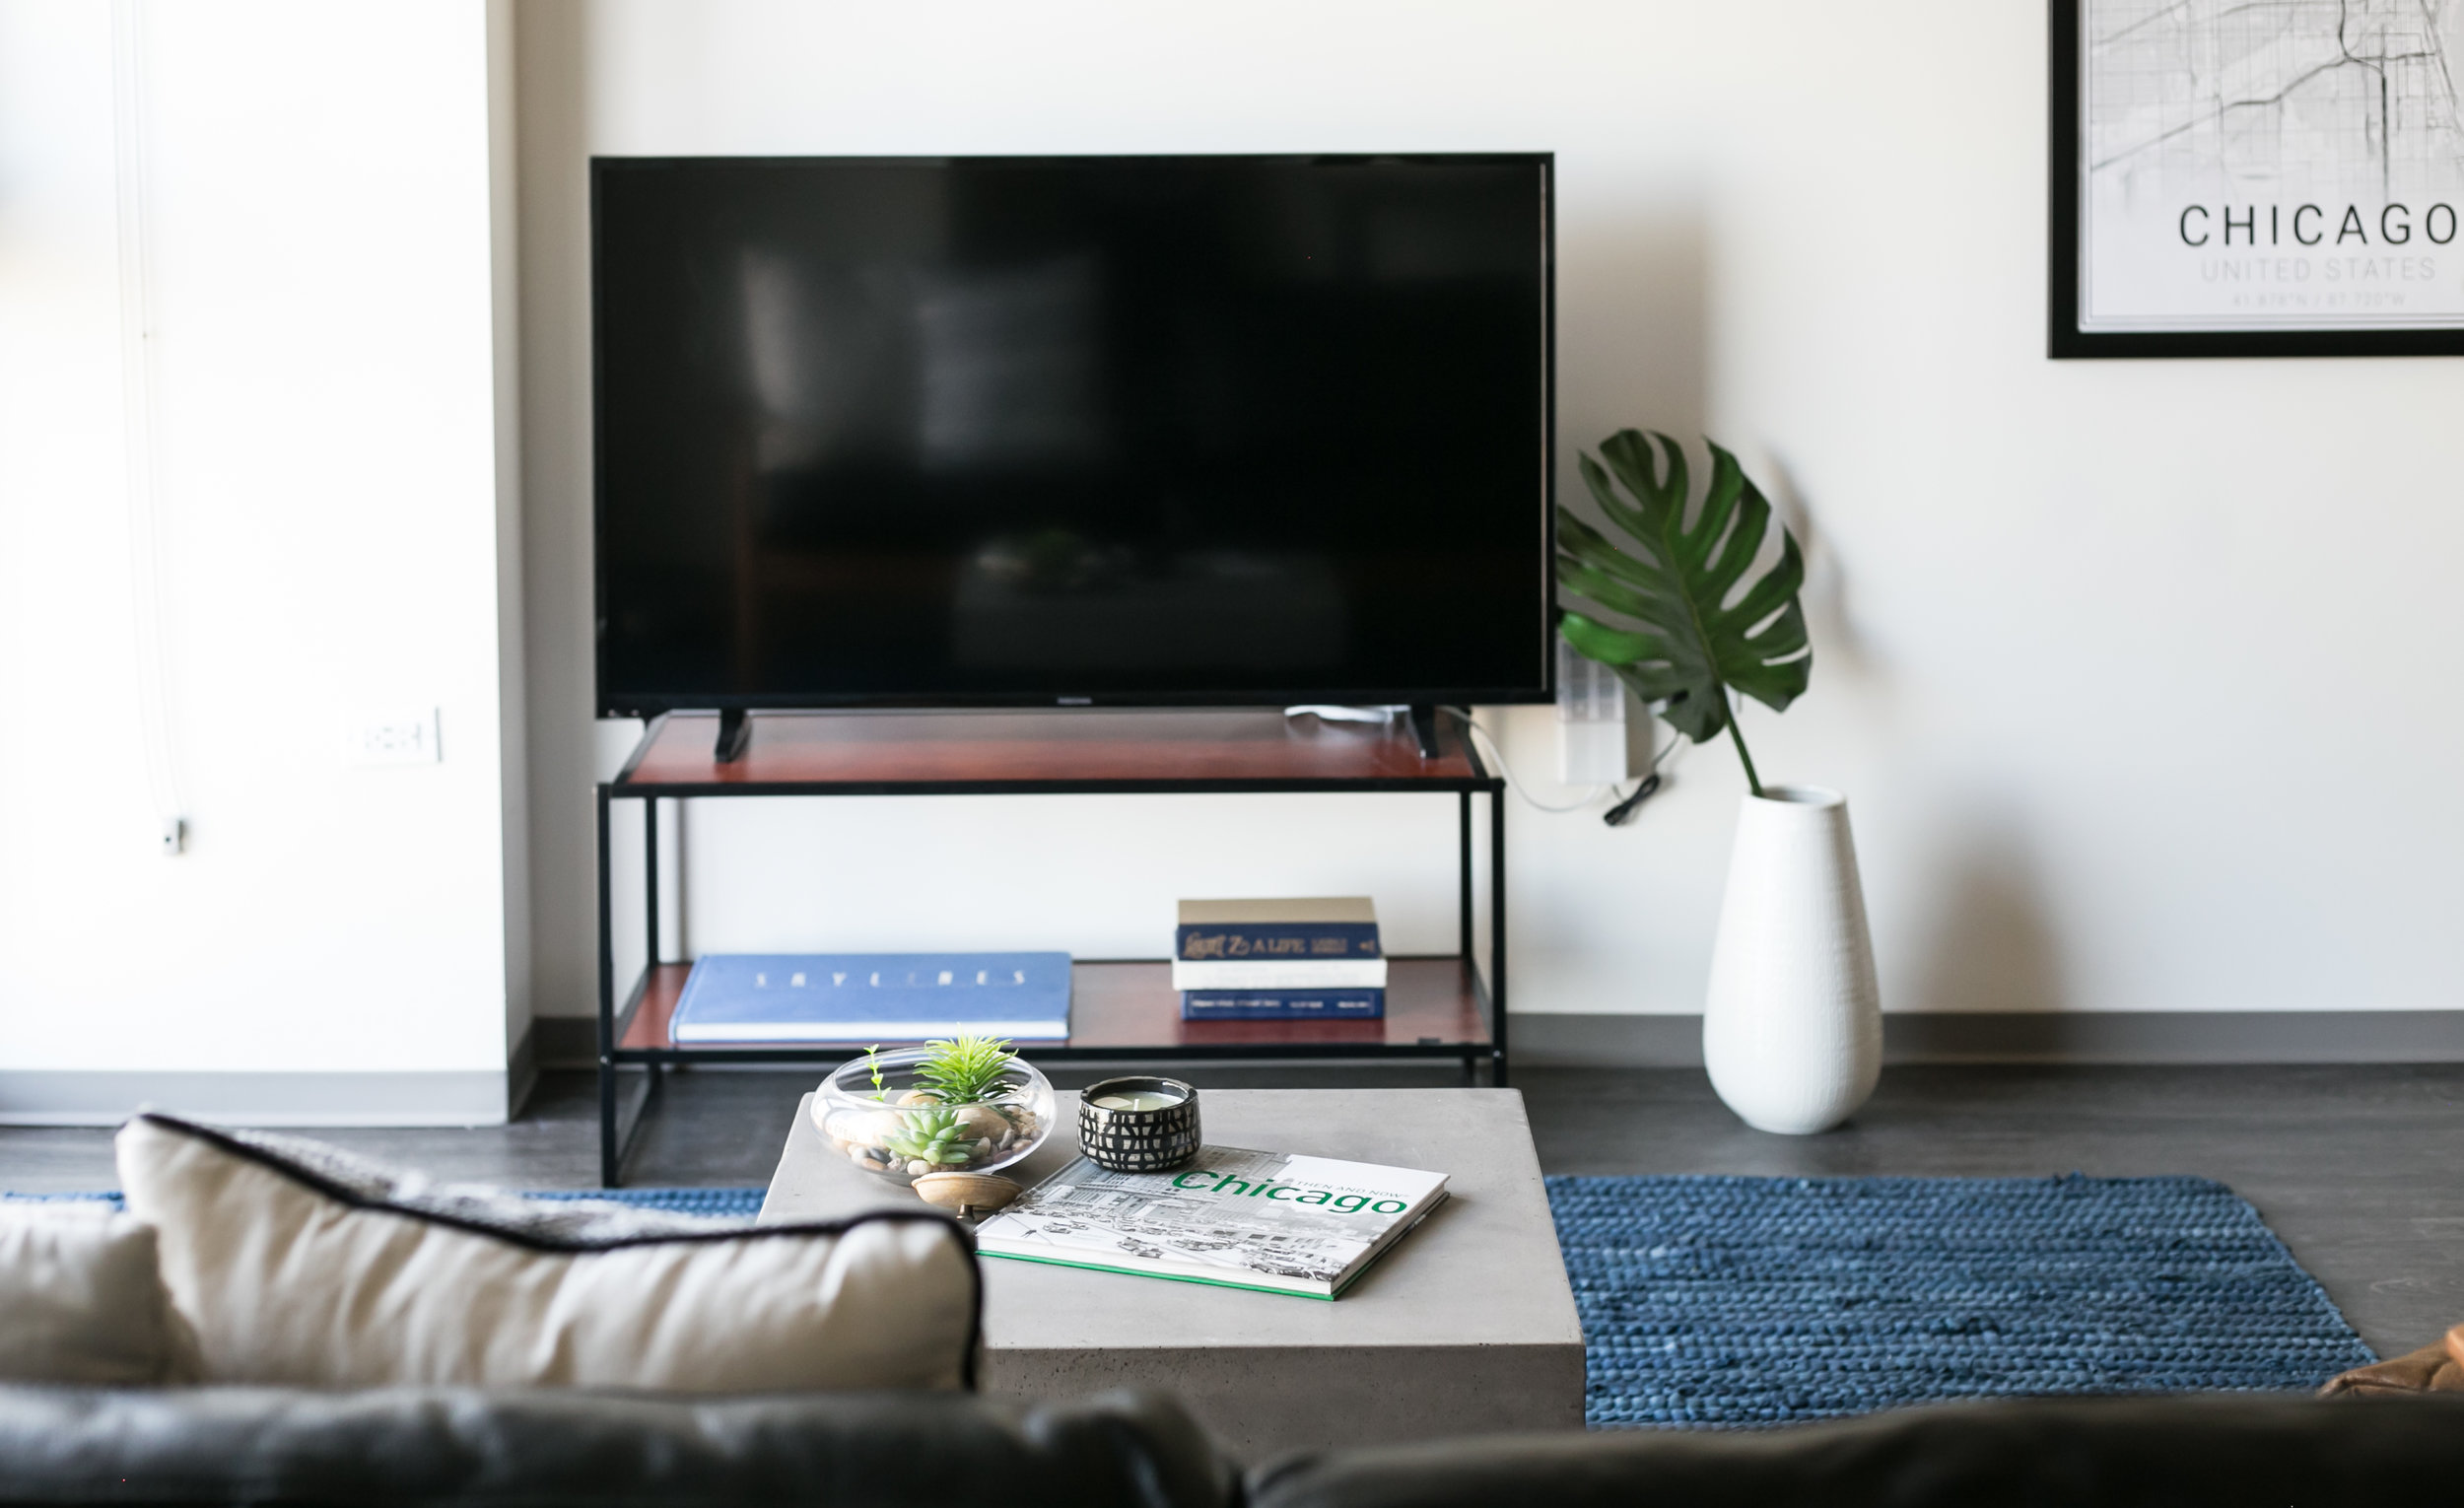
Concrete Cave


That's a wrap for today! Thank you all so much for stopping by!