Design Reveal: Our Kitchen Reno!

Hi, Friends! As it turns out, I’m a terrible updater - generally speaking, AND especially during a renovation. So to catch you up in one sentence - We renovated our kitchen this past fall and it’s done. Welcome to the reveal of the project! LOL

To be honest, as detail oriented as I am during a design project, I find the thought process of managing so many details to be tiring! I love it but I don’t feel like I have much energy left to talk about it. I know. I really really have no business being on a blog. Good bloggers share step-by-steps and pictures along the way. Mediocre bloggers share Before and Afters. Bad bloggers just share the After. It’s taking everything I’ve got to be mediocre today and scrounge up some Before and Progress shots I got during the reno. Worlds Okayest Blogger, right here, folks! Hah!

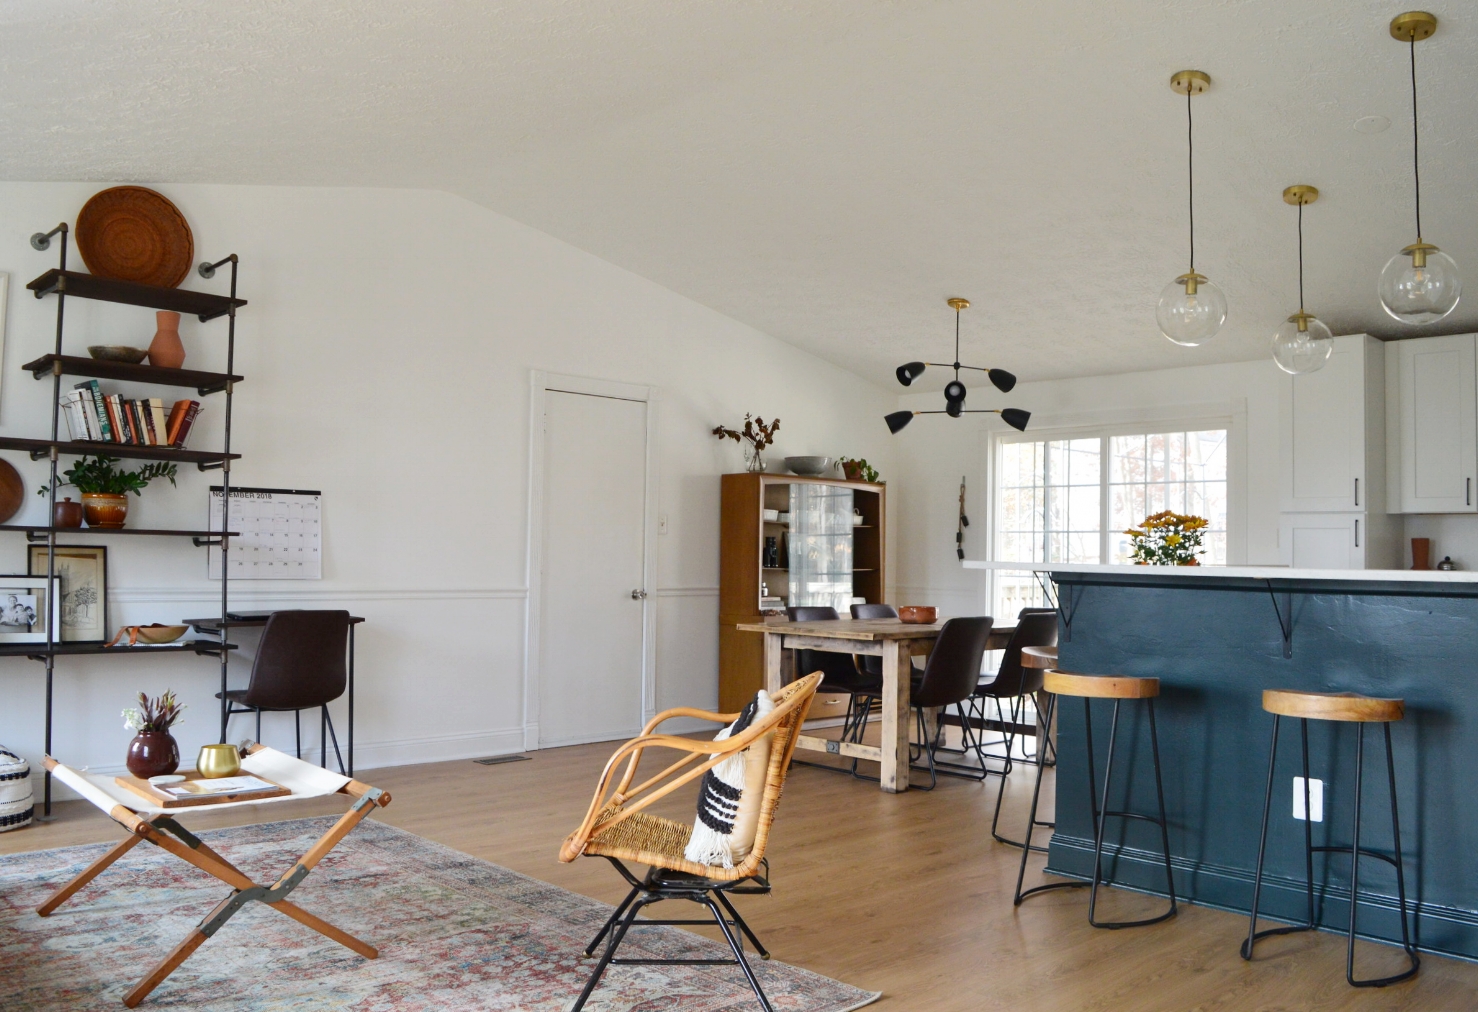
So let’s get down to it! The biggest change we made was taking down the ‘L’ shaped wall on the right:

Then

static1.squarespace.com.jpg

Process

reno 3.JPG
reno 4.JPG

Now

DSC_0531.JPG

We have lived in this house for 8 years so we didn’t come to the decision to knock that wall down flippantly. Over time as our babes got older we realized how much happens around the kitchen. And the more life that was happening outside of that ‘L’ shaped wall, (think homework, test studying, recapping the day, dancing, playing), the most closed off the kitchen was starting to feel. I think living here for so long before diving into this project really helped us make big decisions about what would make the most sense for us and our family and most especially, this house.

DSC_0533.JPG

And by this house, I mean a 1982 generic build. I adore this house but since it’s a basic spec home, (one of 5 different models to choose from in our neighborhood), it just doesn’t have a strong personality. There are no architectural details driving the style of the house - arched openings, thick window casings, stuff like that. As a designer I tend to pick up on these details in my clients homes and play them up in regards to the client’s personal taste. But having a house with no particular personality is a double-edge sword. In one sense, you’re not beholden to any particular style of design. But on the other, adding any strong style elements stands out like a sore thumb. In looking at kitchen ideas I was really drawn to some modern wood kitchens ive seen - no hardware, just a simple lip. This style I was drawn to would have required renovating the entire rest of the home in order to maintain some sort of consistency. As it stands now, we still have work to do around the rest of our home so the kitchen doesn’t look like the ONLY updated area. But we’ll knock things out over time and as we have funds.

DSC_0536.JPG
DSC_0538.JPG

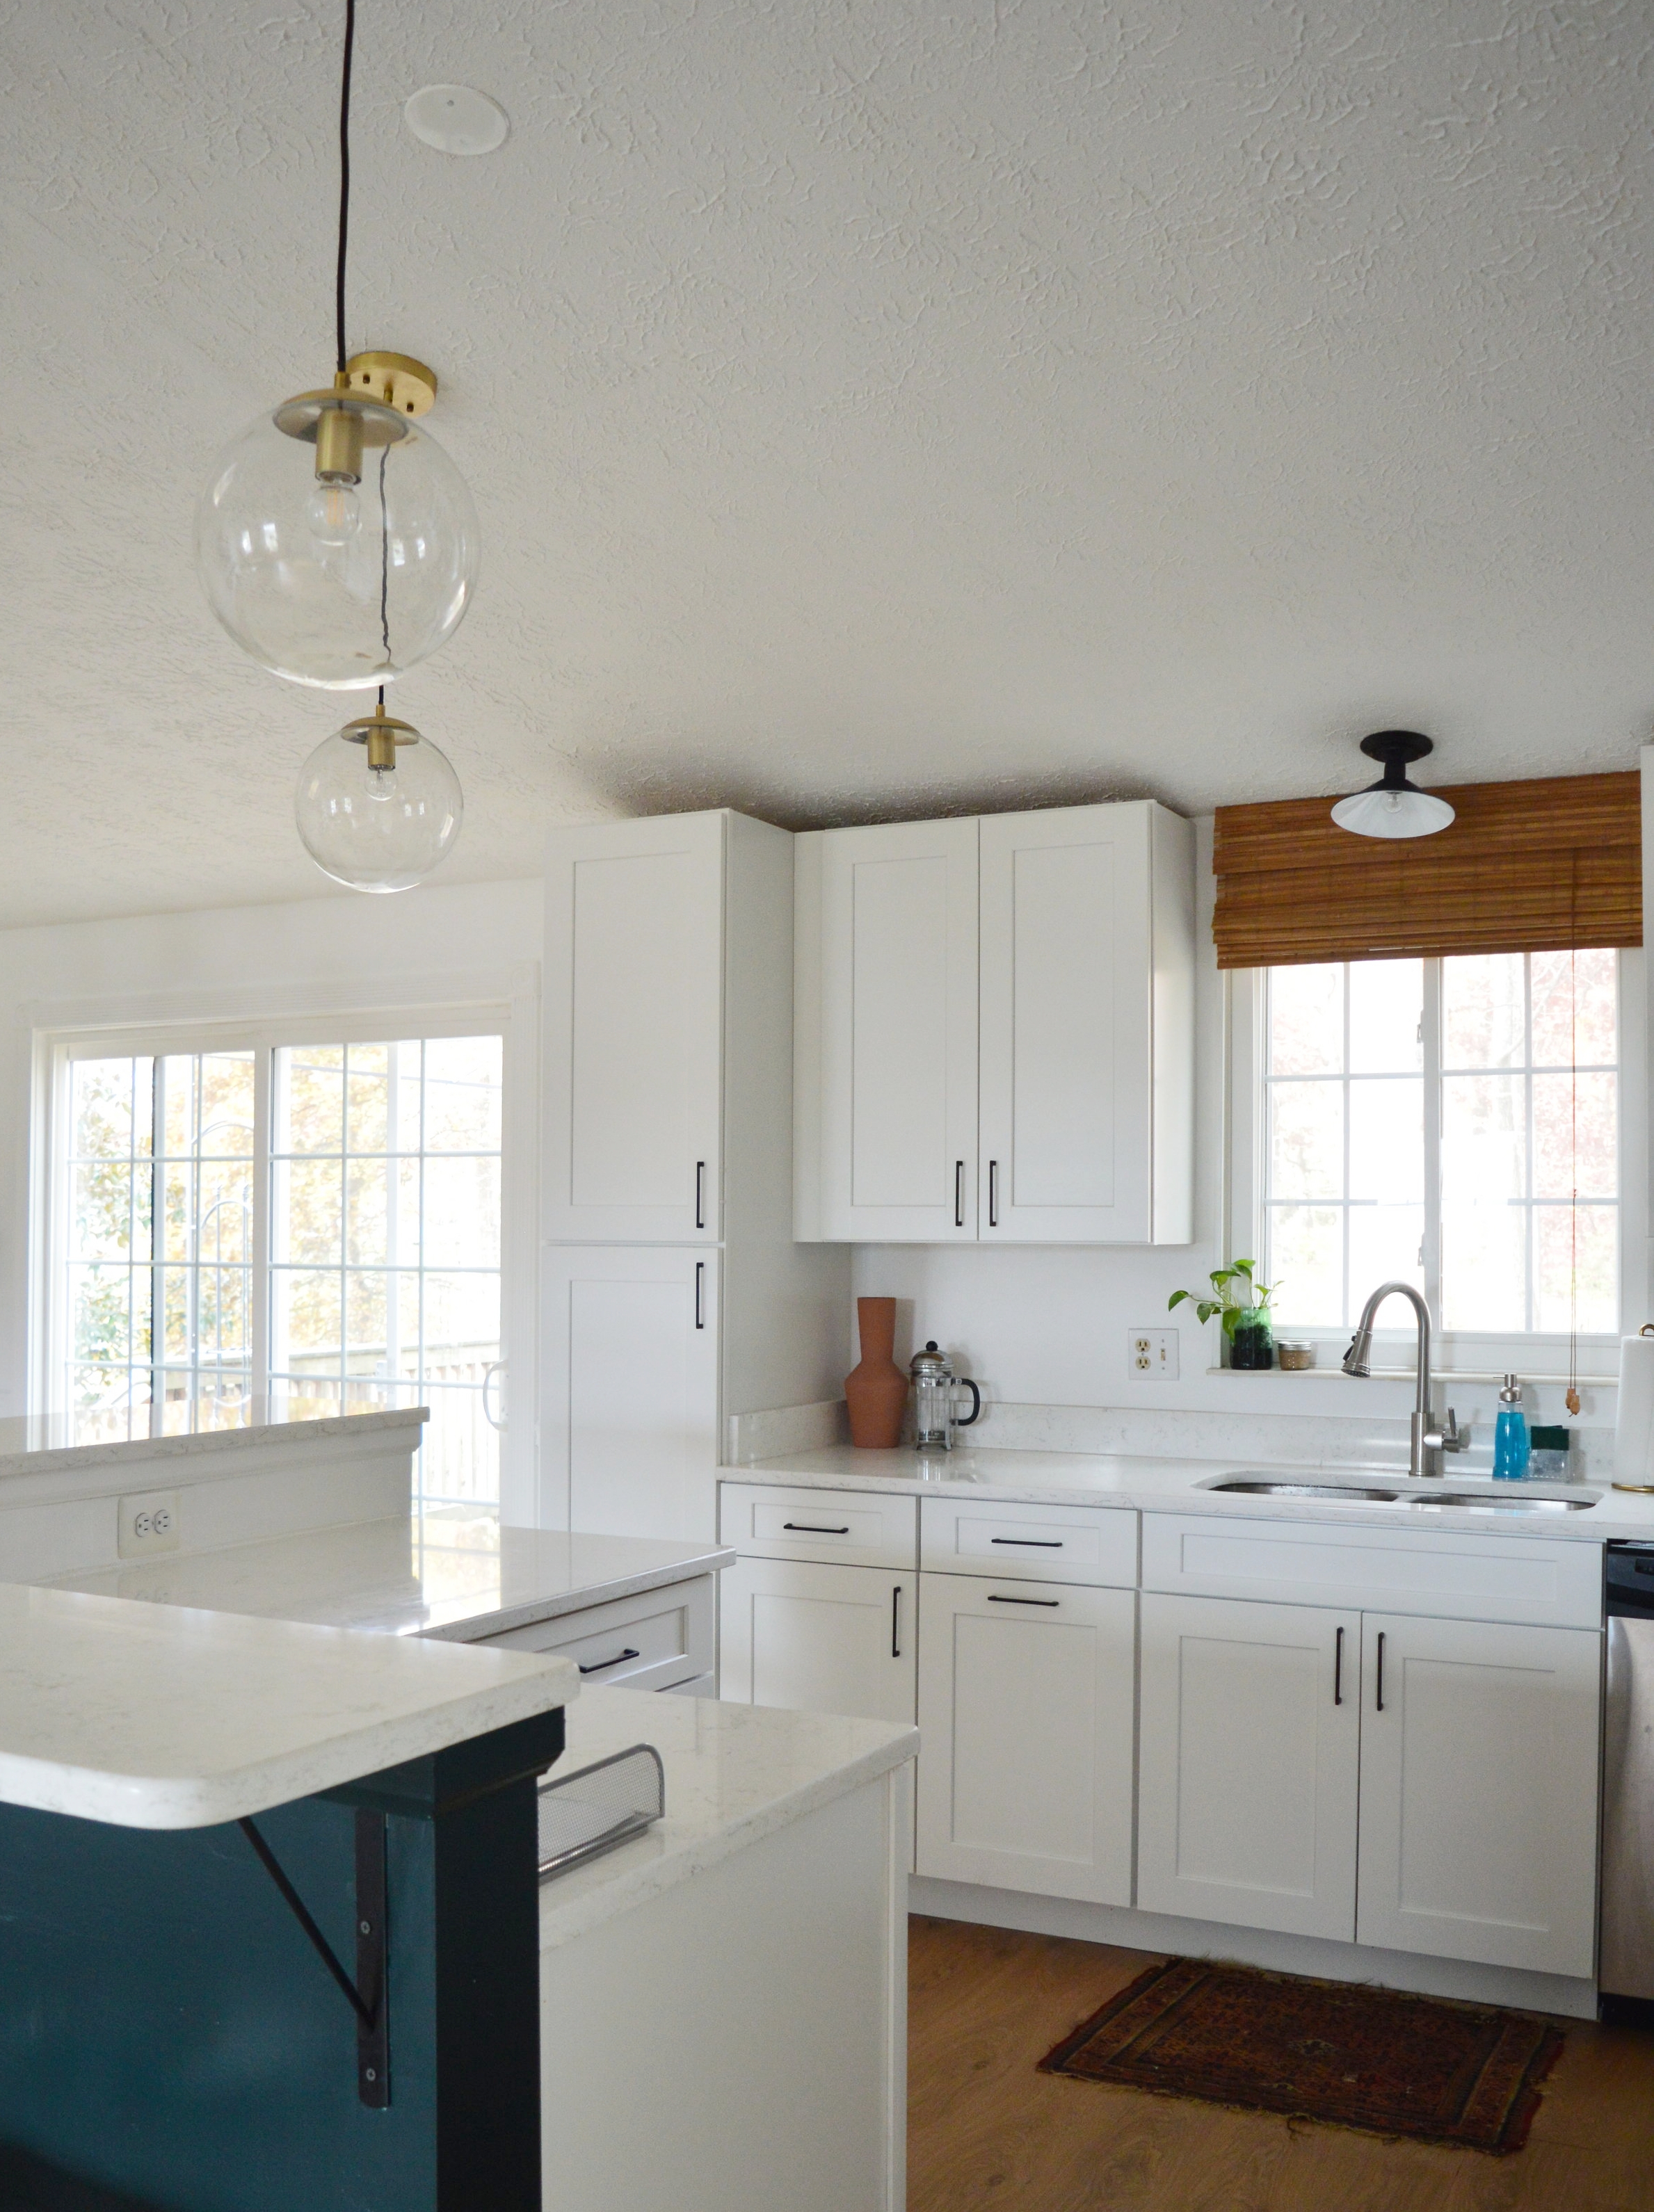
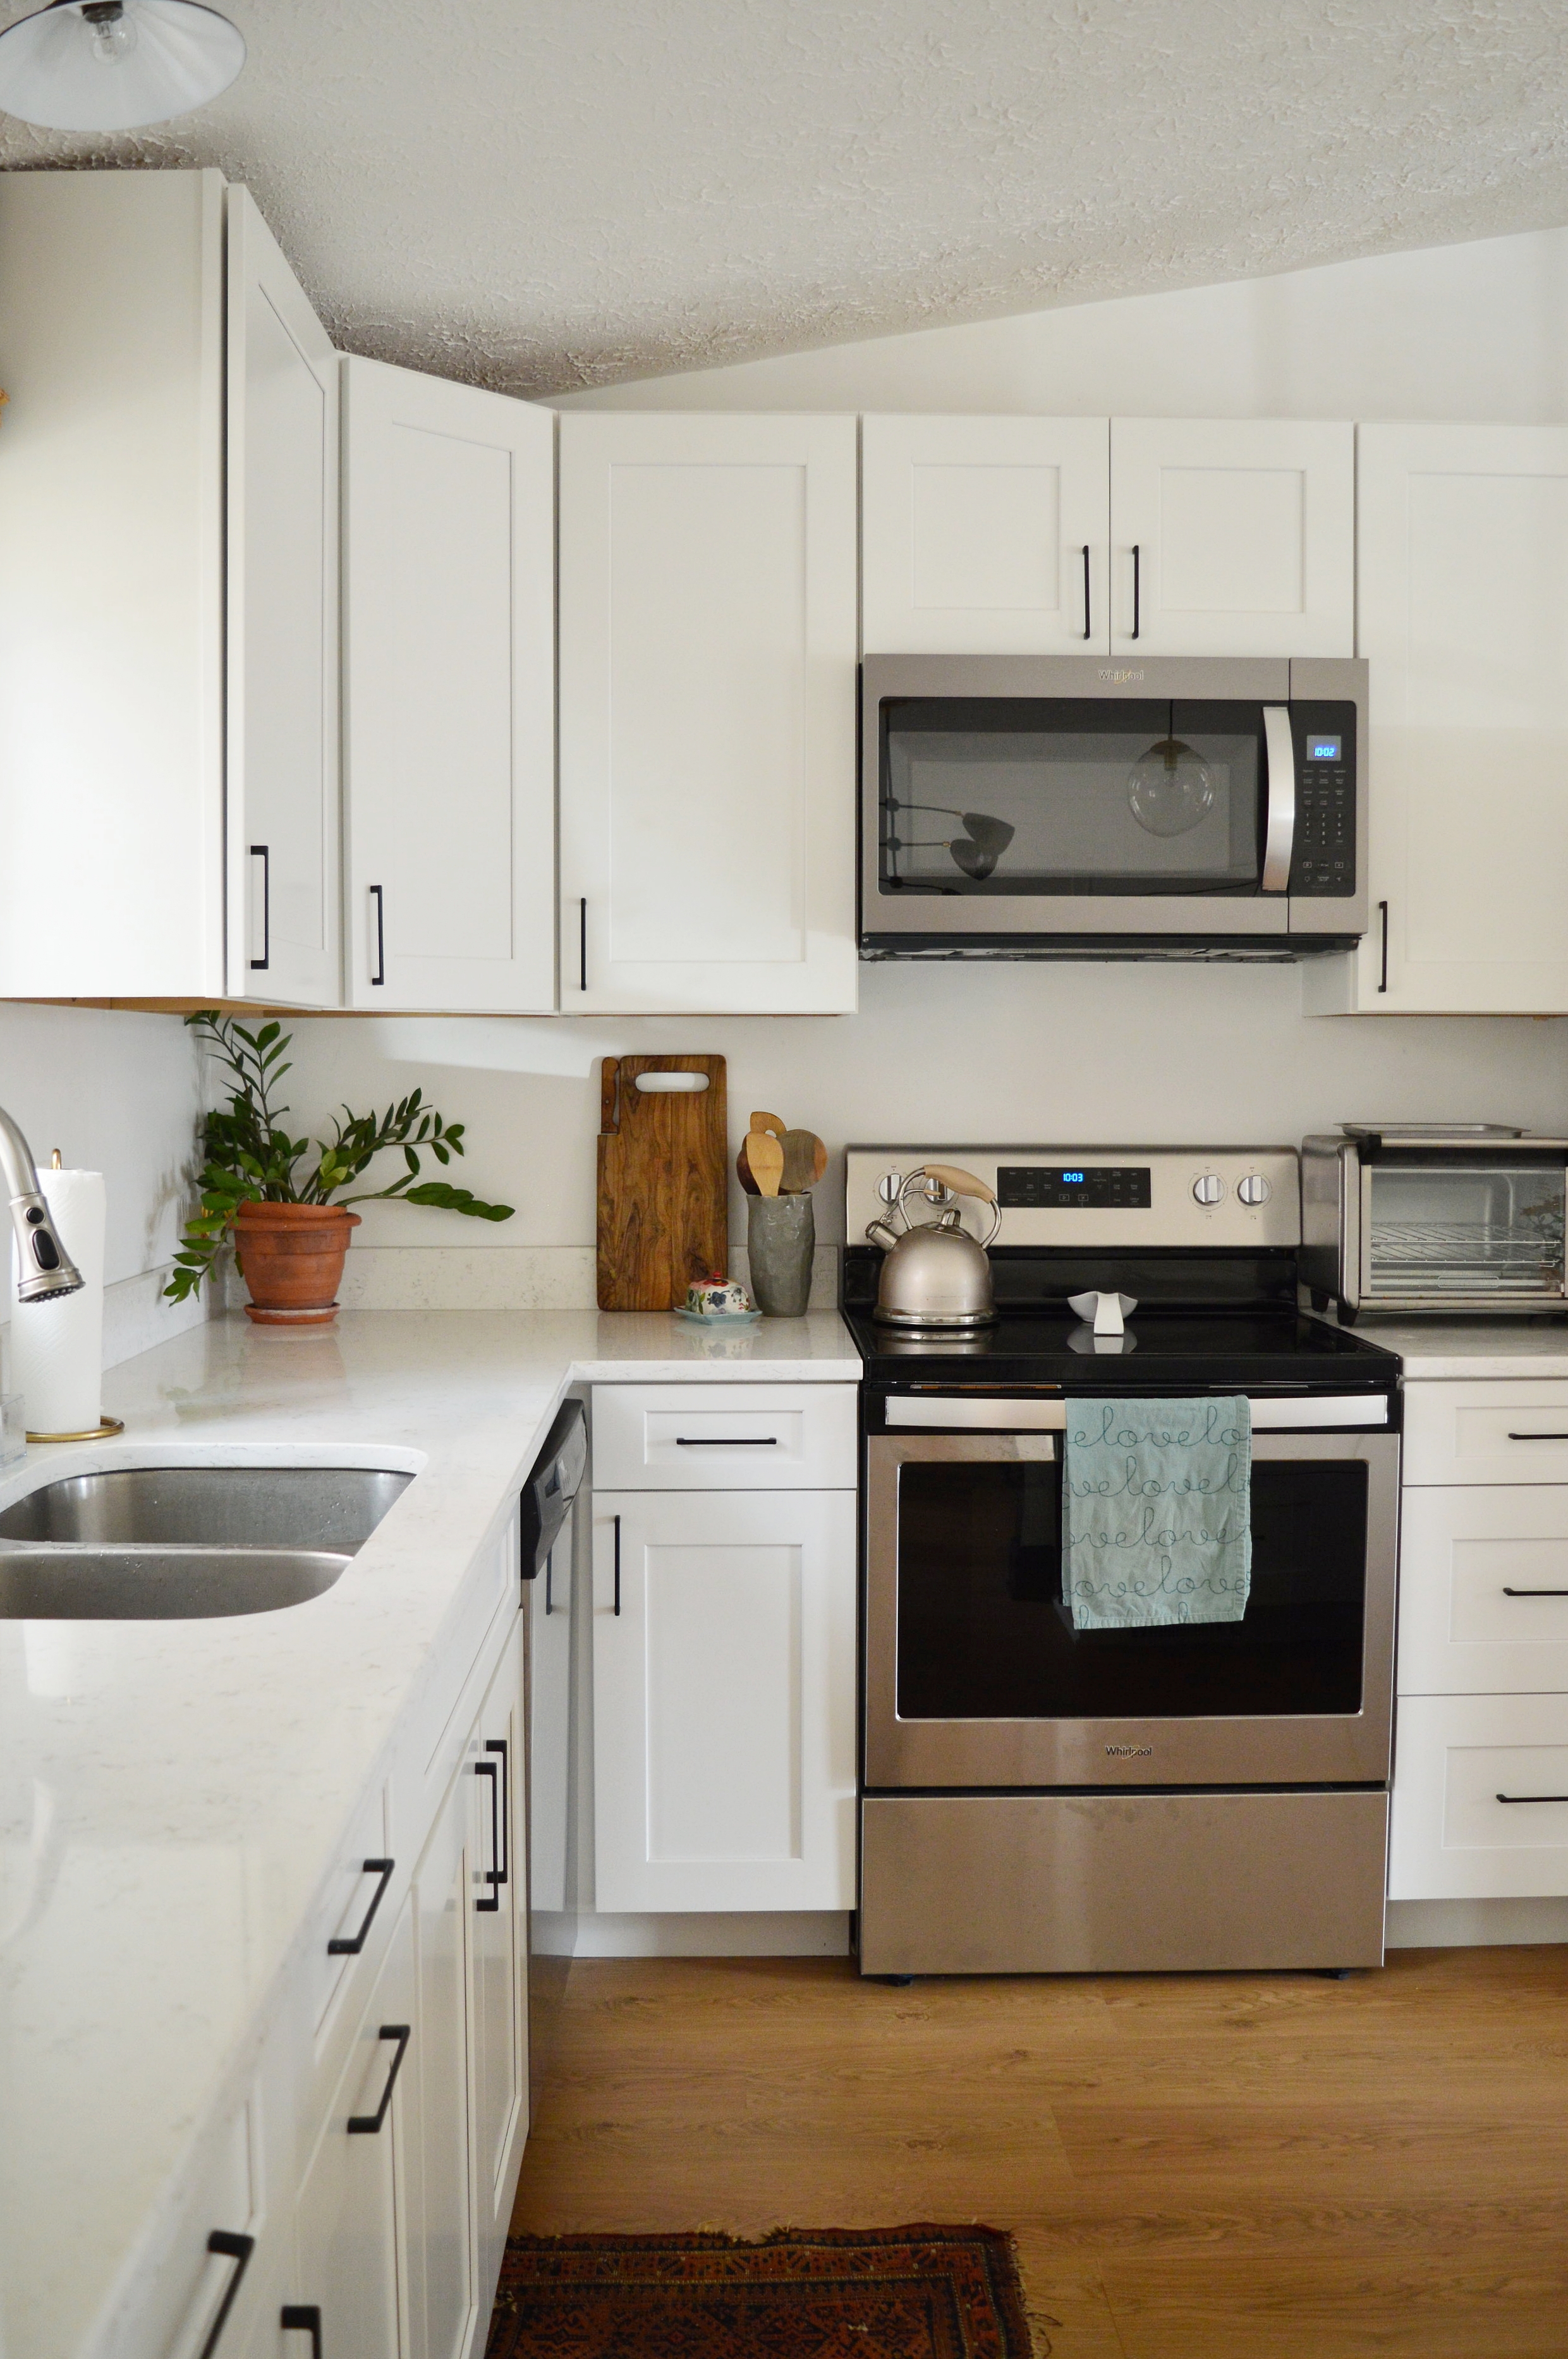
We went with Allen + Roth shaker style cabinets from Lowes, and Q Quartz counters from Granite Center, a local counter warehouse in Sterling, VA that we would highly recommend to any locals in the market!

DSC_0541.JPG

With so much white going on I was particualrly excited for some dramatic contrast! After scouring the great world wide web for the sleekest black pulls I could find within budget, I landed on these pretties I found on Etsy, (they came all the way from Bulgaria)! There are various sizes to choose from and we went with the 5 5/8. For this particular kitchen I wanted to use one consistent pull for every cabinet and drawer, and this size was the most versatile across the board.

DSC_0547.JPG

The island color is Salamander by Benjamin Moore, and is amaaaaaaazing in person! I wanted a dark teal color and this was the perfect green-blue that I was imagining! Although our kitchen remodel is ‘safe’ and basic white, I always think an island is a great opportunity to add a big ol’ ‘POW’ for just the cost of paint. And I love the color with these rust and marigold mums that some dear friends gifted us.

DSC_0539.JPG

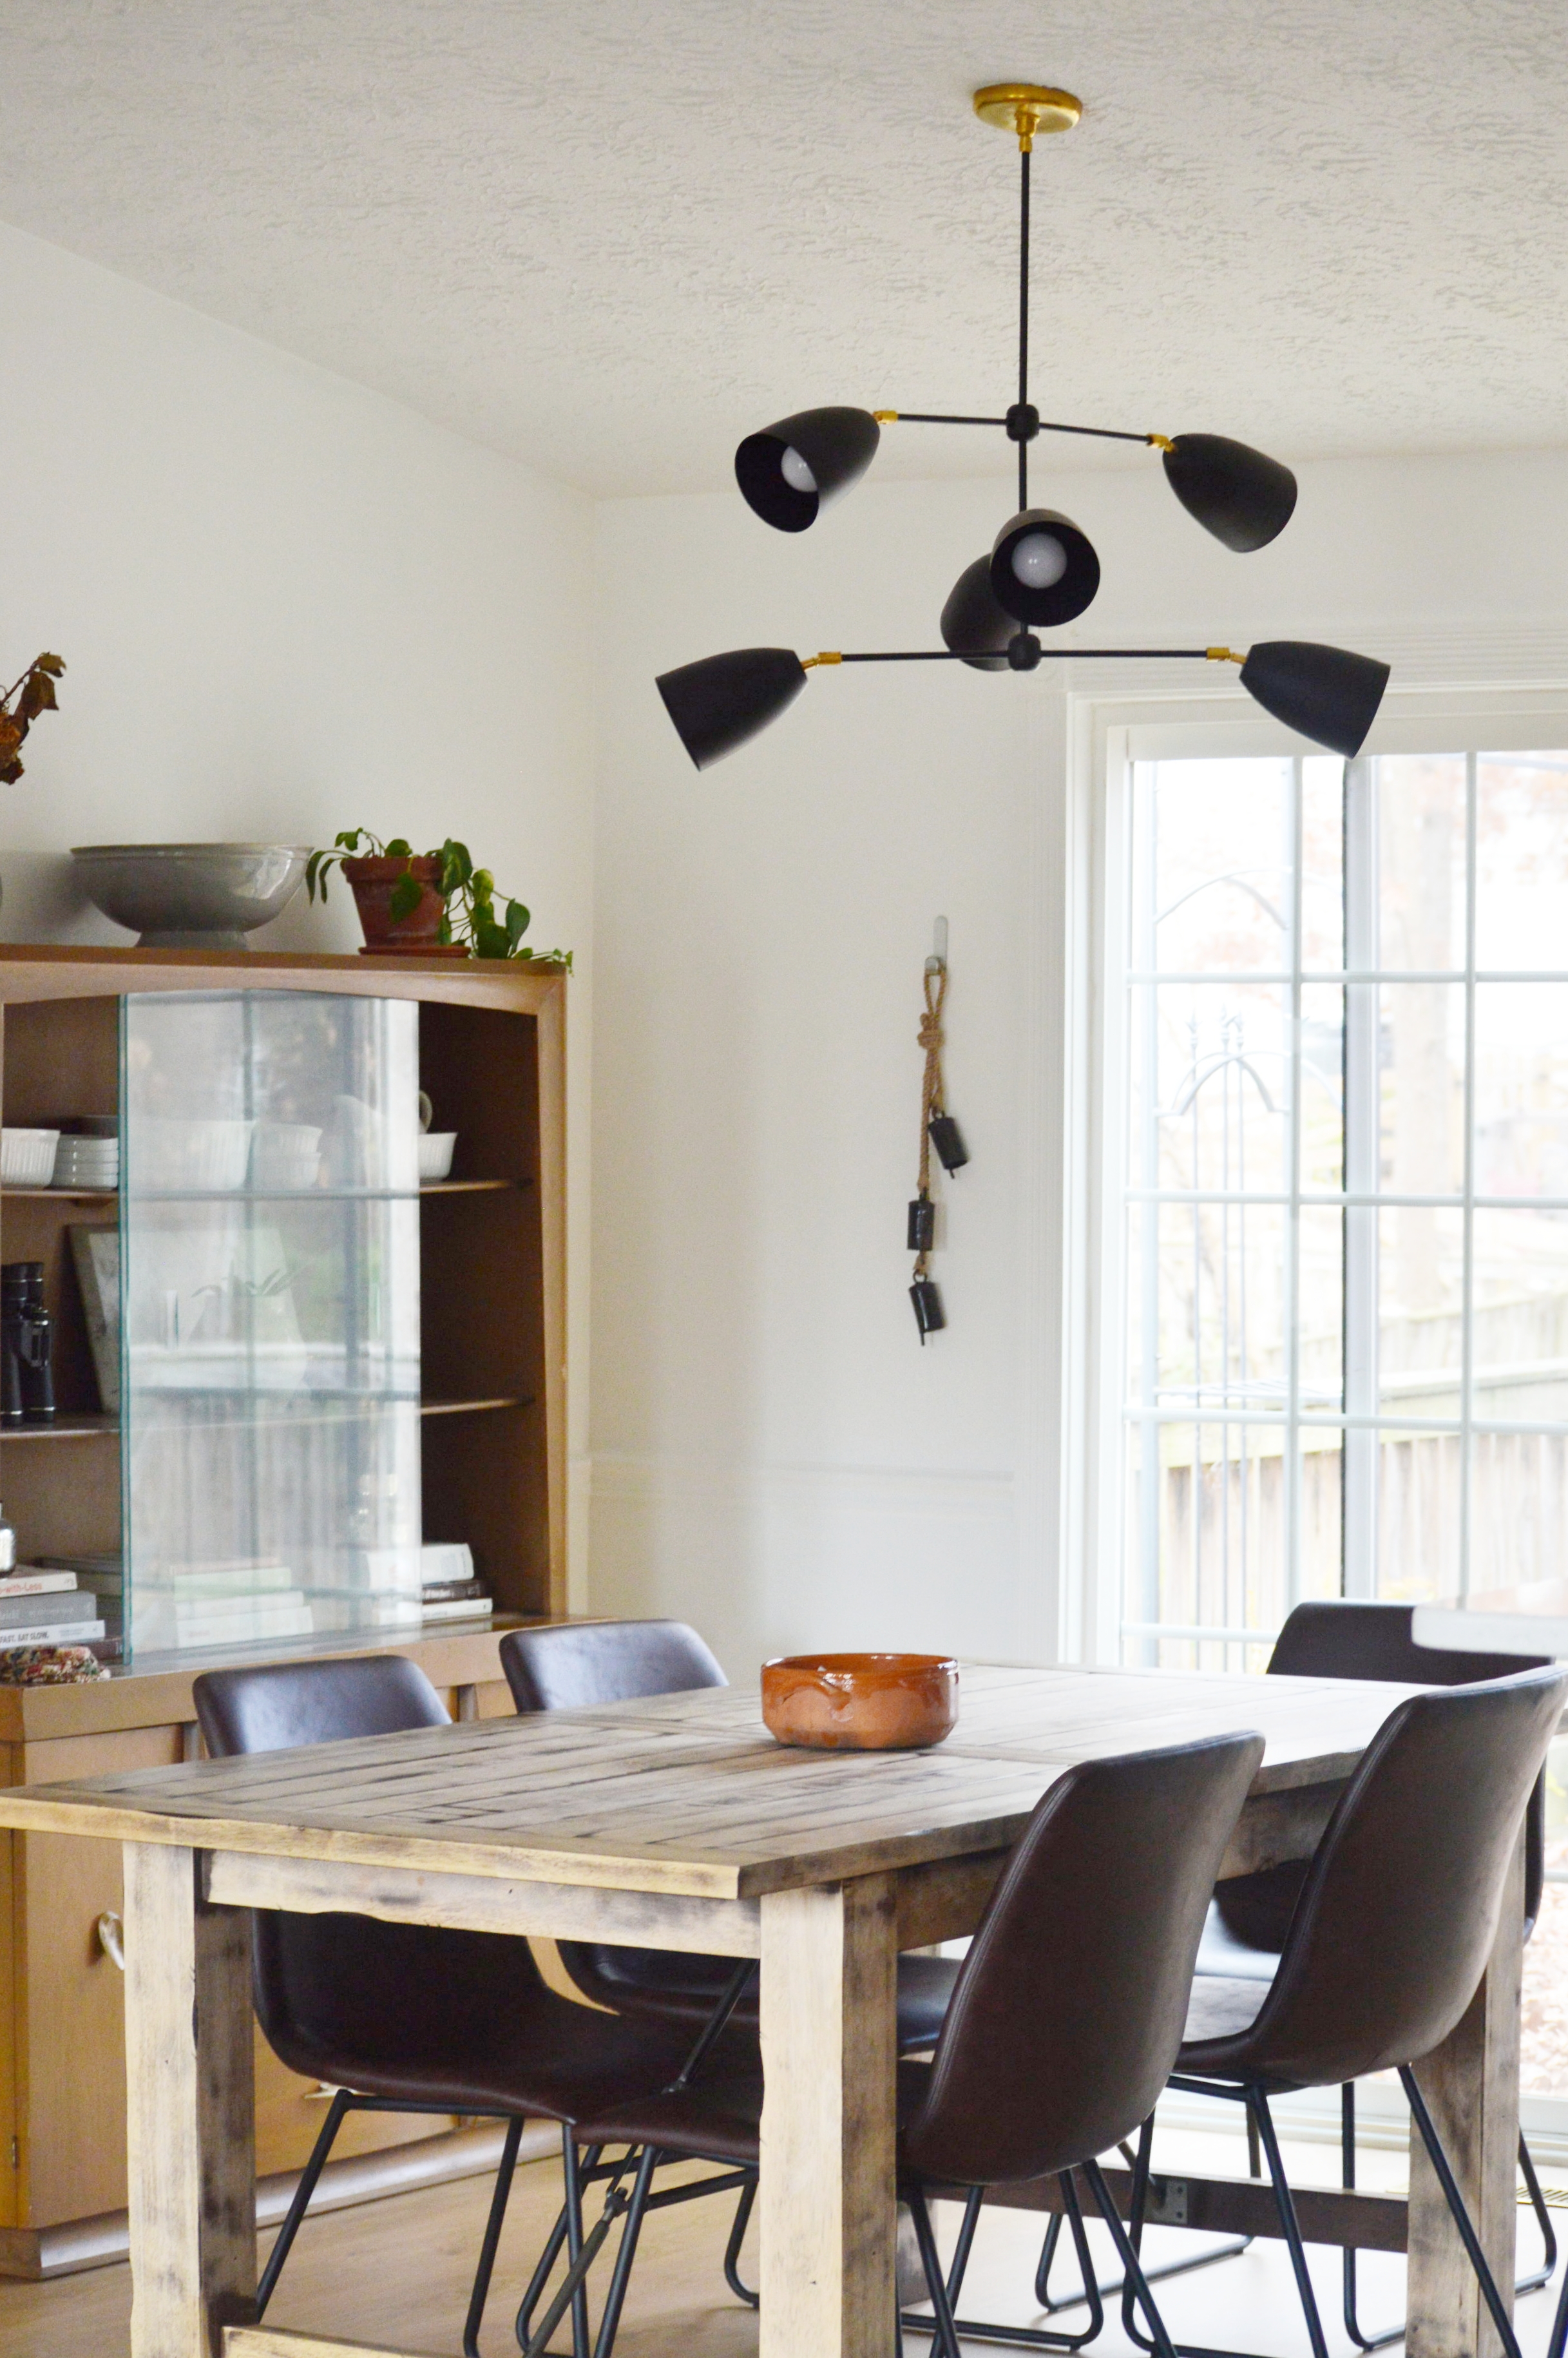
Lighting was hard for me when designing this space! We were pulling a lot of track lighting out, but trying to fit new lighting in, and all in a shared open space! I wanted the kitchen sink light, island pendants, and dining table fixture to all be different but flow well together. For me that was a challenge! I was constantly comparing sizes and scale and photoshopping lights together so I could see them side by side.

DSC_0549.JPG

After sending out an SOS on Instagram for some lighting source suggestions, I was introduced to Sazerac Stitches! I absolutely loved their style - it was EXACTLY what I was looking for! This is the Drew 6-Light fixture and it’s the perfect blend between industrial and modern that I was looking for.

DSC_0573.JPG

The island pendants are from Poly + Bark, and the stools are AllModern.

DSC_0563.JPG

Designing a kitchen was an absolutely amazing experience, but I am SO grateful my first time could be on our own home! Throughout the process I just kept saying, “You don’t know what you don’t know.” I asked a ton of questions and really stuck around during the process so I could understand it all. One thing I am beyond grateful for is that our contractor is a trusted neighbor and friend. He talked through every little decision with me and when I asked for his honest opinion he gave it. I honestly learned so much from him as he was willing to teach me as he worked.

The image below is my first attempt at a 3D kitchen rendering. DON’T zoom in, I beg of you. LOL! It’s laughable, but it really helped me visualize the main pieces in the space.

39957.jpg.png
DSC_0550.JPG

While you’re here why don’t we take a gander at the living room! That is, afterall, one of the main reasons we took down that ‘L’ shaped wall to open things up in the first place! So much life happens in this space and now we can share in it from the kitchen, too. Don’t get too cozy with this set-up. Christmas is just up ahead so things will be shifting here and there to make room for a tree soon!

DSC_0554.JPG
DSC_0564.JPG

Nothing much changed in here from our pre-reno layout, but we did incorporated a new rug that pulls from the color of the island! It’s so fun and vibrant and happy - a perfect backdrop for this space. A huge thank you to Loloi rugs for working with us! This piece is from their Loren Collection.

DSC_0569.JPG

It still feels surreal that this is our home - that we get to live here! We just absolutely love it. There are still small things to wrap up and touch up but for now we are excited to lay down the brushes and nails and just hang out and rest together. Our hearts are spilling over with gratitude for all that we have - each other, our family, friends that are like family, this home…it’s all so much more than we deserve or could have ever hoped for.

We wish you the very happiest Thanksgiving tomorrow! You friends are on my list of things I am incredibly grateful for. Thank you for making StyleMutt Home such a fun place to share this work.

Chelesa.jpg

eDesign Reveal: A Fresh Start & Our Biggest Reveal Yet

Hello, sweet friends! This is a special reveal and one that’s been close to my heart for quite some time. Last April during my kids’ Spring Break I read through Chip Gaines’ book, Capital Gaines. It’s an all-around motivating, get-it-done read, but the thing that stuck with me the most was the encouragement to bet on yourself. And it got me thinking that one person betting on their own selves can’t possibly have the same power as people betting on one another. I started mulling over the idea of looking for a design job to do for peanuts for someone in need. I wanted to give someone that oomph to keep on keeping on, even if just through the simple act of improving the way they feel at home. One month later in May, we were contacted by an amazing woman who was at a point of reinvesting in her life. Gods timing astounds me.

I think most all of us can attest that life doesn’t always, (or usually!), go as expected, and this woman had just been pitched a curve ball. With two young children in toe she was starting fresh with a new home, an old sofa, and a very happy fiddle leaf fig tree. The thing that just overwhelmed me with emotion while speaking with her was the fact that she wanted to make the most of this next chapter. It was apparent that there hadn’t been joy in her home for quite some time, and that’s what she wanted to bring back. ‘Happy’ was a frequent word that came up when discussing the vision and design of her home.

So with a strict $5,000 budget, I waved more than half of my design fee and cracked down on tackling her Family Room, Dining Room, Kitchen and Living Room. And this reveal may be one of our happiest yet! :)

DSC_0406.JPG

BEFORE

b4.jpg
DSC_0397.JPG

The first order of business was rotating that sofa and pushing it against the wall! This family room space is shared with the children in a big way, and the original placement of the sectional floating in the middle of the floor just made it too chopped up and separated. Also, PSA: With $40 and an 8 minute YouTube video, you, too, can update your overhead lighting.

b3.jpg
DSC_0435.JPG
DSC_0400.JPG
DSC_0439.JPG
b1.jpg

So. Much. Beige. With an emphasis on creating an environment that feels happy, color was top priority. The catch, however, was that because this is a rental, the wall color and carpet could not be updated. And because the client requested to use her sofa, (a smart move that allowed her to put her budget in SO MANY other places), that was another shade of beige to overcome.

DSC_0407.JPG
DSC_0409.JPG

Picking pillows and accent pieces for this space was an absolute blast. With a bland canvas to work with the sky really was the limit, so I had to uncover what palette spoke to my client best. She is extremely inspired and rejuvenated by the coast, but I didn’t want to do anything too literal. Creating a relaxing vibe with pops of vibrant color was the way to go. Blue is a favorite color of hers so I peppered it around subtly.

DSC_0415.JPG
DSC_0427.JPG
DSC_0434.JPG
b2.jpg

Ah, yes - the wall mounted Ikea IVAR cabinets. This is the third design since last Spring that we used wall mounted IKEA cabinets to create a custom, clean-lined storage option, (see here and here). You can always add hardware, legs, etc to these to blend them into your own space, but my favorite way to use them is to mount them over the floor 6-8” and give them a fresh coat of paint, (they come in wood). And at just $80 per set of cabinets, that means this massive custom media storage unit cost just $240 + cheap paint.

DSC_0402.JPG

There wasn’t much to do in the kitchen but change out the pendants and add some stools - leather for the win!

DSC_0446.JPG
b5.jpg

More beige! For the particular vision and feel this client wanted, I knew the dark matching dining set had to go. A new mix of pieces pieced together from various retailers creates a one-of-a-kind dining set for the family. The first item we decided on was that rug - even prettier in person if you can believe it!

DSC_0448.JPG
b8.jpg
DSC_0453.JPG
DSC_0454.JPG
DSC_0499.JPG
b7.jpg

This cheery space feels special to me - the colors echo the rest of the home but there’s something about it that makes it feel set apart. It’s grown up but fun, simple but interesting, stunning but functional, (the cabinet is packed with board games)! I have never ever used a sofa in that color before but my gut was pulling for it and I was excited to fill in around it with some contrasting tones - even moodier rich and earth colors!

DSC_0459.JPG

I think the vibrancy of the sofa just adds some sophisticated drama here when surrounded by earthier tones and textures.

DSC_0456.JPG
DSC_0465.JPG

Anchoring one whole side of the room by itself is one of my favorite go-tos; an oversized black framed mirror. Not right for every home, but right for this one in this place. It’s a beast in person, and emphasizes the drama of this room.

DSC_0476.JPG
DSC_0484.JPG
DSC_0482.JPG

Well that’s a wrap! The first thing this sweet client told me when I sent her a sample of these photos was that she can’t believe this is her home and can’t wait to start on her bedroom together in the new year. I can’t wait, either!!!

You all have a wonderful Thanksgiving! It’s a treat every time I have an opportunity to jump on here and share something with you. You make this landing place so much fun and it brings me joy to get to bring finished projects here to show you. So thank you for taking the time out of your day to stop by - it really touches our hearts!

Chelesa.jpg


Leather Headboard || 2018 Flip List Item No.1

We’ve got a month and some change left in the year and I still have projects left on the 2018 Furniture Flip Bucket List and have only coordinated one room tour since we moved into our new place last Spring. I’ll be the first to admit it, I’m running a bit behind on a lot of things in life, but hey - who isn’t?

Let’s do a little something about that today shall we? I’m fixin’ to kill two birds with one post: item No.1 from the flip list and a master bedroom reveal!

IMG_1939.JPG

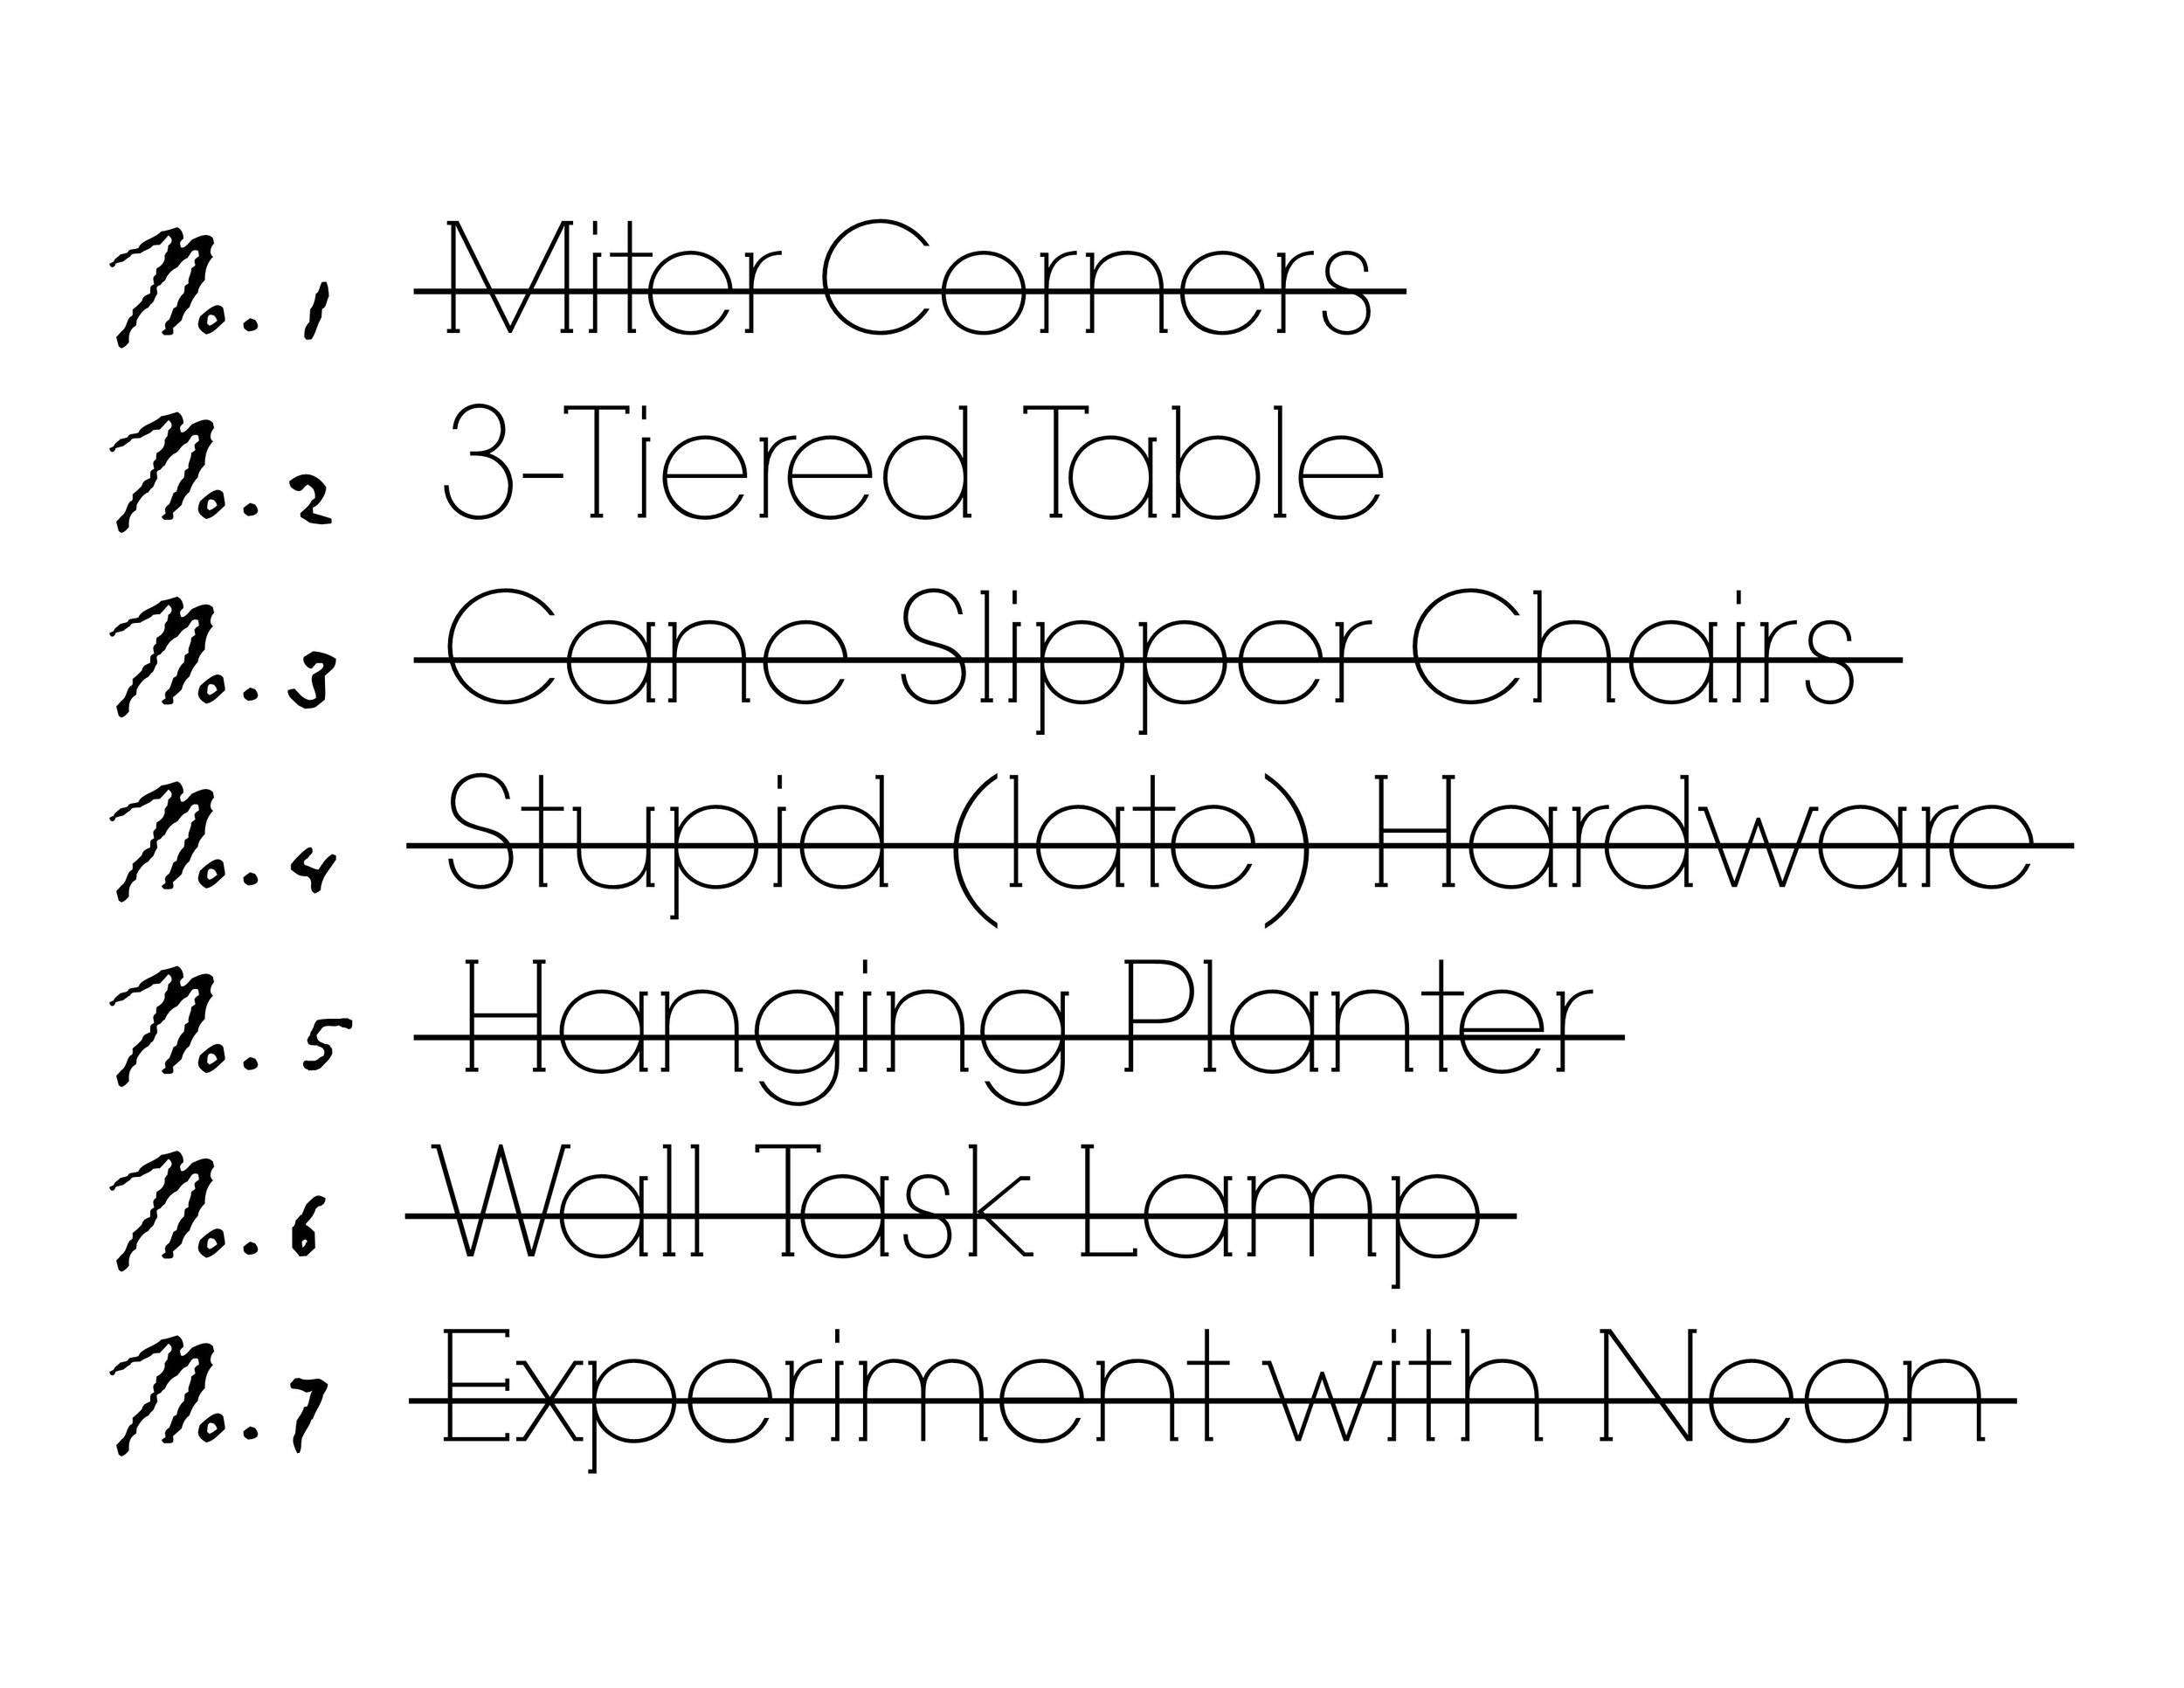
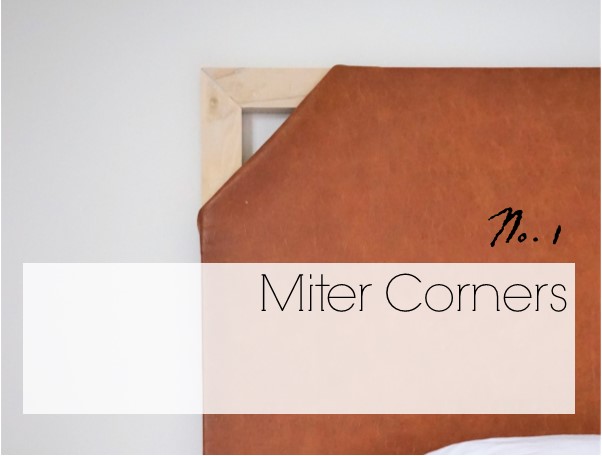
I often use my annual Flip LIst as a declaration on intent for the year. It’s a combination of fun projects I have my eye on and personal challenges I’d like to tackle. Item No.1: Miter Corners definitely falls into the challenge category. I kind of figured I’d try to hone this new skill on a picture frame or something small, but then ended up with the idea to try a headboard shortly after we moved in.

IMG_1936.JPG

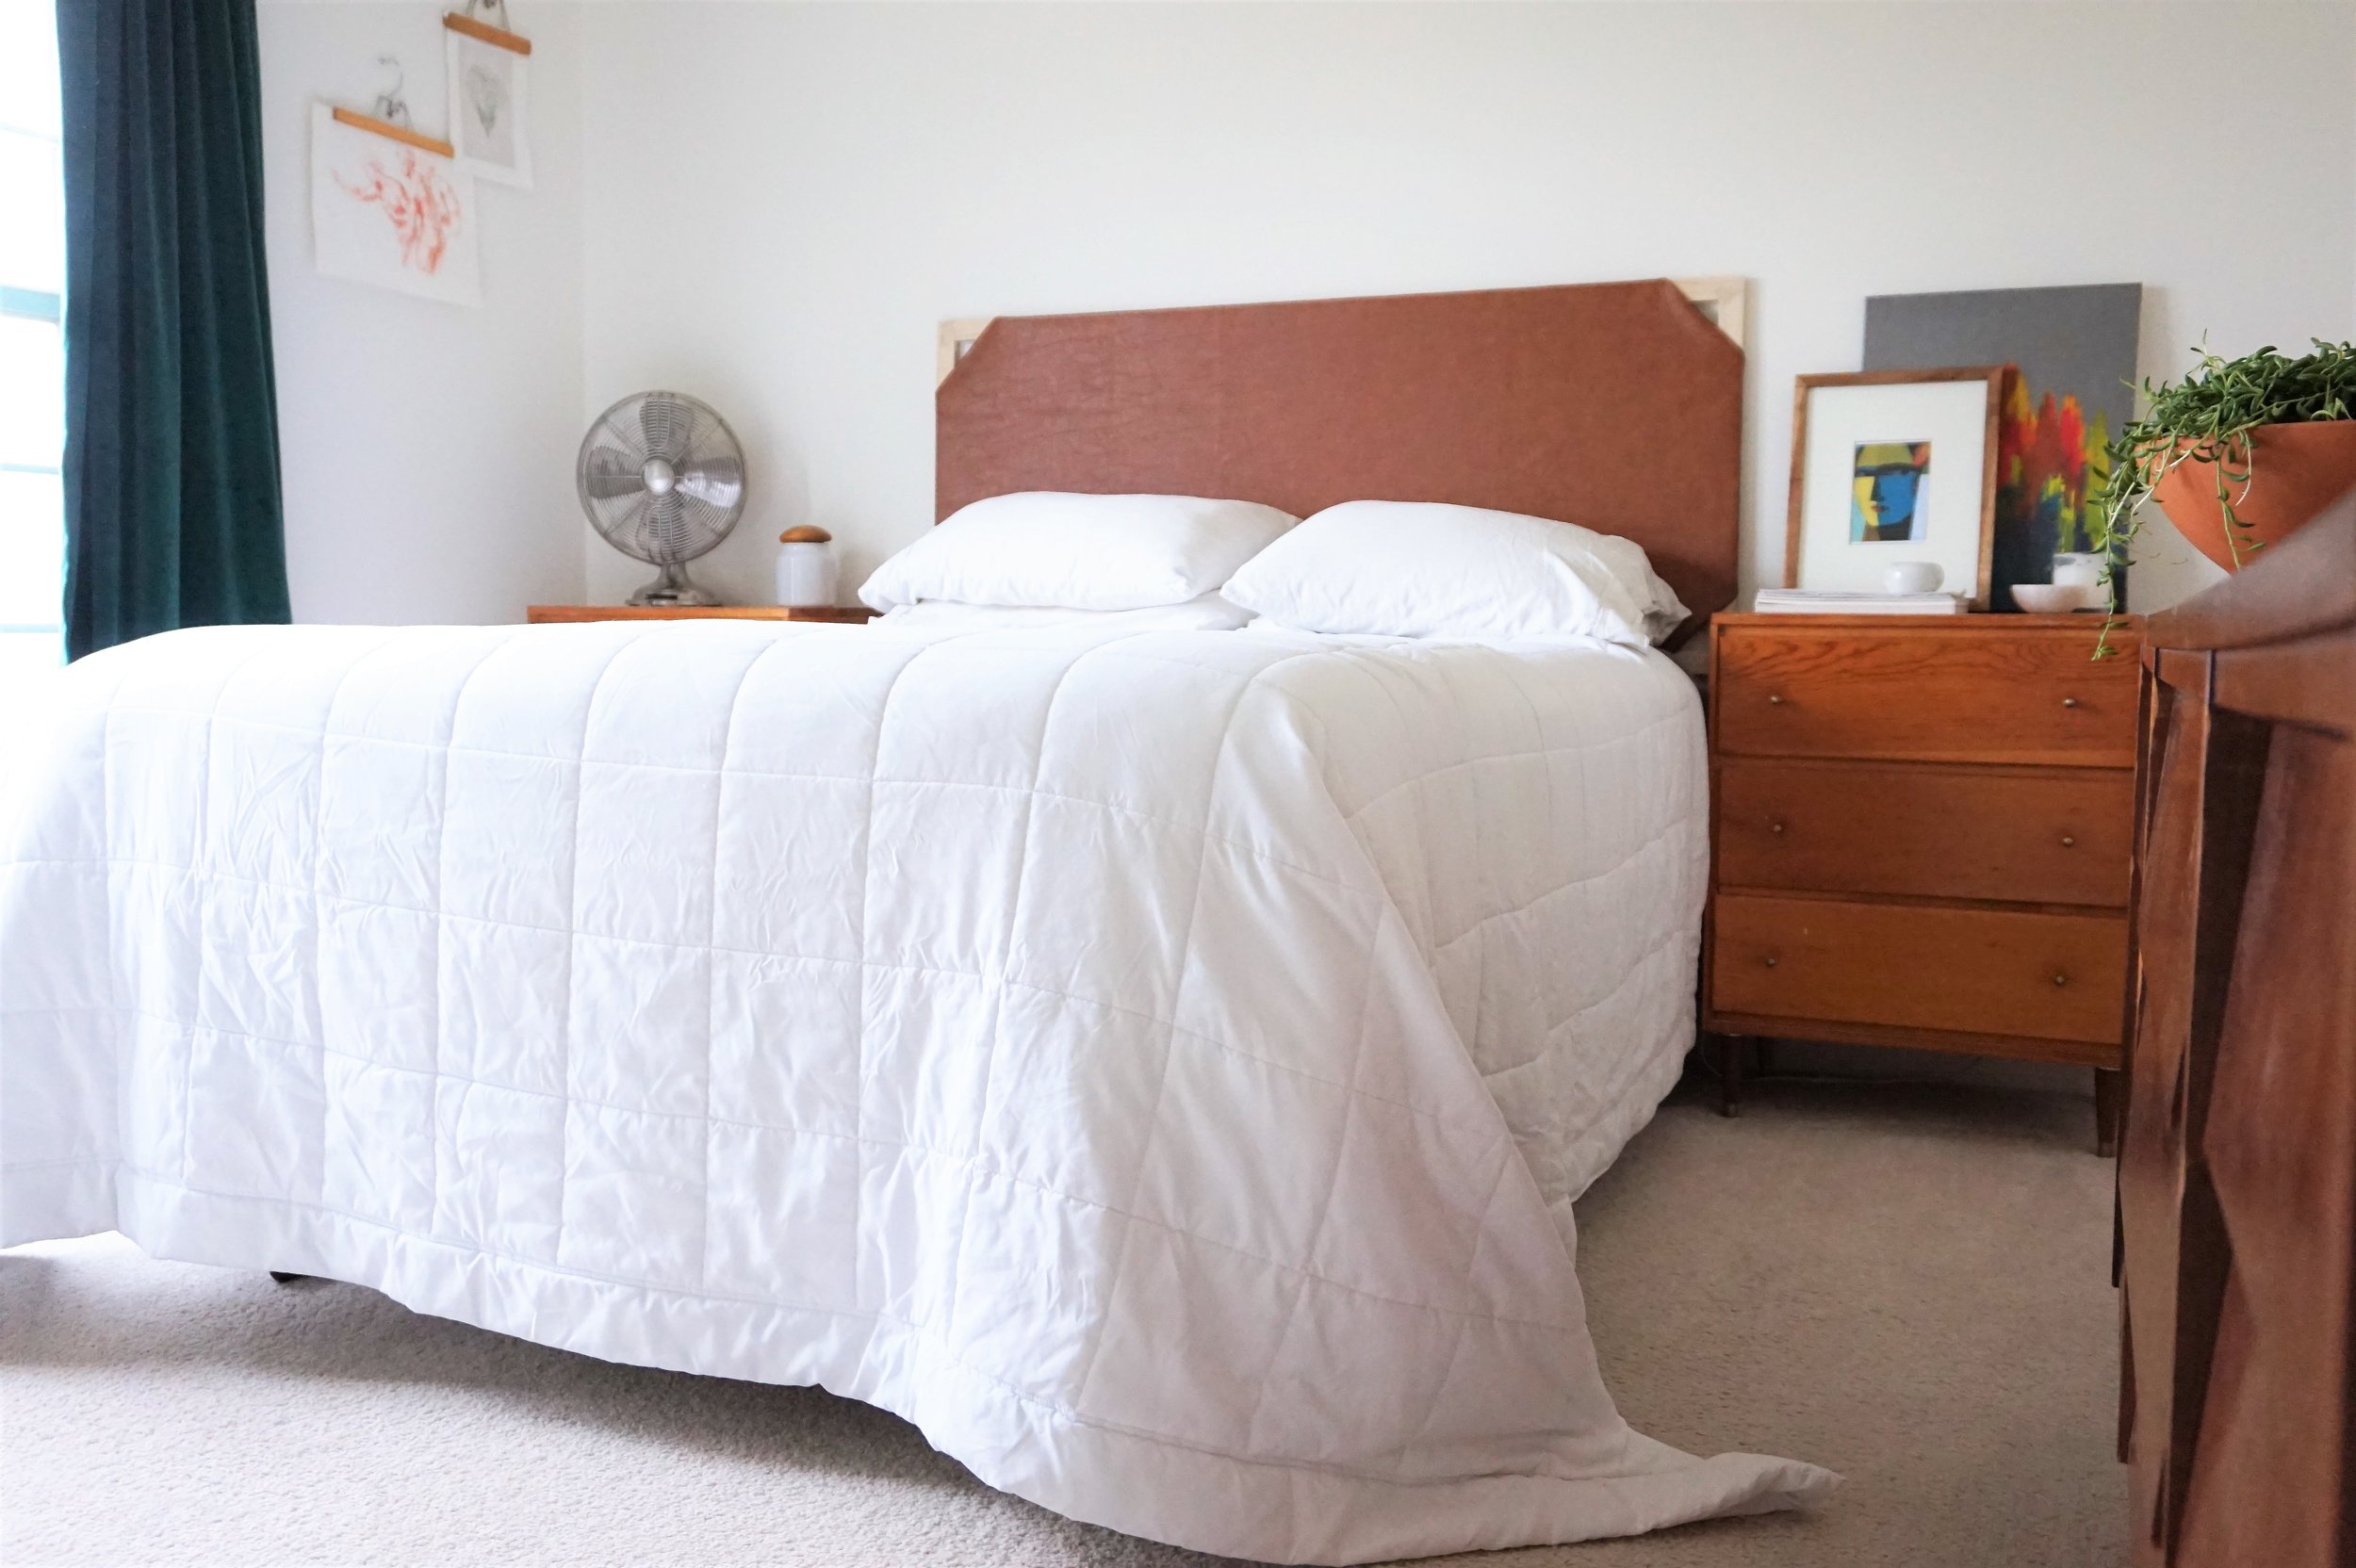
When we moved in, the bedroom was a baby blue. It just wasn’t our style so we promptly painted it a StyleMutt favorite: Swiss Coffee.

Bedroom Before, Blue 2.jpg

The white allows the warm tones in the wood and the leather to pop.

IMG_1938.JPG

The white walls also showcase the many green accents we have sprinkled around the room - the emerald velvet curtains, the pops in our artwork, and our little succulent garden.

IMG_1935.JPG
DSC04763.jpg

Hanging directly across from our bed where I can look at it every day is our Laura Gunn Still canvas print - a dreamy colorscape of all my favorite moody greens. Don’t mind Thor #theotherstylemutt, the bedroom is equally his domain.

IMG_1928.JPG

The bedroom has been finished for a few months now, but the DIYed headboard was the perfect special occasion to finally do a full room tour.

IMG_1937.JPG

This was my first time trying to miter “properly” - using the right tools and mostly the right methods.  And I have to say, I’m darn proud of myself! 

IMG_1933.JPG
IMG_1934.JPG

I mitered the top corners and used a simple butt joint for the bottom brace. Then I slung some of my favorite leather across the frame and stapled it in place on the backside. 

IMG_1930.JPG

They angles might not be perfect, but they’re pretty close for a first try. 

DSC04752.jpg

He could care less, but I love how the leather brings out the auburn in Thor’s coloring.

IMG_1927.JPG
DSC04785.jpg

Well on that note I guess I’ll let this little guy get his nap. That leaves only one last project on the Flip List - here’s hoping I won’t slack off for the rest of the year!

Cate.jpg

Six down, One to go. Catch up on the 2018 Furniture Flip Bucket List: