Industrial Bench

Remember these puppies er... ponies?

When I bought them, I thought I would make a massive desk supported by both sawhorses.  But their size length would make for a desk with a HUGE footprint (and quite possibly too large to appeal to potential buyers).  So I split up the set and used only one to make a narrower desk complete with a hutch and detachable lamp.

As for the other sawhorse, I was stumped.  Fortunately when I get myself into these kind of conundrums, I have a secret weapon: I call Chelsea in for a consult.

Now the LORD knew what He was doing pairing me up with such a creative and supporting business partner.  She took one look at them and said, "What if you make an industrial bench?"

Genius.

Chelsea lent me her hacksaw so I could cut down the legs of one of the sawhorses to the right height.  I combined both pieces of storied wood from each sawhorse into one bench surface and remounted it on the galvanized metal base.  

I just LOVE the saw and paint streaks - it makes me wonder what projects these sawhorsed saw(ed) in their day. 

See (saw) what I did there? 

Ijustcanthelpmyself.

So what magical rugged loft did I drag my new bench to for the perfect industrial backdrop?  Where else do I stage my pieces these days...

Now, if you're clever and observant (which I'm sure you are) you may be thinking to yourself, "Cate, when did your garage get a brick wall?  All of your other staged pieces have always had regular old drywall as the backdrop..."

Clever, clever you.

Take a closer look at the photo - did I fool you?  Or are you onto my little ruse?

It's not brick, it's wallpaper.

I'll admit, I was skeptical about using a 2D wallpaper to make a 3D effect.  I don't often go for faux unless it's really convincing - but I live in a new(ish) apartment complex that doesn't have old charm in spades.  Cue Milton & King Wallpaper.  (Remember this wall hanging giveaway using their Gluttony print?)  Well they were generous enough to also send me a roll their very popular Soft White Bricks.

And I was surprised to see just how believable the pattern was even in person!  The only way you would know it wasn't brick would be to run your hands along it expecting to feel a gnarled texture and instead finding it's baby smooth.  

Disclaimer - I do live in a rental so I couldn't bring myself to install wallpaper only to take it down in a few months when our lease is up.  I just tacked up the panels and used wood trim to hide the seams that would otherwise be invisible if the paper had been glued.  (Plus it adds a little architectural interest.)

And just because it's Fall (and I'm obSESSED with cooler, crisper weather), I used my favorite fall accessories for this shoot. 

Thank you Milton & King for opening my eyes up to the wonders of high-quality wallpaper prints!  One of these days I'm going to have to get my hands on your Marble and your Dandelions prints.  (Insert 17 heart-eye emojis)

It's only fitting that this industrial bench ended up in a cool DC apartment.  That's right!  If you've been following along with us you may recognize this bench from yesterday's eDesign reveal:  

May he forever grace our client's moody dark green hallway!

A Picture's Worth a Thousand... Bucks? ||Part 2||

Welcome back!  I am so happy that you returned to hear how my staging adventure turned out from yesterday's post...  Bet you couldn't sleep last night because you were wondering how my design conundrum was going to turn out.  But really, I hope you actually slept like a log.  Ok so quick recap.  

 Fell in love with this bench:


Source: Zen Home

Cried a little when I saw the price... decided to make one of my own:

Got excited to sell it at Sweet Clover Barn [You're Invited!]

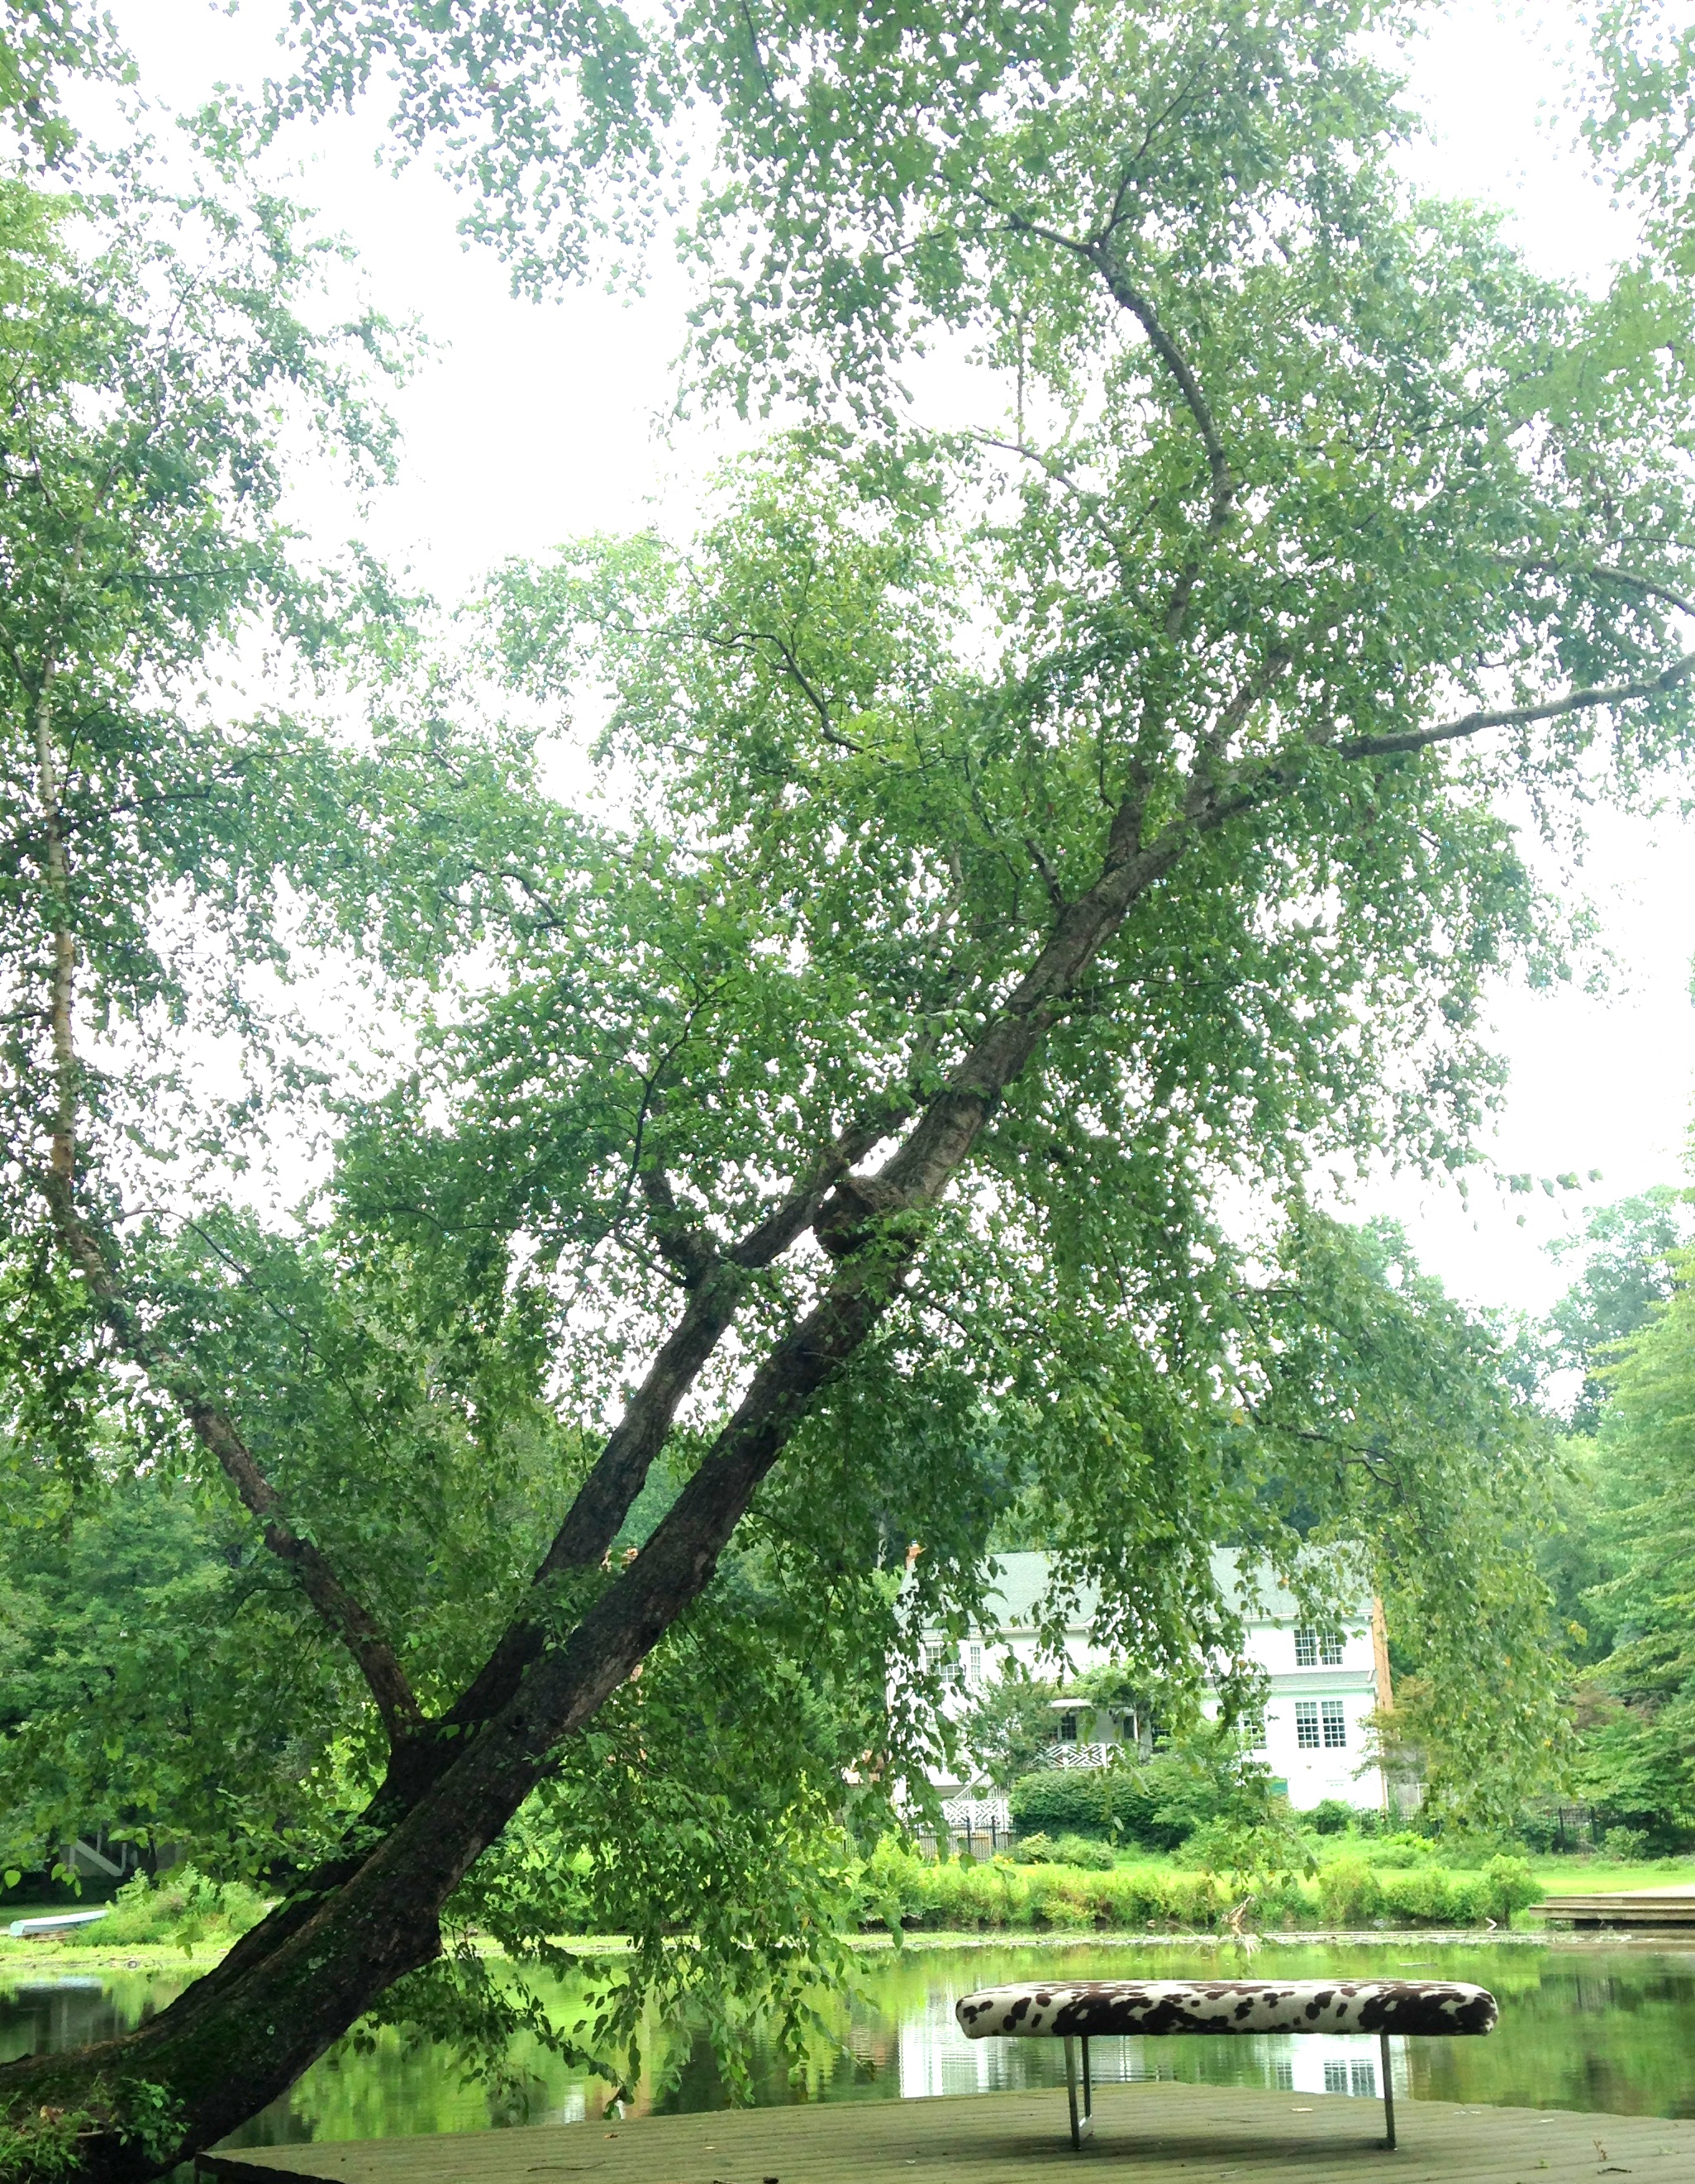
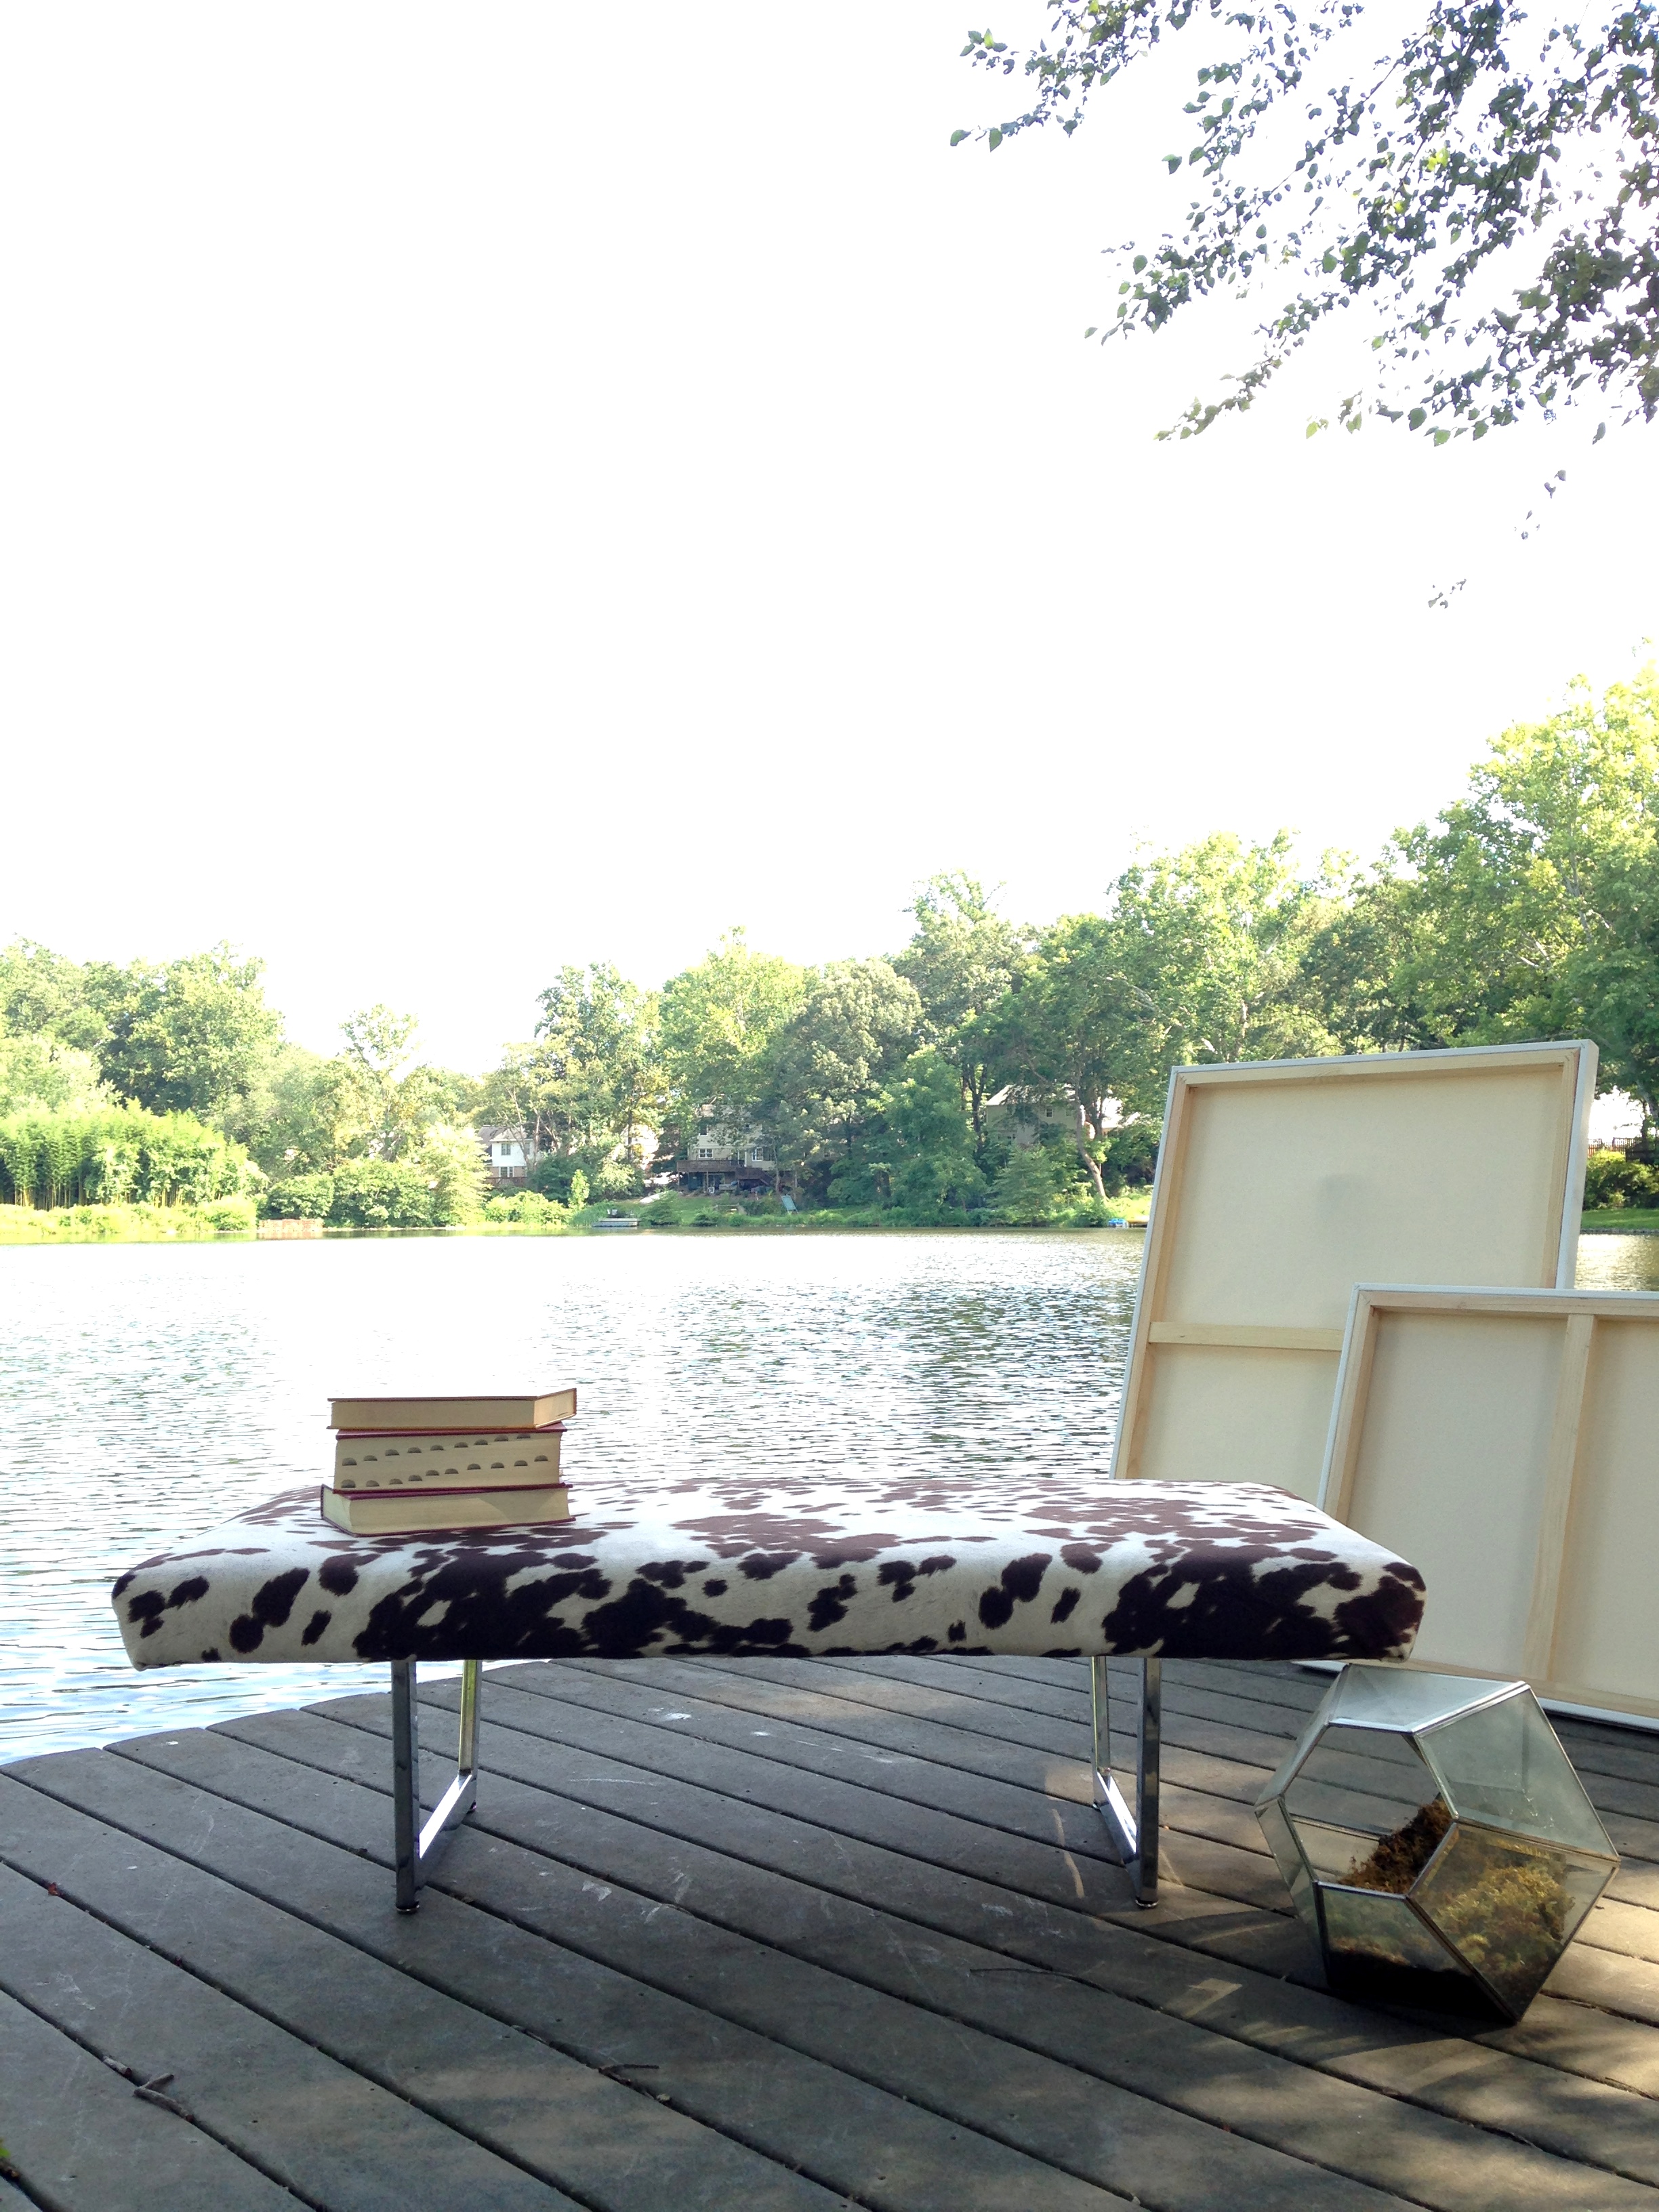
Tried staging outside:

Photos or editing weren't selling the bench... gave up on photoshoot al fresco.

Ok you caught up?  So in all that hullabaloo I'll admit I threw myself a pity party.  I was so frustrated that I didn't have any of my things to create a vignette for the mid-century/modern/rustic/eclectic customer!  But after reading all the great advice on Instagram and Facebook, I was resolved to creatively use some of my surrounding traditional décor to make a modern bench shine.  I did some digging around in the basement that Caleb and I are squatting in and found a quirky lamp table that could pass as mid-century.  It was like a light bulb went off [pun absolutely intended].  I grabbed some hardcover books, some shoes, and a hat, slapped some paint on one of my blank canvases, and got this:


BOOM!  This is exactly what I was going for!  That lamp table and easy DIY art piece completed the vignette I just couldn't get outside.


Even though the lighting in the basement isn't all that great and made the pictures a little grainy, the walls came off as more cream than butter yellow [how does paint do that?!?] which I count as a win!


The modern chrome makes for a beautiful contrast against the rustic Guernsey print don't you think?  [Guernsey meaning a brown-and-white-spotted cow.]  And the quirky lamp table and art help sell the eclectic story of a fun entryway bench or upholstered table.


Thank you so much for all your support and encouragement while I tried to work through this one.   This was an incredible lesson in stretching my style mutt muscles and working with limiting factors.  If any of you are also living outside of your usual decor element or trying to take photos to help sell your pieces, I hope my struggle encourages you to not feel trapped by your circumstances.  Keep pushing until you are happy with what you see.  

This bench will be for sale at Sweet Clover Barn in Frederick, MD this weekend Aug 21-23 10am to 5pm!  If you are a savvy local mid-century/modern/rustic/eclectic shopper in the market for a bench that looks $1,000 bucks but won't cost you that much... then I hope to see you there!


DIY Tree Stump Tables - ||Full Tutorial||

You guys, Cate and I have been working on a little side project that we are so close to finally being able to reveal! It's our first full design job and we lucked out with the sweetest young client who just moved into an apartment in Washington D.C. Aside from her bed, a sofa and a chair, we are starting from scratch. We are at the point now where most of her large pieces are done and we're moving into the fun decorating stage! 

Our client is an eclectic gal who appreciates various design styles, (so up our alley), and when she mentioned a desire to include some rustic elements in her decor, our minds jumped right to tree stump end tables, (yes, Cate and I have this weird thing going on where we often think of the same thing at the same time. It's both cooky and awesome).

I took a few shots of one of the finished stump tables in my home to show you since we're banking suspense for a full reveal post of this secret apartment. ;)

This seemed like a quick and easy project, but once we got rolling there were a few more logistics to consider. Hopefully this information is helpful to anyone out there who wants to try this so it really is a quick and easy project for them!

The first consideration was which type of wood to use. Oak and Maple are both popular trees in our area, but with Oak being so heavy, we decided Maple would be a better option, (we're strong girls, but our client is in a second floor apartment with no elevator, so....). When we found a tree cutting service taking down some Maples in my neighborhood we hit the jackpot! They were willing to give us what wood we needed for free and even offered to cut the specific size we needed, which was 24", (although for some reason they cut us two 48" sizes, so in the end we had to cut them ourselves anyways).

The next task was bringing the stumps inside to dry out, (by inside, I mean a garage or some covered area that's not your house). This is important as it will make the next stage, (stripping the bark), a little easier, and also help get rid of any critters under the bark.

Here's what one of the stumps looked like before leveling off the surface and stripping the bark. We used a miter saw to shave off the top surface to get it more level, (thanks for taking that on, Matt).

After a week or so of drying out the sumps, it was time to remove the bark! Cool as the bark looked on the stump, we wanted to warm the stumps up a bit and remove the cool grey toned bark. Also, not to deter anyone, but there are things that live in bark, so removing it will ensure a bug-free stump table. ;) 

To remove the bark I used a spackle knife and hammer. I'd pry the spackle knife under the bark a bit, and then tap the hammer on the spackle knife handle to pull the bark up. Then I could just lift the bark off easy peasy.

Here is the difference between a bark and de-barked finish. Love the multi-toned warmer colors of the wood underneath the cool grey bark!

After all the bark is stripped and the top surface is sanded smooth, (I used a rough, 100 grit sandpaper followed by a fine 220 grit paper to get the top surface really smooth to the touch), it's time to seal! I sealed the entire stumps, top surface as well as up and down the sides, with Minwax Polyurethane Sealer.

And bodda-bing! You've got rustic end tables! 

We are so excited to share these tables in the context of the apartment we're working on! Soon, baby, soon. If you happen to try this project yourself, please promise you'll share with the rest of us! We love seeing and showing off your creativity and handiwork , (just post photos of your projects to our Facebook page). 

And don't feel confined to end tables - another idea for tree stumps is using them as stools - I used a chunk that we needed to cut off from the original 48" stumps to use as a little stool under our industrial shelves. It's the perfect height!

pipe shelves after1.jpg

Thank you so much for stopping by!