DIY Baby's Breath Wreath

Hi All! Who could use a little hopeful reminder that Spring will, indeed, arrive? If you just got dumped on over the weekend with another snow, it might feel like a distant reward. Decorating for Spring only helps remind us of the hope that it's coming, right?! So let's get on with it!

I came up with the idea for making a Baby's Breath wreath when considering how to balance the industrial presence of our pipe shelves with a softer, natural element, (there go my bohemian tendencies again). Baby's Breath is actually my favorite flower! Can we call it that? Any botanists in the house? Anyways, it's soft, whispy and wildly untamed look is perfect for covering a wreath frame!

Dreamy, isn't it?! And so easy to make. Here's what you'll need:

Supplies:
-12-16" wreath frame
-twine
-4 bouquets of Baby's Breath

To begin, separate sprigs of Baby's Breath from the whole stem:

Gather up 3-4 sprigs in a bunch, unravel a length of twine, and simply wrap the sprigs of Baby's Breath around the frame.

Continue on gathering up small bunches of sprigs and laying them over the previous bunch on the frame, going over top of the twine from the last bunch.

When you get all the way around, just tuck the ends of the last bunch underneath the first bunch, and tie your twine in a small knot in the back to hold everything secure.

I used the stems from the Baby's Breath to lay across the top shelf. I love how naturally structural they are! 

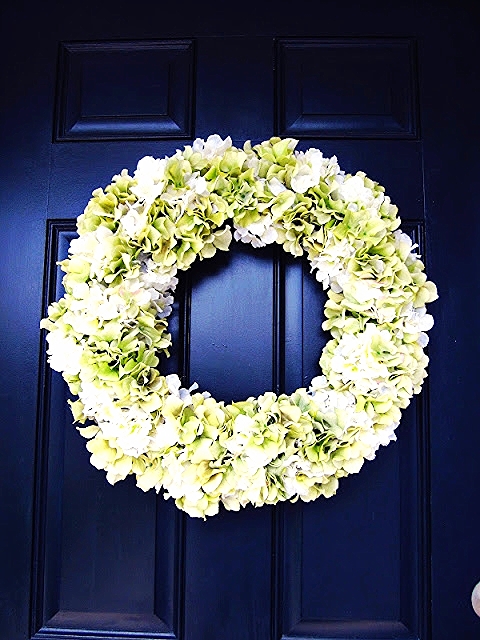
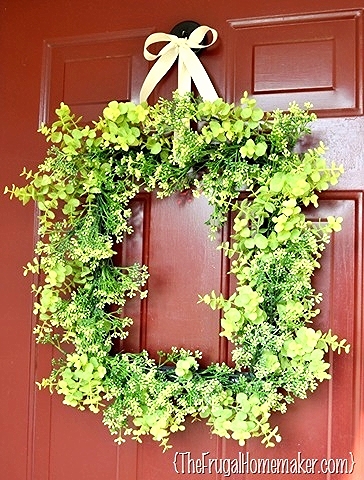
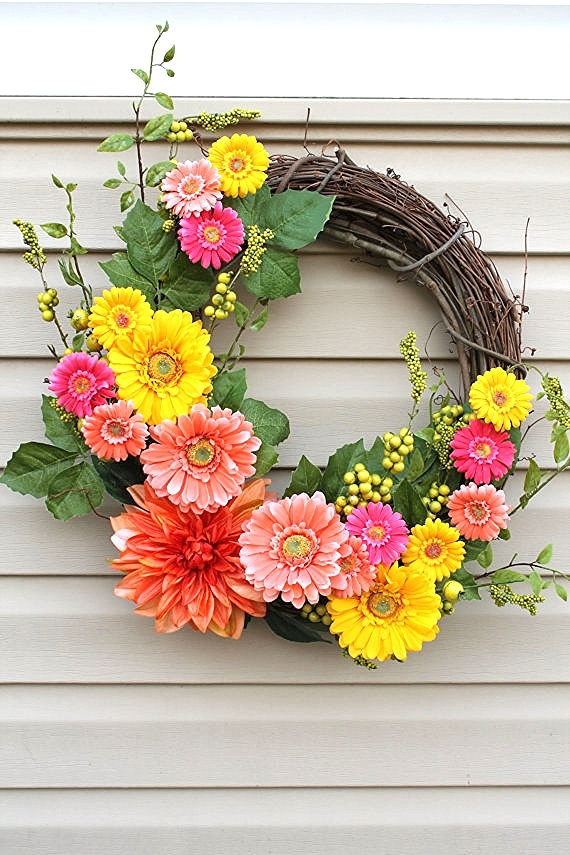
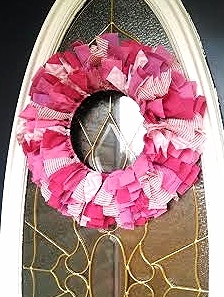
Mission accomplished! I've seen quite a few Spring wreaths starting to circulate on Pinterest and Instagram. Here are a few other ideas, (the bottom right is by my other Sis-in-law, Megan! The other three you can click through to the source).

Hang in there, flower buds, Spring's-a-comin'! Thank you so much for stopping by!

Spring-Fresh Pallette

Frankly, I have no idea if Punxsutawney Phil saw his shadow or not a few weeks ago on Groundhog Day, but we're gonna go ahead and make our way into Spring here in our chaotic abode. Sound like a plan?

Actually, I find the home decor transition from Fall/Winter into Spring/Summer to be challenging! I may be ready defrost my eyelashes, but truth be told, I prefer this: 

The mustard velvet, grey herringbone tweed, cozy knits -- it's my little slice of paradise. I love our Fall/Winter home. I love the time we spend here together doing puzzles, cuddling under blankets, and drinking hot chocolate. But alas, the seasons move forward and so must I. :)

I wanted to get an equally inviting mix in here for the upcoming seasons. With neutral furniture and plenty of white wall space, it's a really fun canvas to work with! I've been thinking for the past month about what colors I'd like to introduce in here for the Spring and Summer. The focus will be on the pillows, styling the bakers rack, and some art. Here's what I came up with and I'm so excited to implement this color palette!

A huge thank you to the Pinterest fairies for pulling through with this most perfect picture of my colors, (source here)!!! So here's what I'm playing with: Warm wood tones, camel browns, and snaps of mustard, mint and soft peachy pink.

To get a better sense of these colors in the context of my home, I put together this little vingette that really helped me visualize! 

The only taste of the type of pink I was thinking of was the covers of my old Little House on the Prairie books! But they're exactly the subtle glow I've been imagining.

So here's my plan to work these colors in without making a dent in our spending budget, (which, let's be honest, I like to save primarily for essentials like take-out Chinese and the latest RedBox movies; important stuff).

Pillows Part 1: I found this lively fabric at Fabric Junkie and snatched it up to use for a pillow or two. I don't know how to sew, (or have a machine), so I was so pumped when a friends young daughter told me she's been learning! She's in middle school, wants to be an interior designer, already sews pillows and clothes for herself, and is going to be the next big thing. You heard it here first, folks.


SPRING RUSH4.jpg

Pillows Part 2: I absolutely adore this camel colored leather and how it mixes in with our warm wood floor and some furniture pieces. I still have a bit of scrap leather leftover from the tote-turned-planter that I made last Summer, and am going to cut out some shapes similar to the pillows here to adhere to a plain white pillow. (source)


Art: I hate the thought of taking down all our current art and replacing it, but our chalk board sign that says 'Cheers', (first picture above), is the perfect piece to rework. The subtle hues of chalk are just the dose of color I'm trying to incorporate, so I did a little research and found this site that shows how to make some really fun chalk abstracts! I can't wait to try this out!

I think this small round-up of DIY projects will be just the amount of impact I can muster. Nothing too crazy or different from what we've got going on right now. What about you? Any new colors or textures that you're bringing into your home this Spring?

Last but not least, it was not 5 degrees yesterday and my little ones took a nice afternoon siesta - I certainly don't need any more reason than that to get out and paint! The large piece behind me, (think dresser / buffet / media center), will be revealed and available for sale next week!

Stay warm, snowflakes! Thank you all for stopping by!

P.S. From now on we will be saving all Reader Designs to share for a weekly Friday Special! You know what that means, don't you. Come back tomorrow for another dose of epic inspiration! Spoiler Alert: We may or may not have a CAMPER Reader Design to share this week. I know. I can't wait, either.