Easy + Inexpensive Home Upgrades

Hi Friends! I don't know about you, but I tend to start piddling around our house looking for SOMETHING to do by mid- January. When the excitement of the holidays is behind us and life moves back into regularity, I start getting a little itch to do something creative. And when my furniture pieces are so cold that a single brush of paint frosts over before my eyes, I'm limited to the indoors.

If you're looking to do a few creative home improvements over the long winter months, we're here to help you get inspired! The following ideas are simply meant to be jumping-off points to get your wheels spinning. 

Let's have some fun!

1. Wall Decals - Here's a trend that I am revving to jump on! Wall decals are such a whimsical way to complete a room, and the best part is, there are so many beautiful choices! You can create an entire statement wall with decals, or a specific focal point. These choices are a great mix of fun and sophisticated:

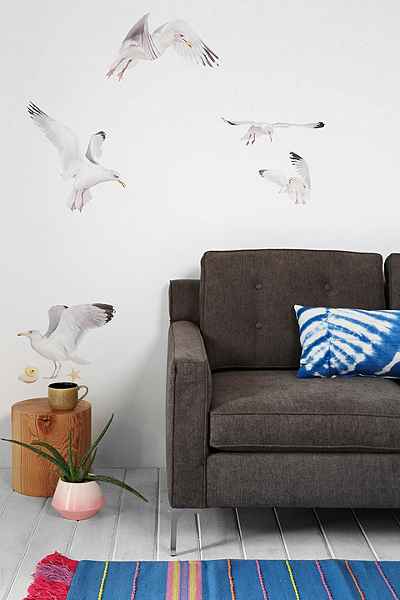
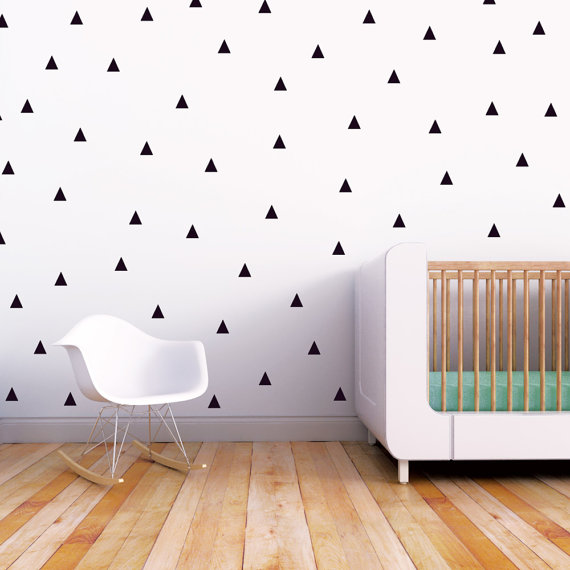
Sources from Left to Right: Raindrop Flower, Seagull Wall, Triangle Wall

2. Hardware - One of my personal favorite ways to switch things up is a simple hardware upgrade! The options are endless so your bound to find a style that's right for you, (and your piece of furniture)! Here are three favorites floating around right this minute:

TO BUY

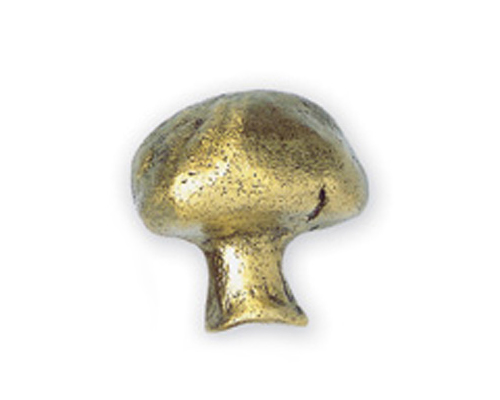
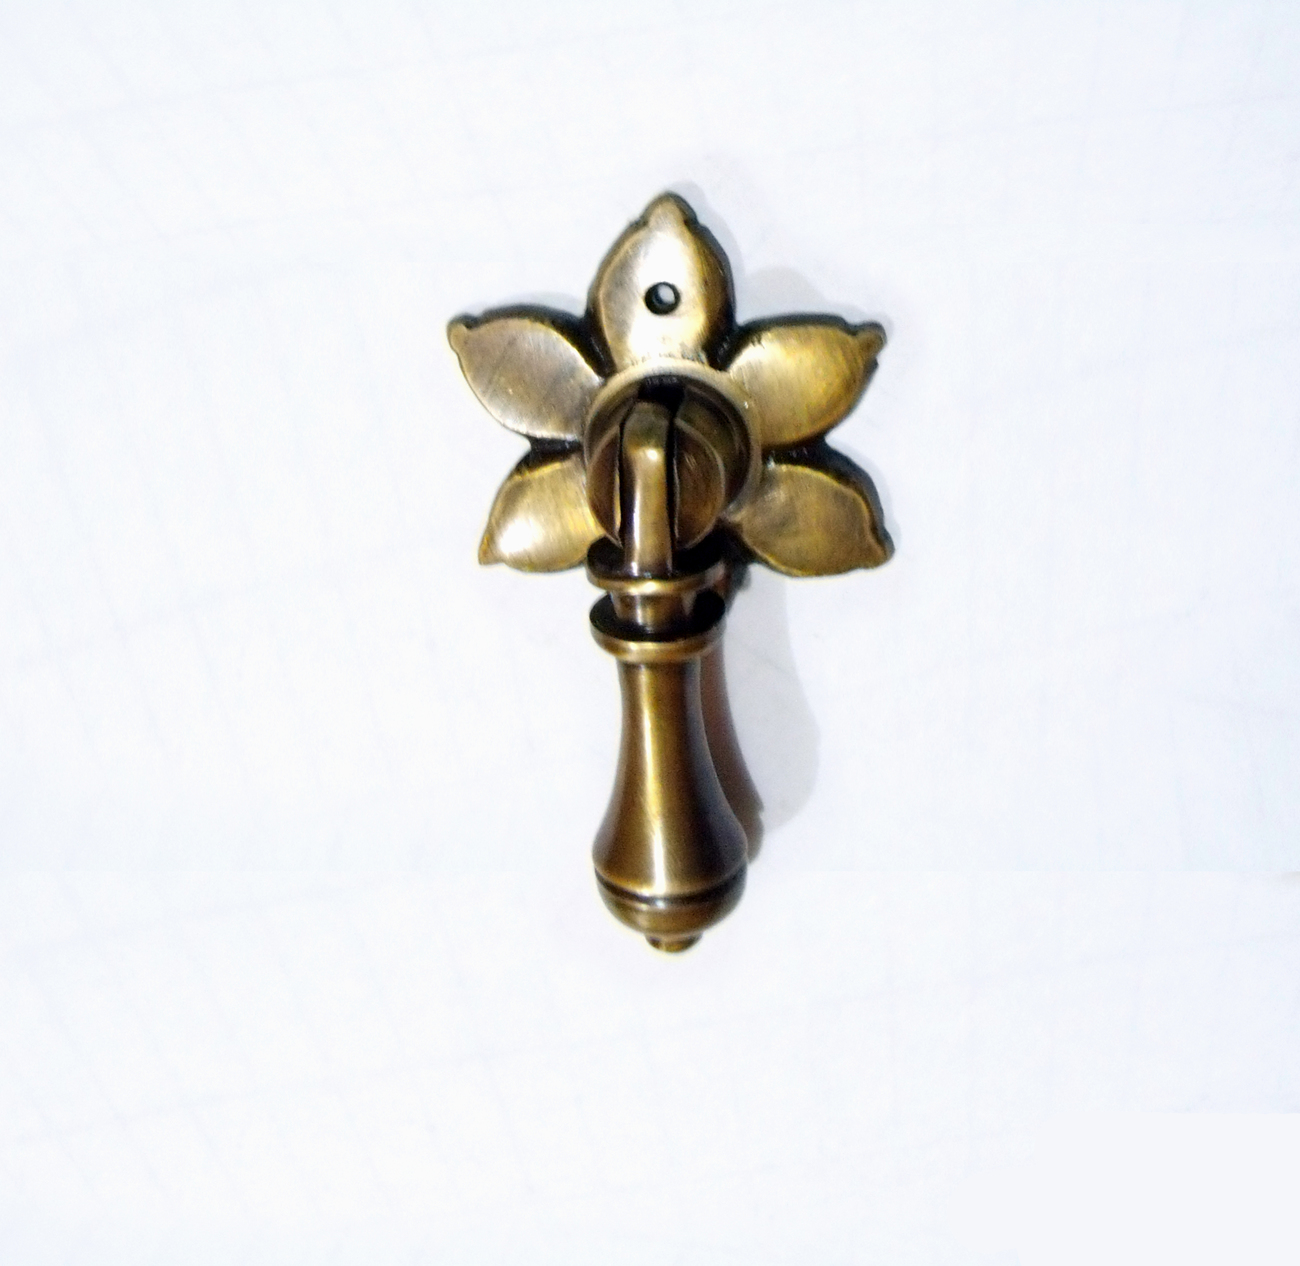
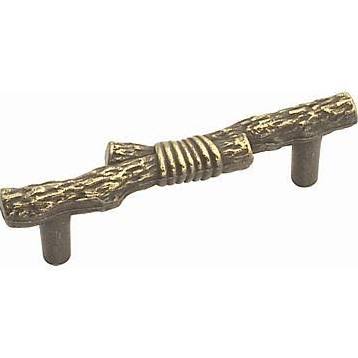
Sources, Left to Right: Gold Tone Mushroom Knob, Netherbury Knob, Antique Tear Drop Knob, Rustic Cabinet Pull
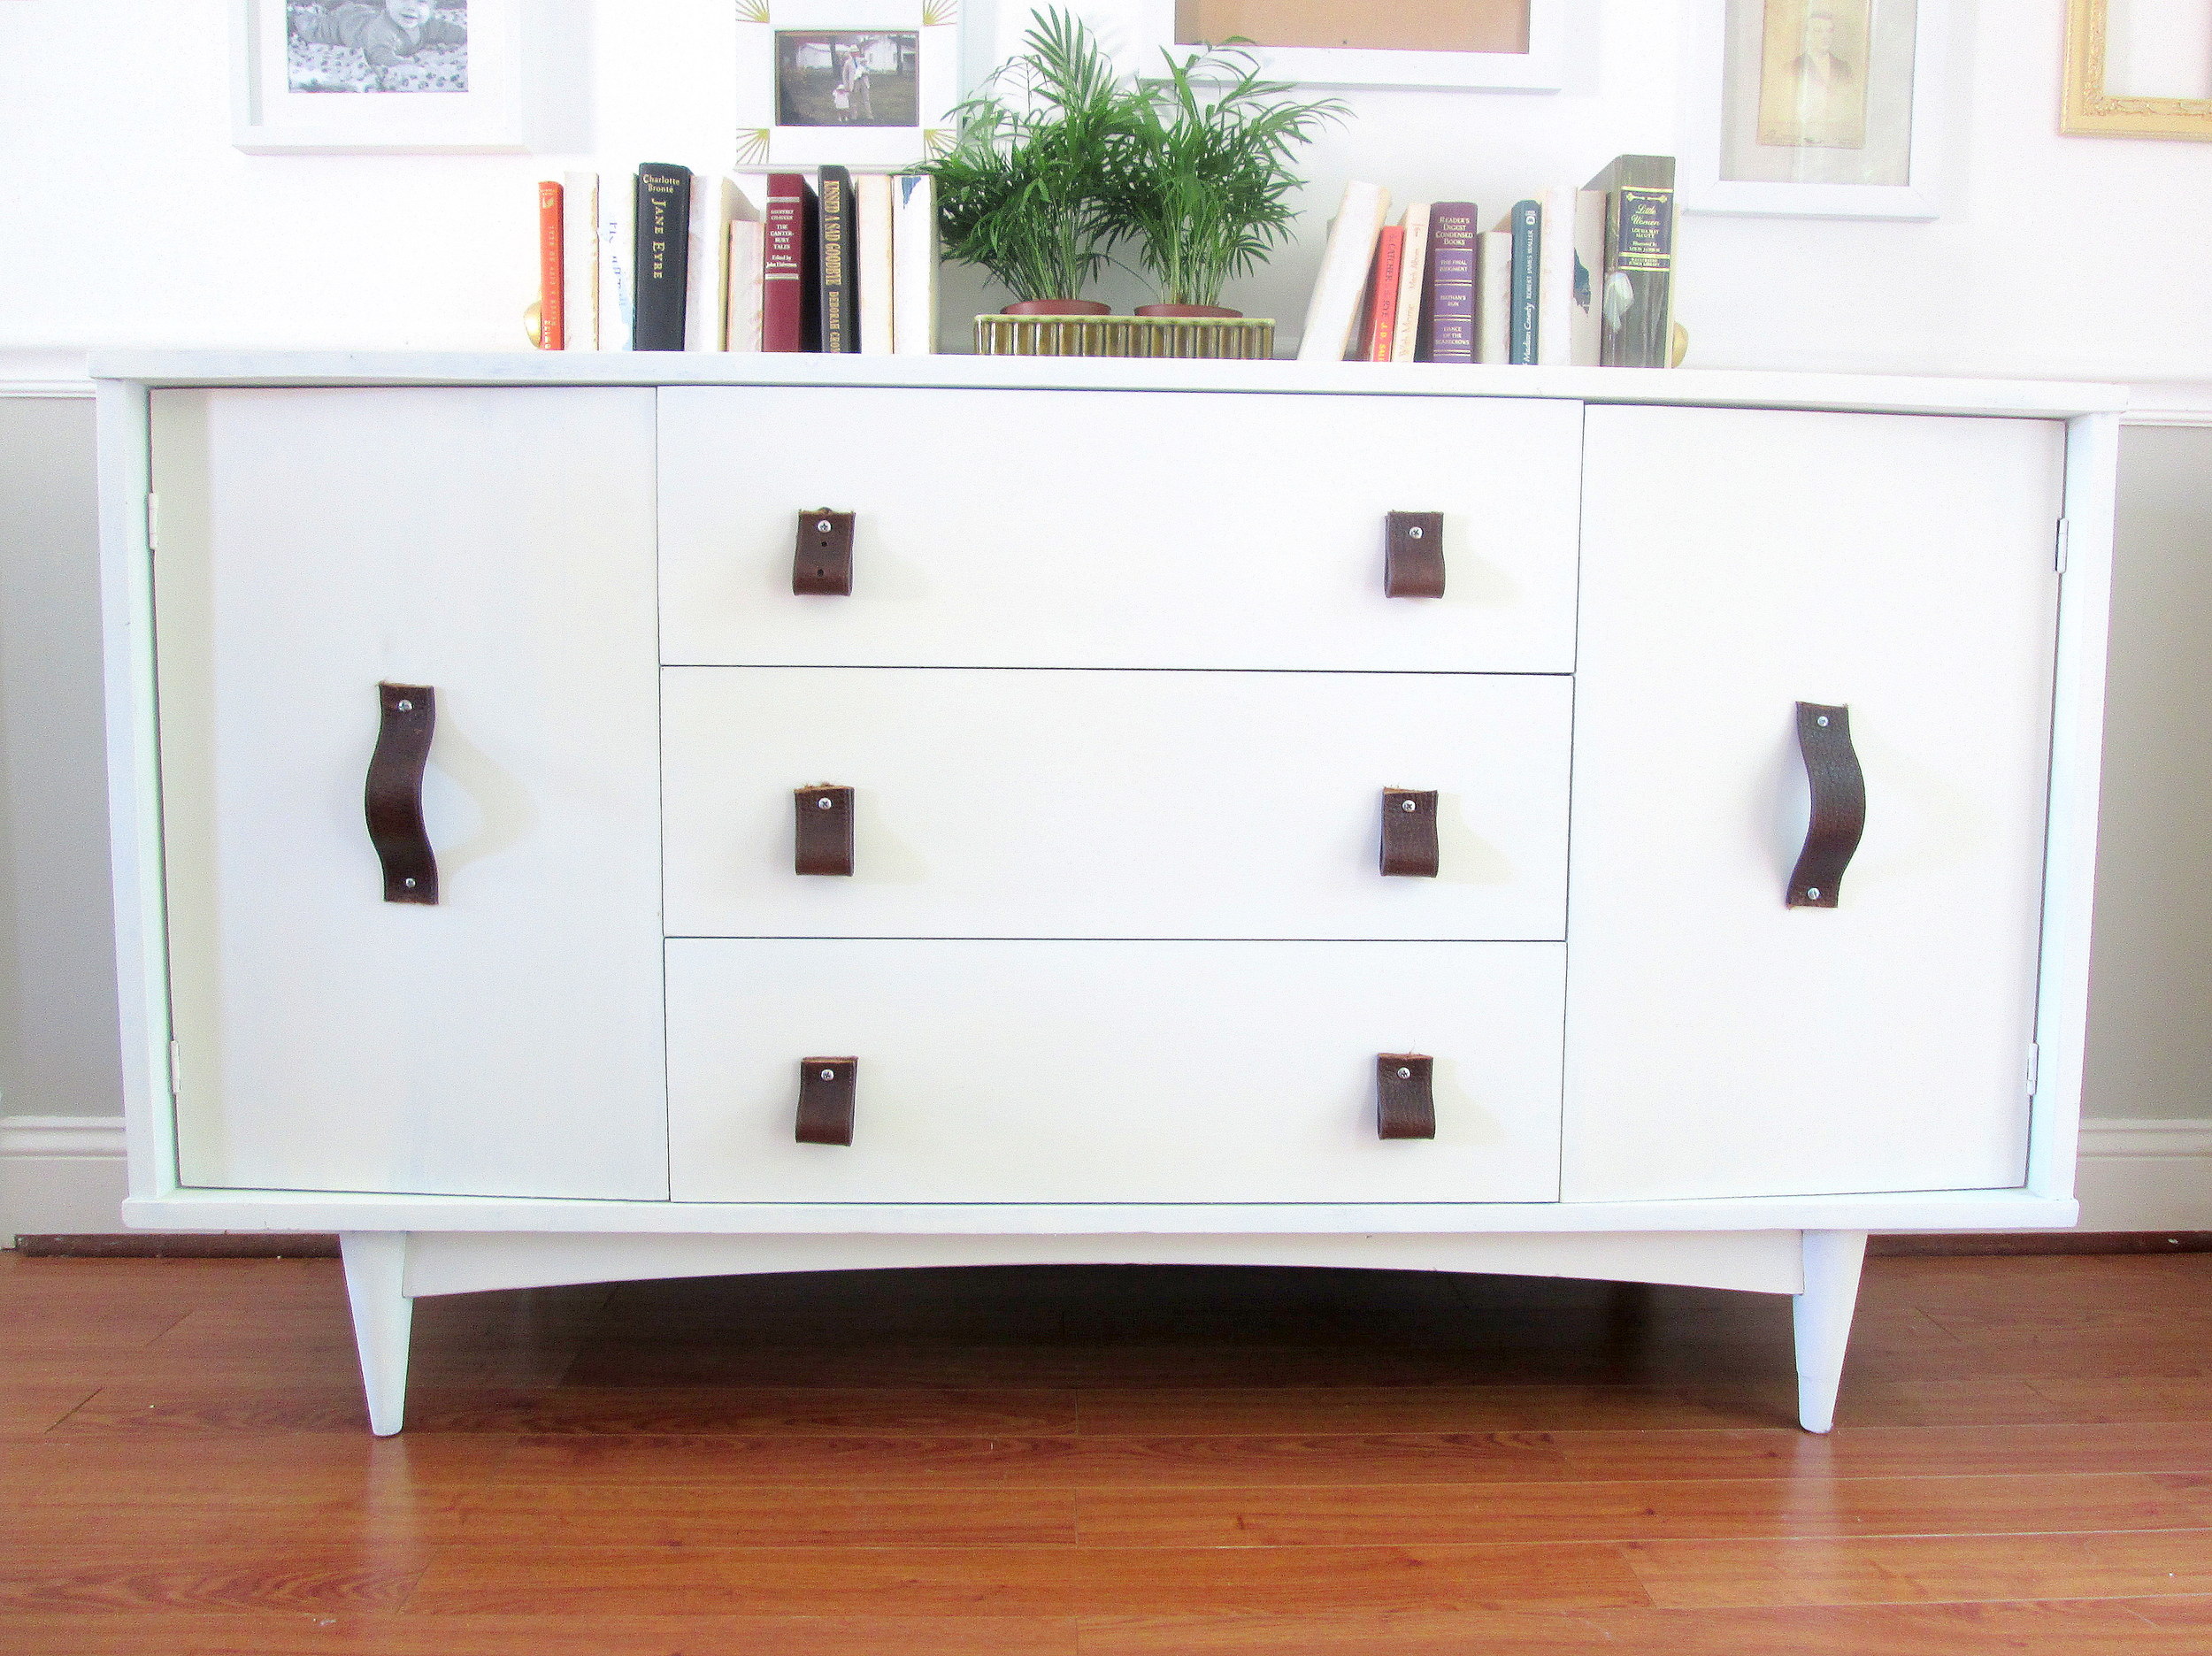
TO DIY

If you have a retired belt, (or you can find one for a few bucks at a thrift store), then you can cut it up and make leather pulls! On the piece blow, I made tab pulls by folding 6" pieces in half and sticking my screw through the top, as well as full length handles by sticking a screw through each end, with the middle bowing out a bit.


3. Sofa Cushions - By far the most popularly switched out item in the home, sofa cushions are a zero effort option that offers dramatic results. Fabrics and patterns can be mixed and matched any which way you please, so if you can make the tough decisions, it's a great way to give a room a noticeable face-lift! It was hard to narrow my favorites down, but the companies below are my personal, tried and true favorites for price, style and quality.

TO BUY

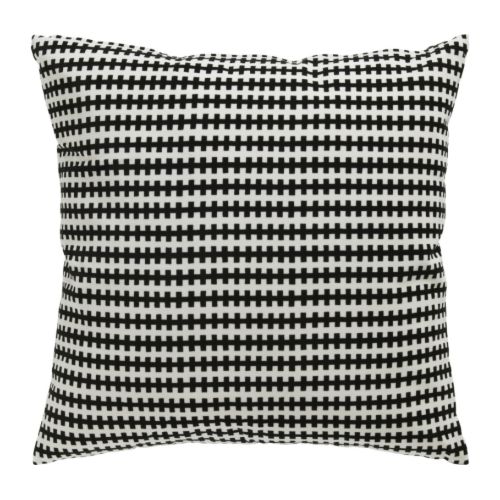
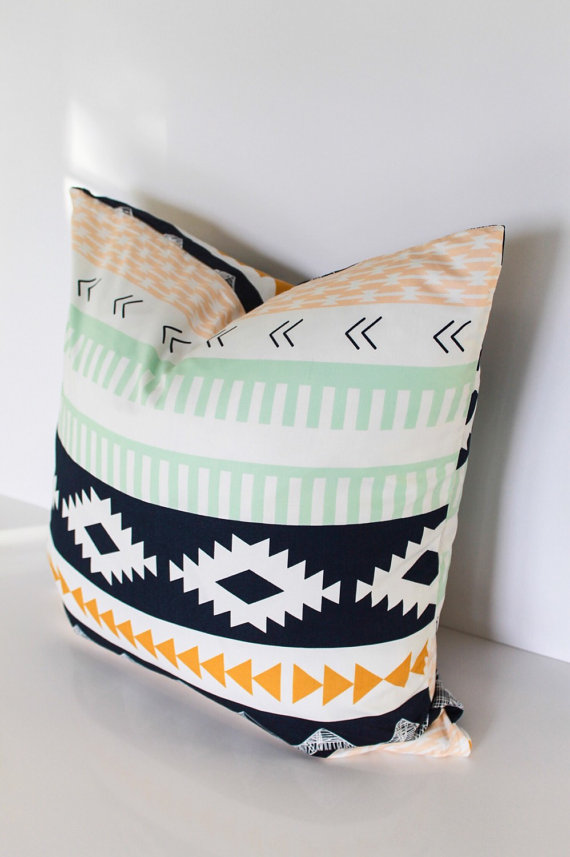
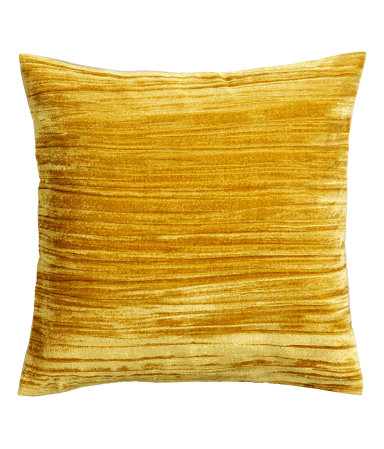
Sources from Left to Right: Stocholm Pillow, Striped Aztec Pillow, Velvet/Linen Pillow 
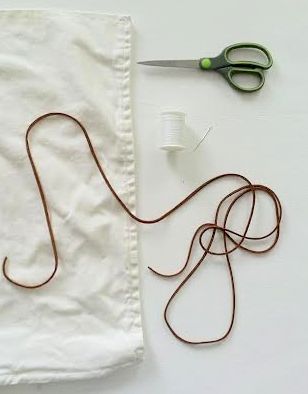
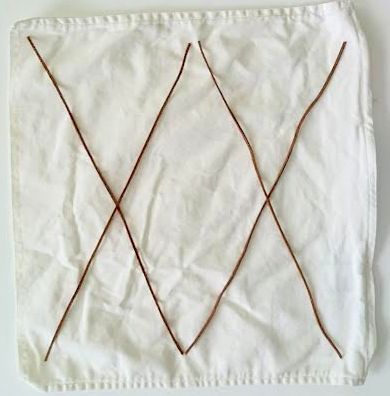
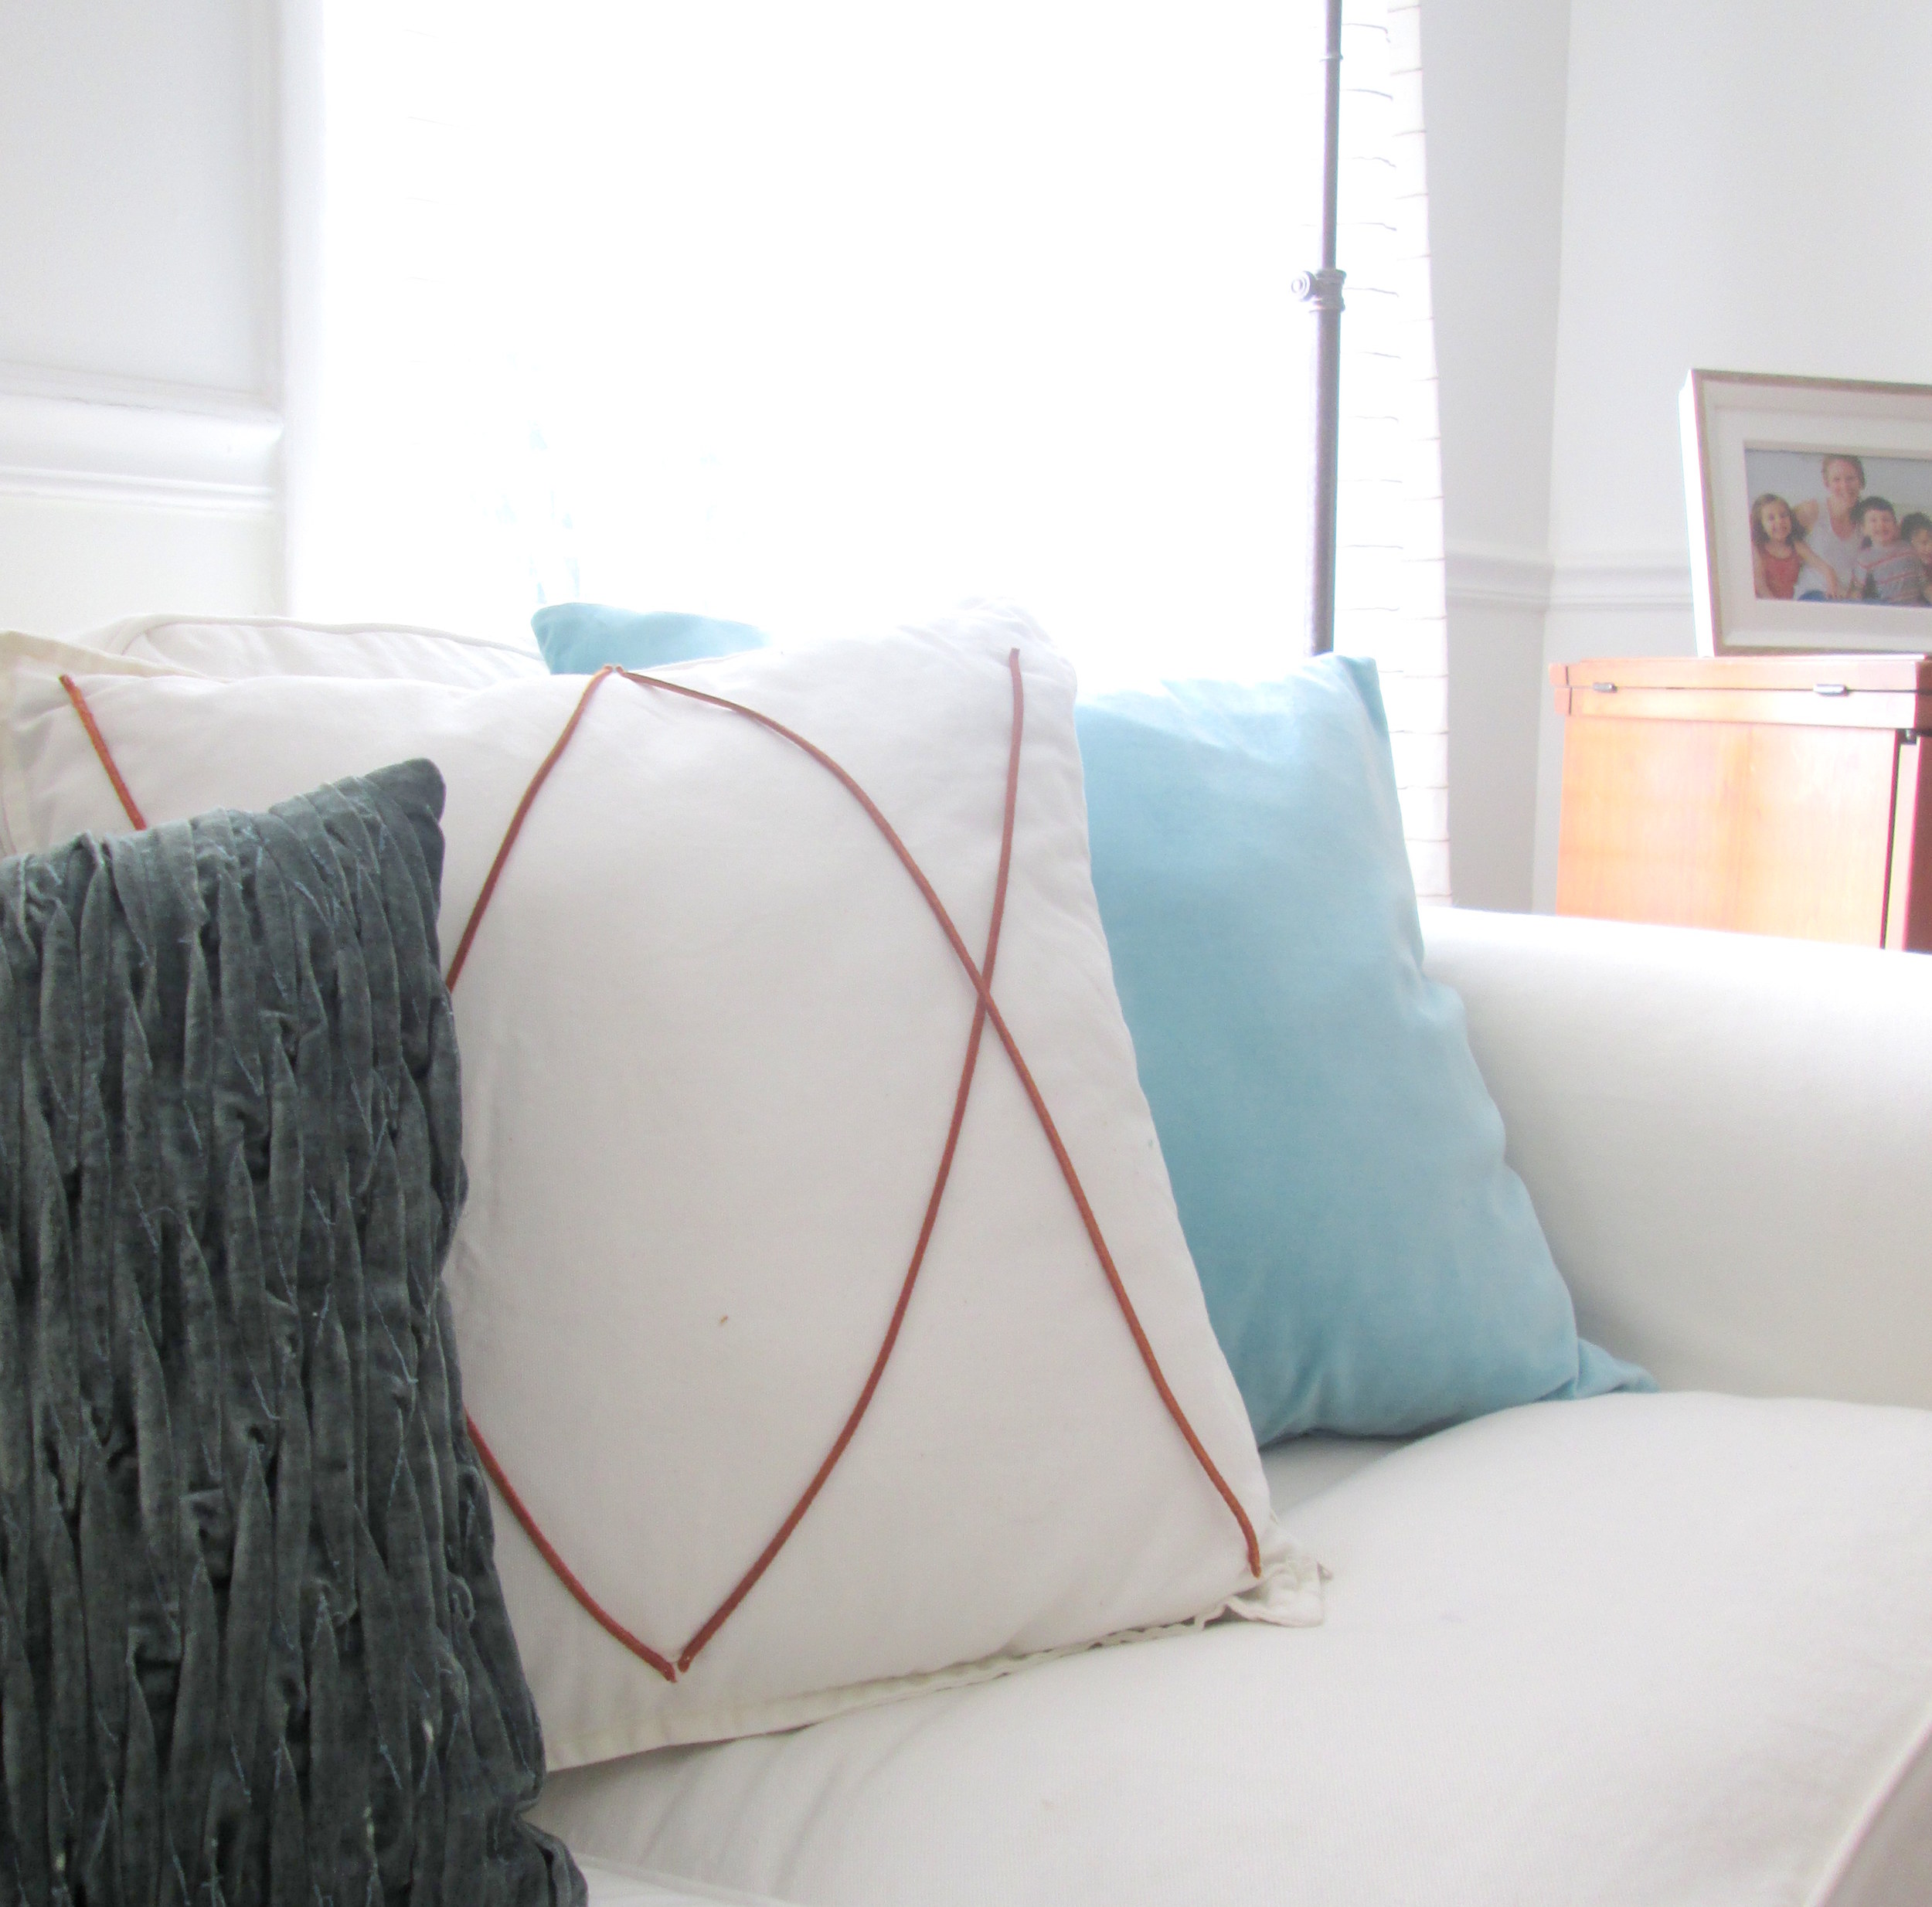
TO DIY

Using leather cord and a white cover, stitch just the ends of the cord placed in a criss-cross pattern.

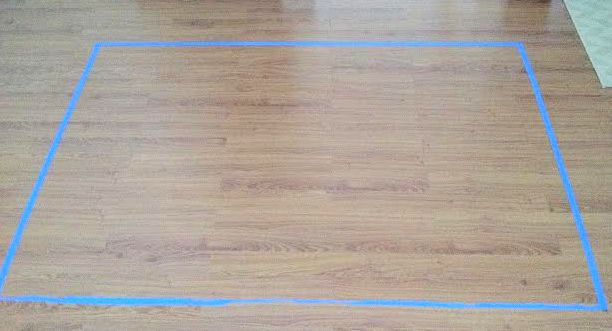
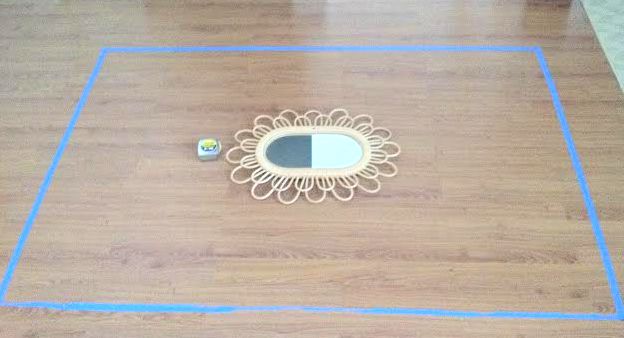
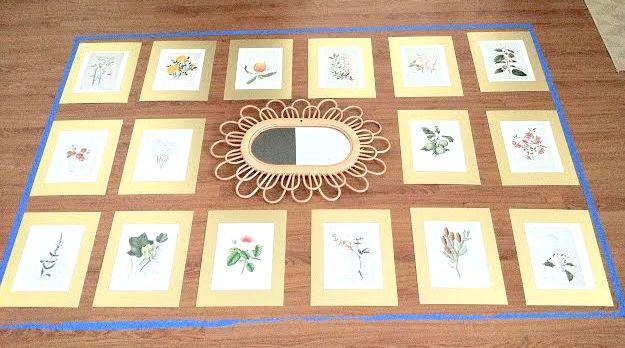
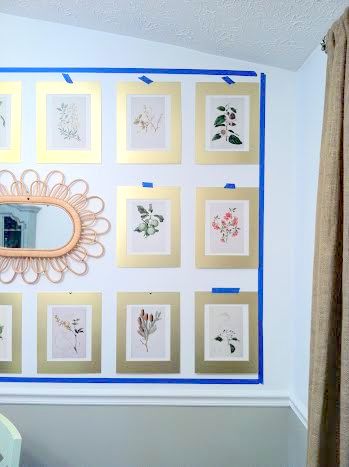
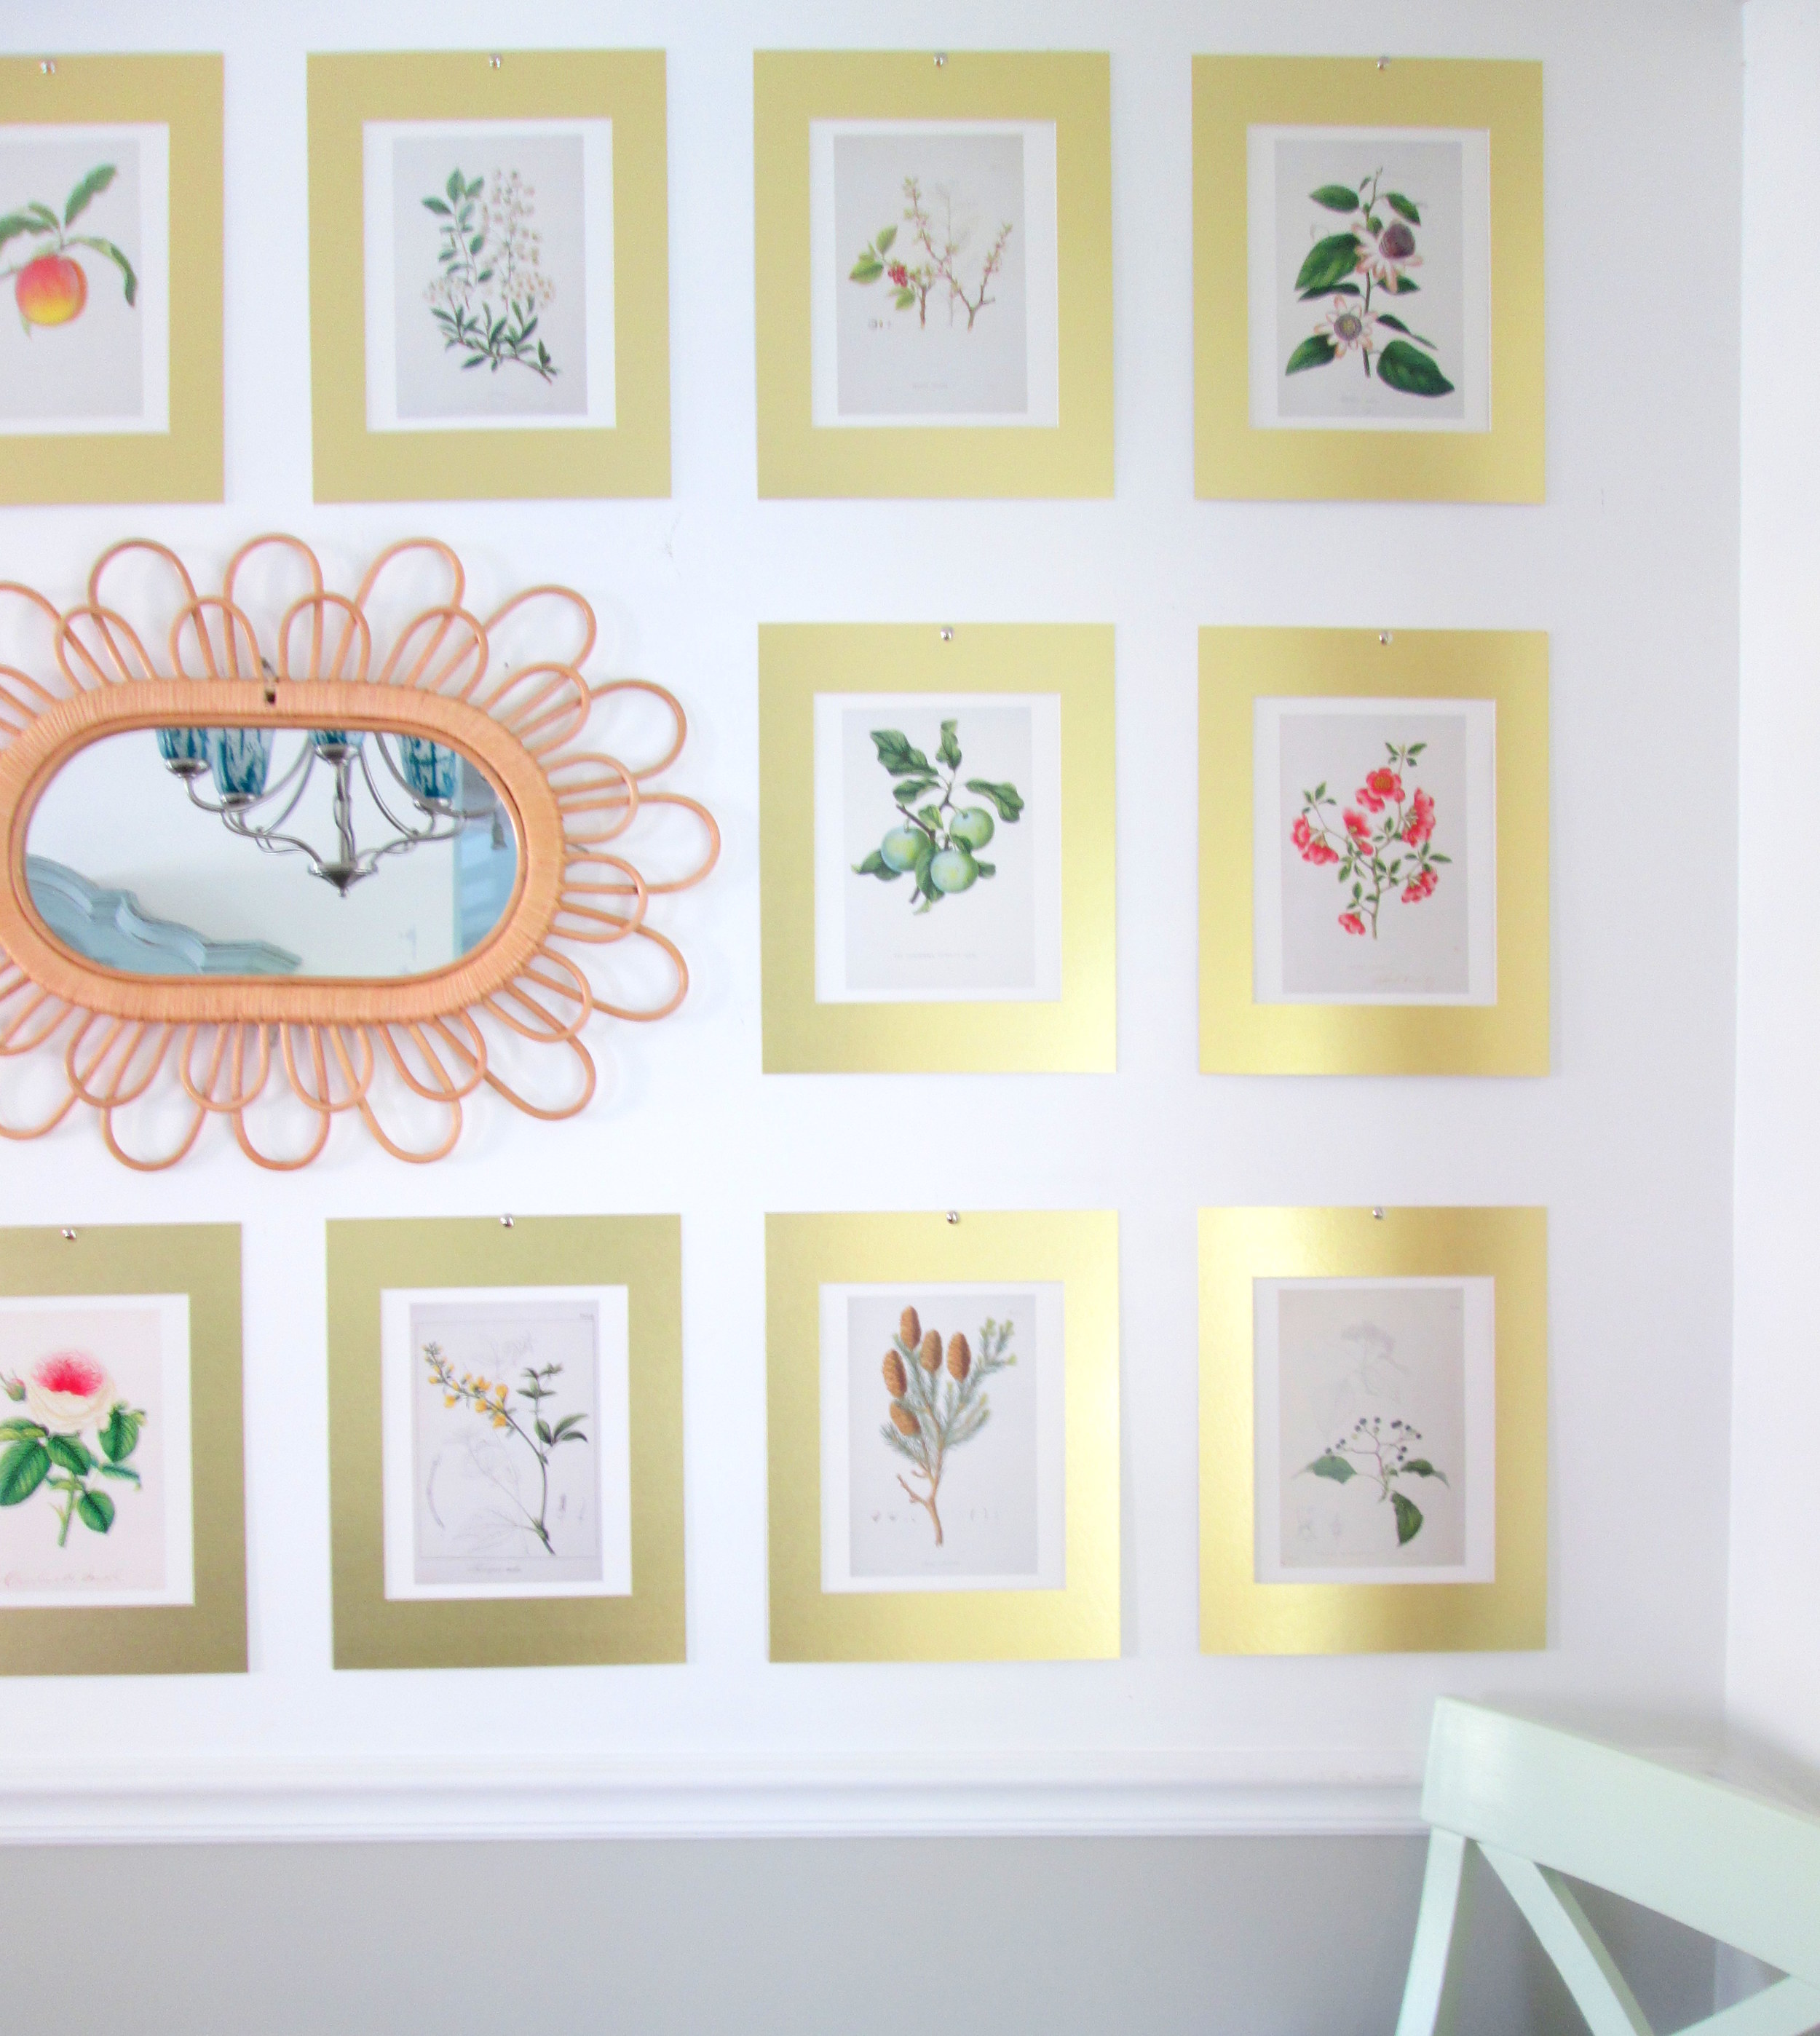
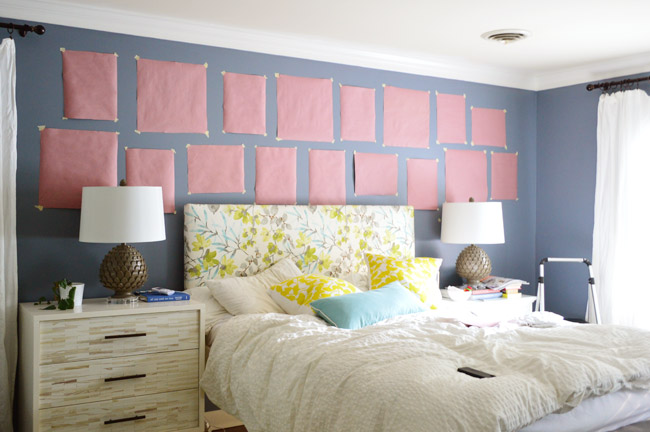
4. Gallery Walls - This completely DIY option can be as clean and simple or as random and haphazard as you'd like! There are really no rules when it comes to gallery walls, but it's highly recommended to lay your pieces out on the floor first so you can play around with placement and design. Use personal photos, pages from books you own, or downloadable prints you find online! Here are a few gallery walls we've designed here at StyleMutt:

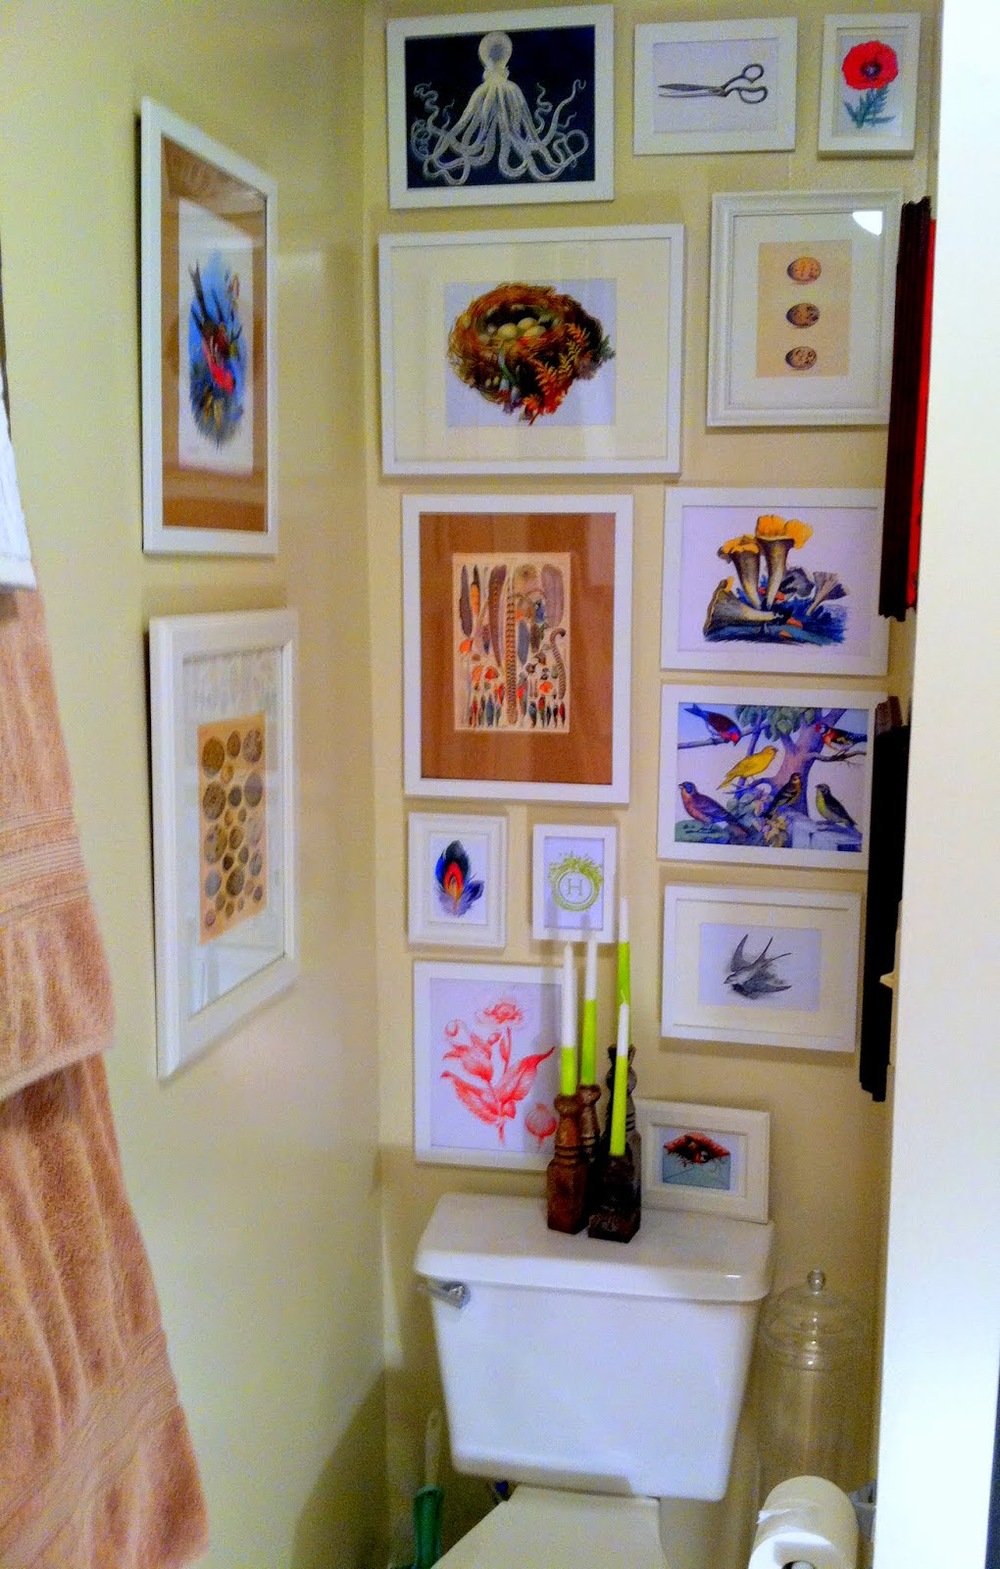
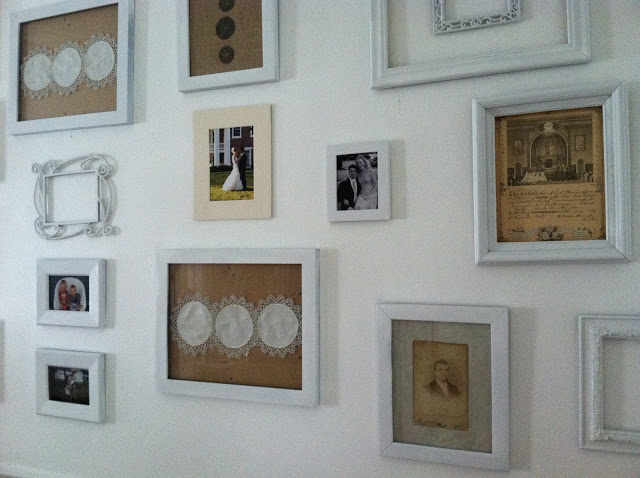
Sources, (complete with how-to tutorials), from Left to Right: Botanical Prints, Downloaded Prints, Sentimental Wall in White

There you have it! A few good indoor-weather projects to get you through the Winter! Is there anything you hope to work on this Winter or any other ideas you can add? We'd love to hear what you're up to!

Thank you all for stopping by!

Reader Design: Angie's Cozy, Collected Family Room

Hi All! One of my favorite things about being a DIY / furniture refinishing / home design blogger is the opportunity to get to know wonderfully creative people from all over. Not long after I opened an Instagram account, I found Angie, @angies_deco_abode. Angie has a beautiful eye for design and I've found her home to be so inspiring! She's a thrifting queen - you'd NEVER imagine that her glamorous space is almost completely thrifted or clearance finds. 

Let's take a peek!

Stunning, right?! Here are some notes from Angie:

"This room is the first thing you see when you come in to my home. I wanted it to look nice and inviting. This room is used for everything. From storage for the kids toys to dads nicknacks that need to be out of the way. That hutch keeps things nice and organised. We love using this room on rainy or lazy days.Will lay on that lounger and read a book or just watch the rain out the window. Plus it also gets a lot of light so my plants love it too. All in all its a great room. Most of the things in this room were thrifted. Its nice to find things I love at a good price."

Hutch. $50
sofa/ lounger $90
Blue art frame $15
Gold table $15
White leather chair $12
Little table for planter $3
White rug/ikea $10
small side gold table $12

Thank you so much for inviting us in, Angie! Angie's beautiful room has now been added to our Spaces page. We really love any opportunity to peek inside a home. If you'd like to share any bits of your own home, please either post your pictures right to our Facebook page, or tag #stylemuttspaces on Instagram!

Large Botanical Gallery Wall {+ tips & tricks!}

Hi guys! I recently made a big, life-changing step when I overcame a personal fear; the fear of gallery walls.

I've always been struck by large, organized, symmetrical gallery walls. I think they're stunning! However, it's always intimidated me to try to hang everything absolutely perfect. In the past this intimidation has lead to random, haphazard gallery walls which weren't supposed to be even or organized. Those were my safe zone where I felt comfortable. (Kind of like when I get home from church on Sundays and change into despicably ill-fitting sweatpants.)

After finding an entire book of botanical prints on Ebay for $4, I took a leap out of my comfort zone to create a big, structured gallery wall in our dining room! Since these prints were already large, (11 x 13), and I wanted to use a lot of them, (16), I decided to just mount them using mattes to keep the expense of this project low. I used painters tape to attach the prints to the mattes, which will peel off easily without ripping the prints should I ever decide to use them another way.

Drawn From Nature + Antiqued Gold Mattes from Matboardplus.com

To begin, I measured the space I wanted to use on the wall and then taped those measurements onto the floor using painters tape. Then I added the mirror, ($12.95 on sale at Anthropologie), in the middle, measuring all four sides to be sure it was centered. Once the mirror was in place I filled in the rest of the space with the prints! Taking a picture of the finished product on the floor really helped when I went to hang everything on the wall. I liked the arrangement I had on the floor and didn't want to forget where they all went!

To get the gallery up on the wall, I basically followed the same steps as I used for the floor triall! I pulled the tape up off the floor and used those same strips to create my rectangle on the wall, (definitely grab a level to make sure your tape is...level). Second, I hung the mirror, measuring all four sides to be sure it was in the center. Then I filled in with the prints! I hung these with simple metallic tacks, which is way easier than measuring where to hang a nail for a frame. Baby steps.

All finished!

Another tip I've seen for hanging a precise gallery wall is to trace all the frames onto brown packaging paper and cut them out. Then tape each 'paper frame' onto the wall, moving them around until you're satisfied, (idea seen below from Young House Love).

Have you hung a gallery wall in your home, (symmetrical OR random)? We'd love to see it and/or hear your tips! Just share right to our Facebook page or tag #stylemuttprojects on Instagram!

Thank you for stopping by!