A Brand Spankin' New Pillow Source, (and she's 13!)

I feel like this is HUGE news! I mean, I get excited whenever Cate and I find a new source to share, (even if it's only new to us), but this one I know well, love dearly, and is an actual fresh new source for all your pillow needs!

She's thirteen years old, sweet as a bug, has mad sewing skills, and is officially open for business.


Meet Katie, ya'll.

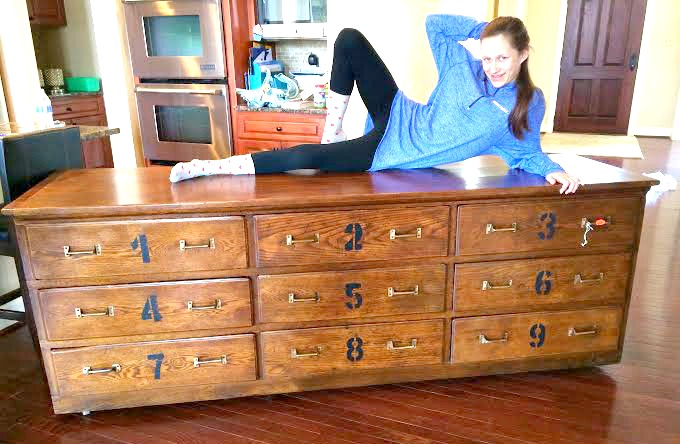
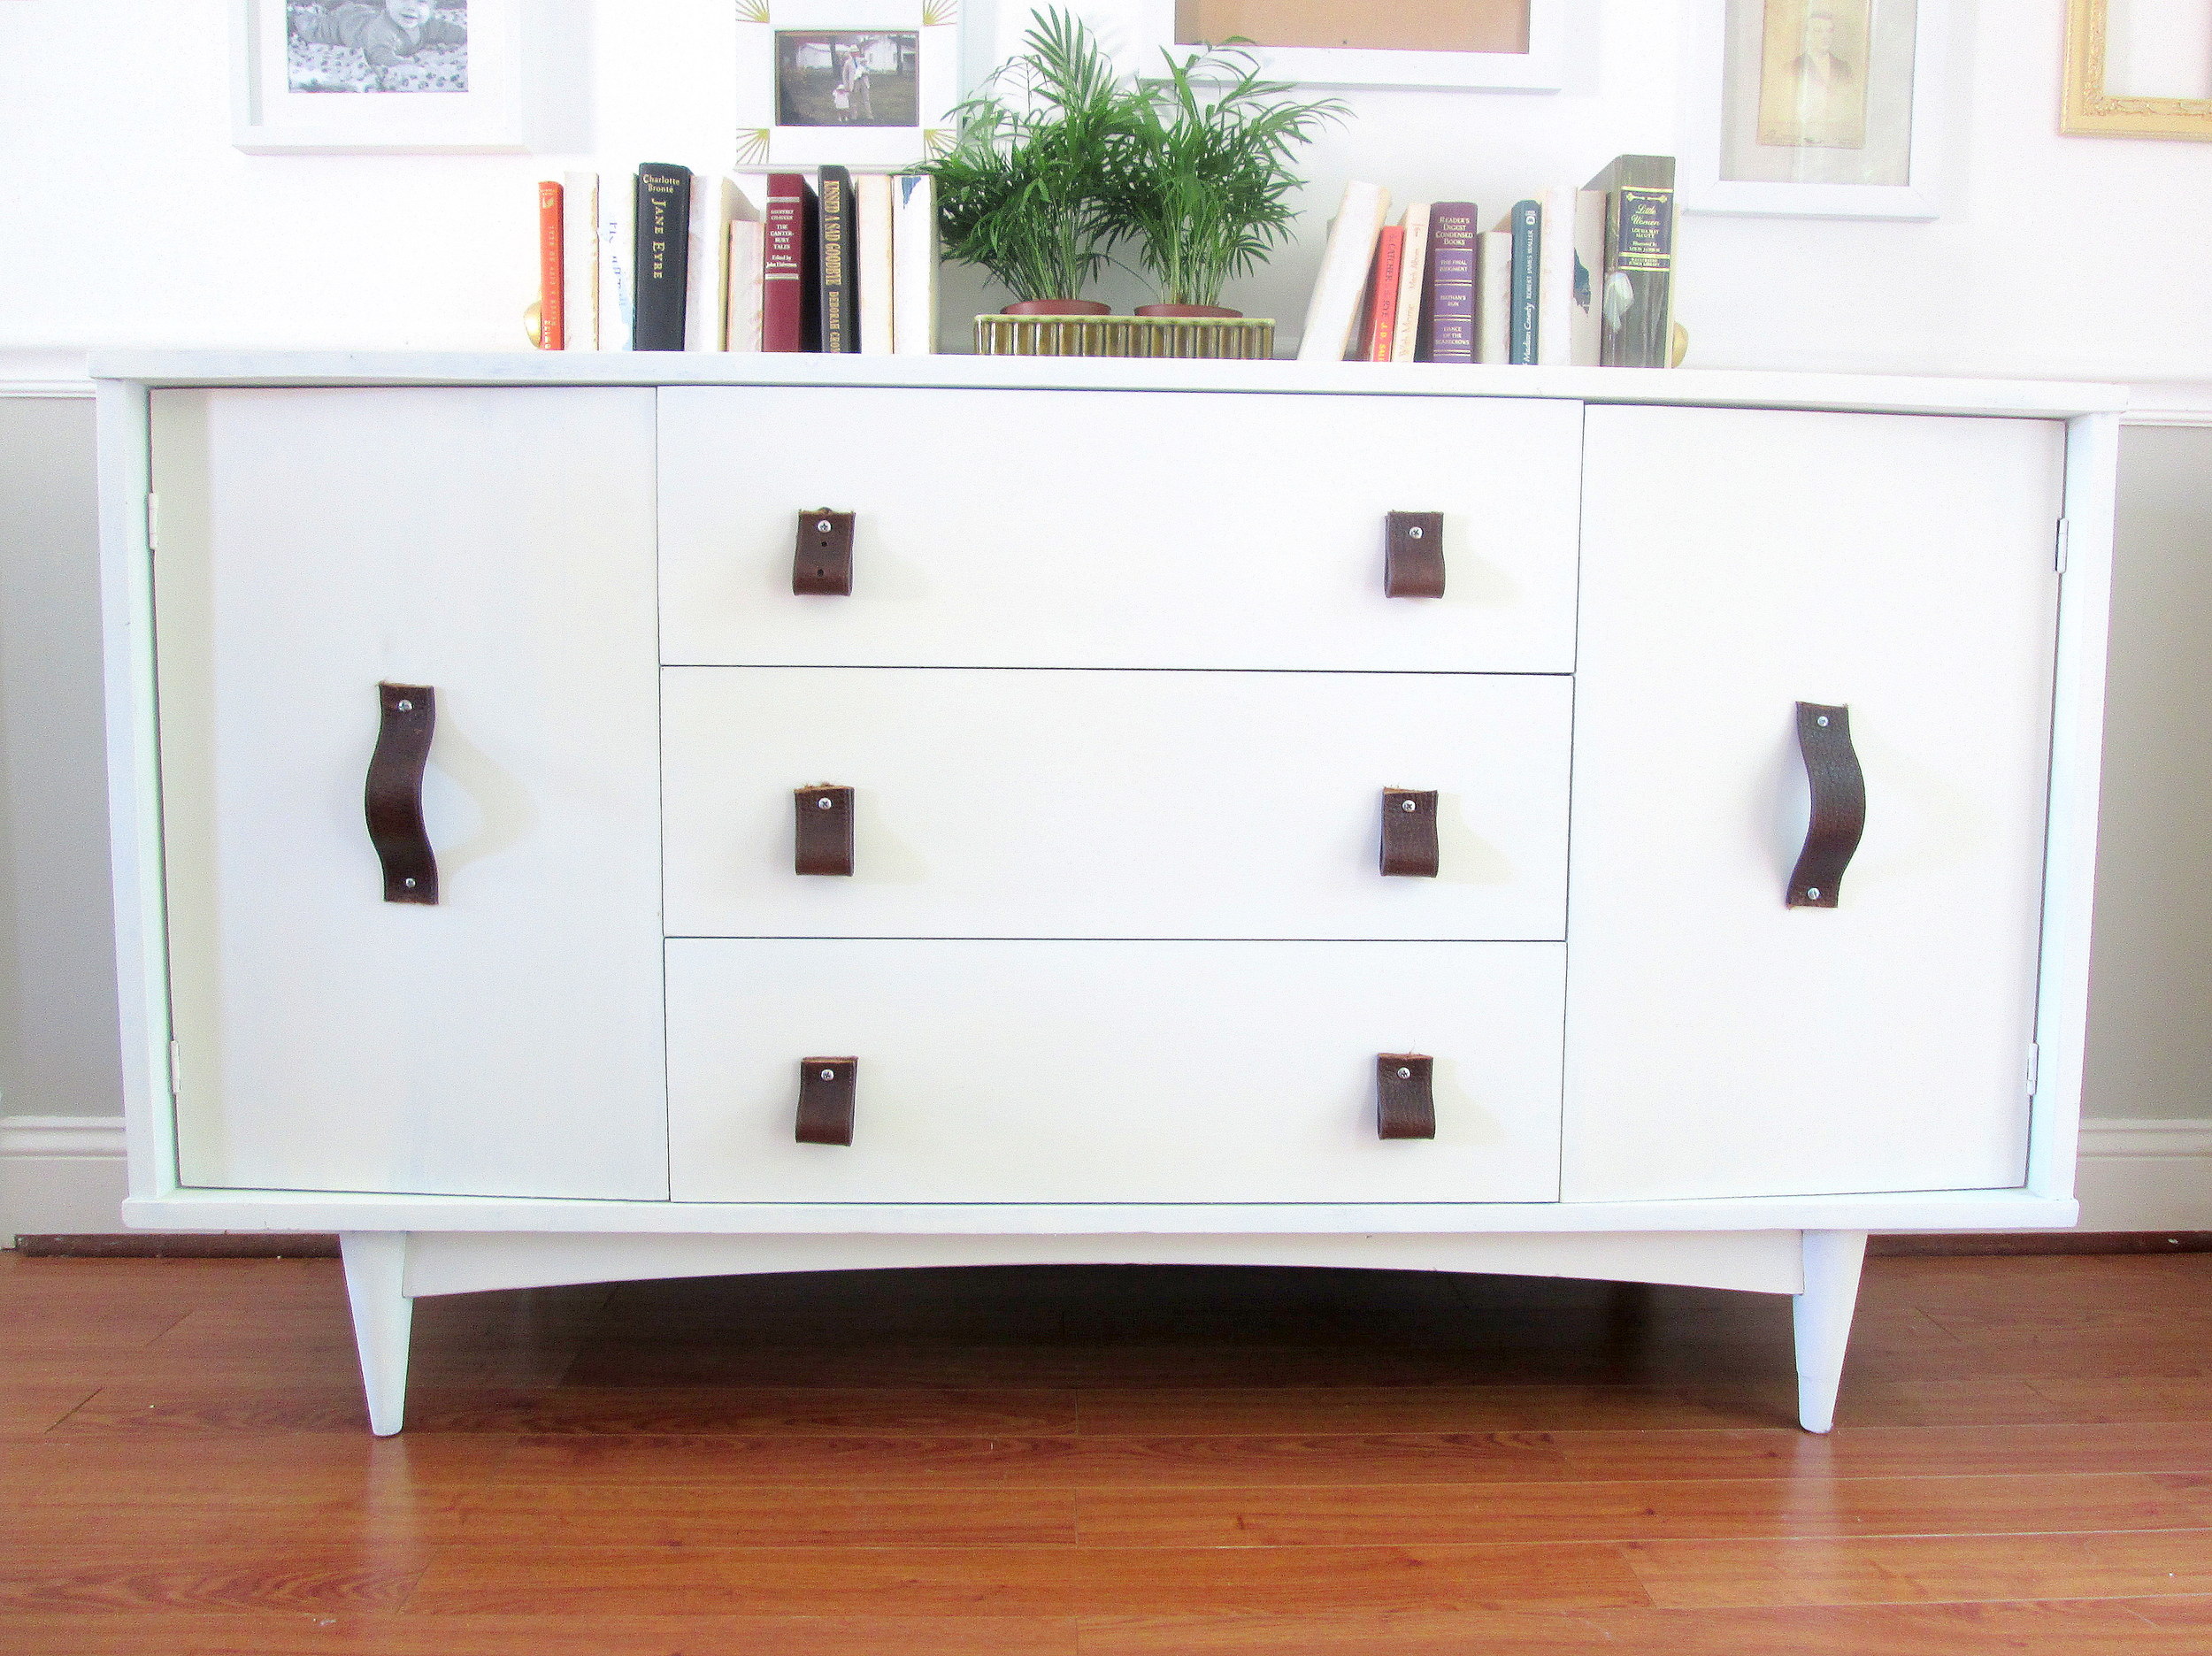
Oh, and she is a part-time furniture model. Hah! Seriously though, how cute is she, (and how AMAZING is this piece she and her folks just found to use as a media center)!?!

No sooner had Katie started teaching herself how to sew when beautiful, well constructed items were flying out of her sewing machine. A free spirited chica with a passion for fashion and interior design, Katie has the skills to match her dreams in the creative business industry. And she likes my kids, so she's the complete package in my book. ;)

When I, (who knows nothing about sewing except for an uneven hand stitch), humbly asked Katie if she'd mind making us some pillows for the Spring and Summer seasons, I was giddy when she agreed! I found my fabric in the same day and let me tell ya, she did not disappoint - she completely outfitted our entire Living Room!

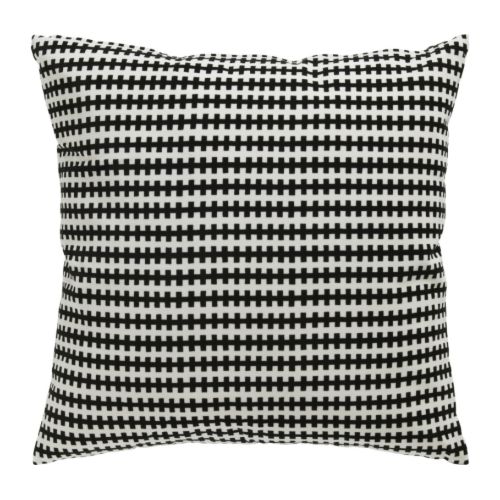
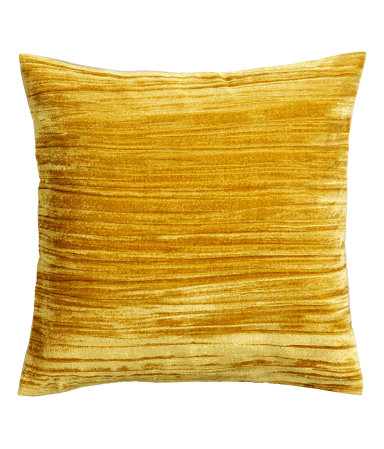
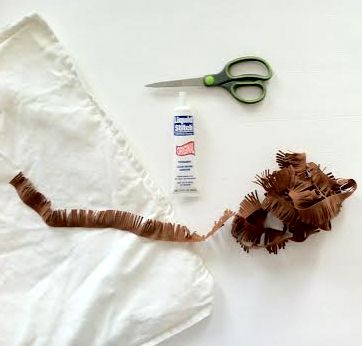
These are the two fabrics I chose:

pillows18.jpg
pillows19.jpg

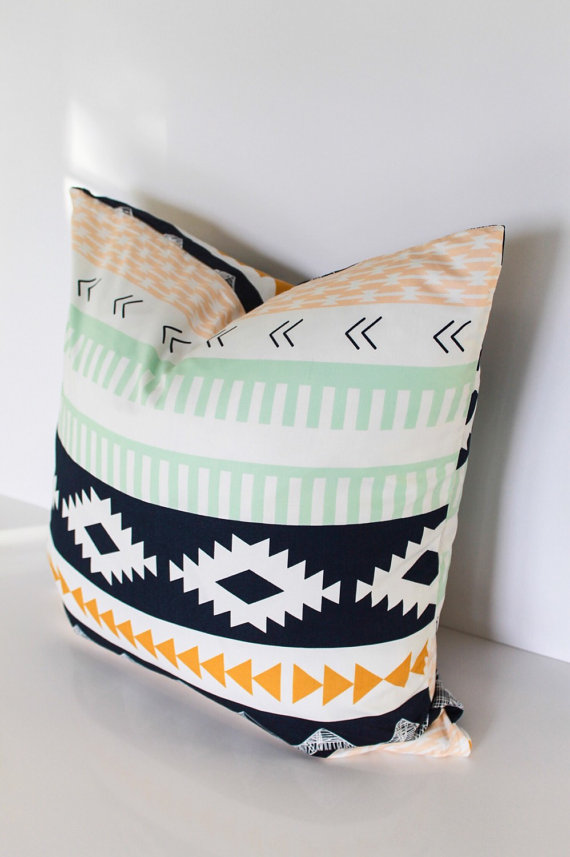
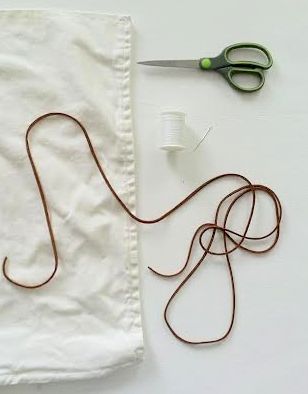
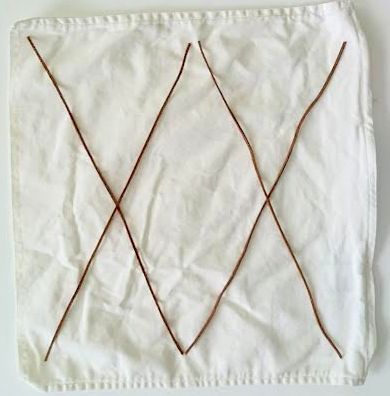
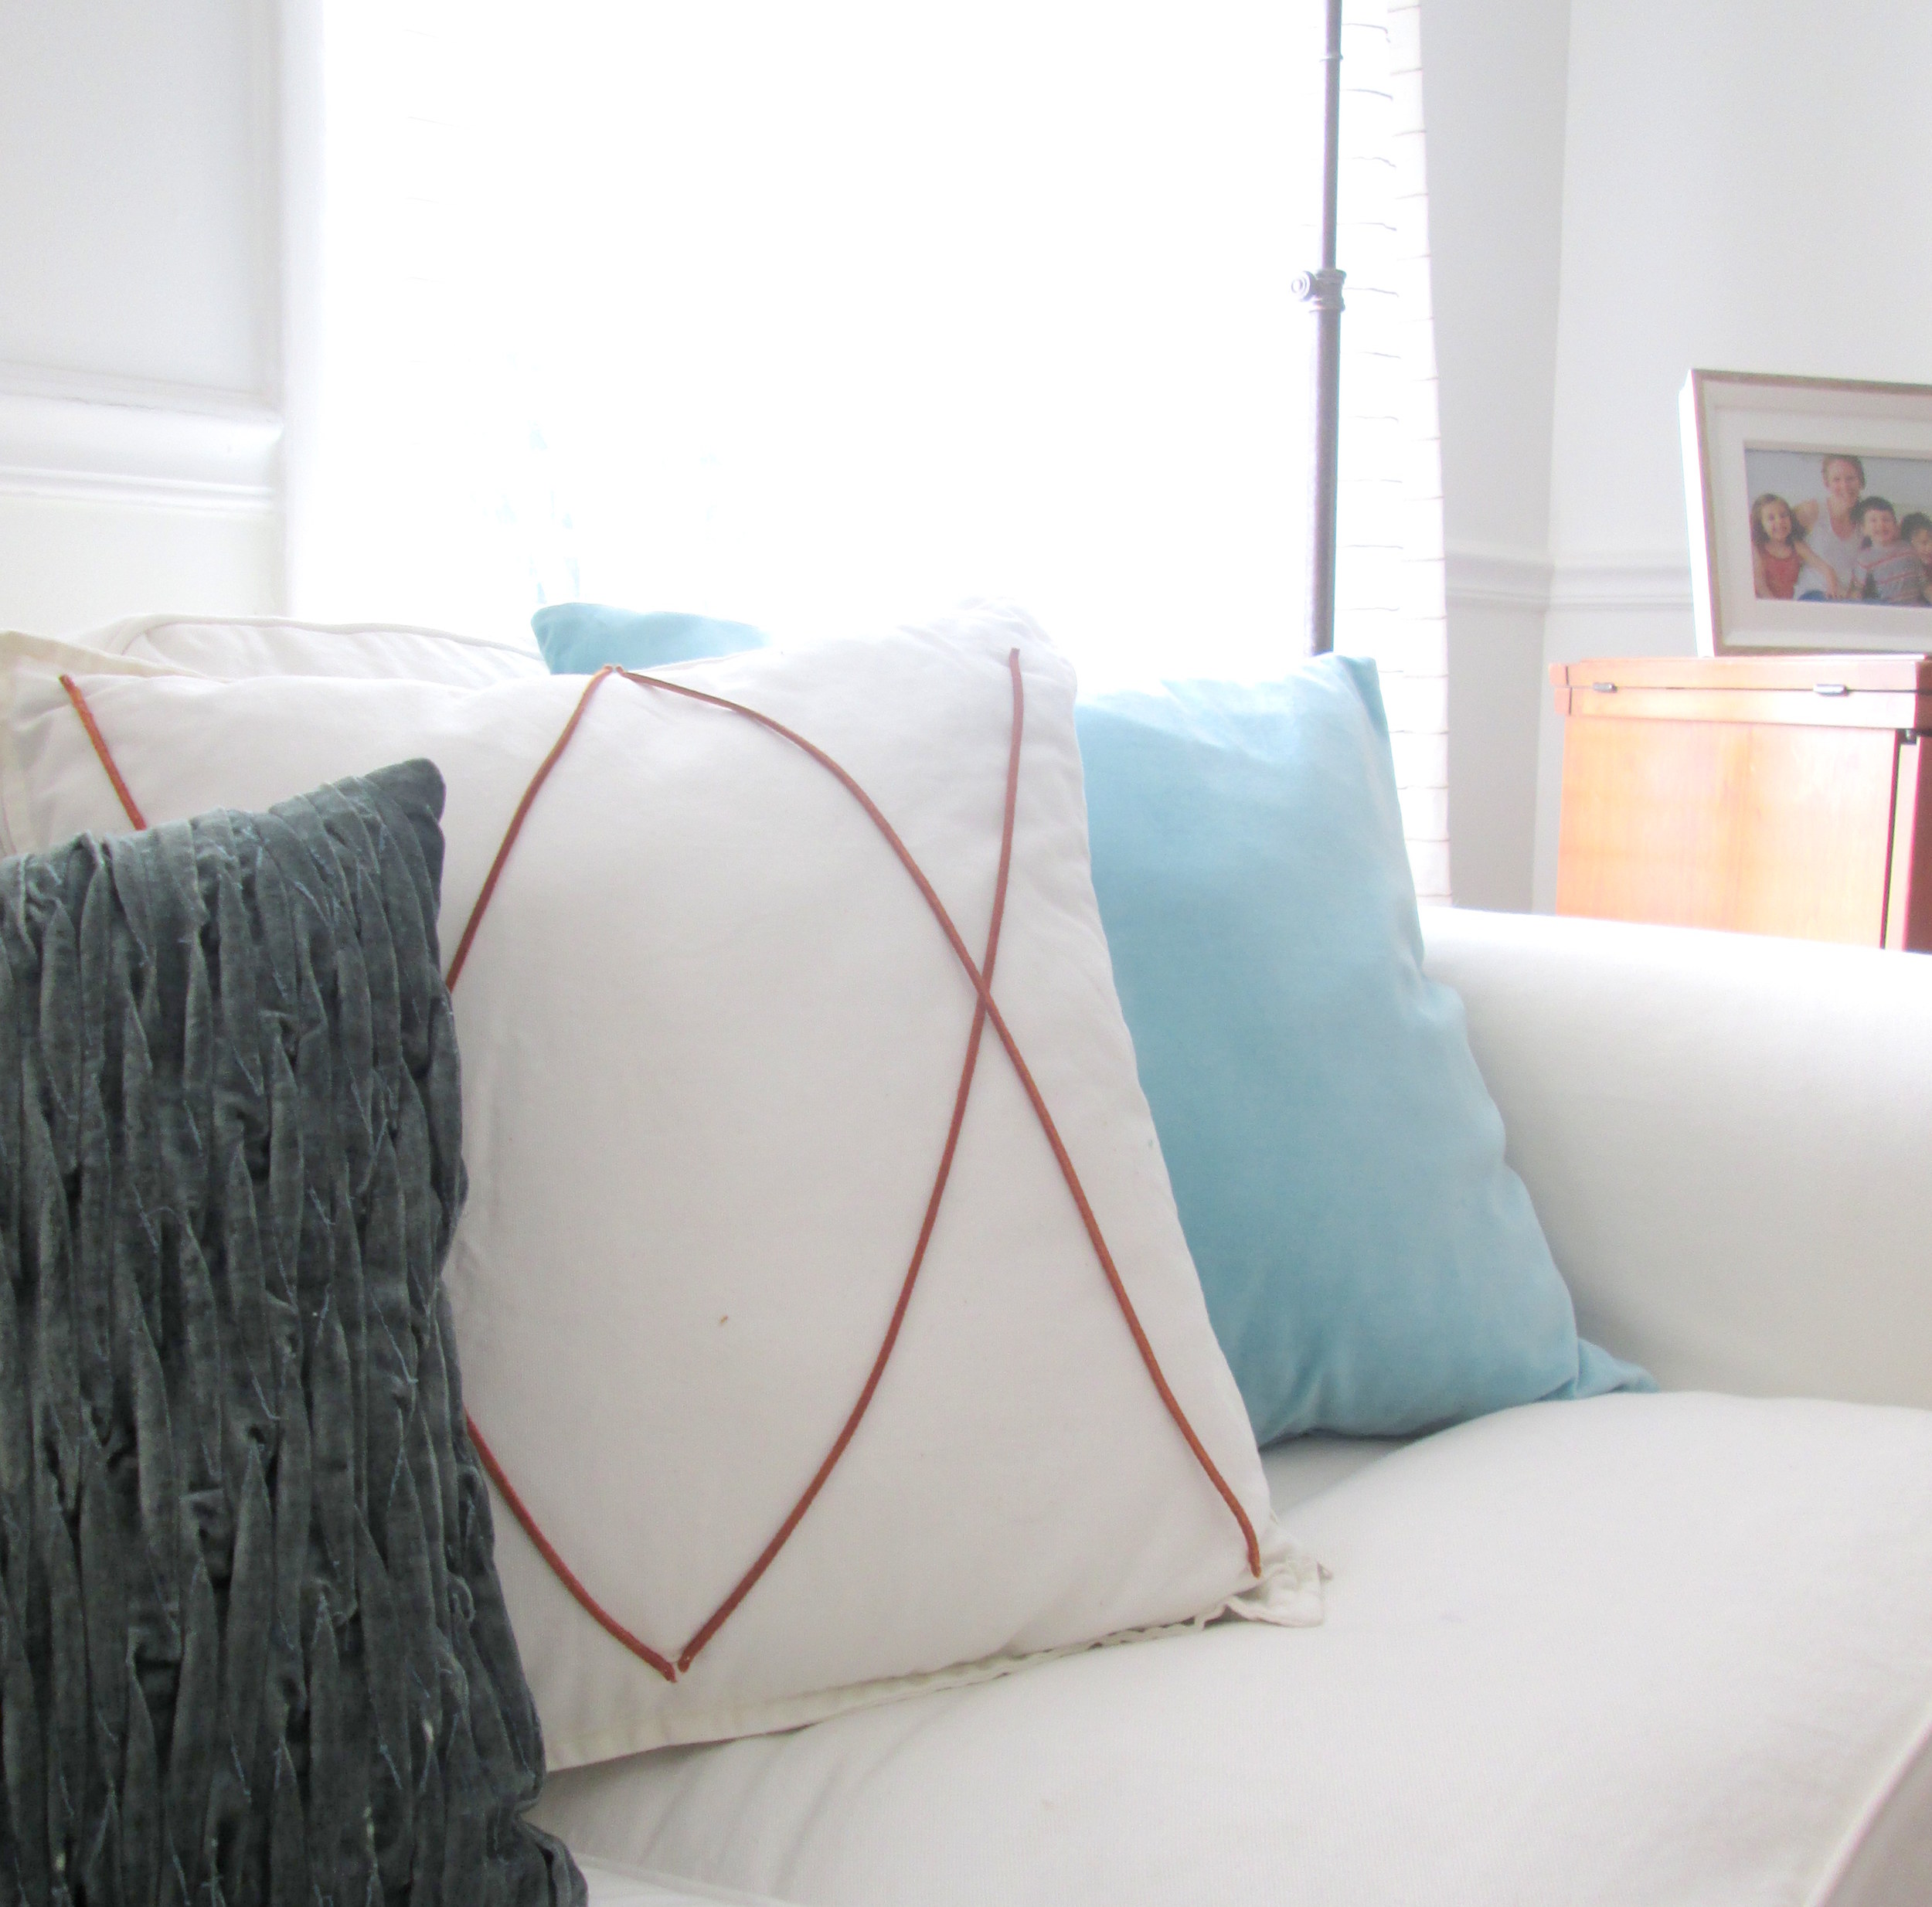
And the magic that Katie turned them into:

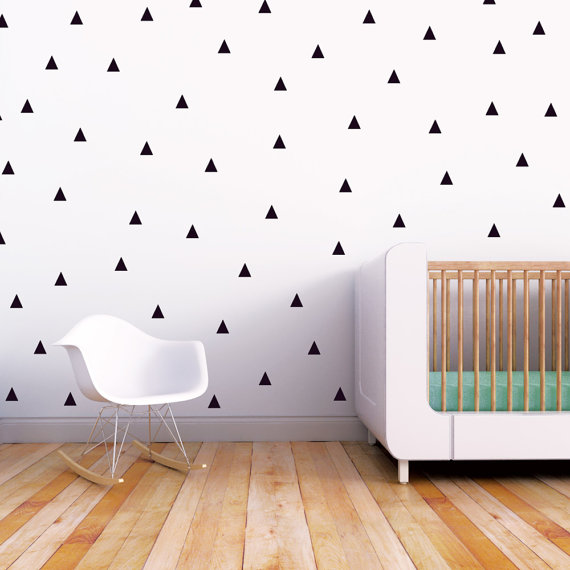
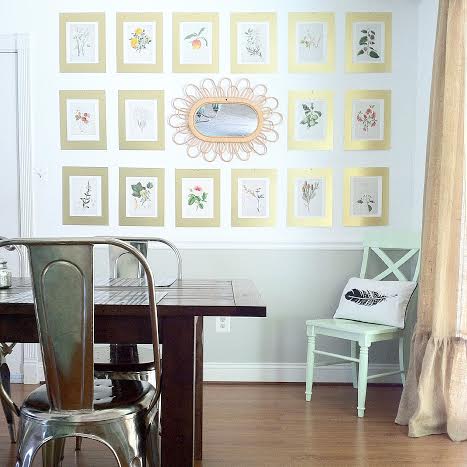
This JoAnns black and white tribal print, (paired with soft pink linen pillows from H&M), was intended for Spring and Summer pillows, but there is no way I'll be putting these beauties away once next Fall and Winter roll around, that's for sure!

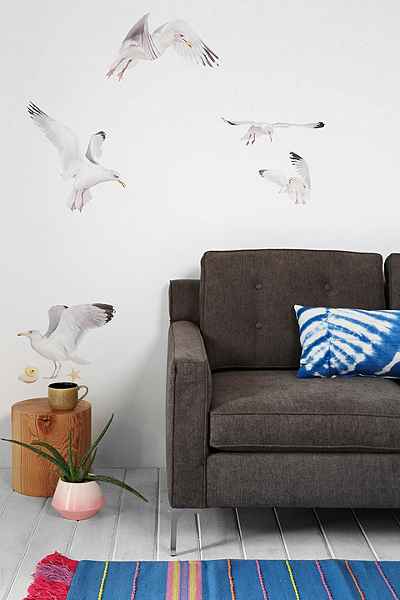
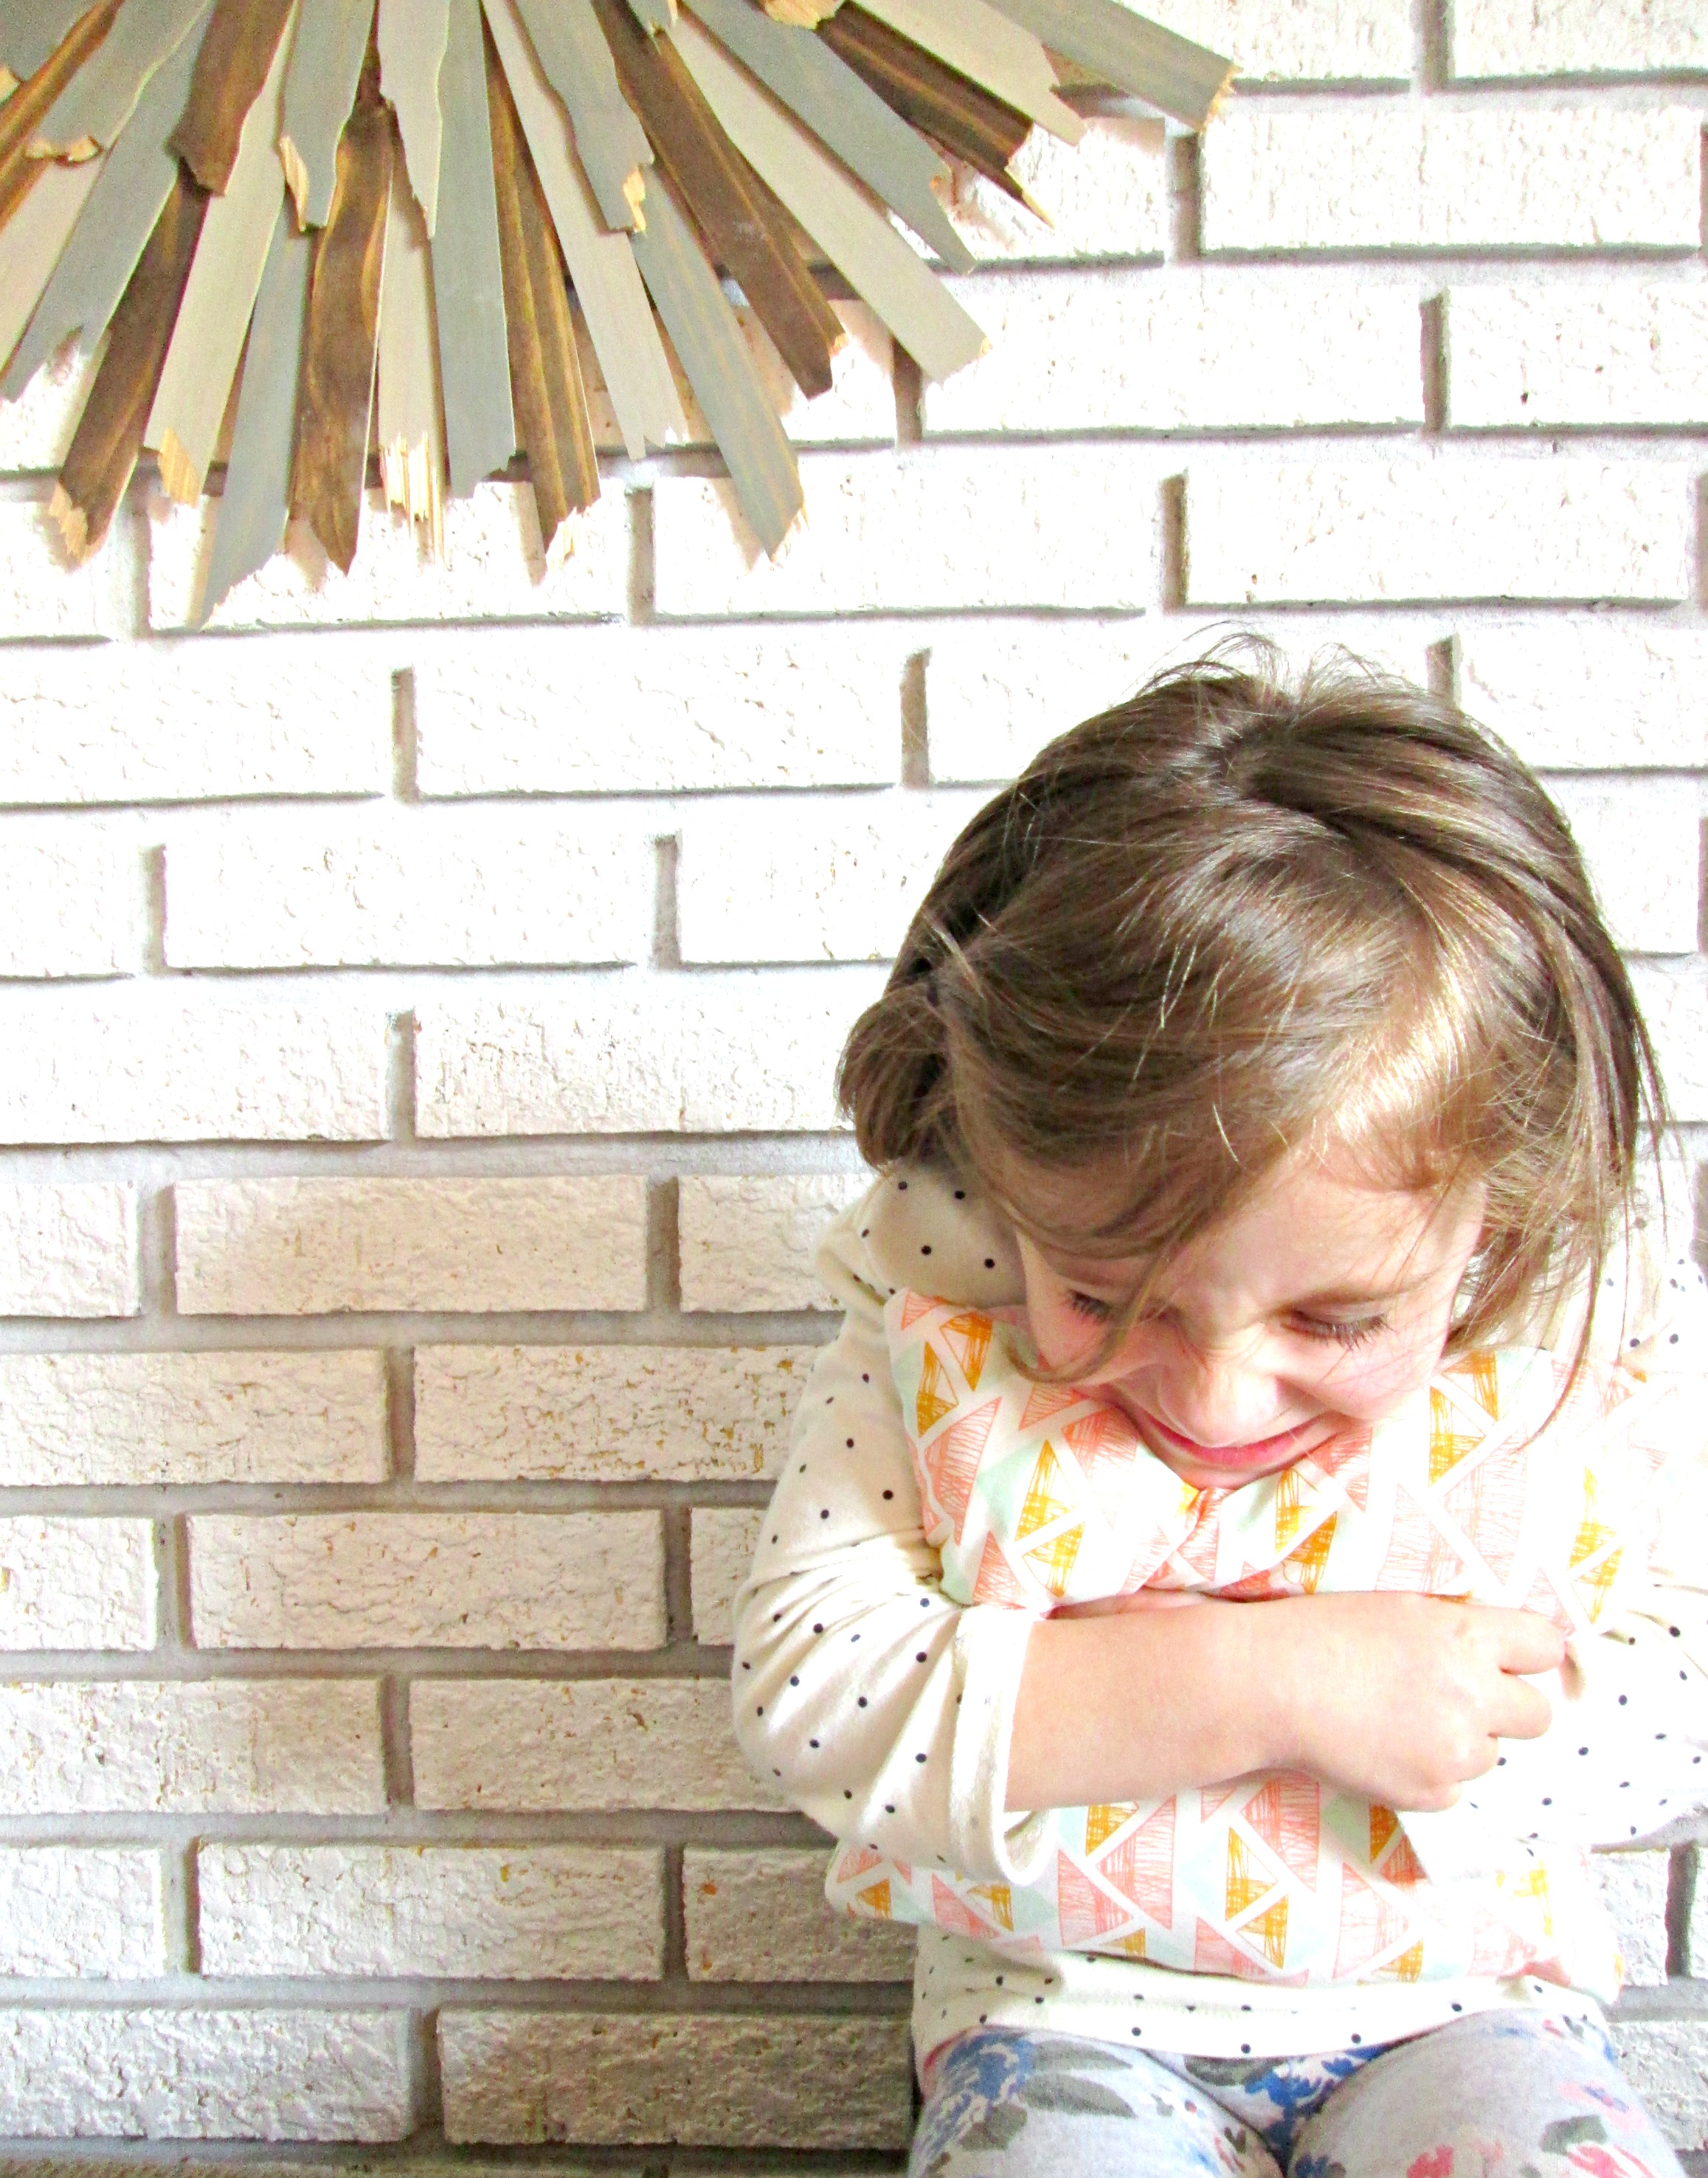
This funky multicolored fabric just sings in our light and airy living room! The peachy pink, mint green, and camel brown were borderline too perfect with the colors I wanted to nod at over these next few seasons, but it was too fun to pass up. And I couldn't say no to the triangle pattern!

And with the leftover fabric, Katie even made her biggest-littlest fan a pillow just her size!

So here's the deal; Katie is open for business to StyleMutt Home readers! If you are interested in finding your own fabric and having her work her magic, please contact me at chelsea@stylemutthome.com and I'll forward any orders on to her! All her pillows are constructed with envelope enclosures that make it easy to slide your pillow form inside. And, between you and me, I happen to know that Katie is trying to save up some money so she can join a missions trip to Guatemala this summer. Need I say more? Let's help a girl out and get some awesome pillows in return!

Thank you so much Katie for sharing your amazing skills with us! 

And thank you friends for stopping by!

Easy + Inexpensive Home Upgrades

Hi Friends! I don't know about you, but I tend to start piddling around our house looking for SOMETHING to do by mid- January. When the excitement of the holidays is behind us and life moves back into regularity, I start getting a little itch to do something creative. And when my furniture pieces are so cold that a single brush of paint frosts over before my eyes, I'm limited to the indoors.

If you're looking to do a few creative home improvements over the long winter months, we're here to help you get inspired! The following ideas are simply meant to be jumping-off points to get your wheels spinning. 

Let's have some fun!

1. Wall Decals - Here's a trend that I am revving to jump on! Wall decals are such a whimsical way to complete a room, and the best part is, there are so many beautiful choices! You can create an entire statement wall with decals, or a specific focal point. These choices are a great mix of fun and sophisticated:

Sources from Left to Right: Raindrop Flower, Seagull Wall, Triangle Wall

2. Hardware - One of my personal favorite ways to switch things up is a simple hardware upgrade! The options are endless so your bound to find a style that's right for you, (and your piece of furniture)! Here are three favorites floating around right this minute:

TO BUY

Sources, Left to Right: Gold Tone Mushroom Knob, Netherbury Knob, Antique Tear Drop Knob, Rustic Cabinet Pull

TO DIY

If you have a retired belt, (or you can find one for a few bucks at a thrift store), then you can cut it up and make leather pulls! On the piece blow, I made tab pulls by folding 6" pieces in half and sticking my screw through the top, as well as full length handles by sticking a screw through each end, with the middle bowing out a bit.


3. Sofa Cushions - By far the most popularly switched out item in the home, sofa cushions are a zero effort option that offers dramatic results. Fabrics and patterns can be mixed and matched any which way you please, so if you can make the tough decisions, it's a great way to give a room a noticeable face-lift! It was hard to narrow my favorites down, but the companies below are my personal, tried and true favorites for price, style and quality.

TO BUY

Sources from Left to Right: Stocholm Pillow, Striped Aztec Pillow, Velvet/Linen Pillow 

TO DIY

Using leather cord and a white cover, stitch just the ends of the cord placed in a criss-cross pattern.

4. Gallery Walls - This completely DIY option can be as clean and simple or as random and haphazard as you'd like! There are really no rules when it comes to gallery walls, but it's highly recommended to lay your pieces out on the floor first so you can play around with placement and design. Use personal photos, pages from books you own, or downloadable prints you find online! Here are a few gallery walls we've designed here at StyleMutt:

Sources, (complete with how-to tutorials), from Left to Right: Botanical Prints, Downloaded Prints, Sentimental Wall in White

There you have it! A few good indoor-weather projects to get you through the Winter! Is there anything you hope to work on this Winter or any other ideas you can add? We'd love to hear what you're up to!

Thank you all for stopping by!

Plain, white pillows ---> Three ideas!

Hey guys! I've got a good three-fer for today - three ideas for one product! Tis' the season for quick and easy design swaps to get your homes ready for the holidays up ahead. I don't know about you, but I've been swooning over the hundreds of decorative pillows overwhelming Pinterest, Etsy, and my inbox of emails from West Elm, Pottery Barn, Anthropoligie Home, and the like. There are so many. So, so many. One could easily drop several hundred dollars on seasonal pillows alone!

A few months ago I swooped into IKEA for a quick stop and grabbed a few plain white GURLI pillows while I was there. I didn't quite know what I was going to do with them, but at $4/pillow, I figured something good would come from them. After an in-n-out trip to JoAnns, I had just what I needed, (for an additional $4 as all items were on sale), to dress up my plain white pillows!

IDEA 1: Block printing

Block printing is one of my favorite techniques. There are so many creative ways to use block printing - curtains, tea towels, (which I gave as Christmas gifts one year), chair cushions, aprons, stationary, napkins, lampshades, (which I did on our old bedside lamps), and as we'll see today, pillows! You can use any number of objects as your shape and then you just need a bottle of fabric paint.

For my first white pillow, I used a green pepper, cut straight across about two inches from the top. Squirt some fabric paint onto your paper plate or paint tray, stick the cut end of the pepper into the paint, and stamp it right onto the fabric! 


When I was finished with the block printed pattern, I felt like my pillow needed a little something more.  I dabbed my finger into some red fabric paint and made a few dots in the center of each stamp. Now it looks like flowers!

IDEA 2: Leather Cord

This next idea was inspired by a pillow I saw at Target by Nate Berkus, (the 'Decorative Braided Pillow', now discontinued). I bought the leather cord from JoAnns, (on sale for around $1), and then measured and cut the pieces I'd need for my design. I layed the two criss-crosses side by side and stitched the ends. That's all!

IDEA 3: Leather fringe

This last idea almost went in a different direction using chunky pom-pom trim instead. But, when I saw this camel leather fringe on sale at JoAnns, I couldn't resist and changed course right away! A simple, trimmed-out pillow is a great anchor to a long couch full of various patterns and textures. I used fabric glue for this idea and it has held up beautifully, but of course if you have a sewing machine that would work as well. I glued along the outer edge of the pillow, carefully lined up the leather fringe, and pressed down. Then I snipped off the end hanging over the edge of the pillow cover and started on the next side. 

Here they are all together - three identical pillows dressed up three different ways! For $4/pillow and $4 total for supplies, I now have three new custom pillows for a total of $16! This was an easy project to tackle in a single afternoon while my little ones napped. Estimated project time: 60 min!

Thank you for stopping by!