Little Orphan Lampie

True confession: I've had a lamp rehab post drafted since March.  EEP!  I had finished up this project in our old apartment last spring and was in a rush to sell before we moved (one less box to pack etc...) - so I never got around to it's debut post.

But now we are getting ready to move again and I was reminded that I never told you the story of little orphan lampie.   She was all "it's a hard knock life" lying there at the thrift store - with no base to stand on. You may recall that I actually found her the day a brought home the metal card catalog drawers I used for this guy (who's on super duper sale by the way *hint hint*).  

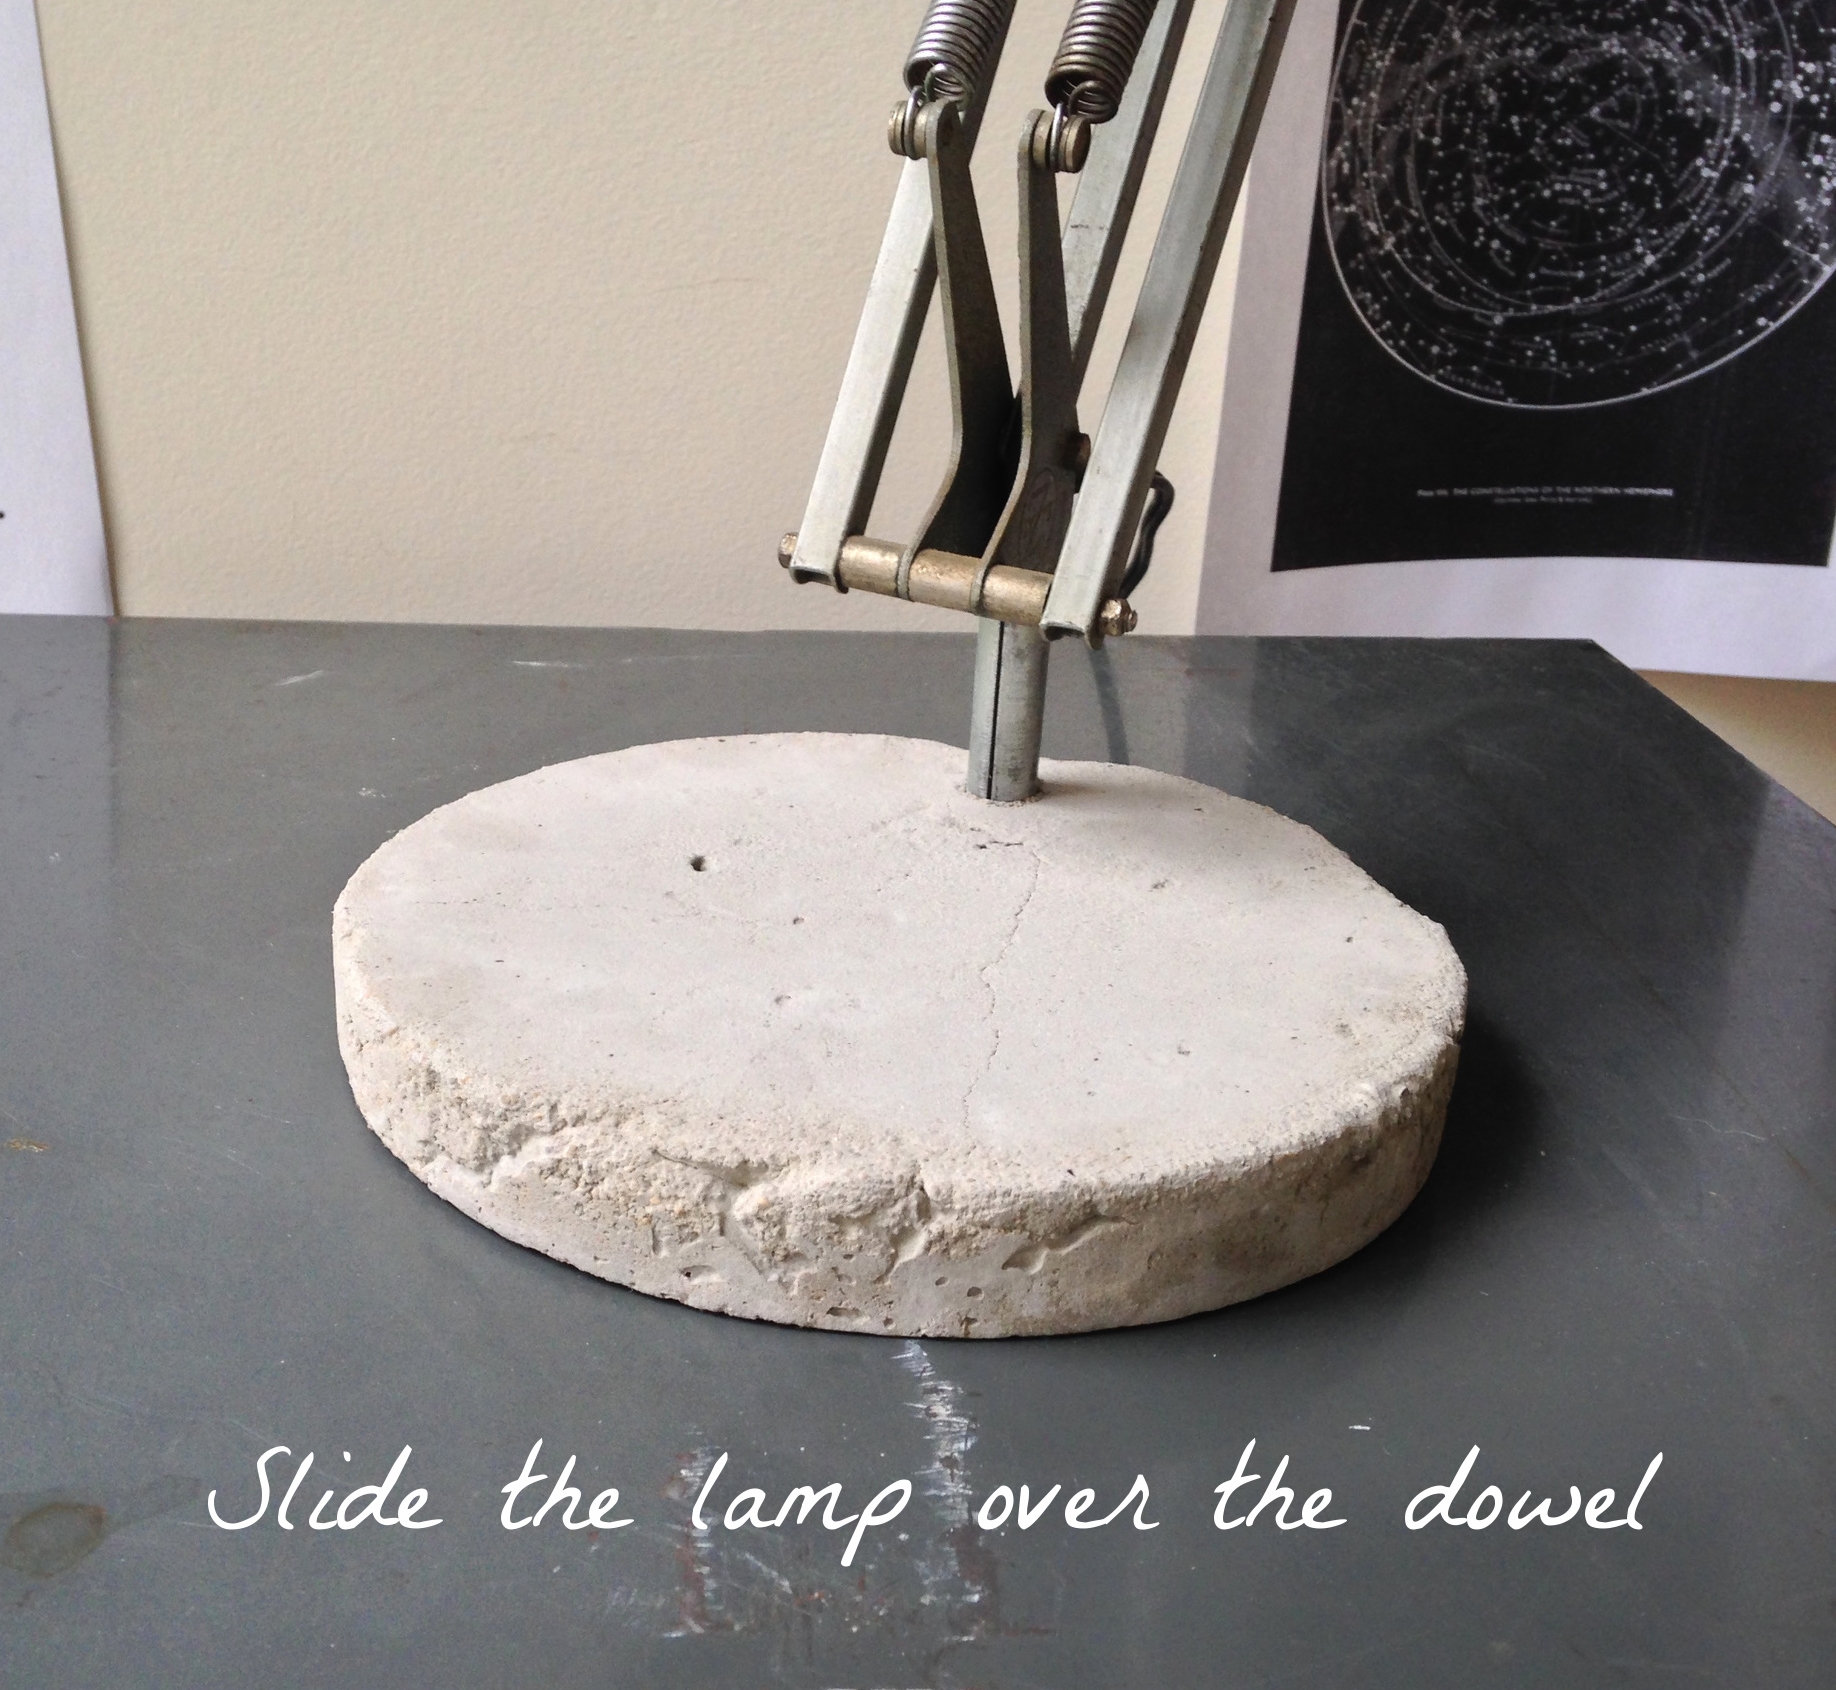
I was drawn to her industrial flare, flint gray paint job, and her graceful movements despite the layer of dust on her springs, but she couldn't stand up on her own.  So what to do, what to do...  Build her a concrete prosthetic.

Obvi.

My supplies:

Lamp in need
Concrete mix
Round cardboard box lid for a mold
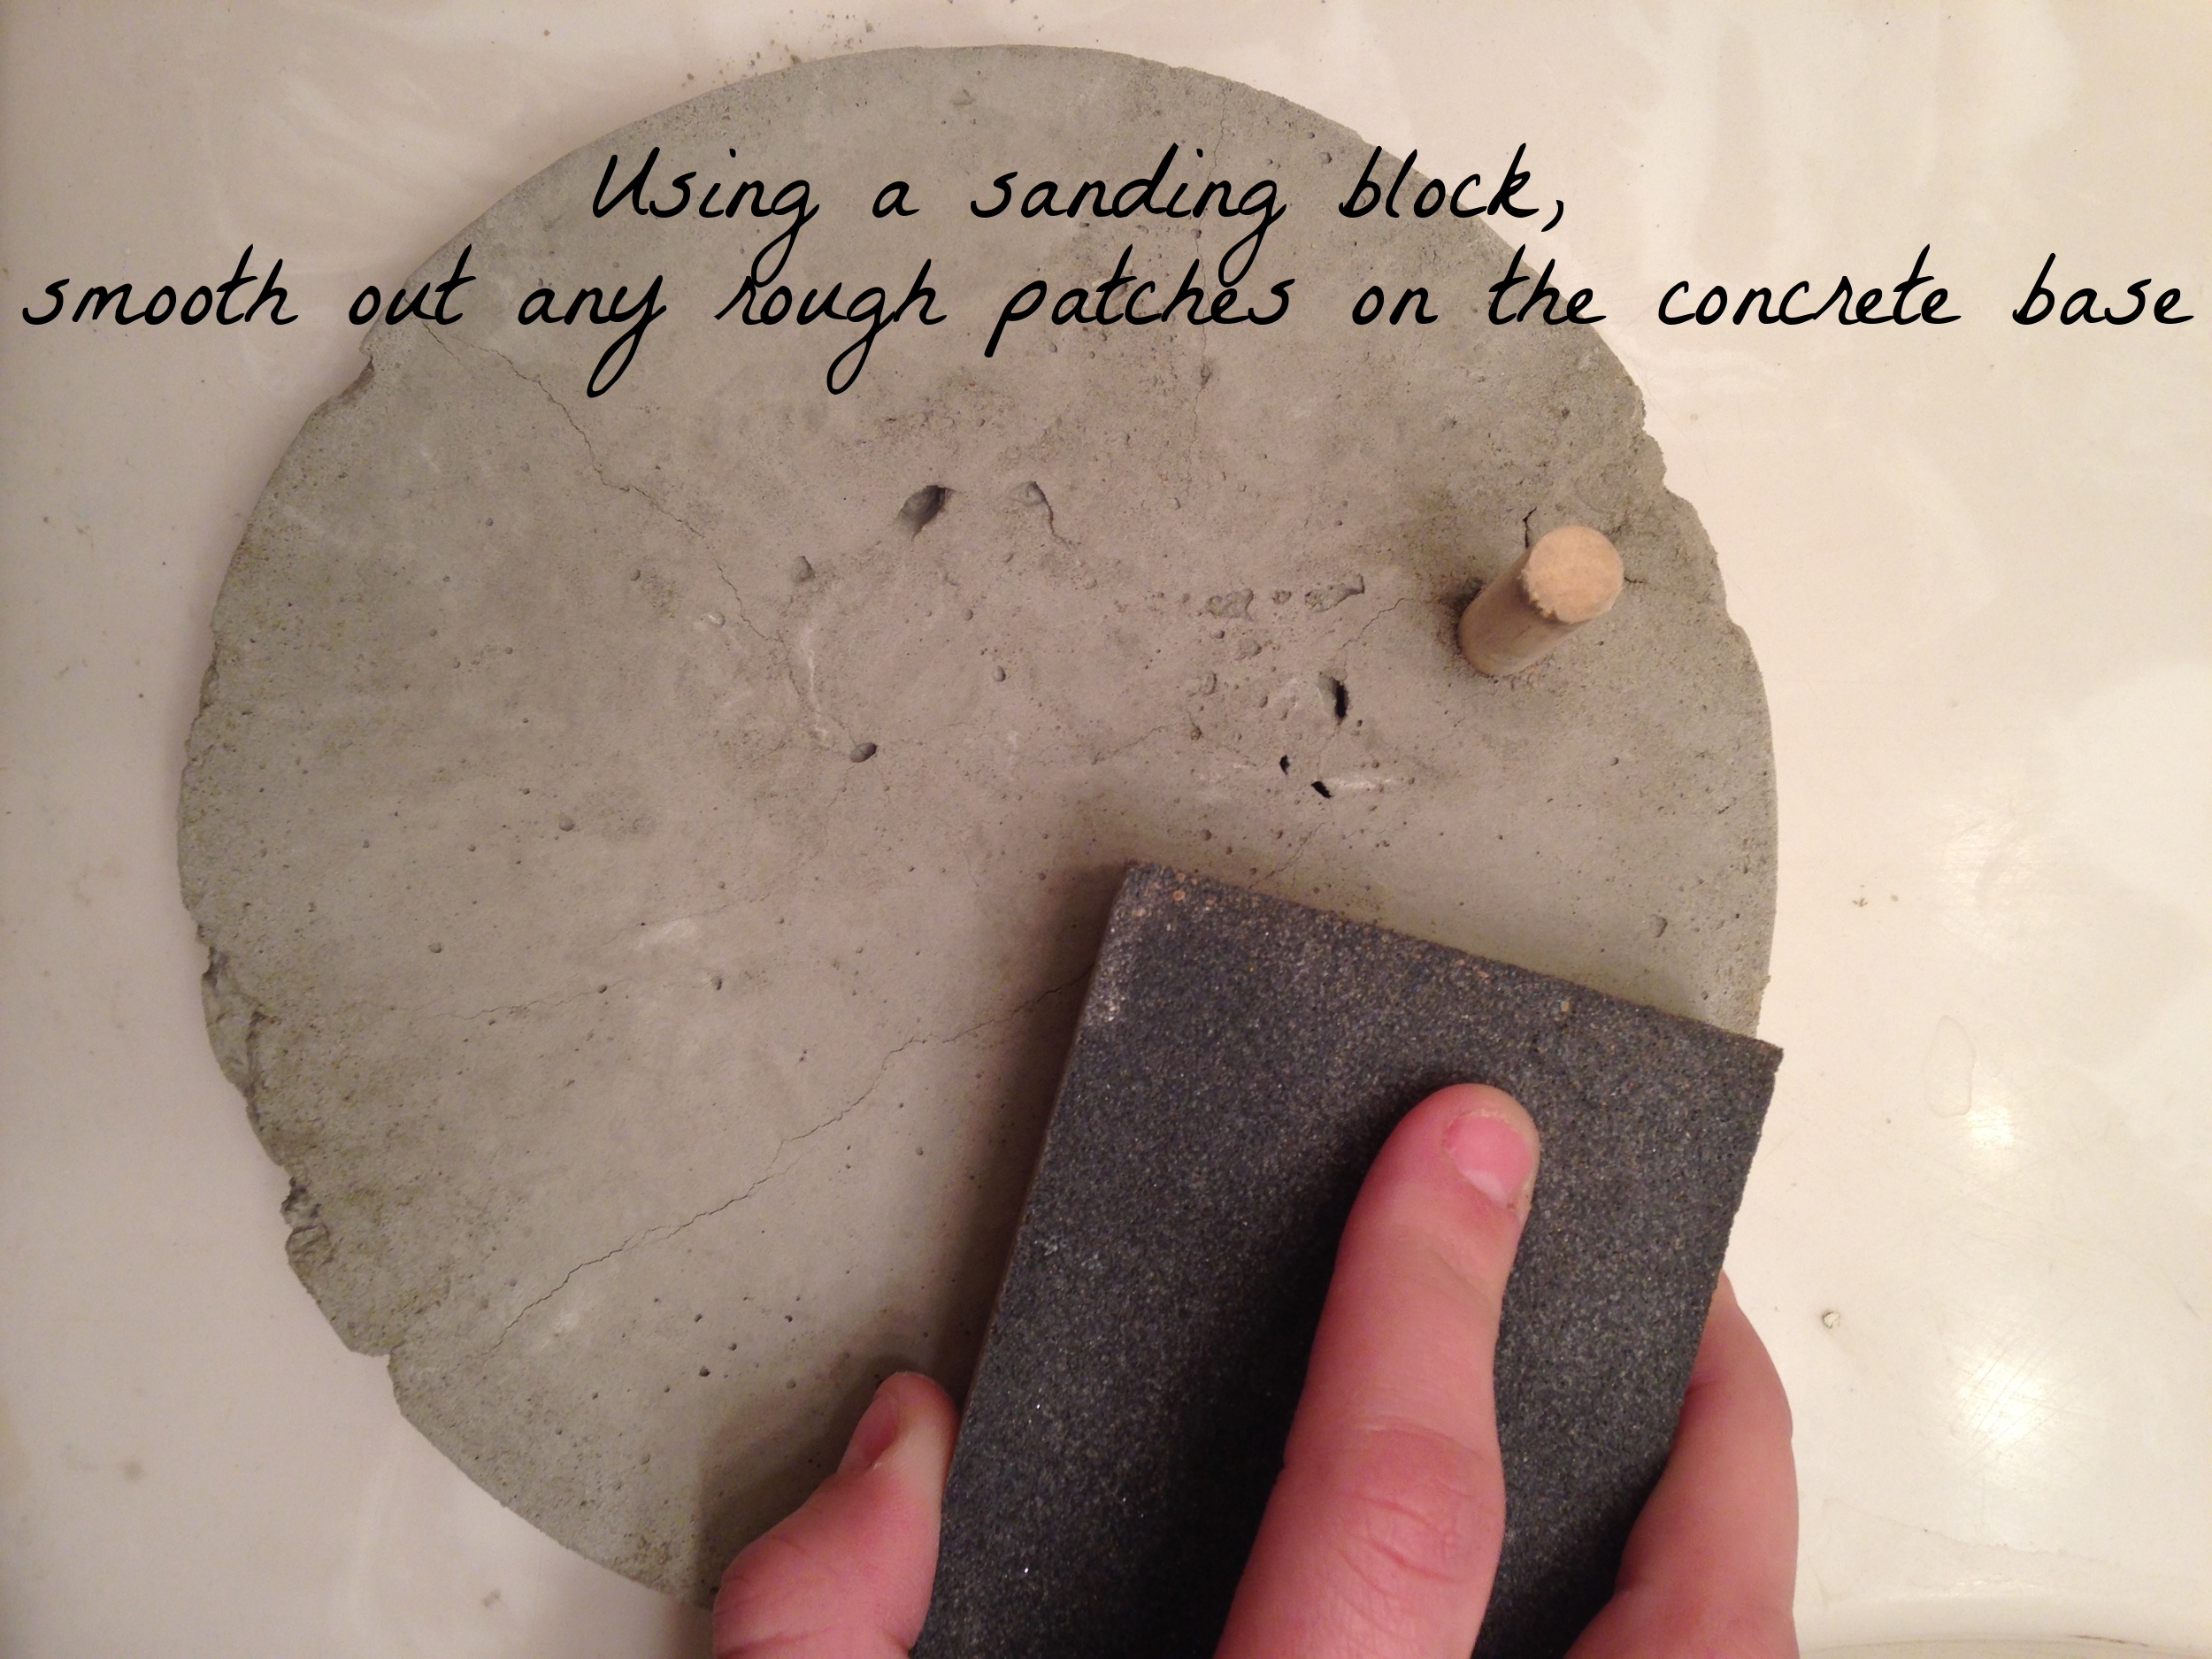
Wooden dowel that's a small enough diameter to fit inside the hollow tip of the lamp
Duct tape
and WD40

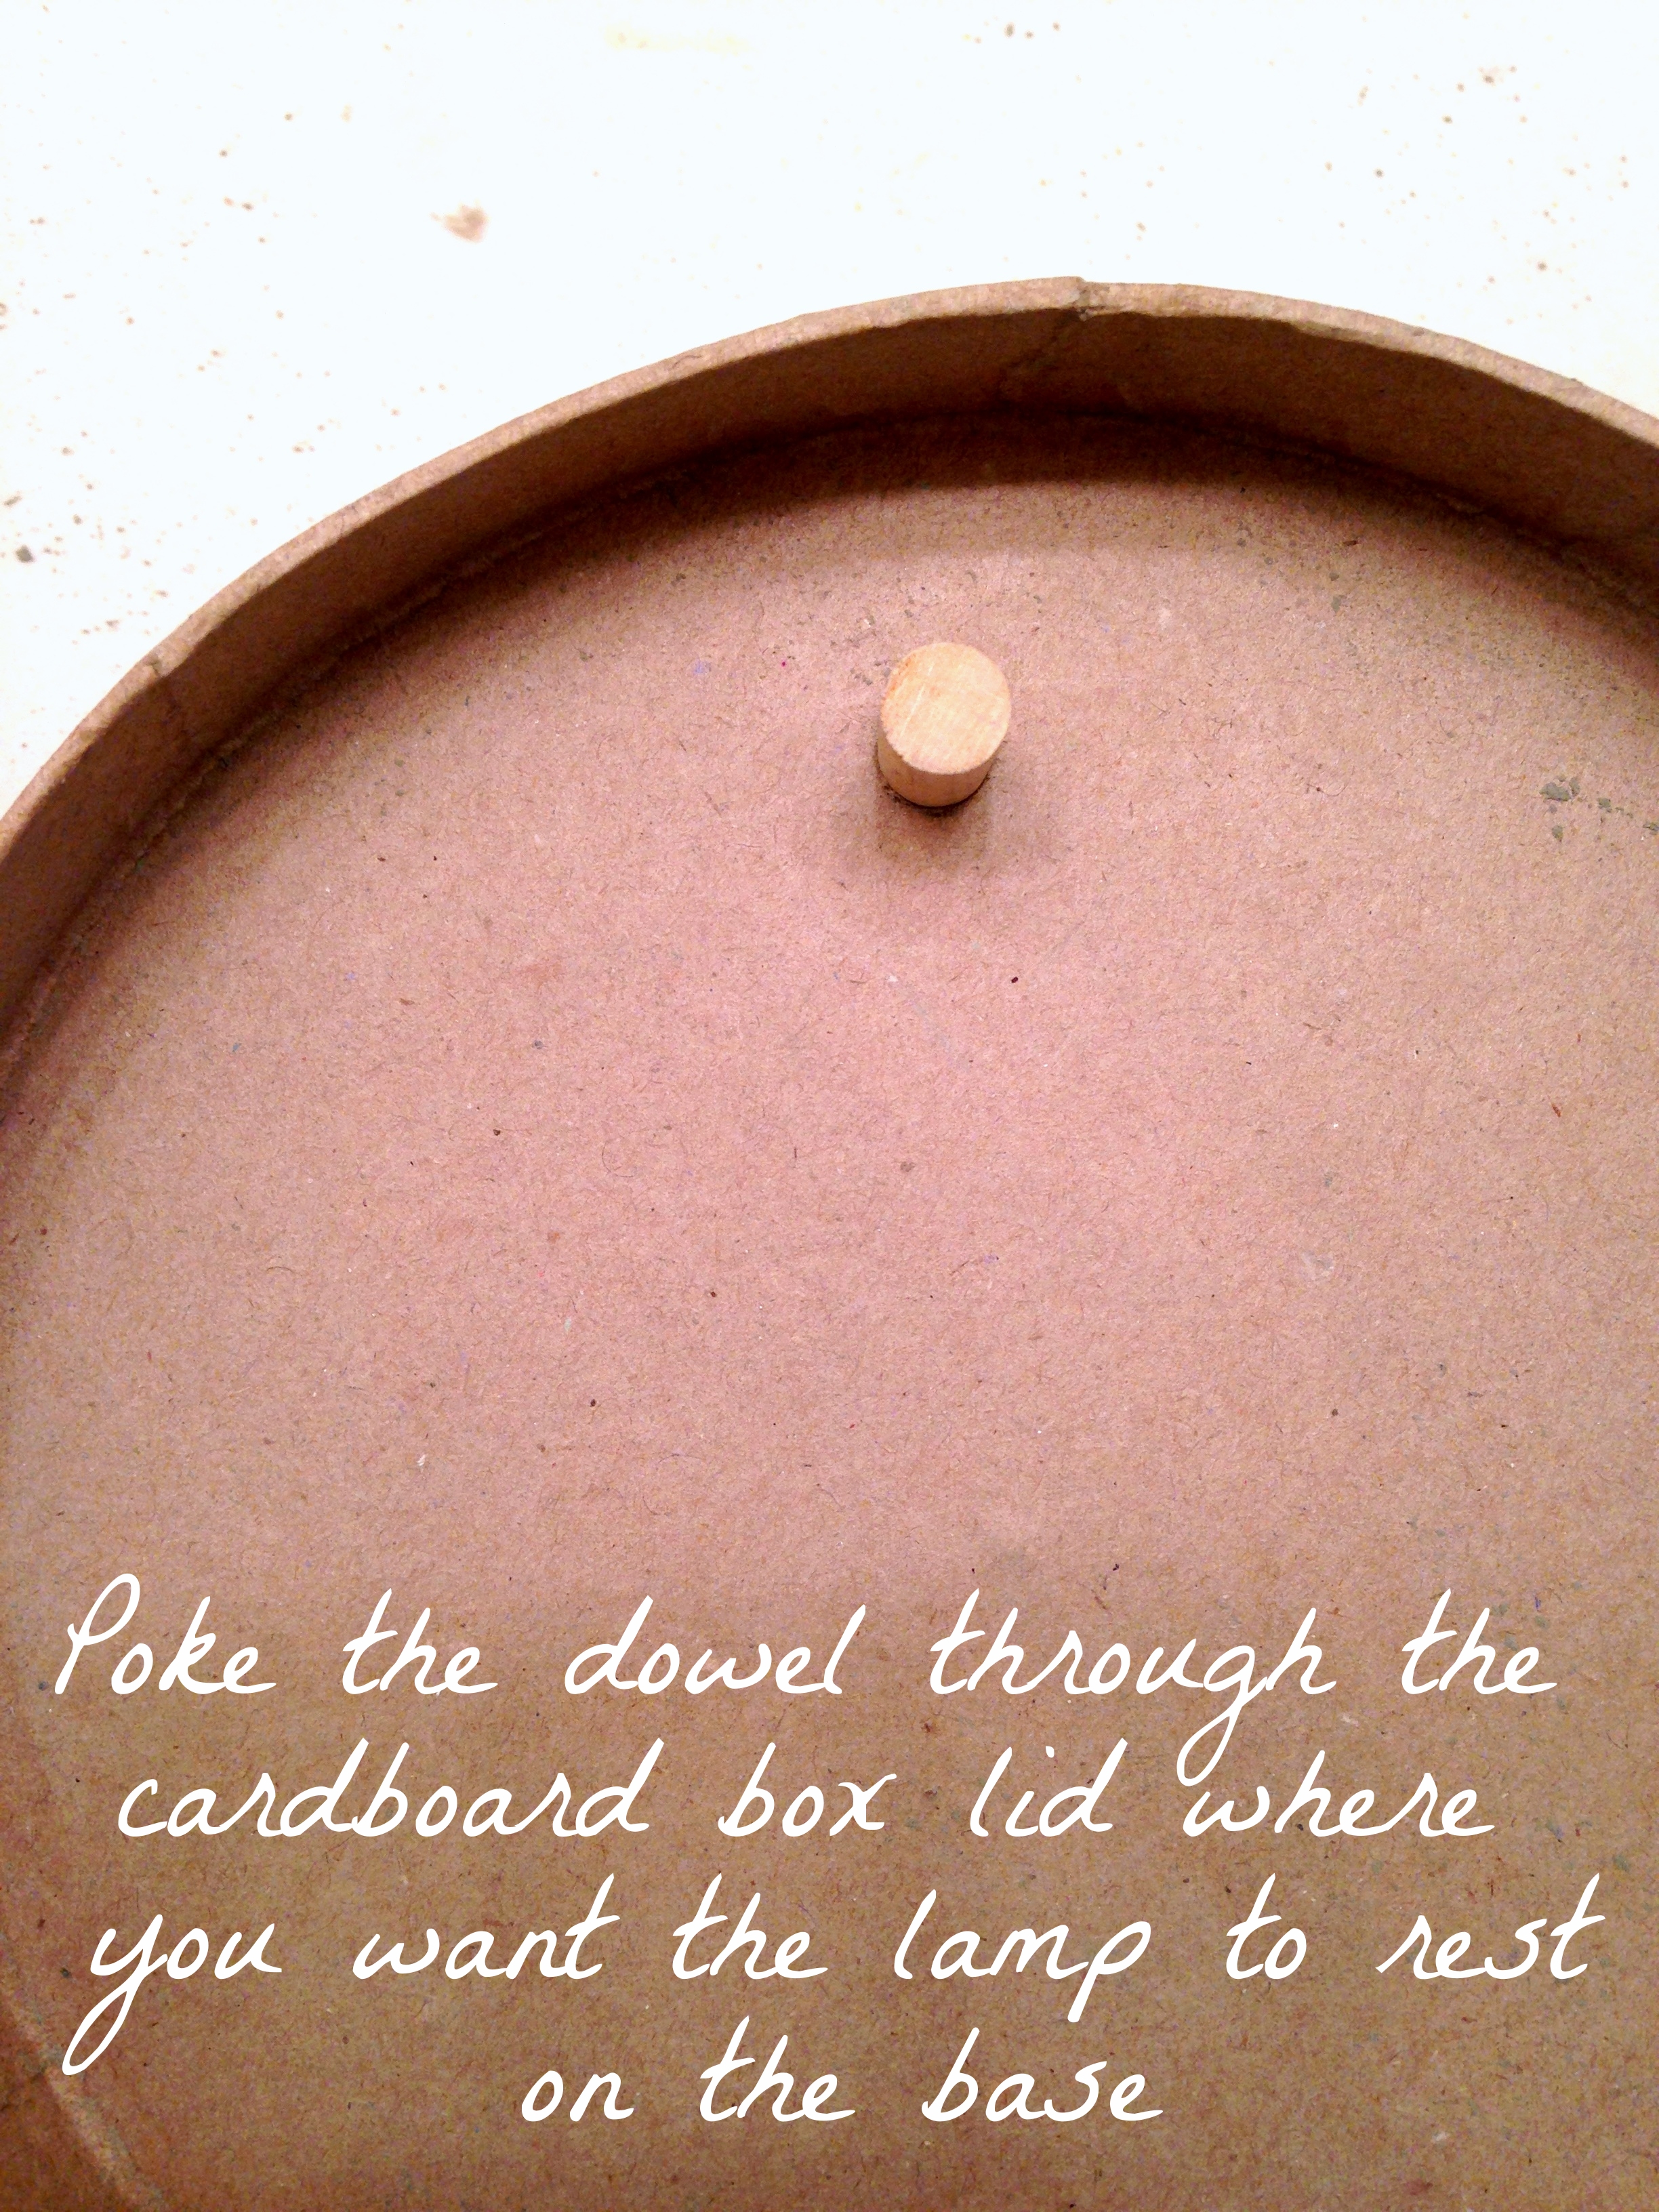
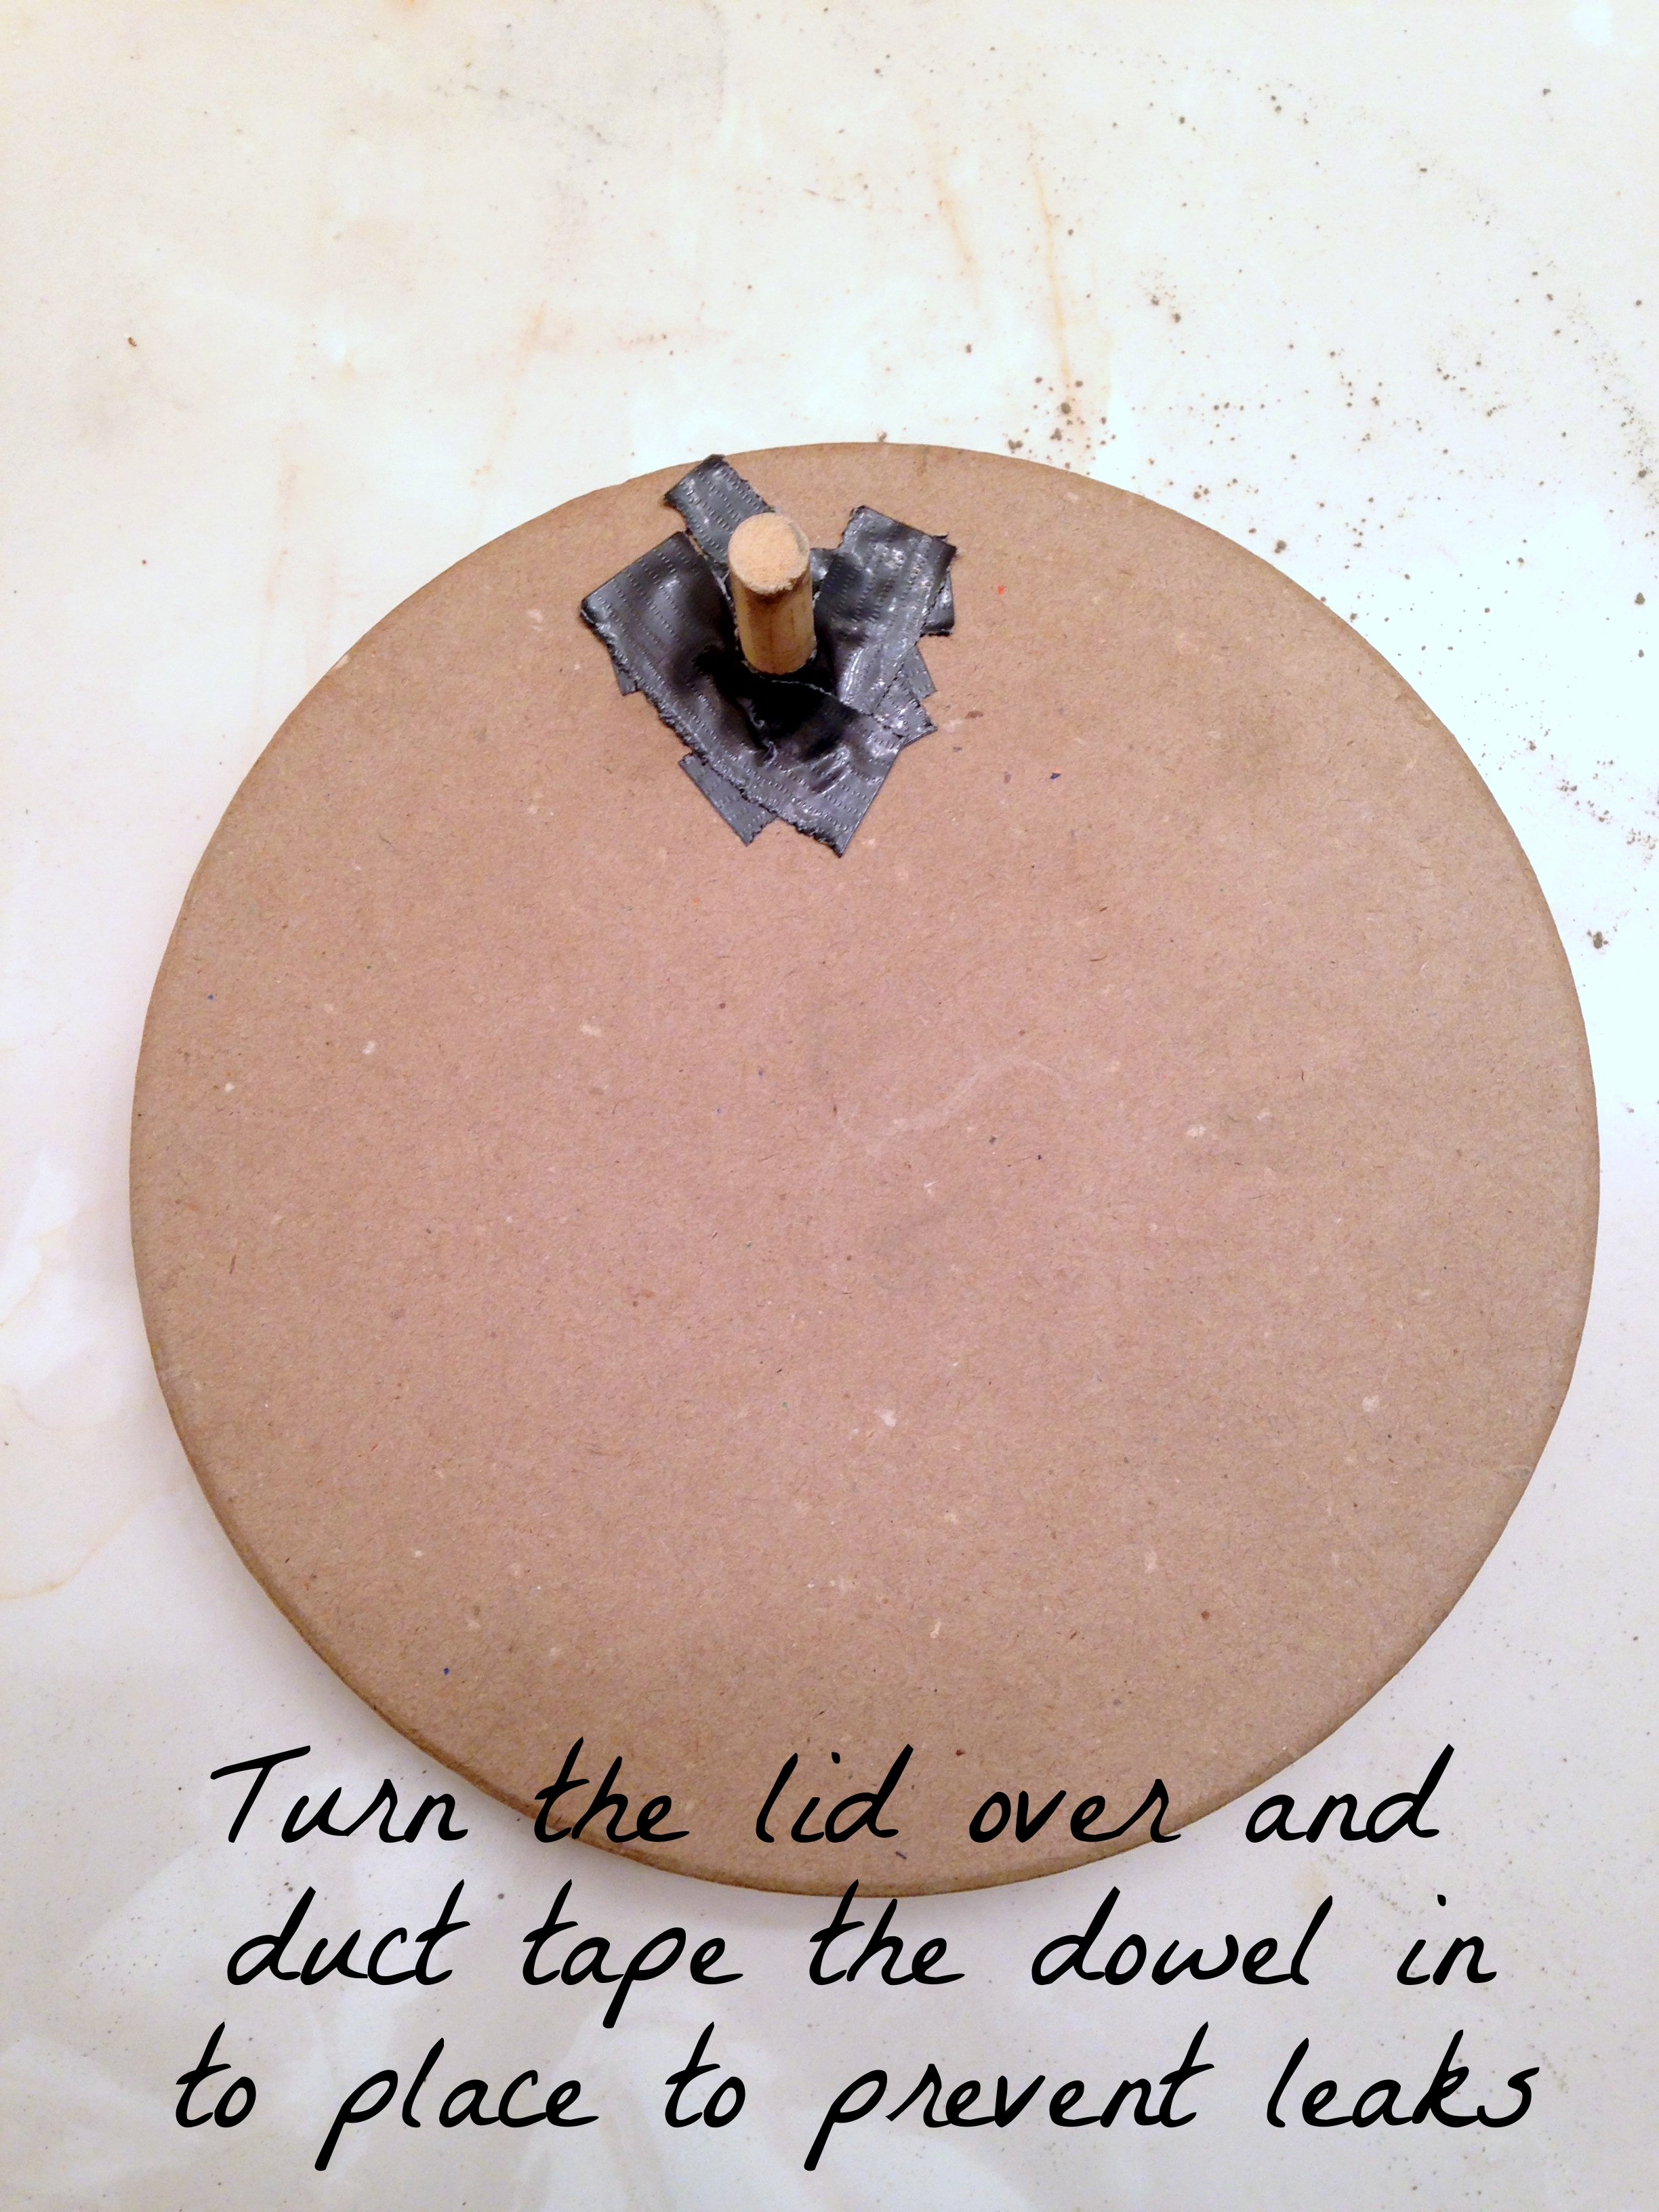
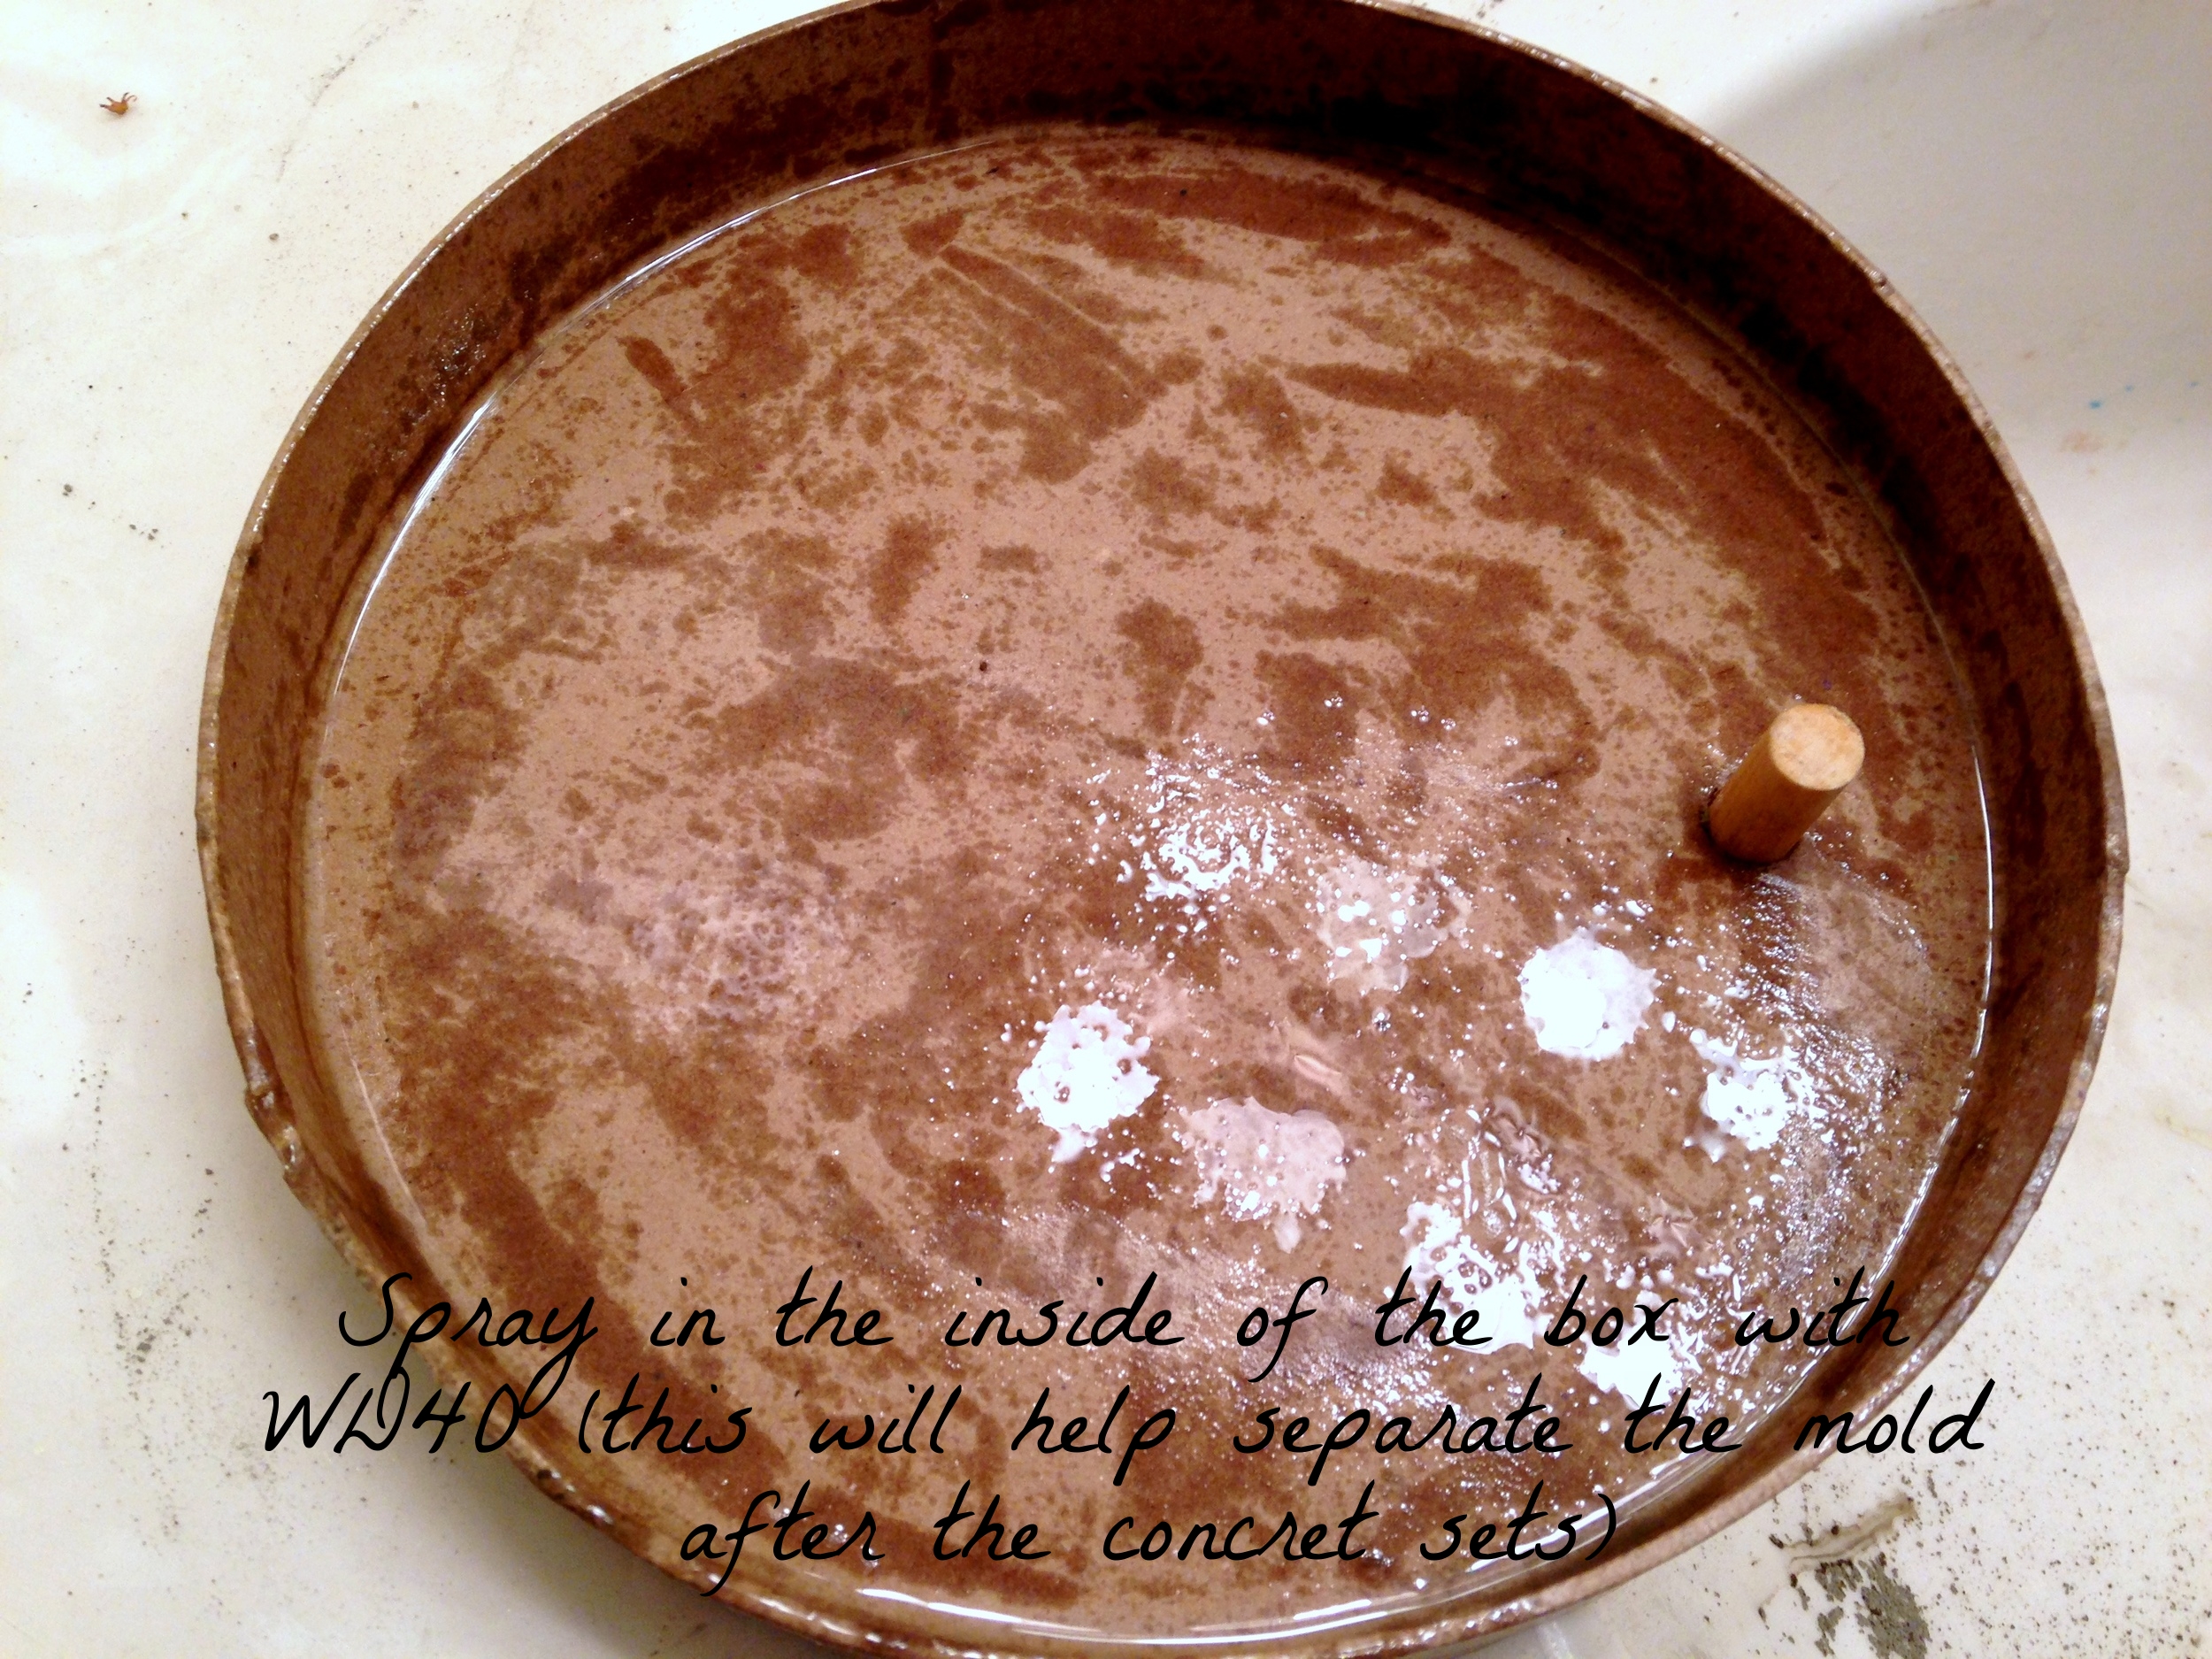
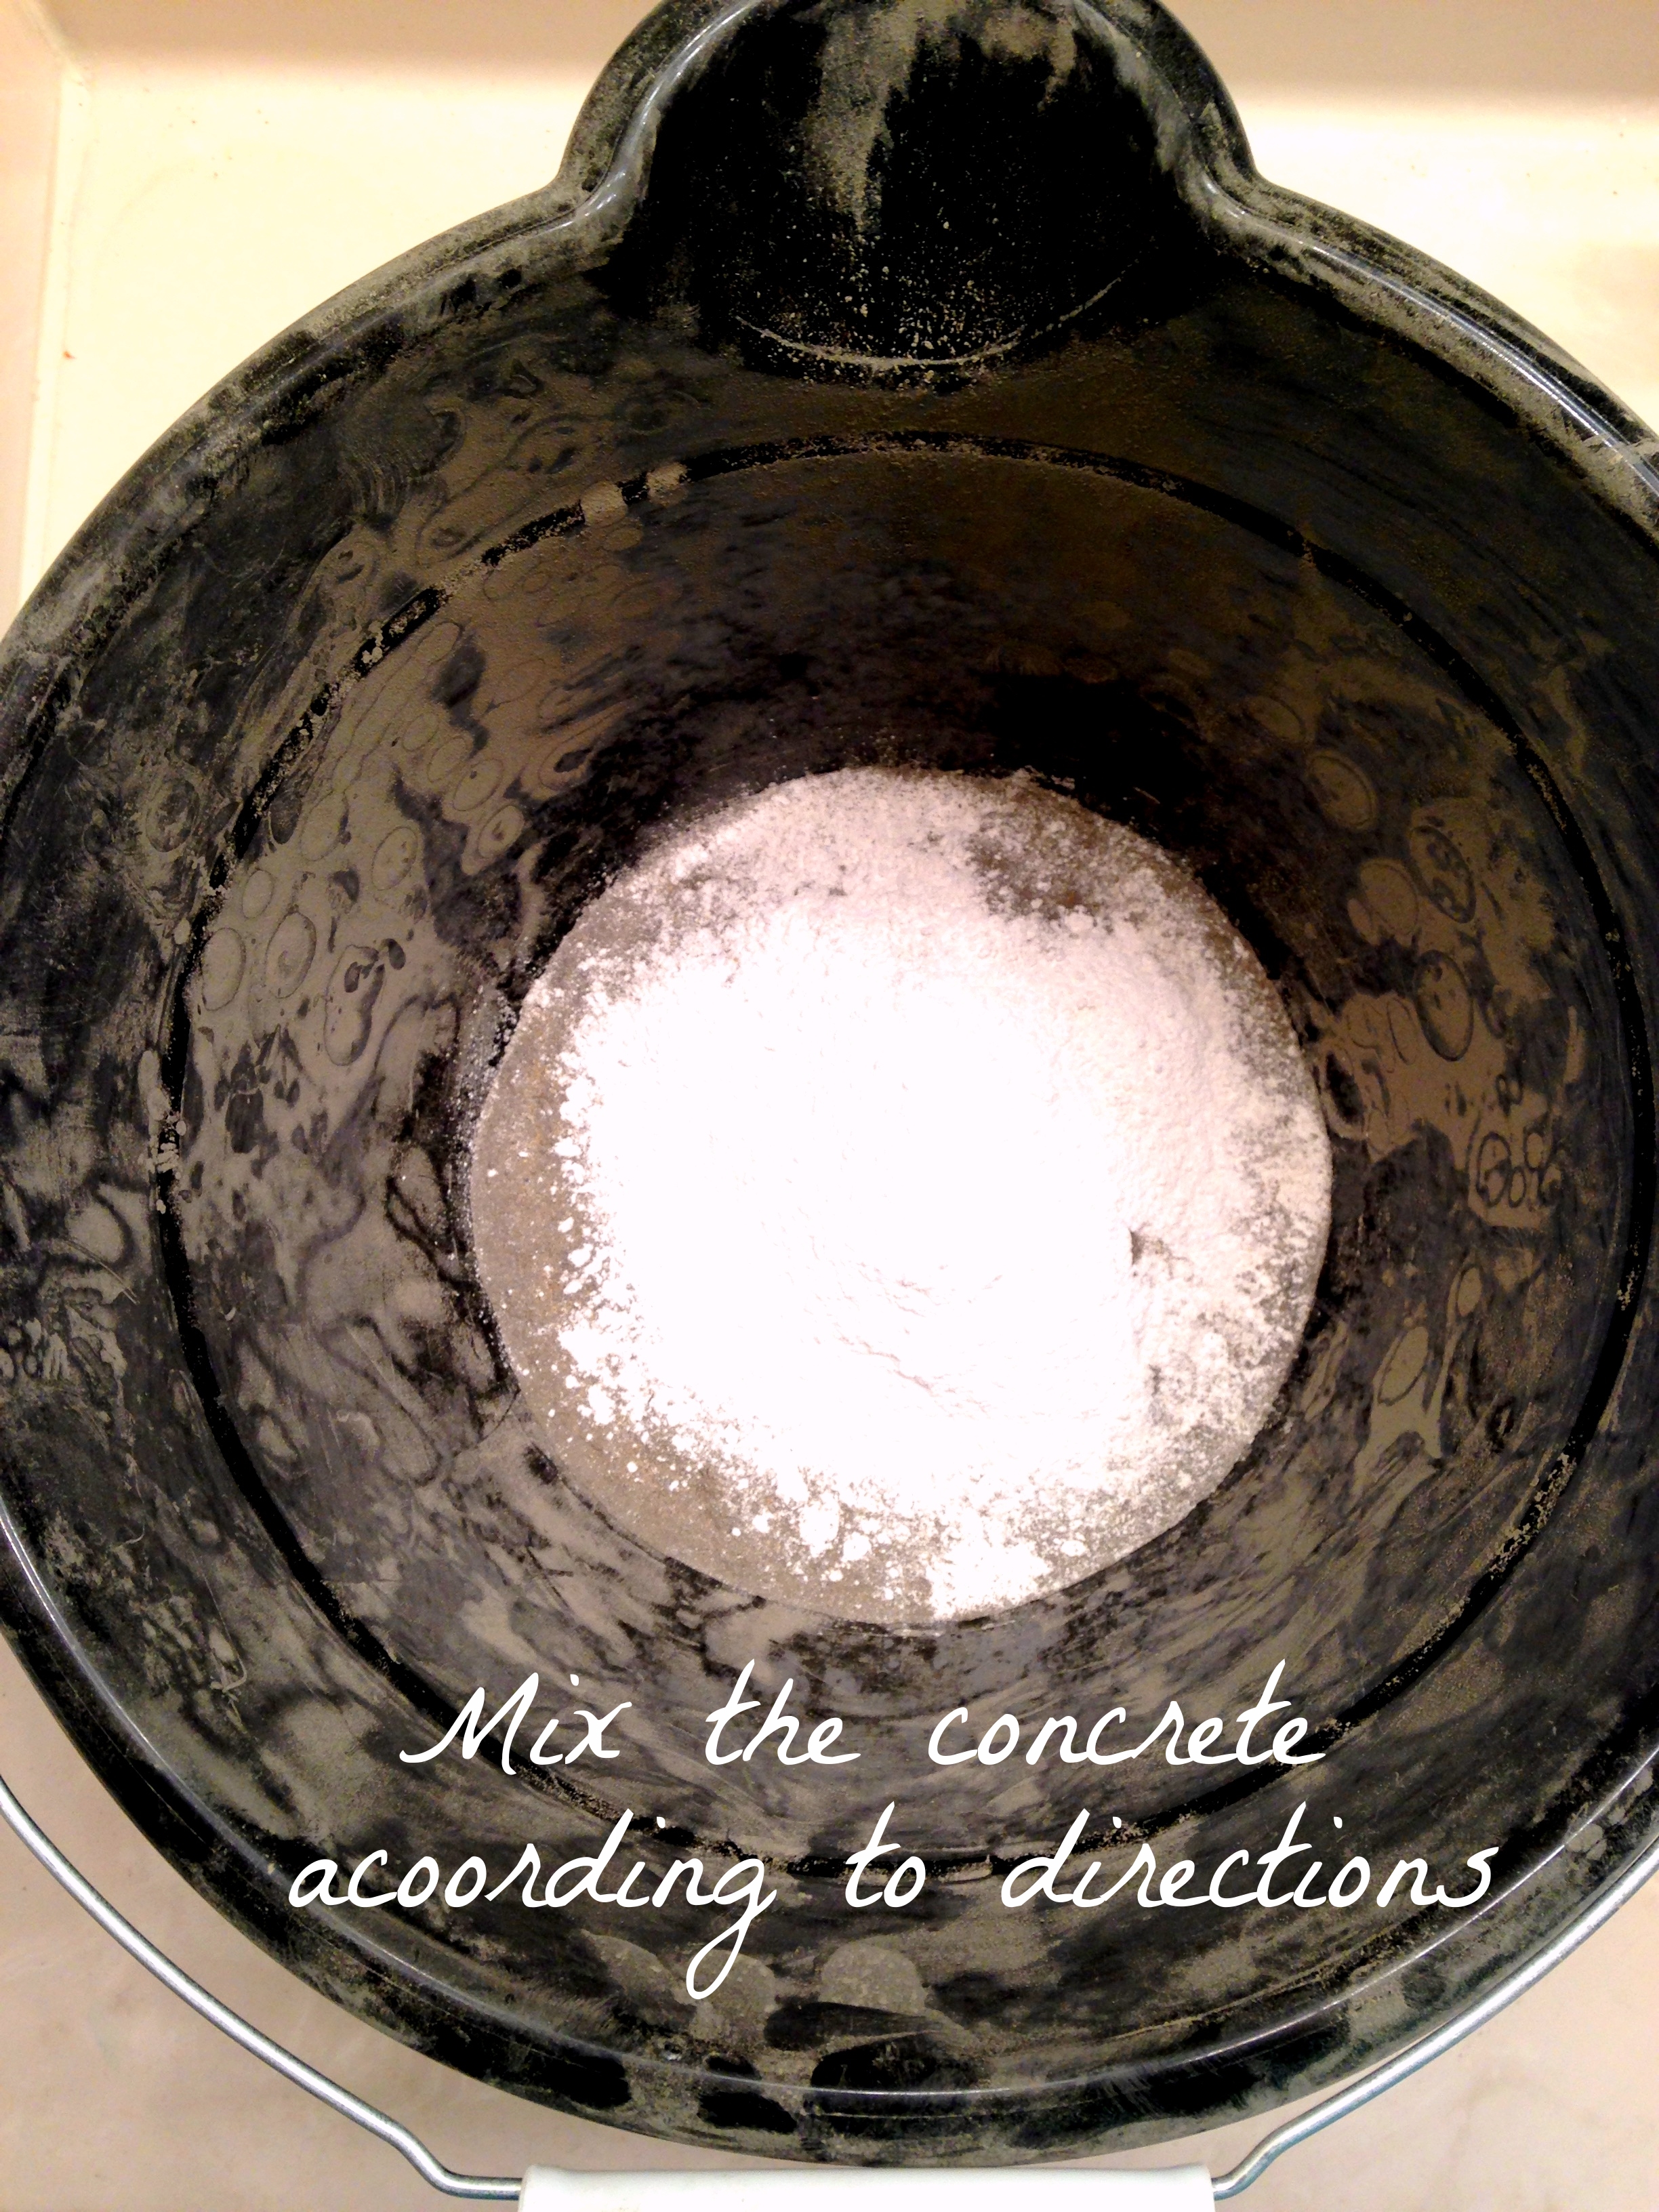
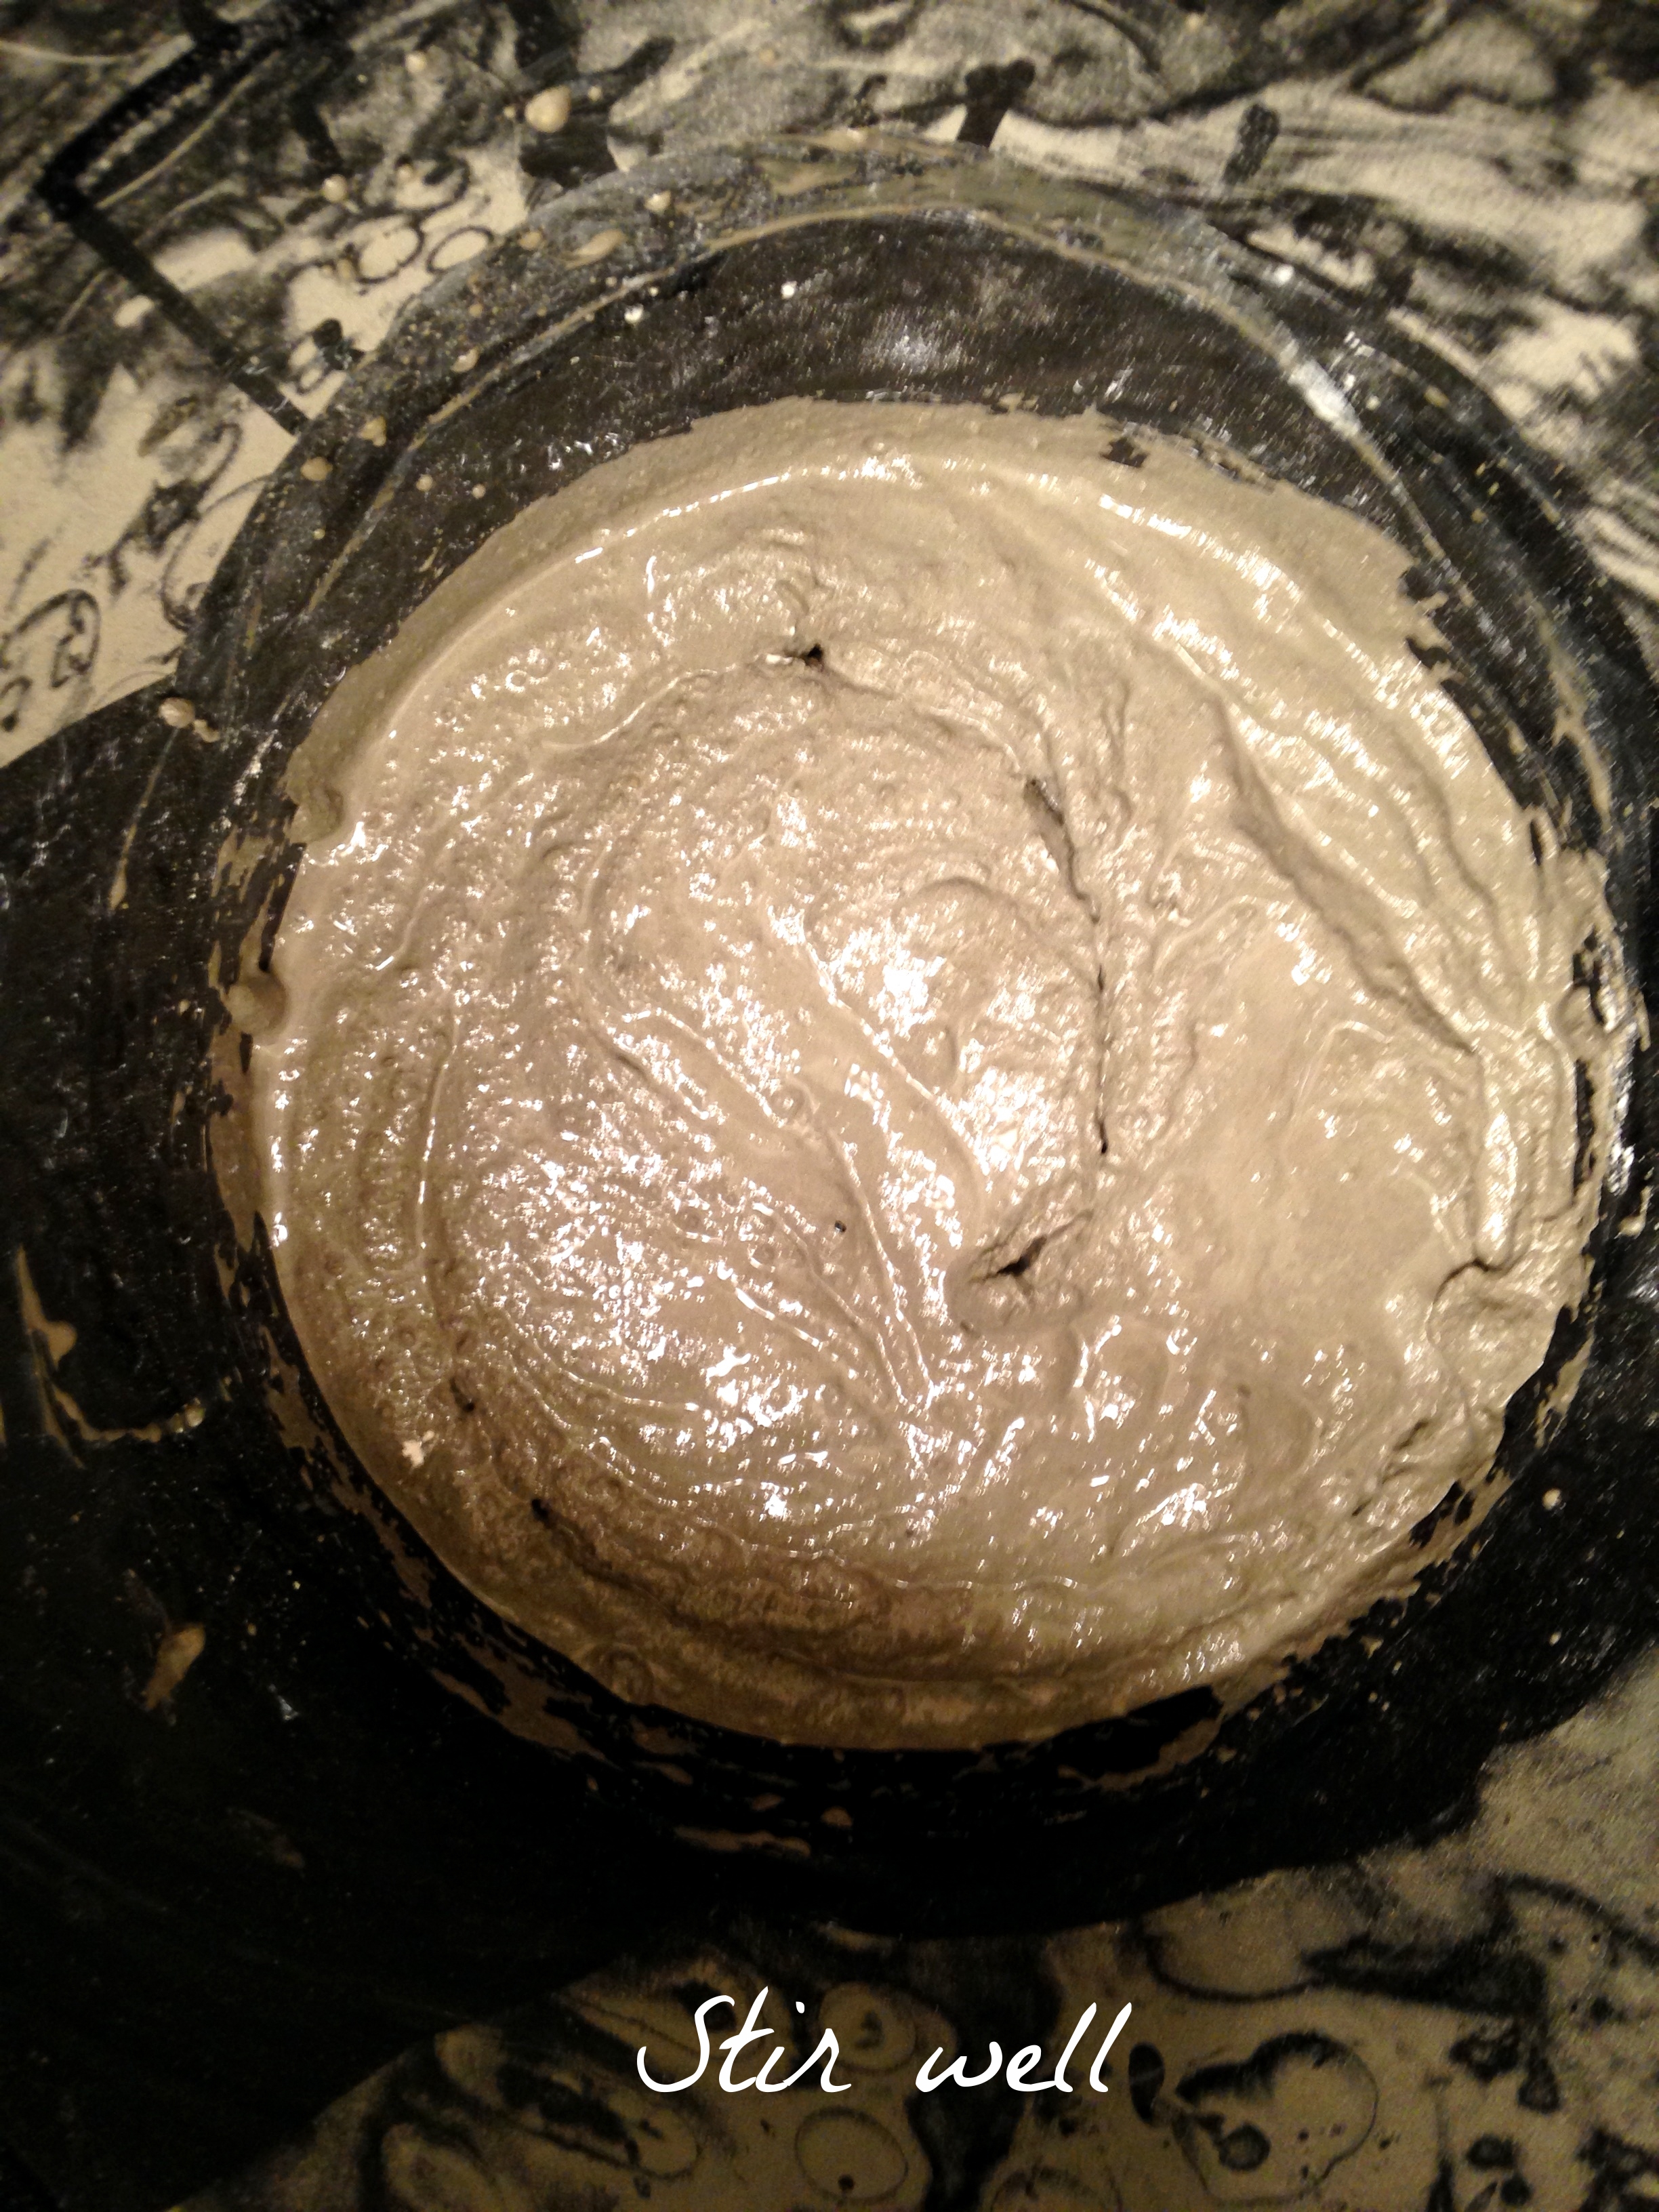
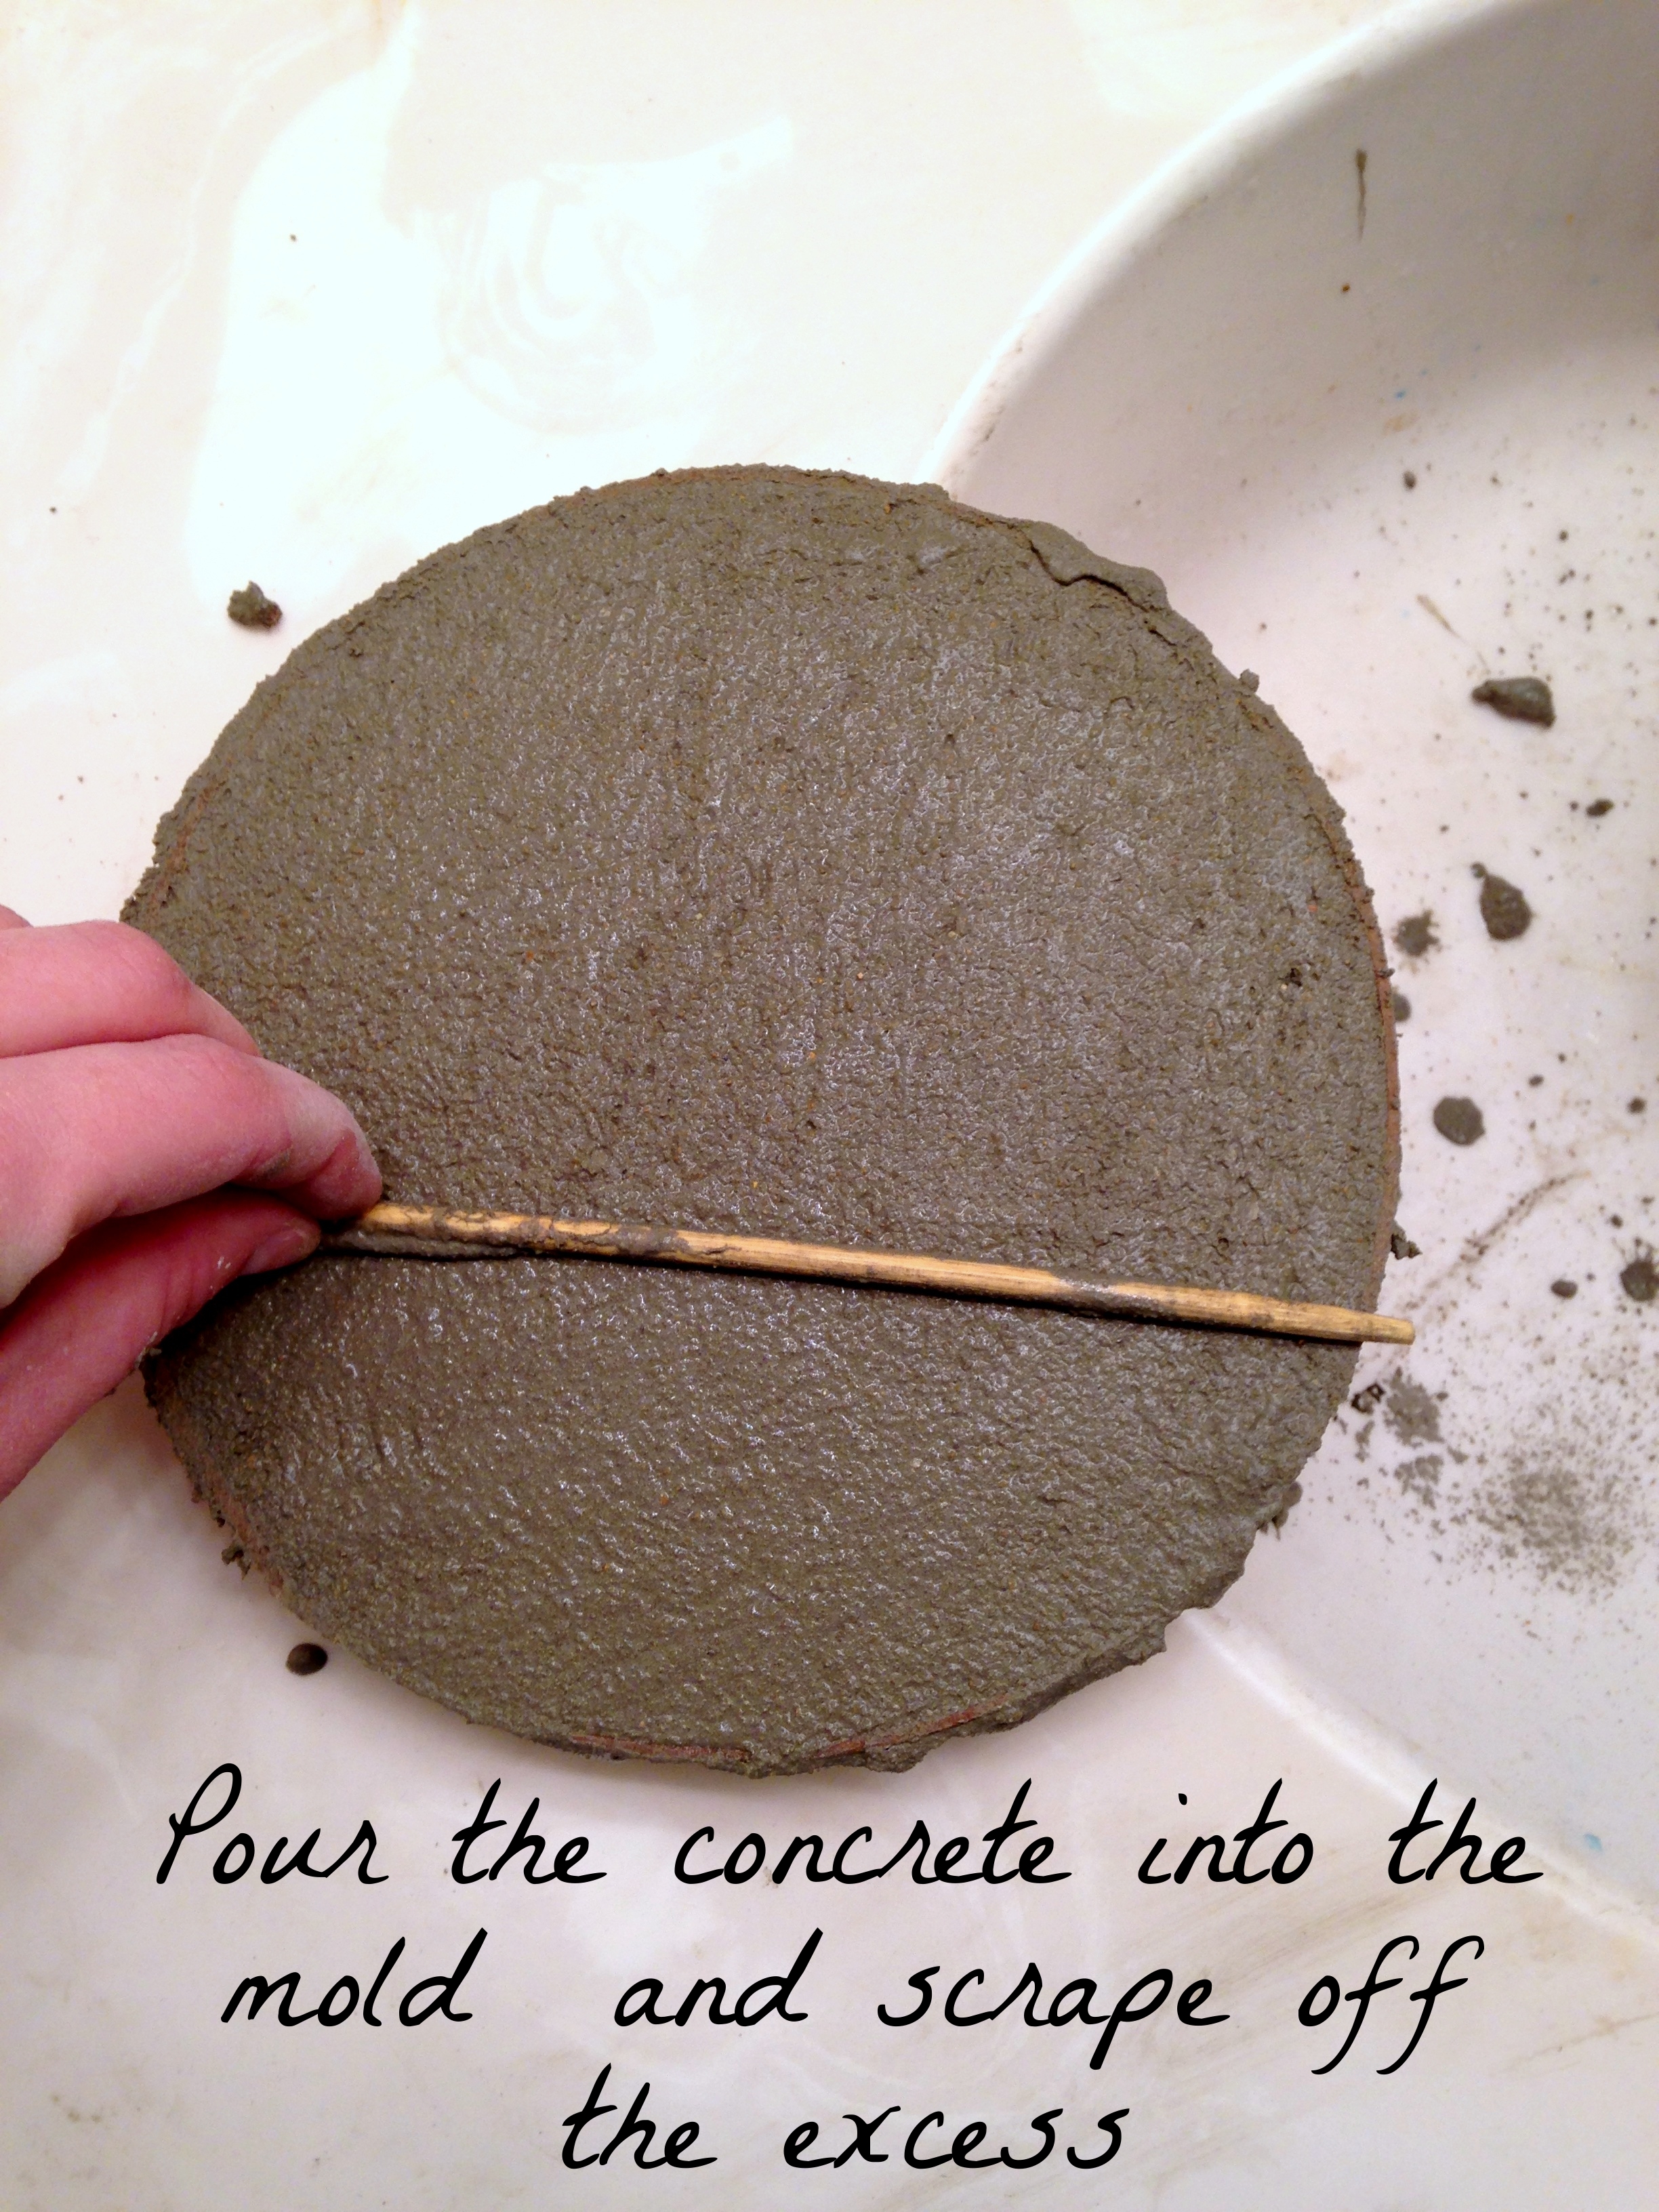
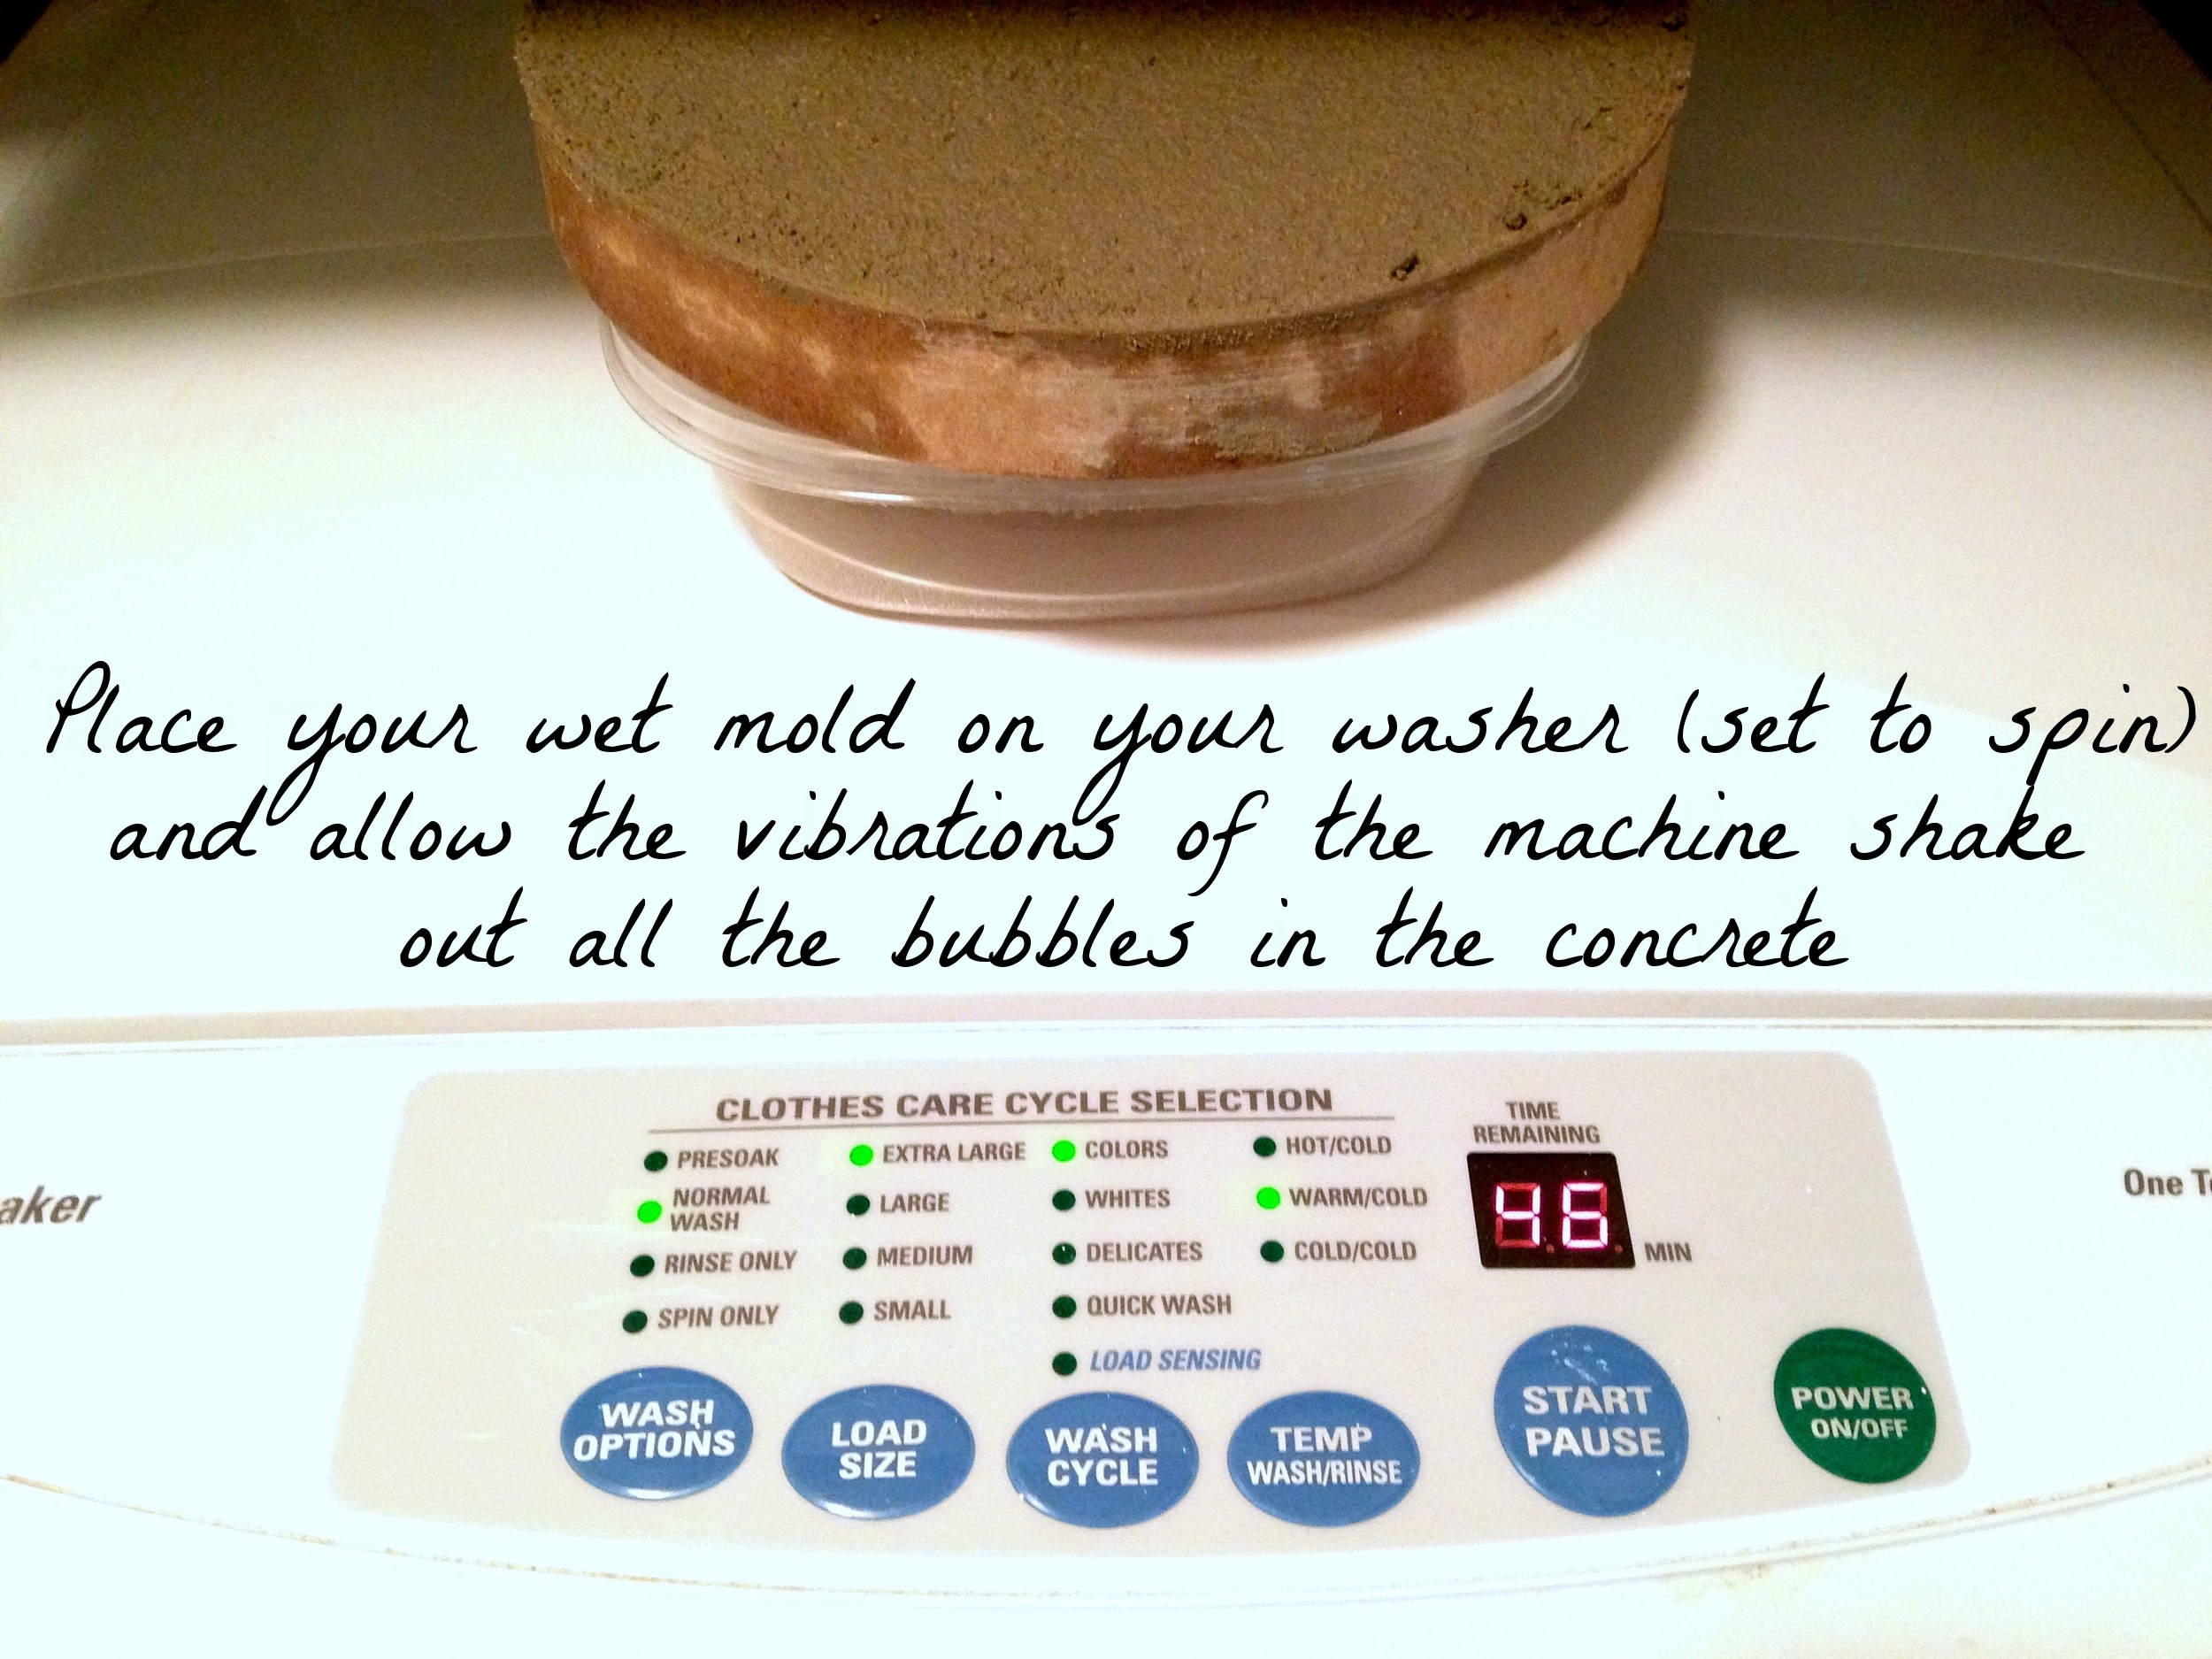
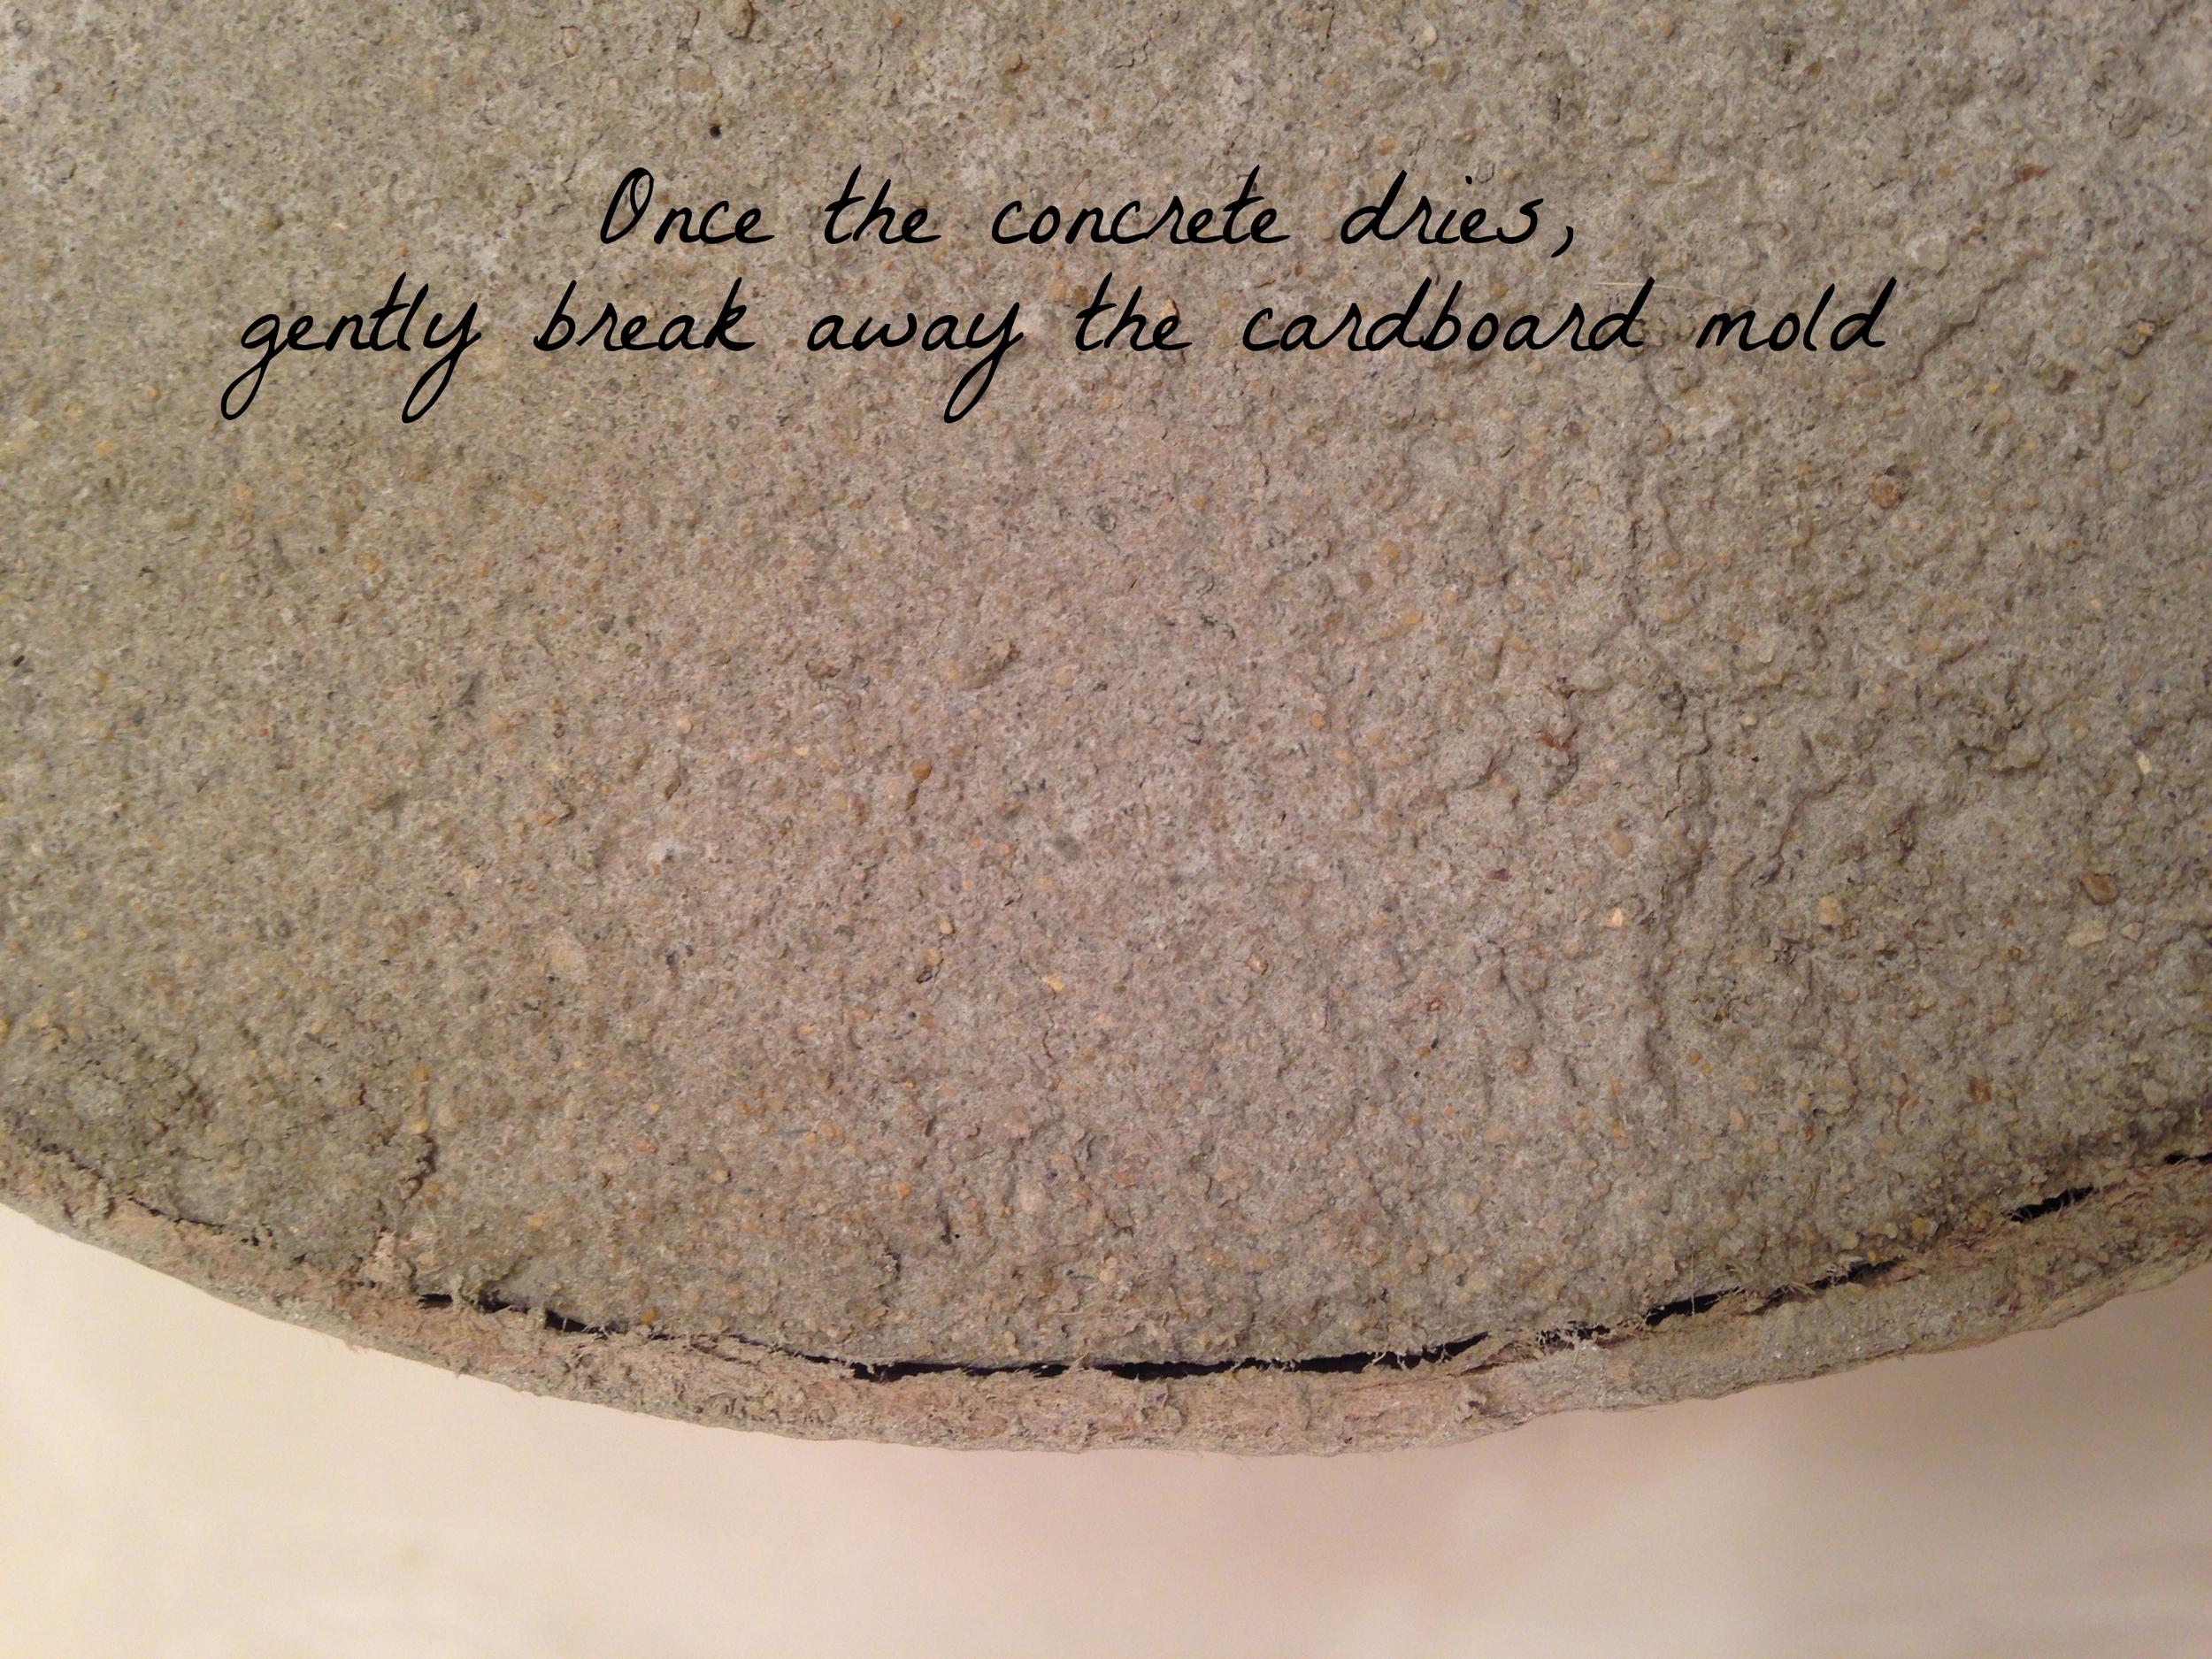
Scroll through the images below to see how to use  the cardboard box lid as a concrete mold.

Surgery went well so are you ready to try standing up for the first time little lampie?

That's it girl!

Photo Mar 27, 12 21 11 PM.jpg

Keep going!

Now don't be shy!  Can you look up for the camera - show us who's my little number one?

The sun totally came out tomorrow for you didn't it little orphan lampie?

Even though this is old old news, I am happy to report that little orphan lampie went to live with her very own Daddy Warbucks (well actually it was city-living young professional, but same thing ;)

Have you rehabbed and orphaned item of your own?  I'd love to hear about it in the comments below or tag me in your pics on instagram!


Constellation Table ||A Star-Crossed Love Story||

This is a love story.  A furniture love story.  The story of one table top and one table base who were destined to be together.  But first they had to figure up how to break up with their original table top and table base... And that's where I come in...


Ok guys, I'm no homewrecker.  In fact, I would more likely call myself a homemaker.  But in this case, I did have to break up two perfectly good tables to help them find their soul mates.  You may remember that a while back I scored a deal on this world market table:

My first impression of the table was that this combo was a little too dark and sad for my taste so I offered to give the base a makeover.  He got a full-bodied coat of gold spray paint and rub down with dark wax.  But I think his new look got him thinking he was too good for the ole plain wooden top.  And so he left her for this glamorous round mirrored tray and they made a beautiful bar cart together

But the rejected top took the break-up kinda hard.  She spent the next four months single... and aimless... and hiding underneath my couch.  

I tried to convince her that she didn't need a base.  She was a strong and beautiful wooden top who didn't need a base to feel useful.  I tried to fix her up with a pair of handles and make her into a tray, but she just wasn't into it.  She wanted a new look, a new life - something that would make that campaign bar cart jealous.  I suggested all sorts of makeovers.  But they were either too understated, too out-there, or too over-the-top for her liking. 

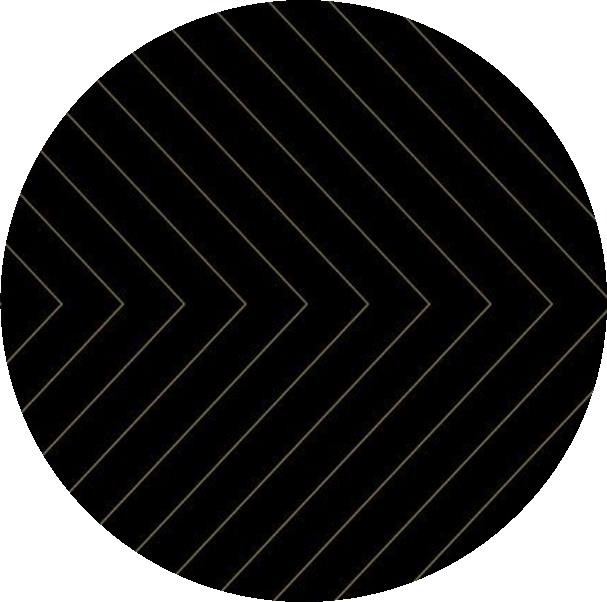
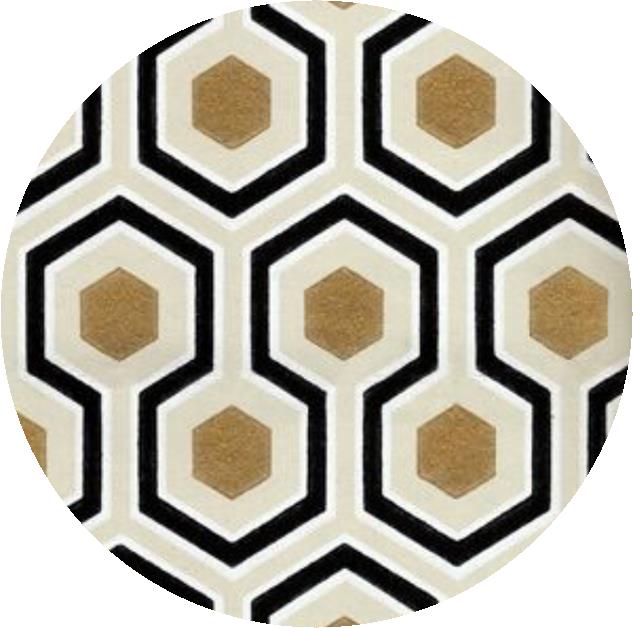
 But then one day... we found it...  Her perfect look.  

Source: Fab.com

Source: Fab.com

It was classy and elegant and simple.  Just like her.  

Meanwhile... I just so happened to meet this quirky base while out on a Home Goods run.  He was simple, sleek, three-pronged, and perfect for my wooden top.  Although he was with that crazy guitar-pick top at the time, I knew that wouldn't last.  I mean, she was laminate and a weird shape and (on closer inspection) severely damaged.  There was no way they would ever make it out of the store together.  I just had to intervene.

After getting a quick discount at the register for the damaged pair (always ask at Home Goods for a deal if you find a serious imperfection - you never know if you'll get a little money off!), I convinced them they would be better off seeing other people and the crazy top went on her way (into the trash can).  

I, being the perfect furniture wingman, told the base all about the wooden top.  He agreed to be set up on a blind date but needed a little sprucing of his own first.  So when the two finally met, it was like the stars had aligned:

The base was now a handsome gold.

His simple, clean lines perfectly complimented the top's celestial swirl of elegant constellations.

Her makeover took a combination of black sharpie, gold leaf pen, an orbital sander, and sealing wax.  When applying the wax, I accidentally discovered that it smeared the gold.  In the end, she liked that better because it gave her more of a "cosmic swirl" - don't you think?  

It is definitely NOT accurate so sorry all you sextants out there who were thinking of using this table to navigate the heavens while at sea. 

[My low-budget staging is brought to you by my $0.50 brass candle sticks and some photocopies of stellar maps and moon charts.  Winning!]

I picked out my favorite constellation - not sure what it really is, but I'm calling it Mufasa.  Can you spot it?

A winning combination don't you think?  

And they lived happily ever after...

Photo Mar 27, 10 55 02 AM.jpg

The piece has already sold, but there's no need to make sad puppy-dog eyes - we do custom orders!  Just email me at cate@stylemutthome.com and we can talk about how to get you your own heavenly table.


And friends, if you like what we are doing over here at StyleMutt Home, please help us reach more readers by voting for Chelsea's space in the #SOdomino contest!  We offer our eternal friendship and gratitude in return ;)