Little Orphan Lampie

True confession: I've had a lamp rehab post drafted since March.  EEP!  I had finished up this project in our old apartment last spring and was in a rush to sell before we moved (one less box to pack etc...) - so I never got around to it's debut post.

But now we are getting ready to move again and I was reminded that I never told you the story of little orphan lampie.   She was all "it's a hard knock life" lying there at the thrift store - with no base to stand on. You may recall that I actually found her the day a brought home the metal card catalog drawers I used for this guy (who's on super duper sale by the way *hint hint*).  

I was drawn to her industrial flare, flint gray paint job, and her graceful movements despite the layer of dust on her springs, but she couldn't stand up on her own.  So what to do, what to do...  Build her a concrete prosthetic.

Obvi.

My supplies:

Lamp in need
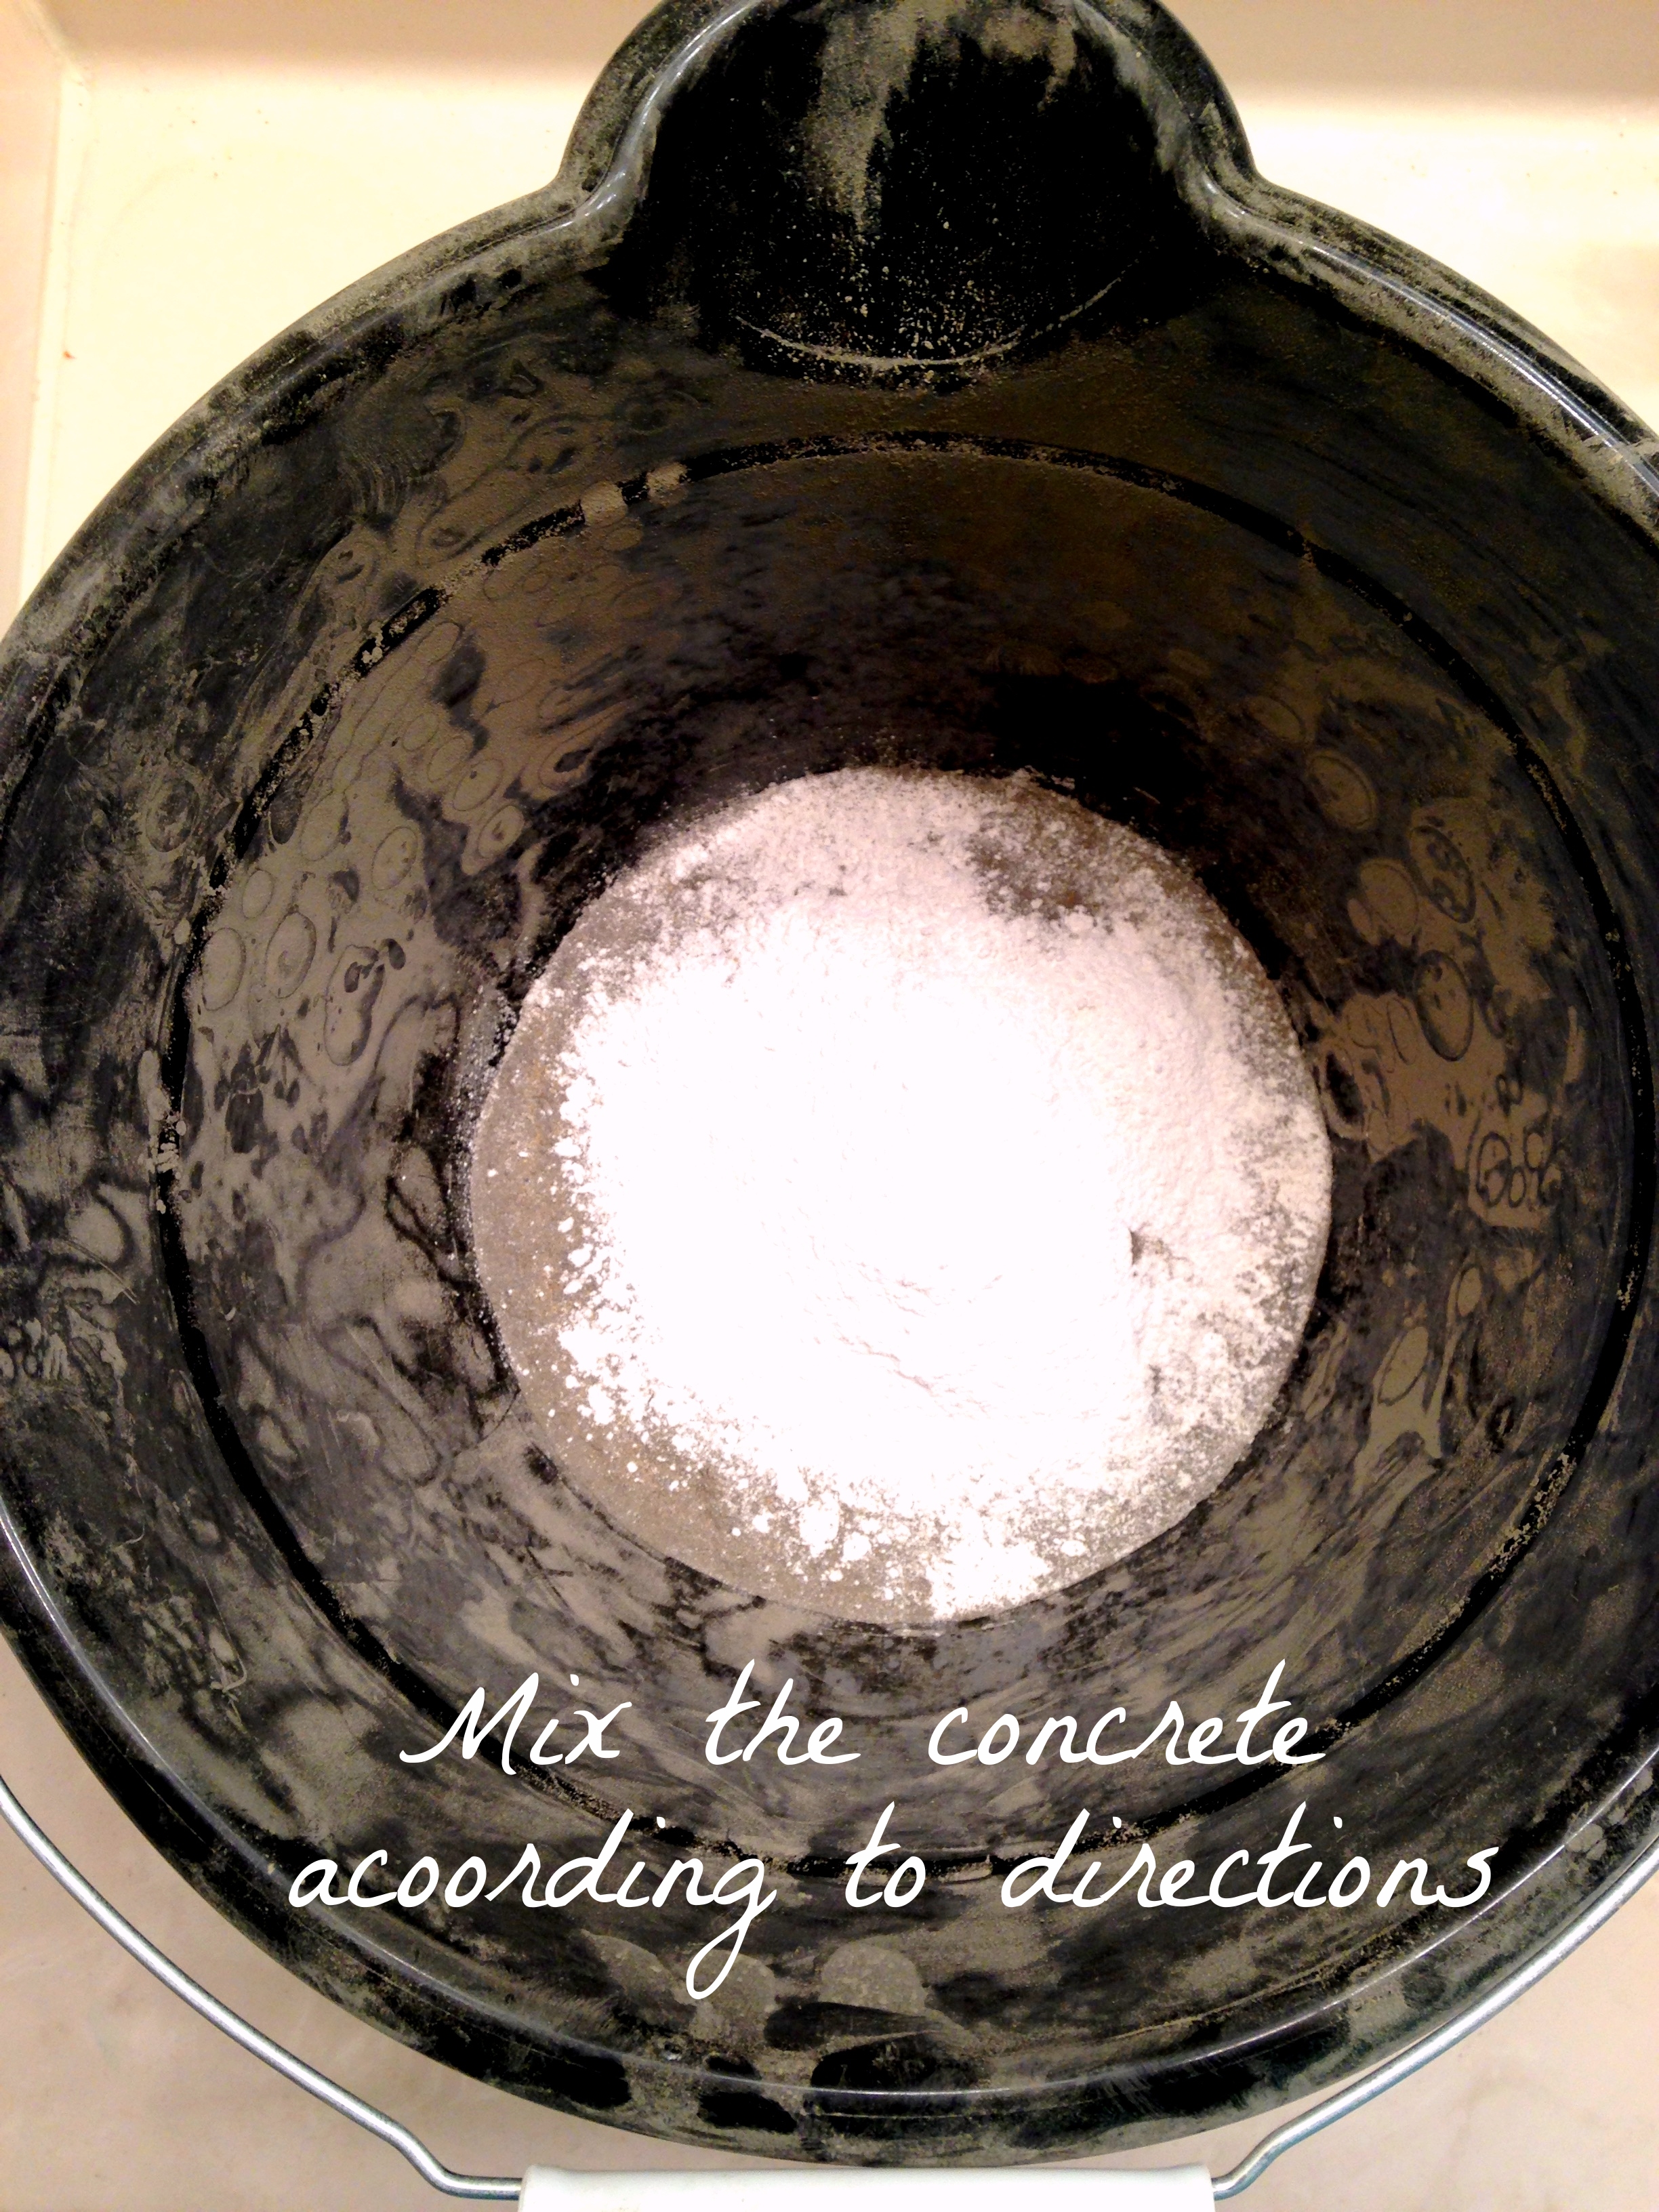
Concrete mix
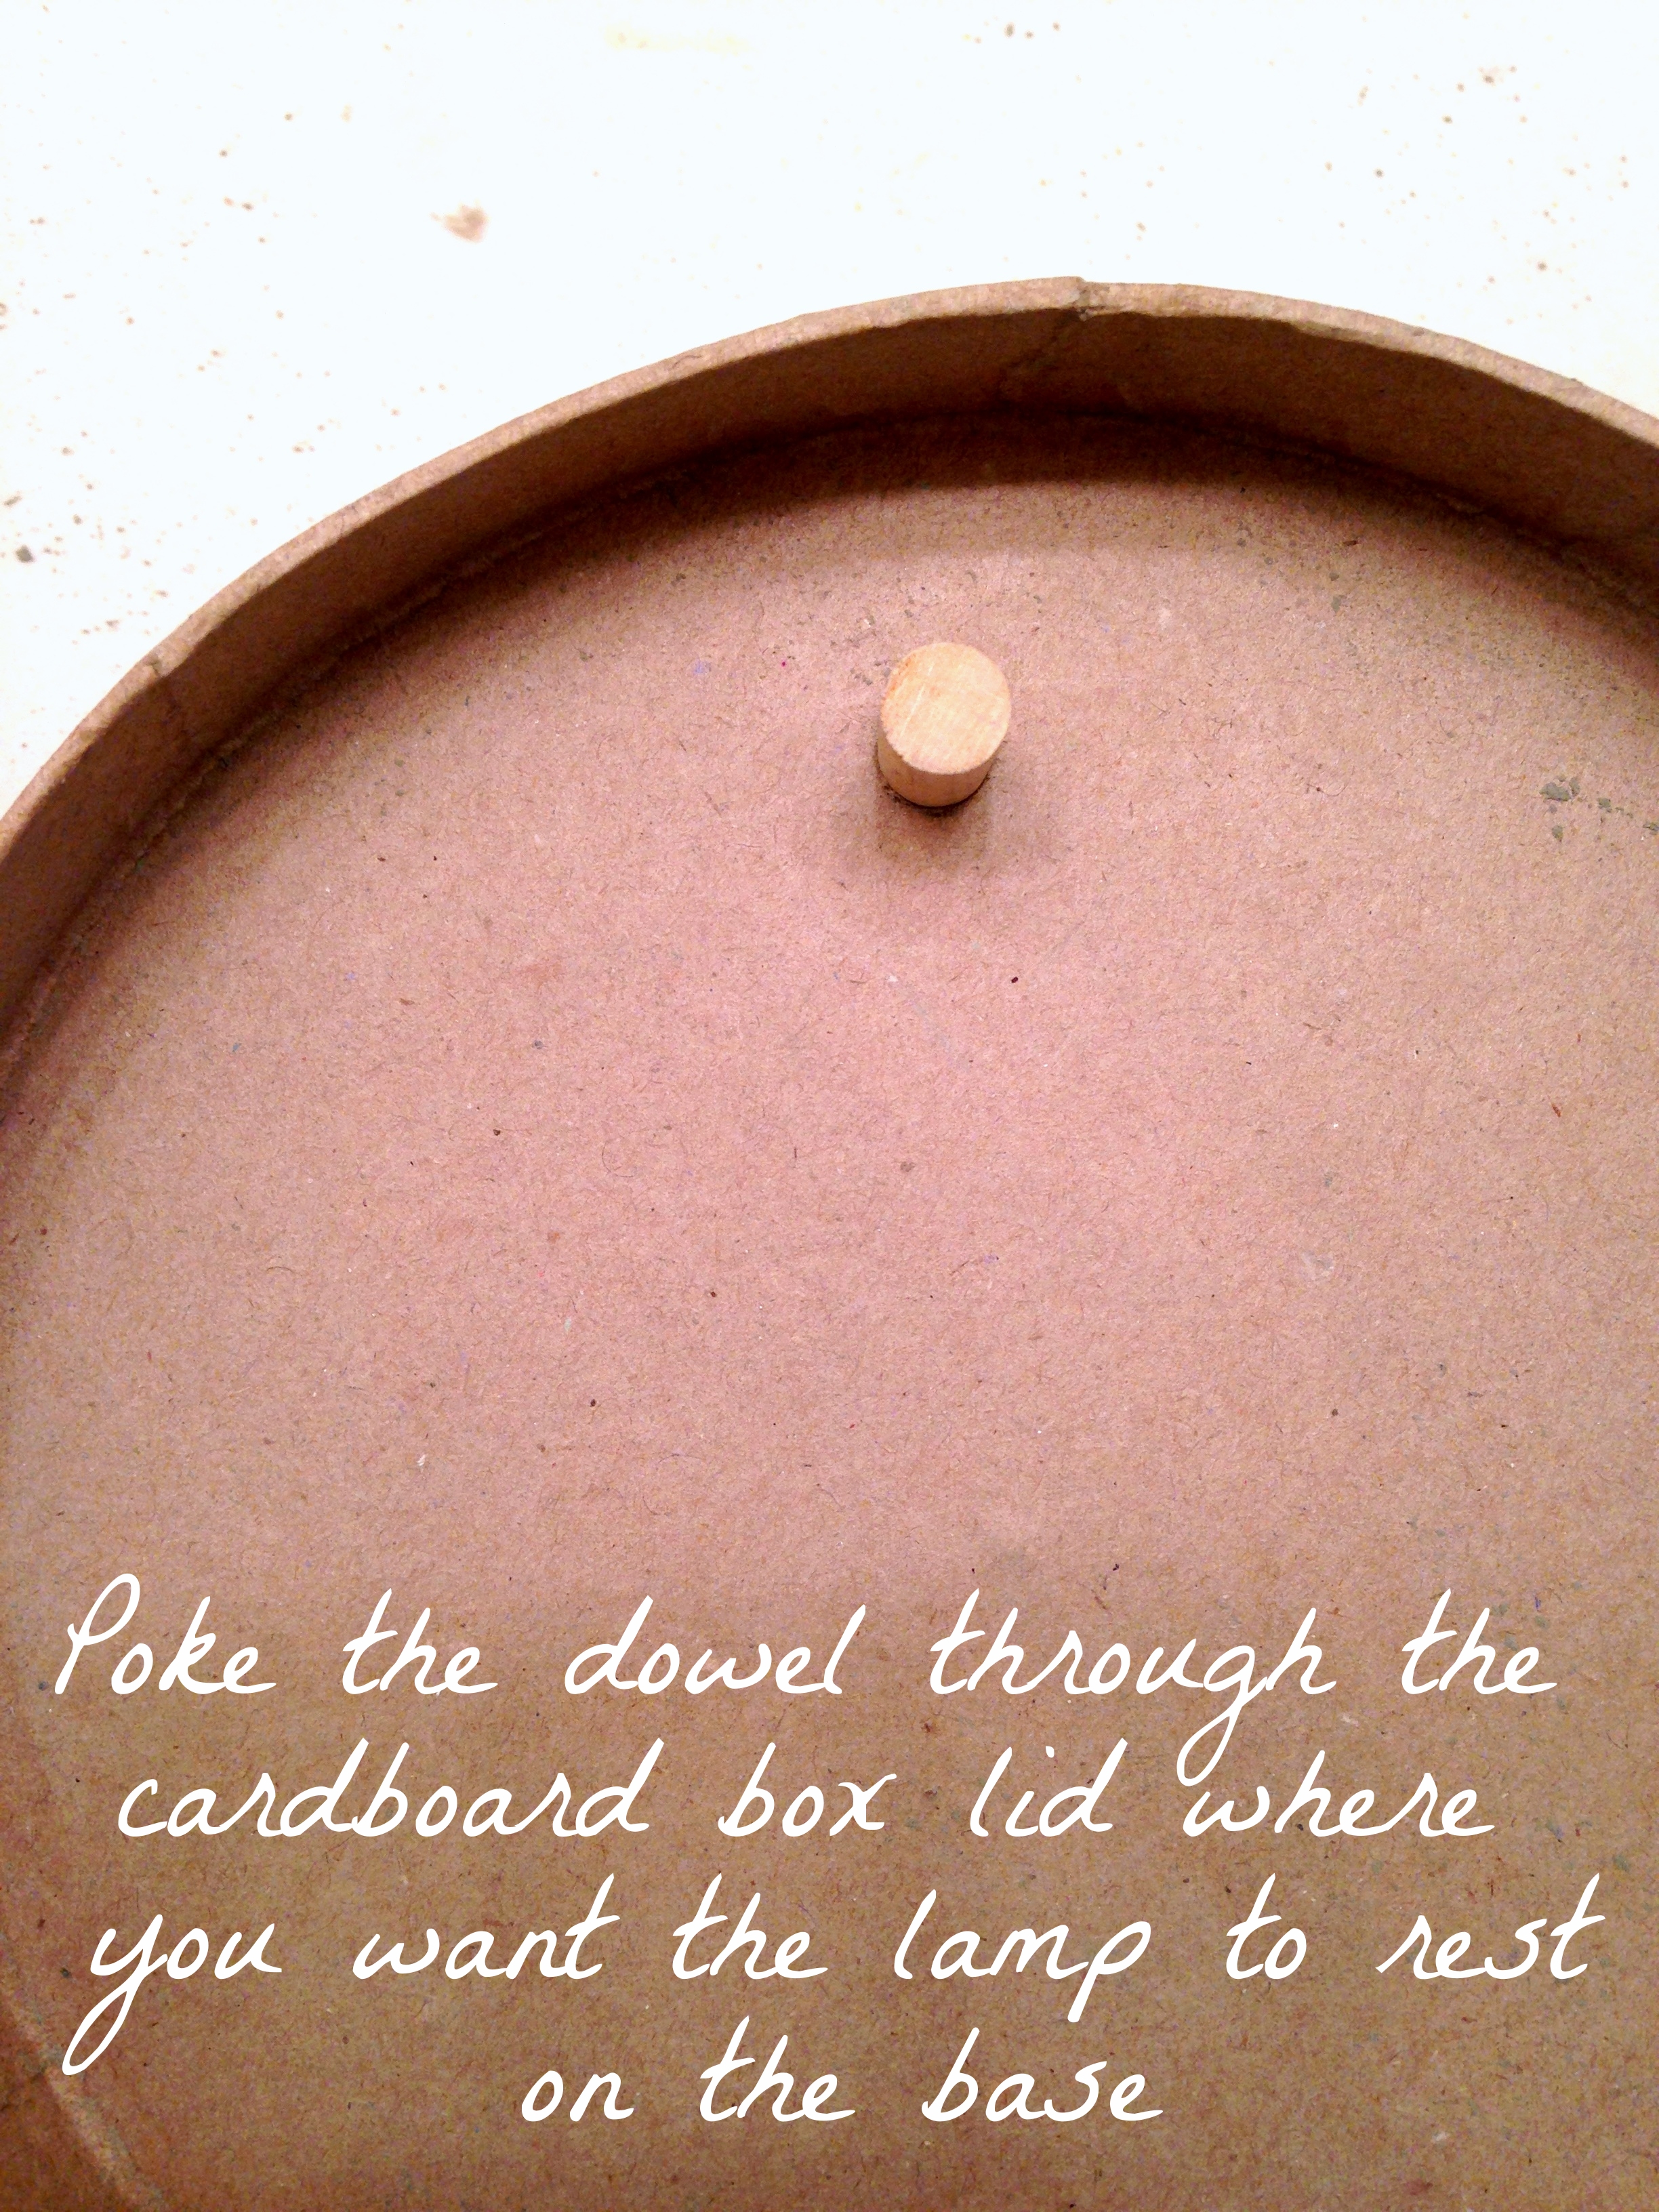
Round cardboard box lid for a mold
Wooden dowel that's a small enough diameter to fit inside the hollow tip of the lamp
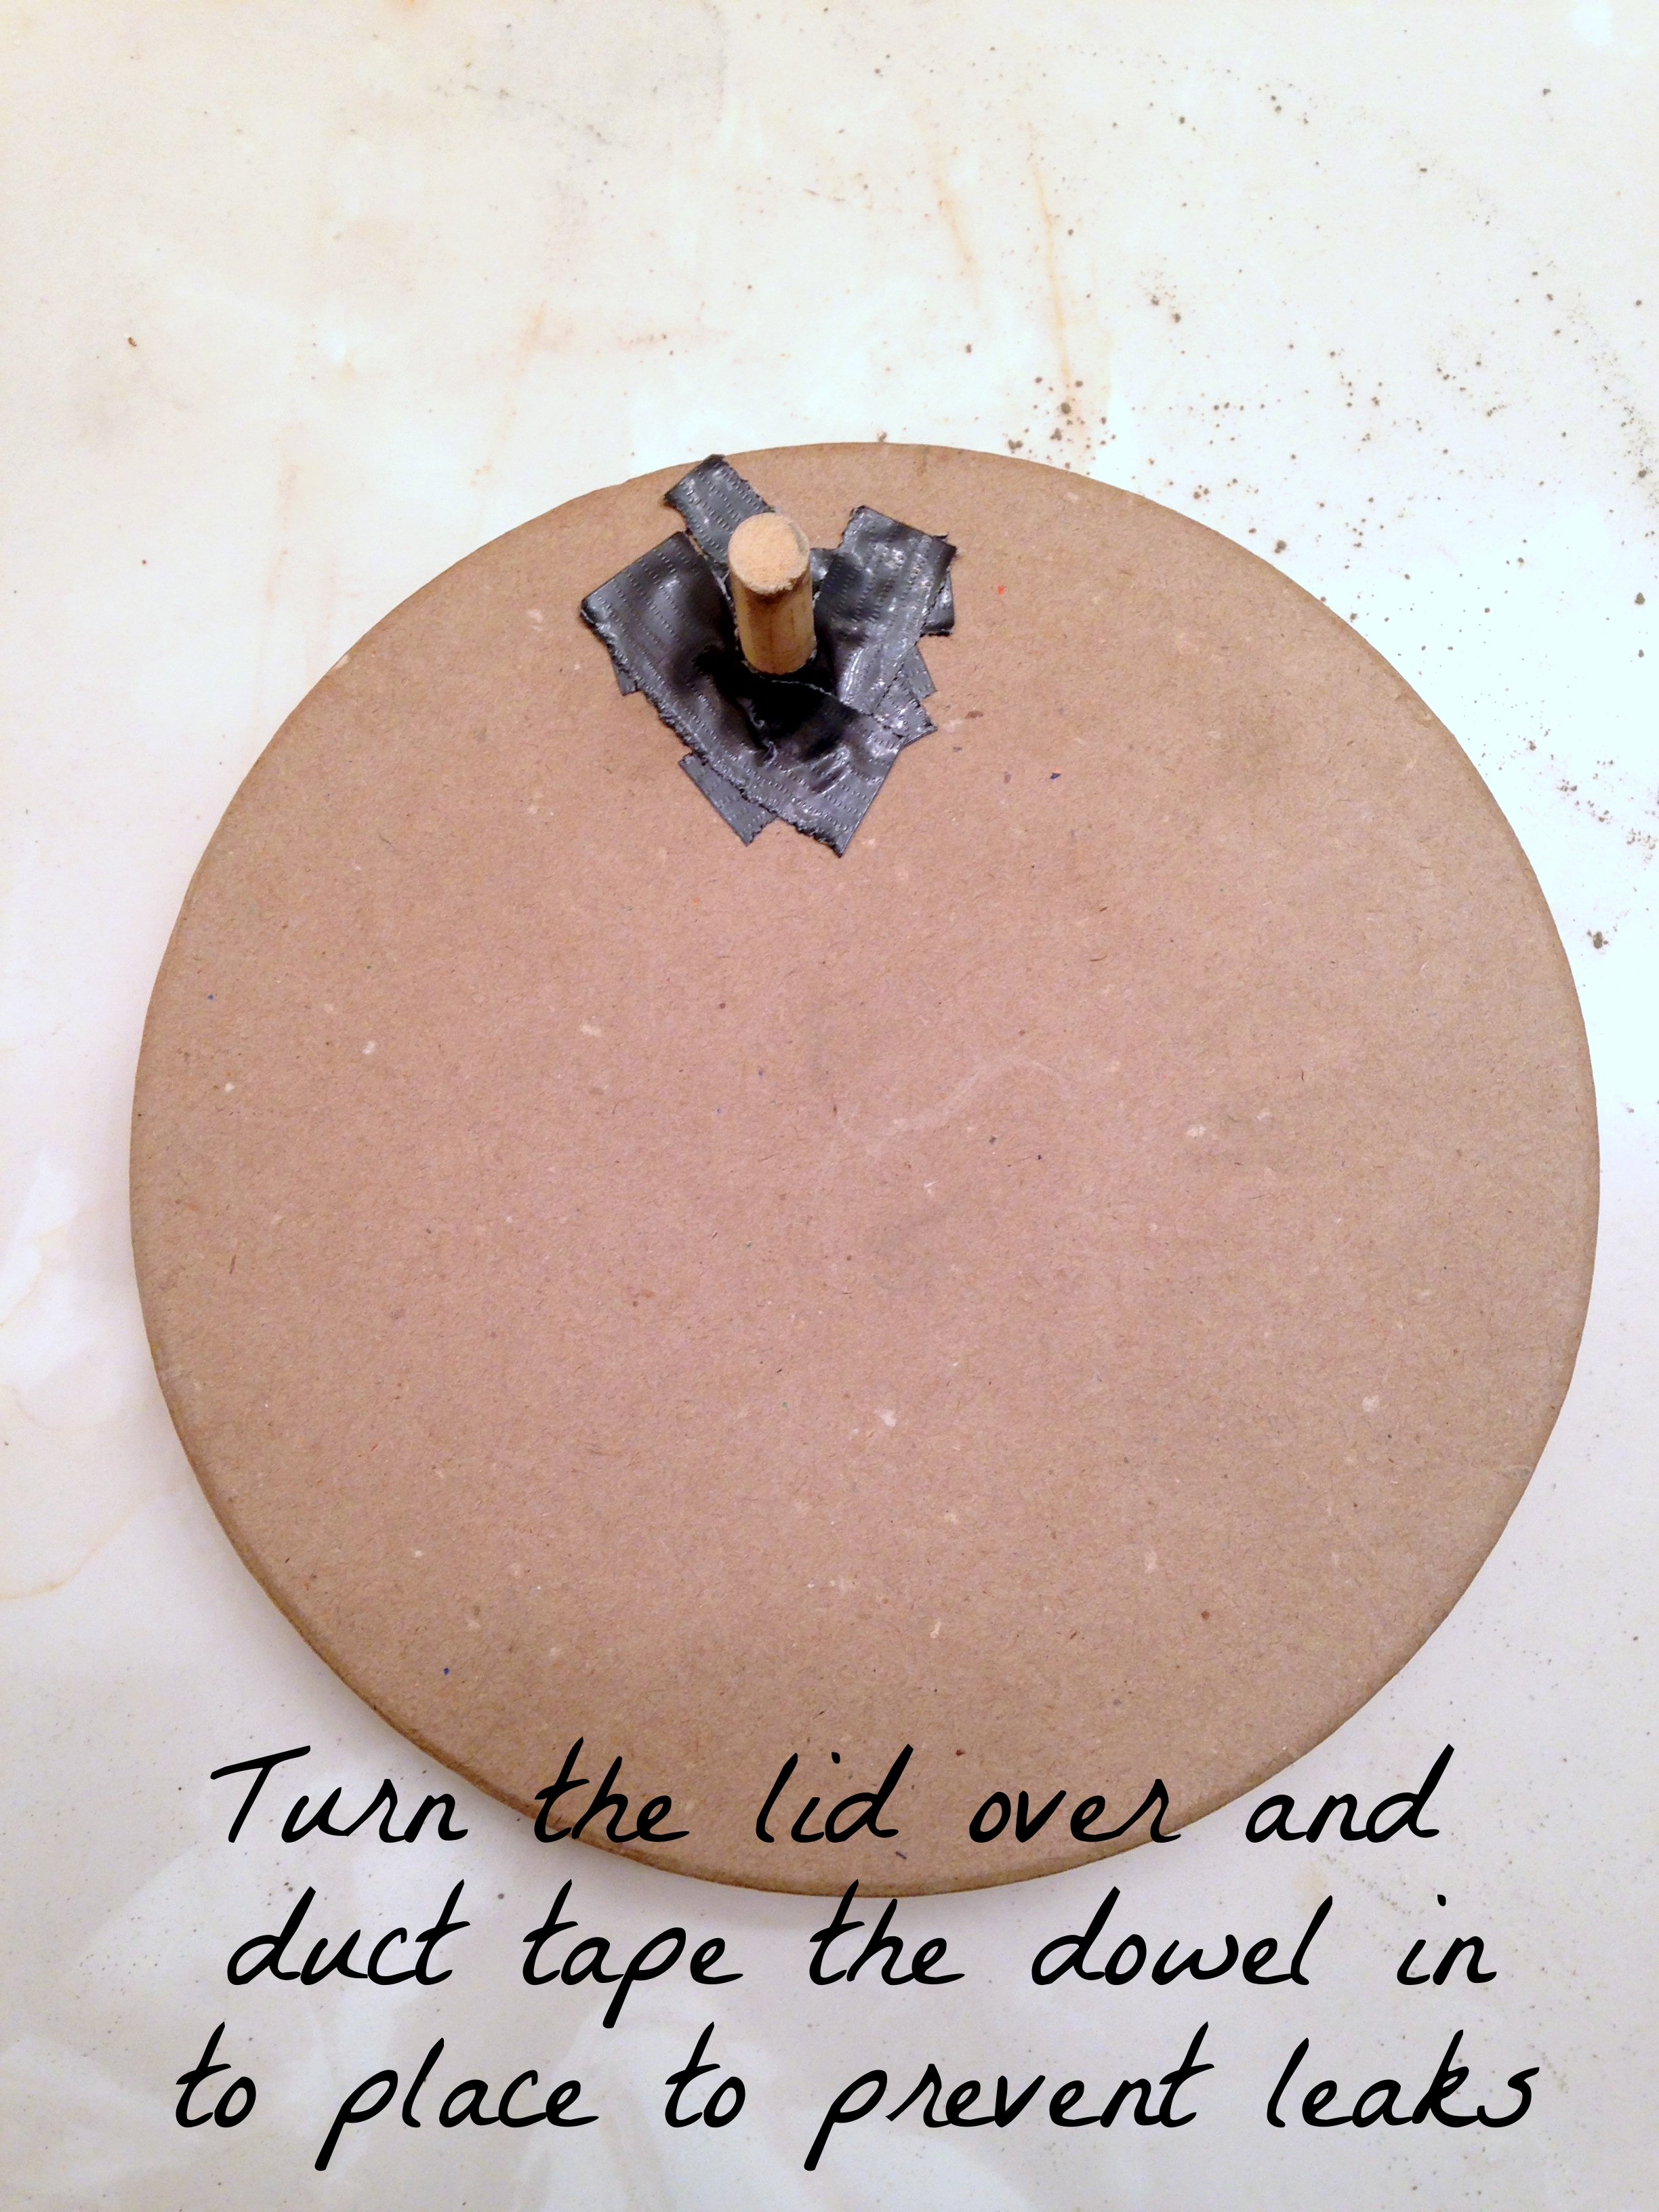
Duct tape
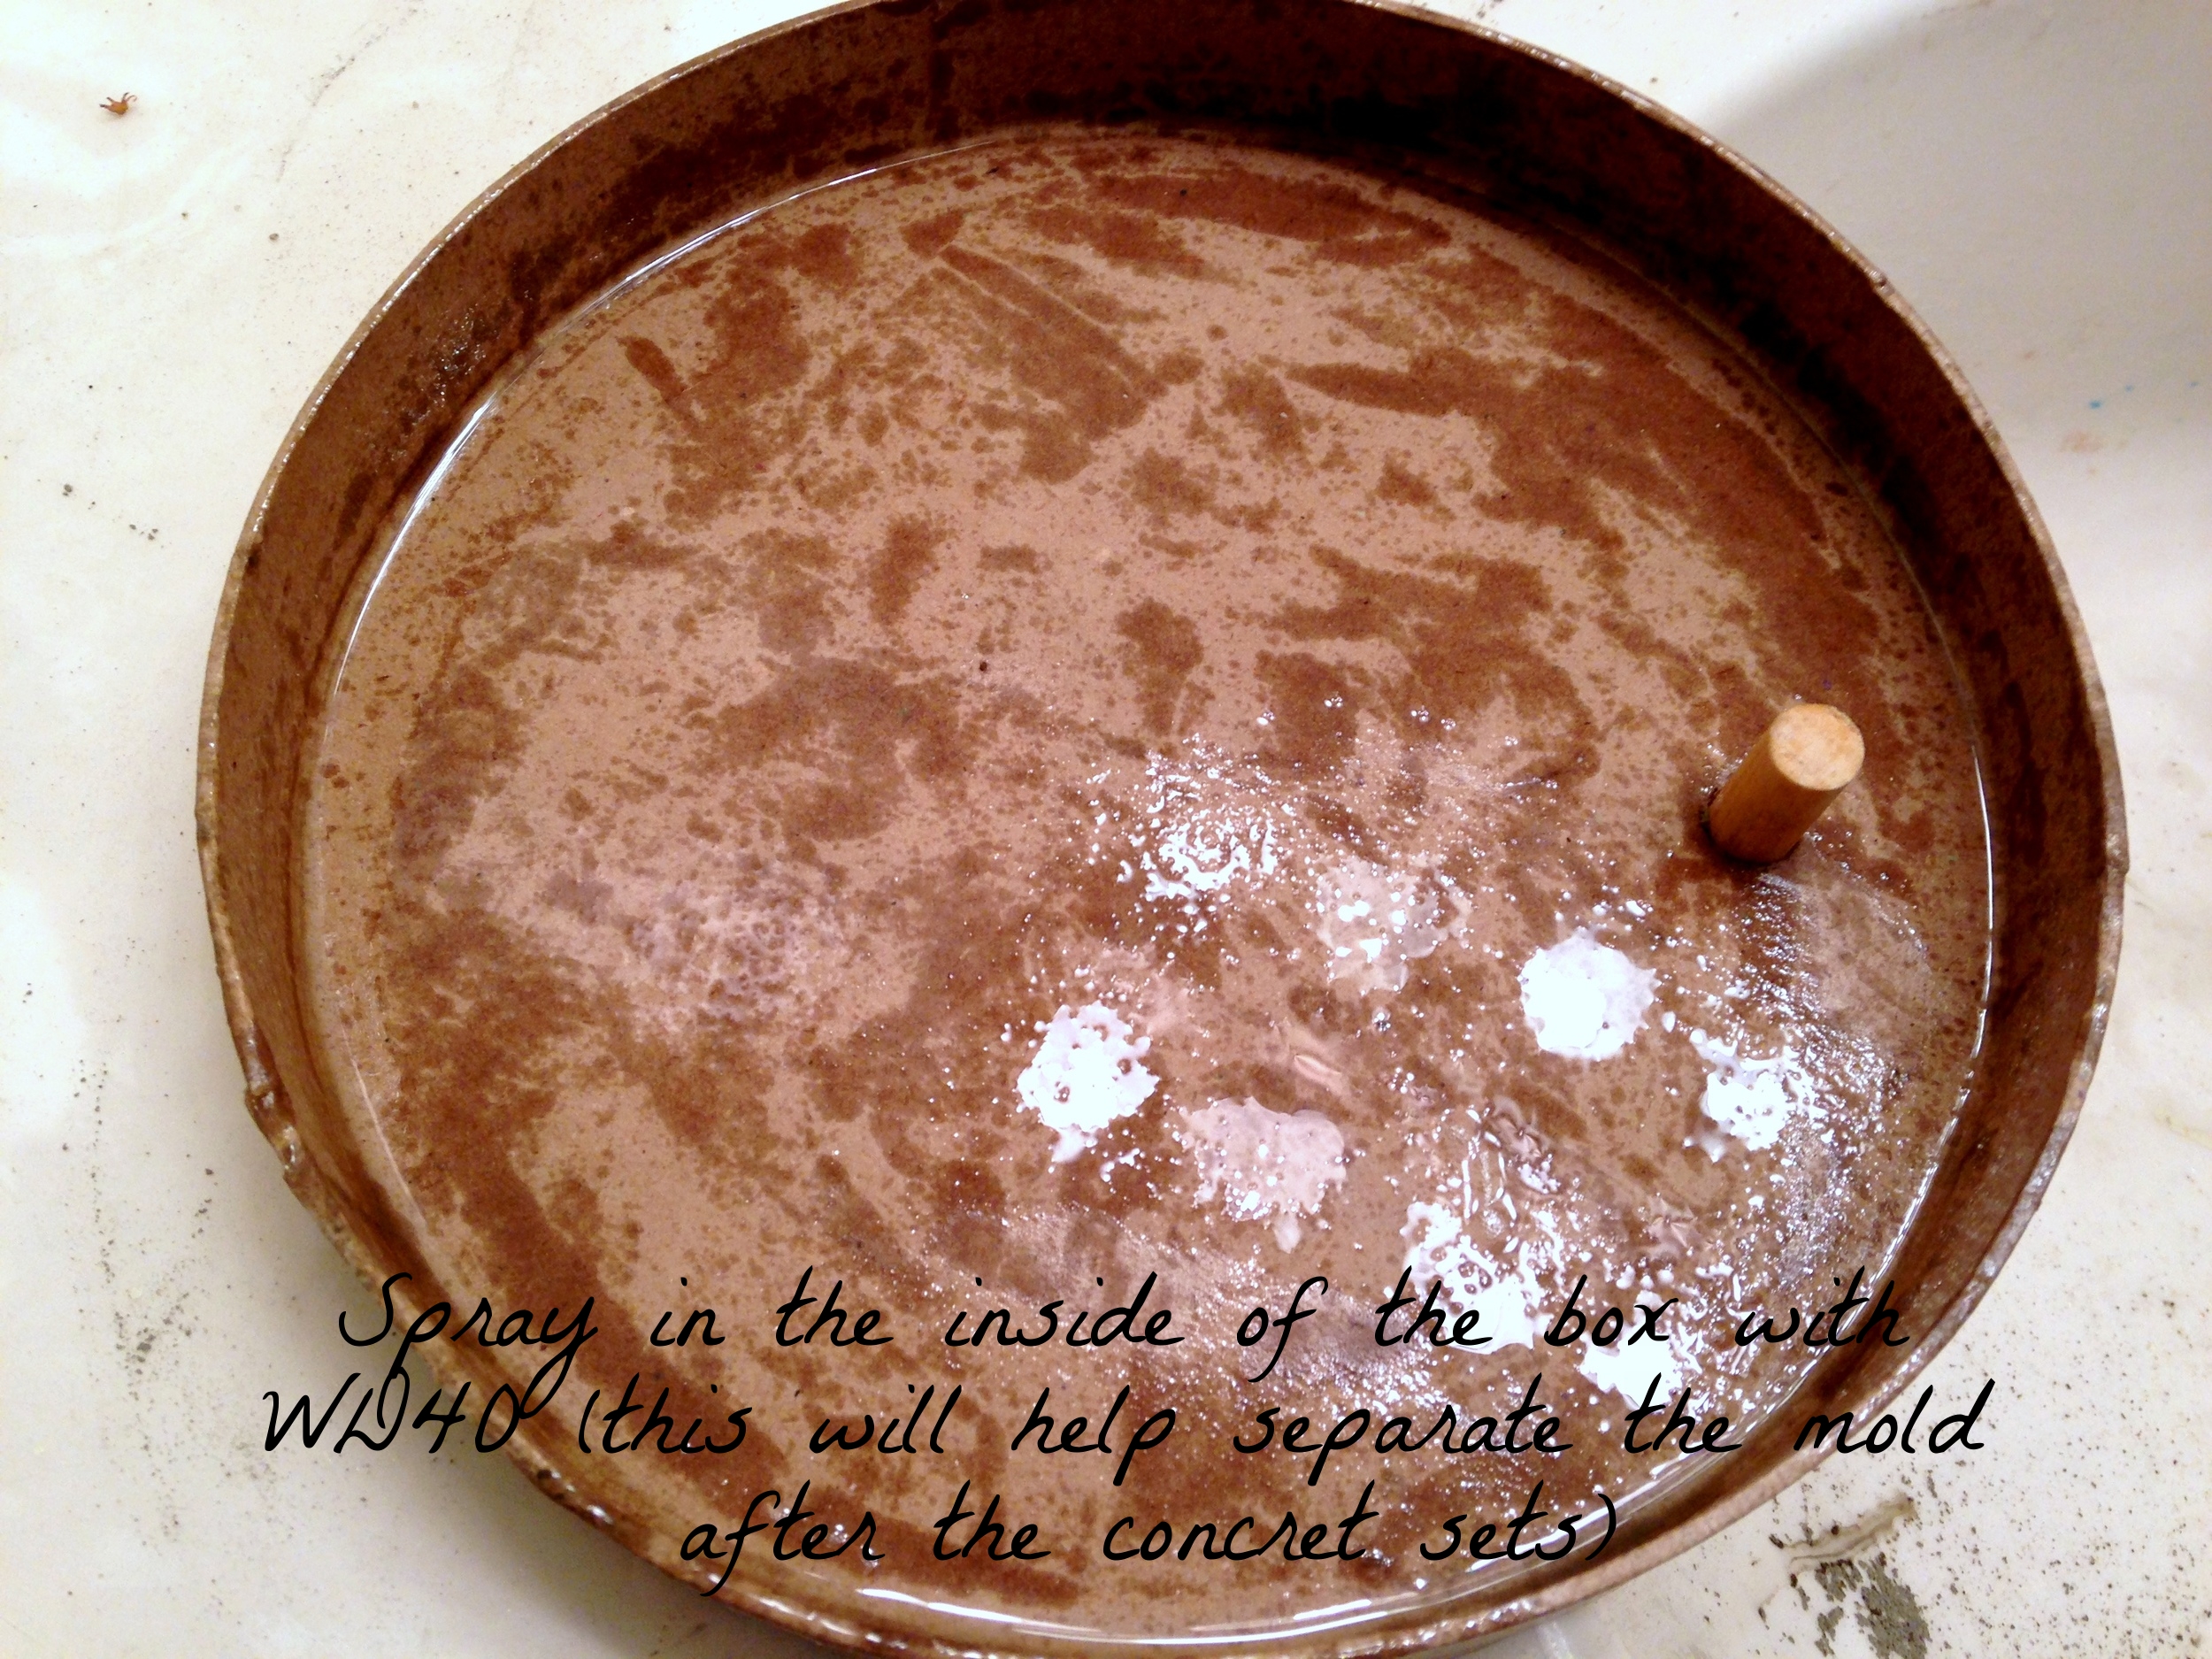
and WD40

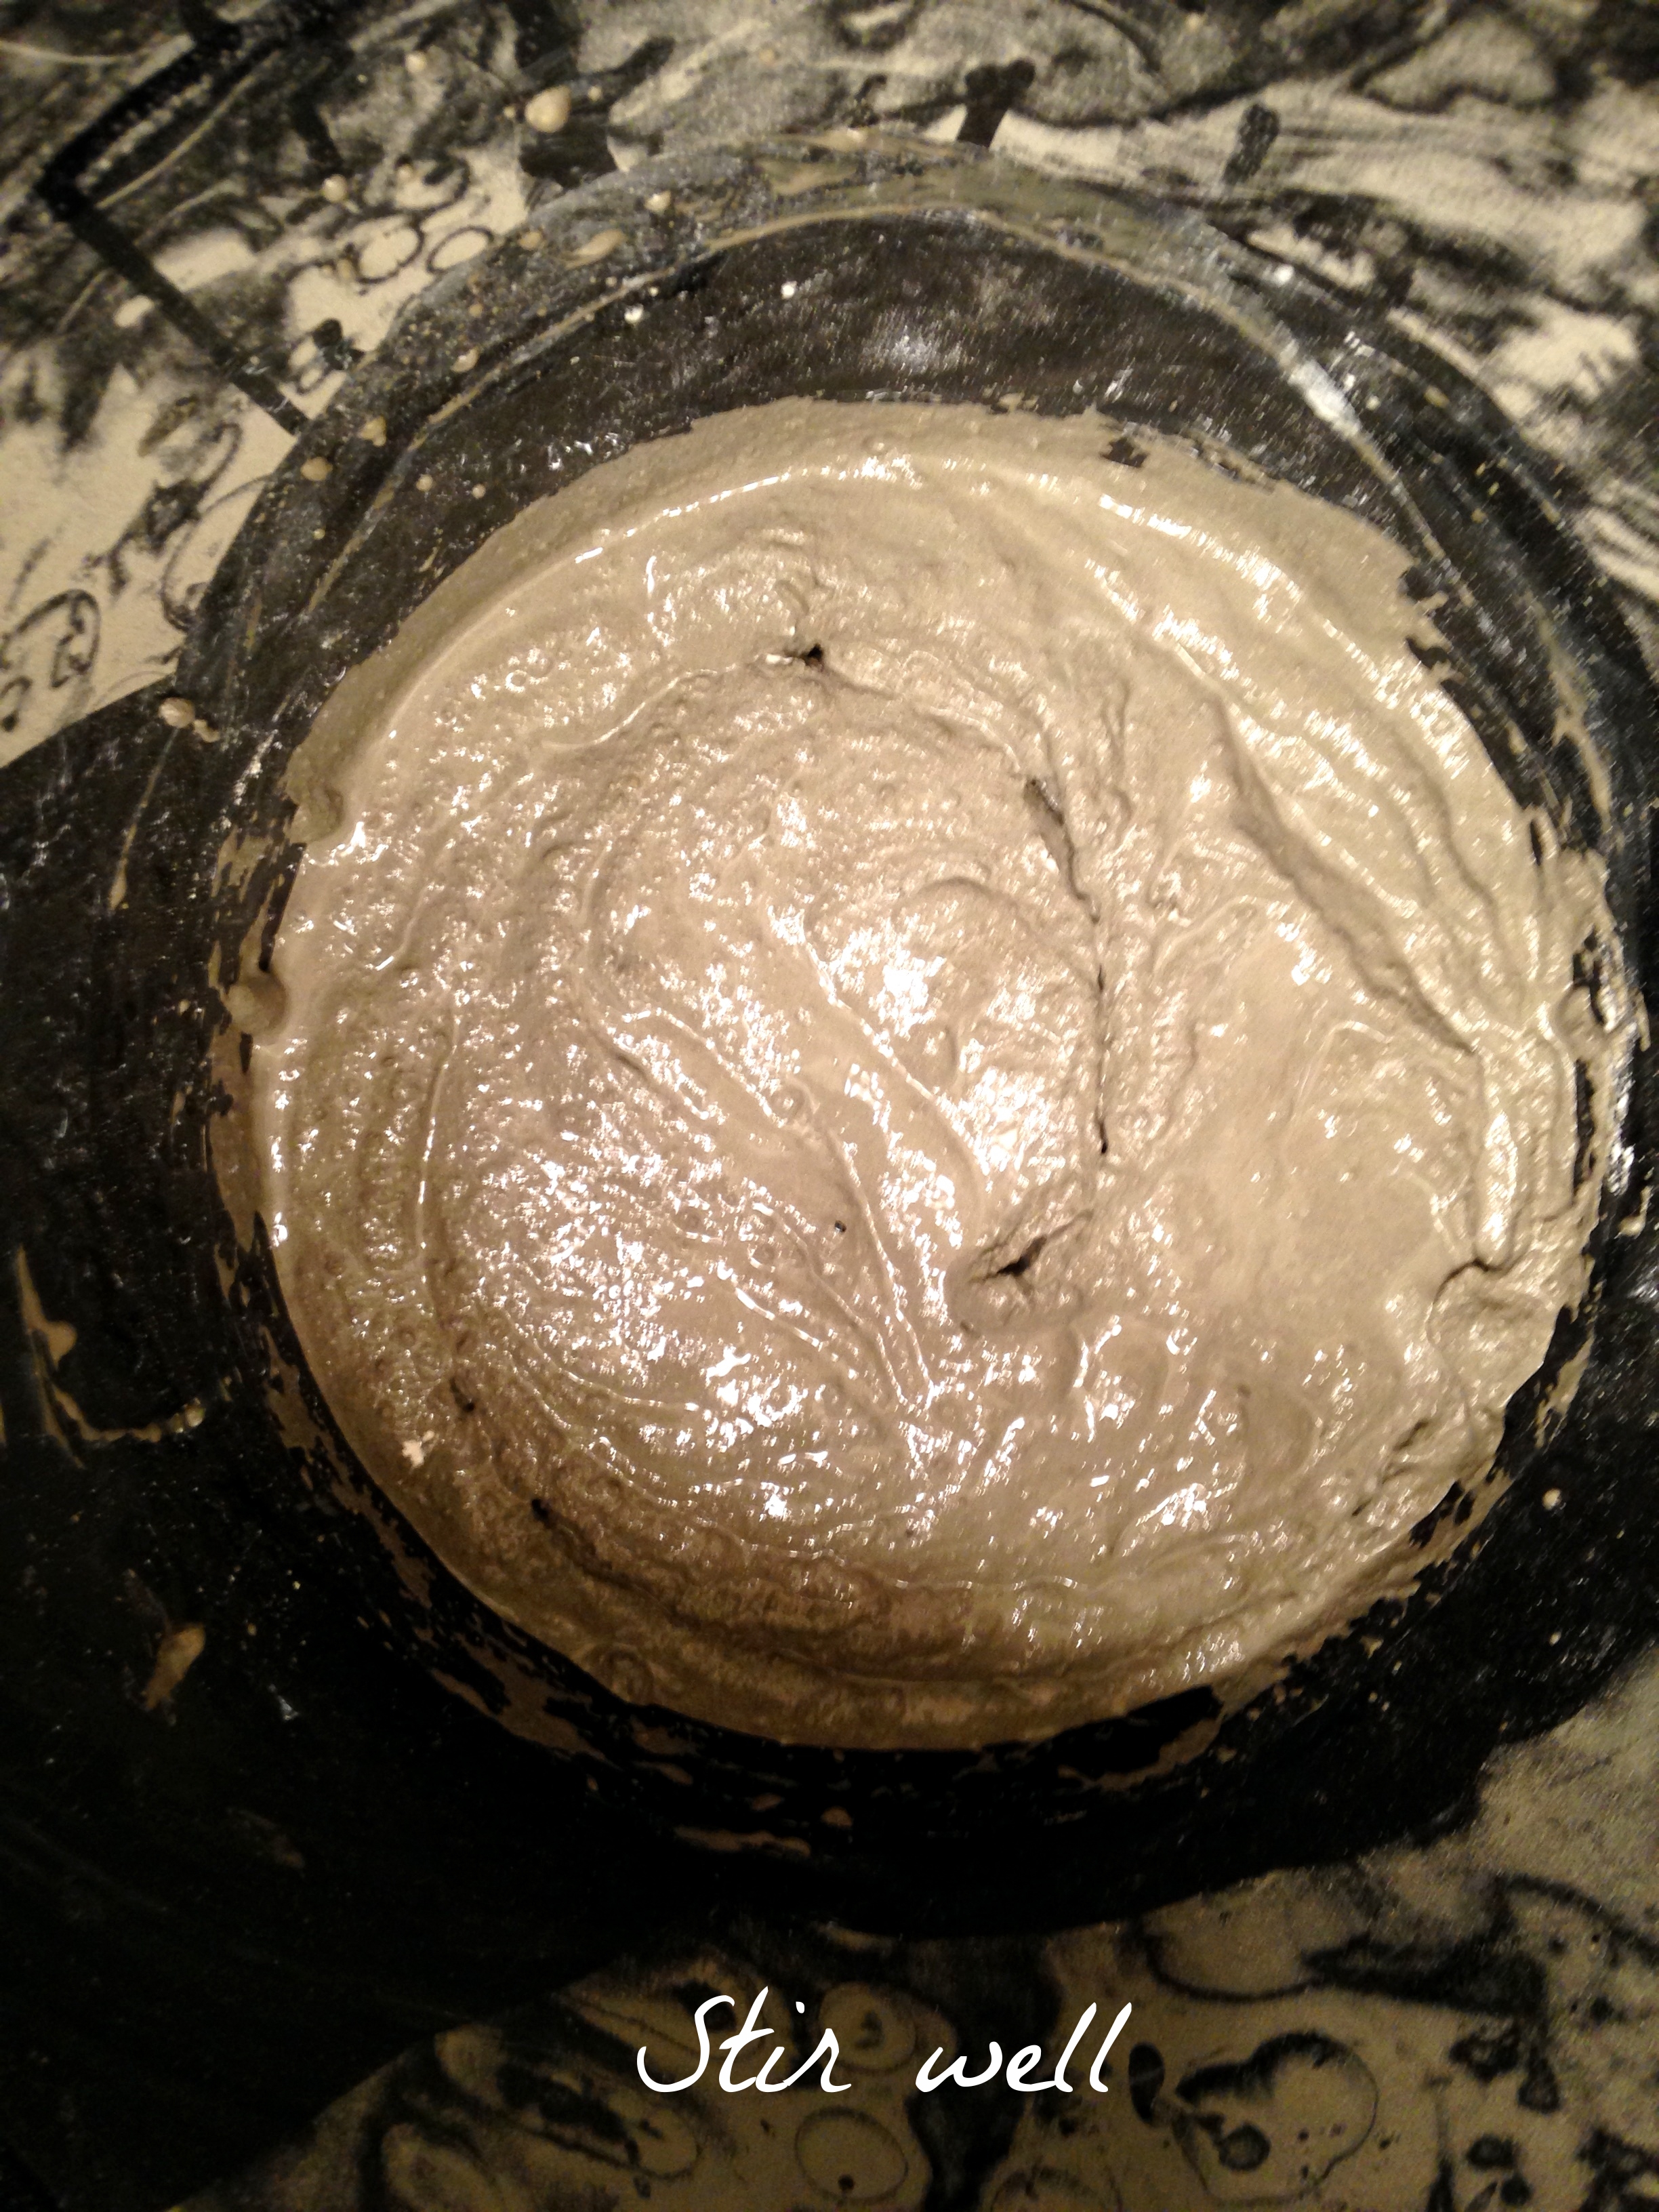
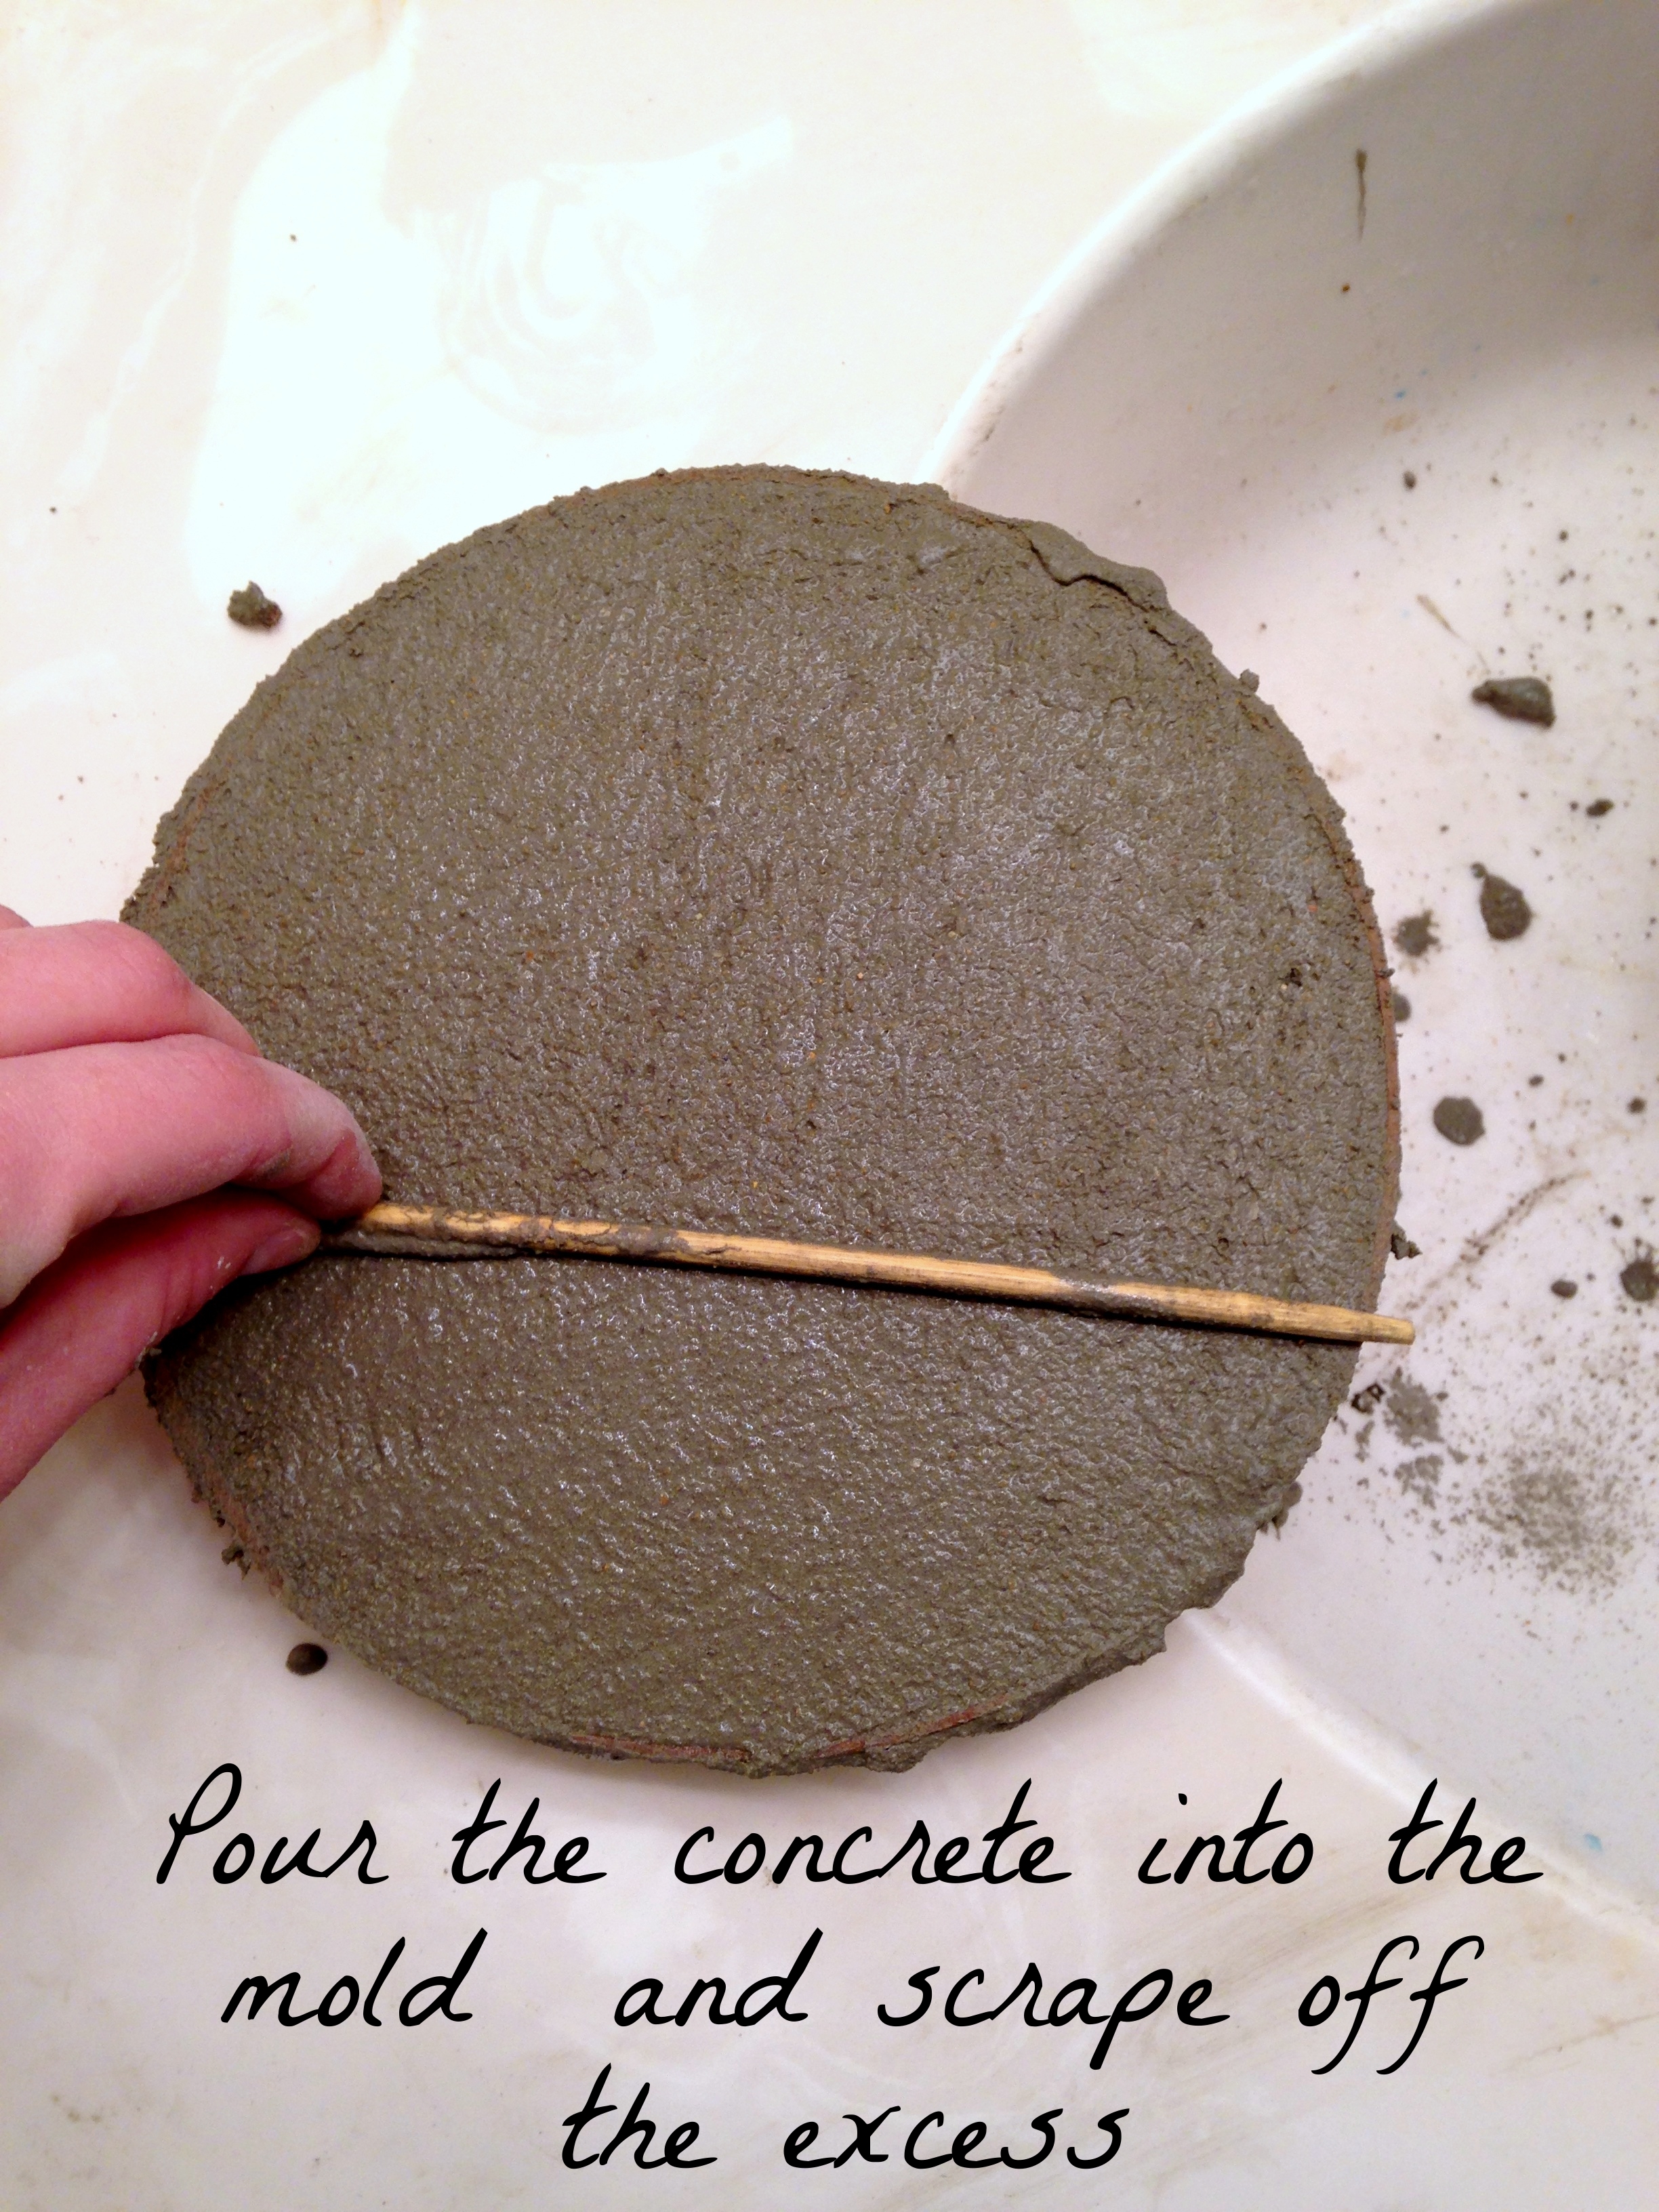
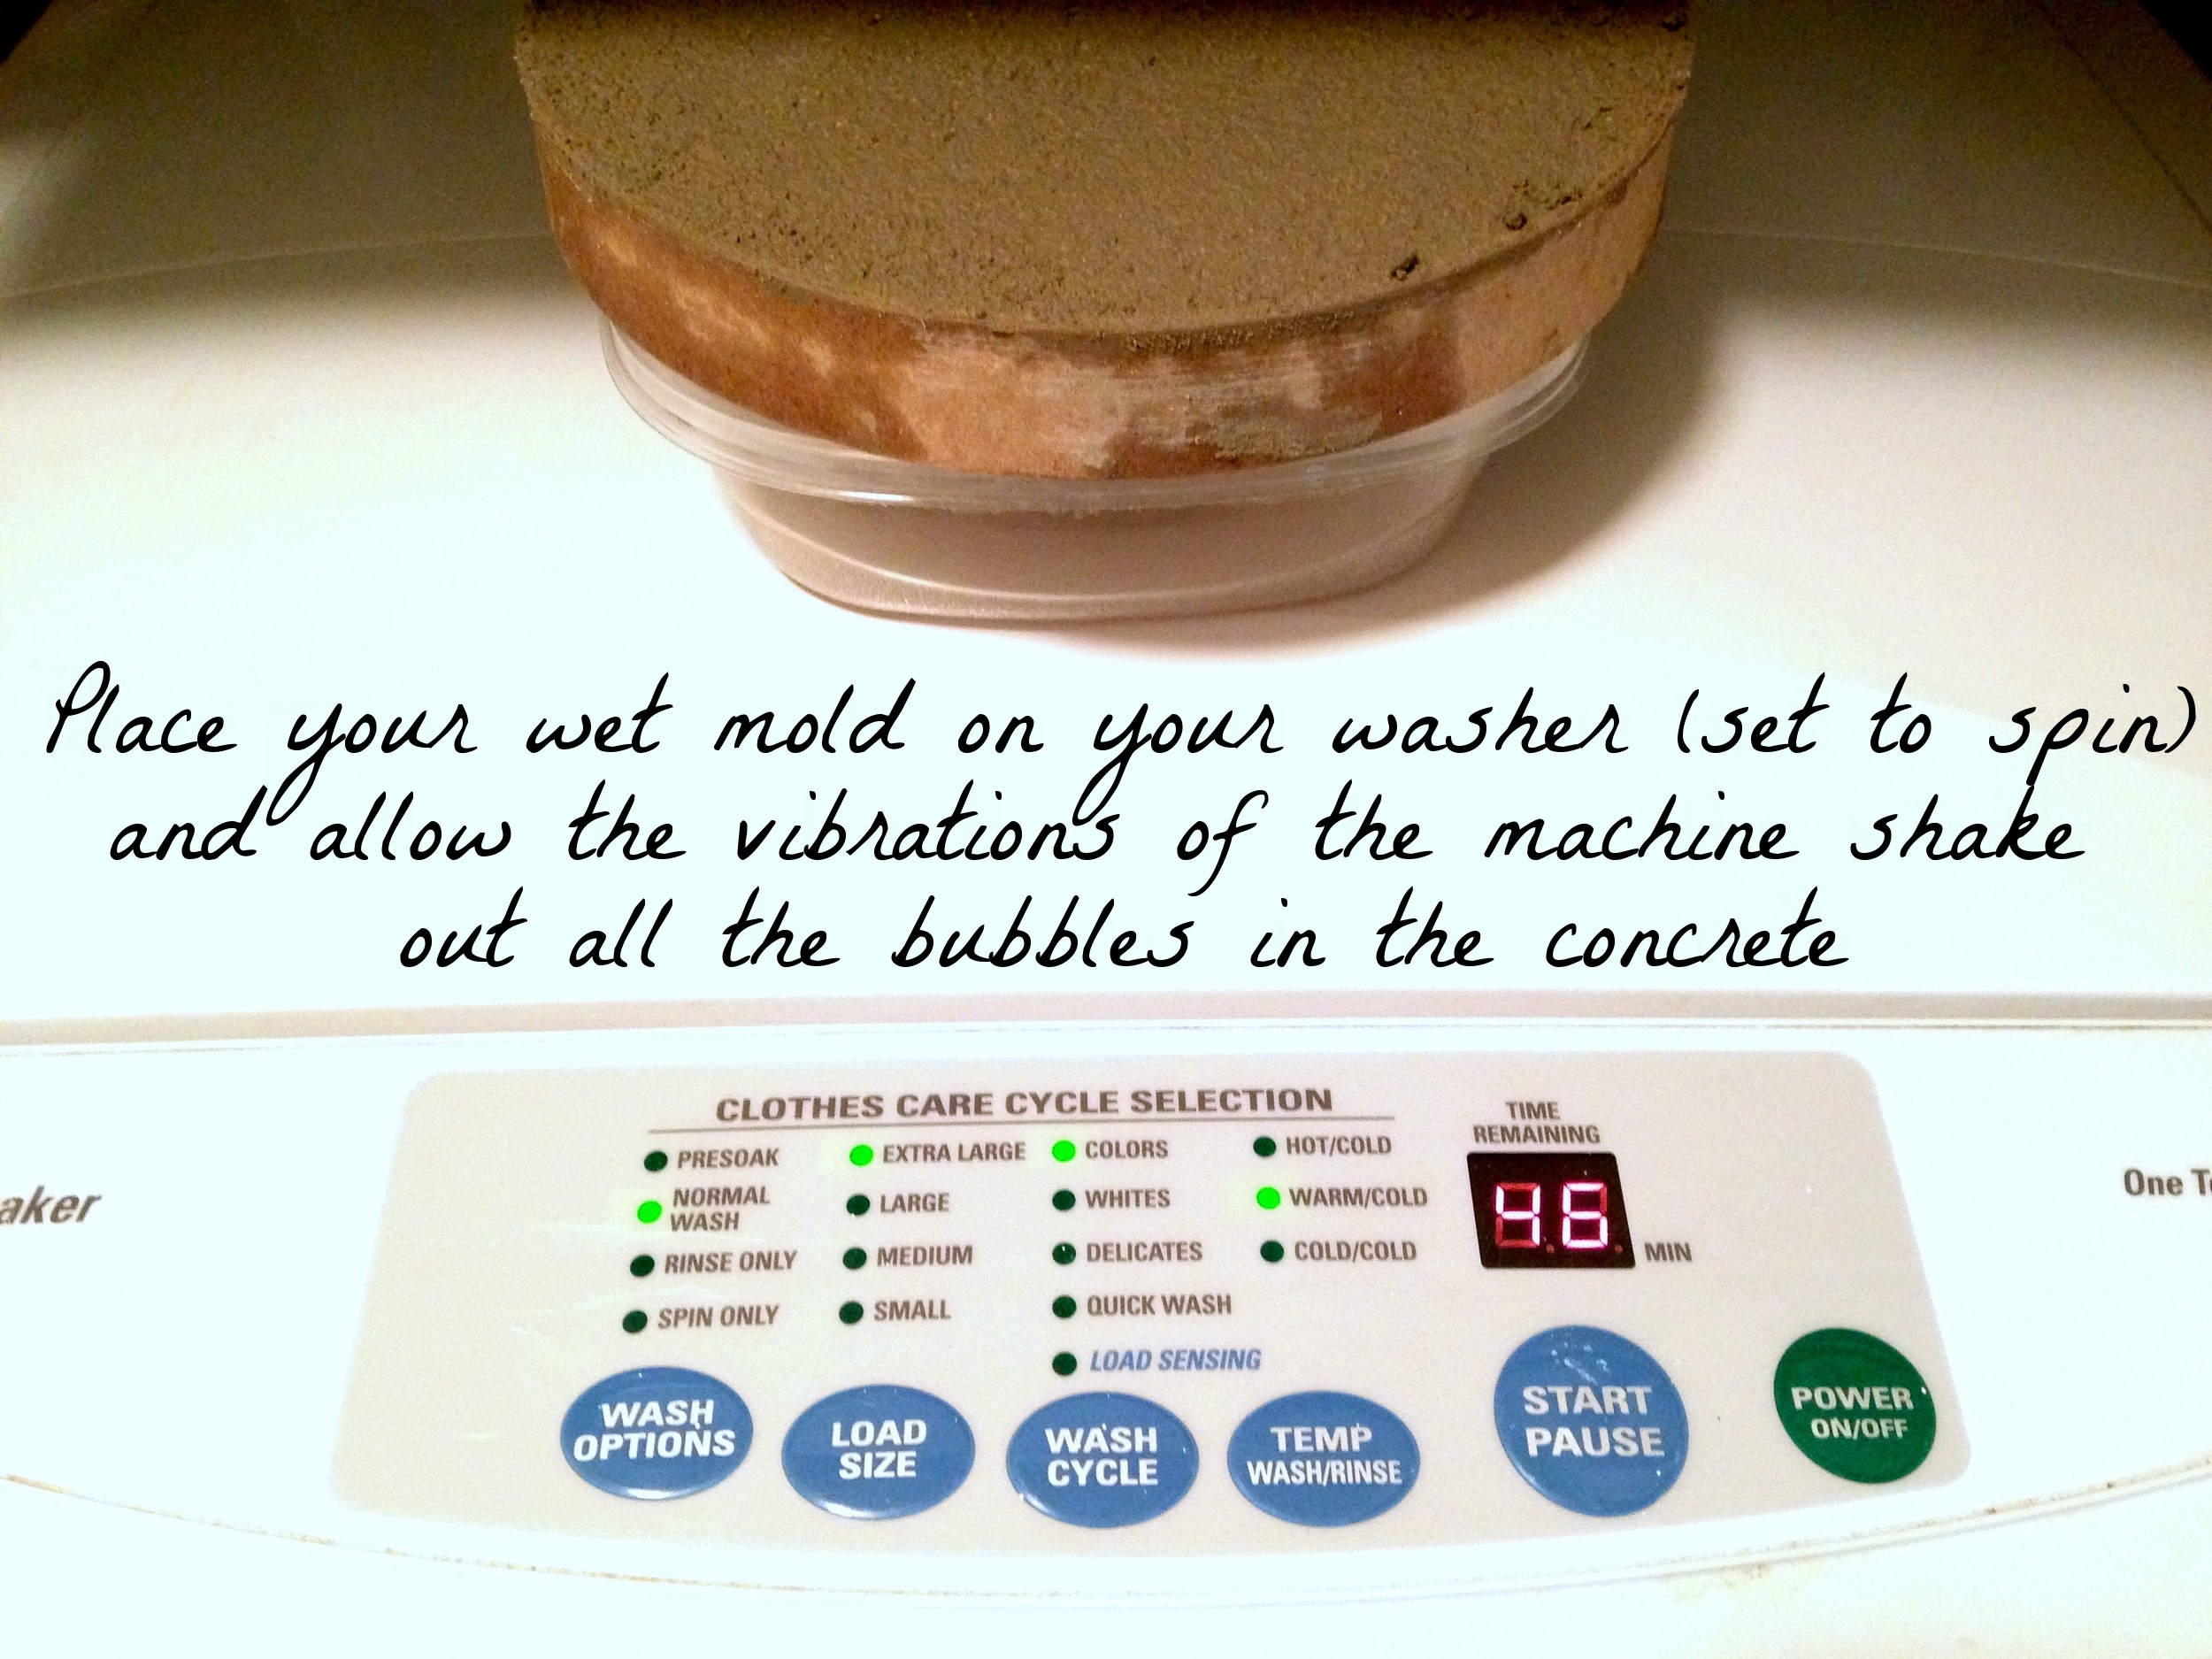
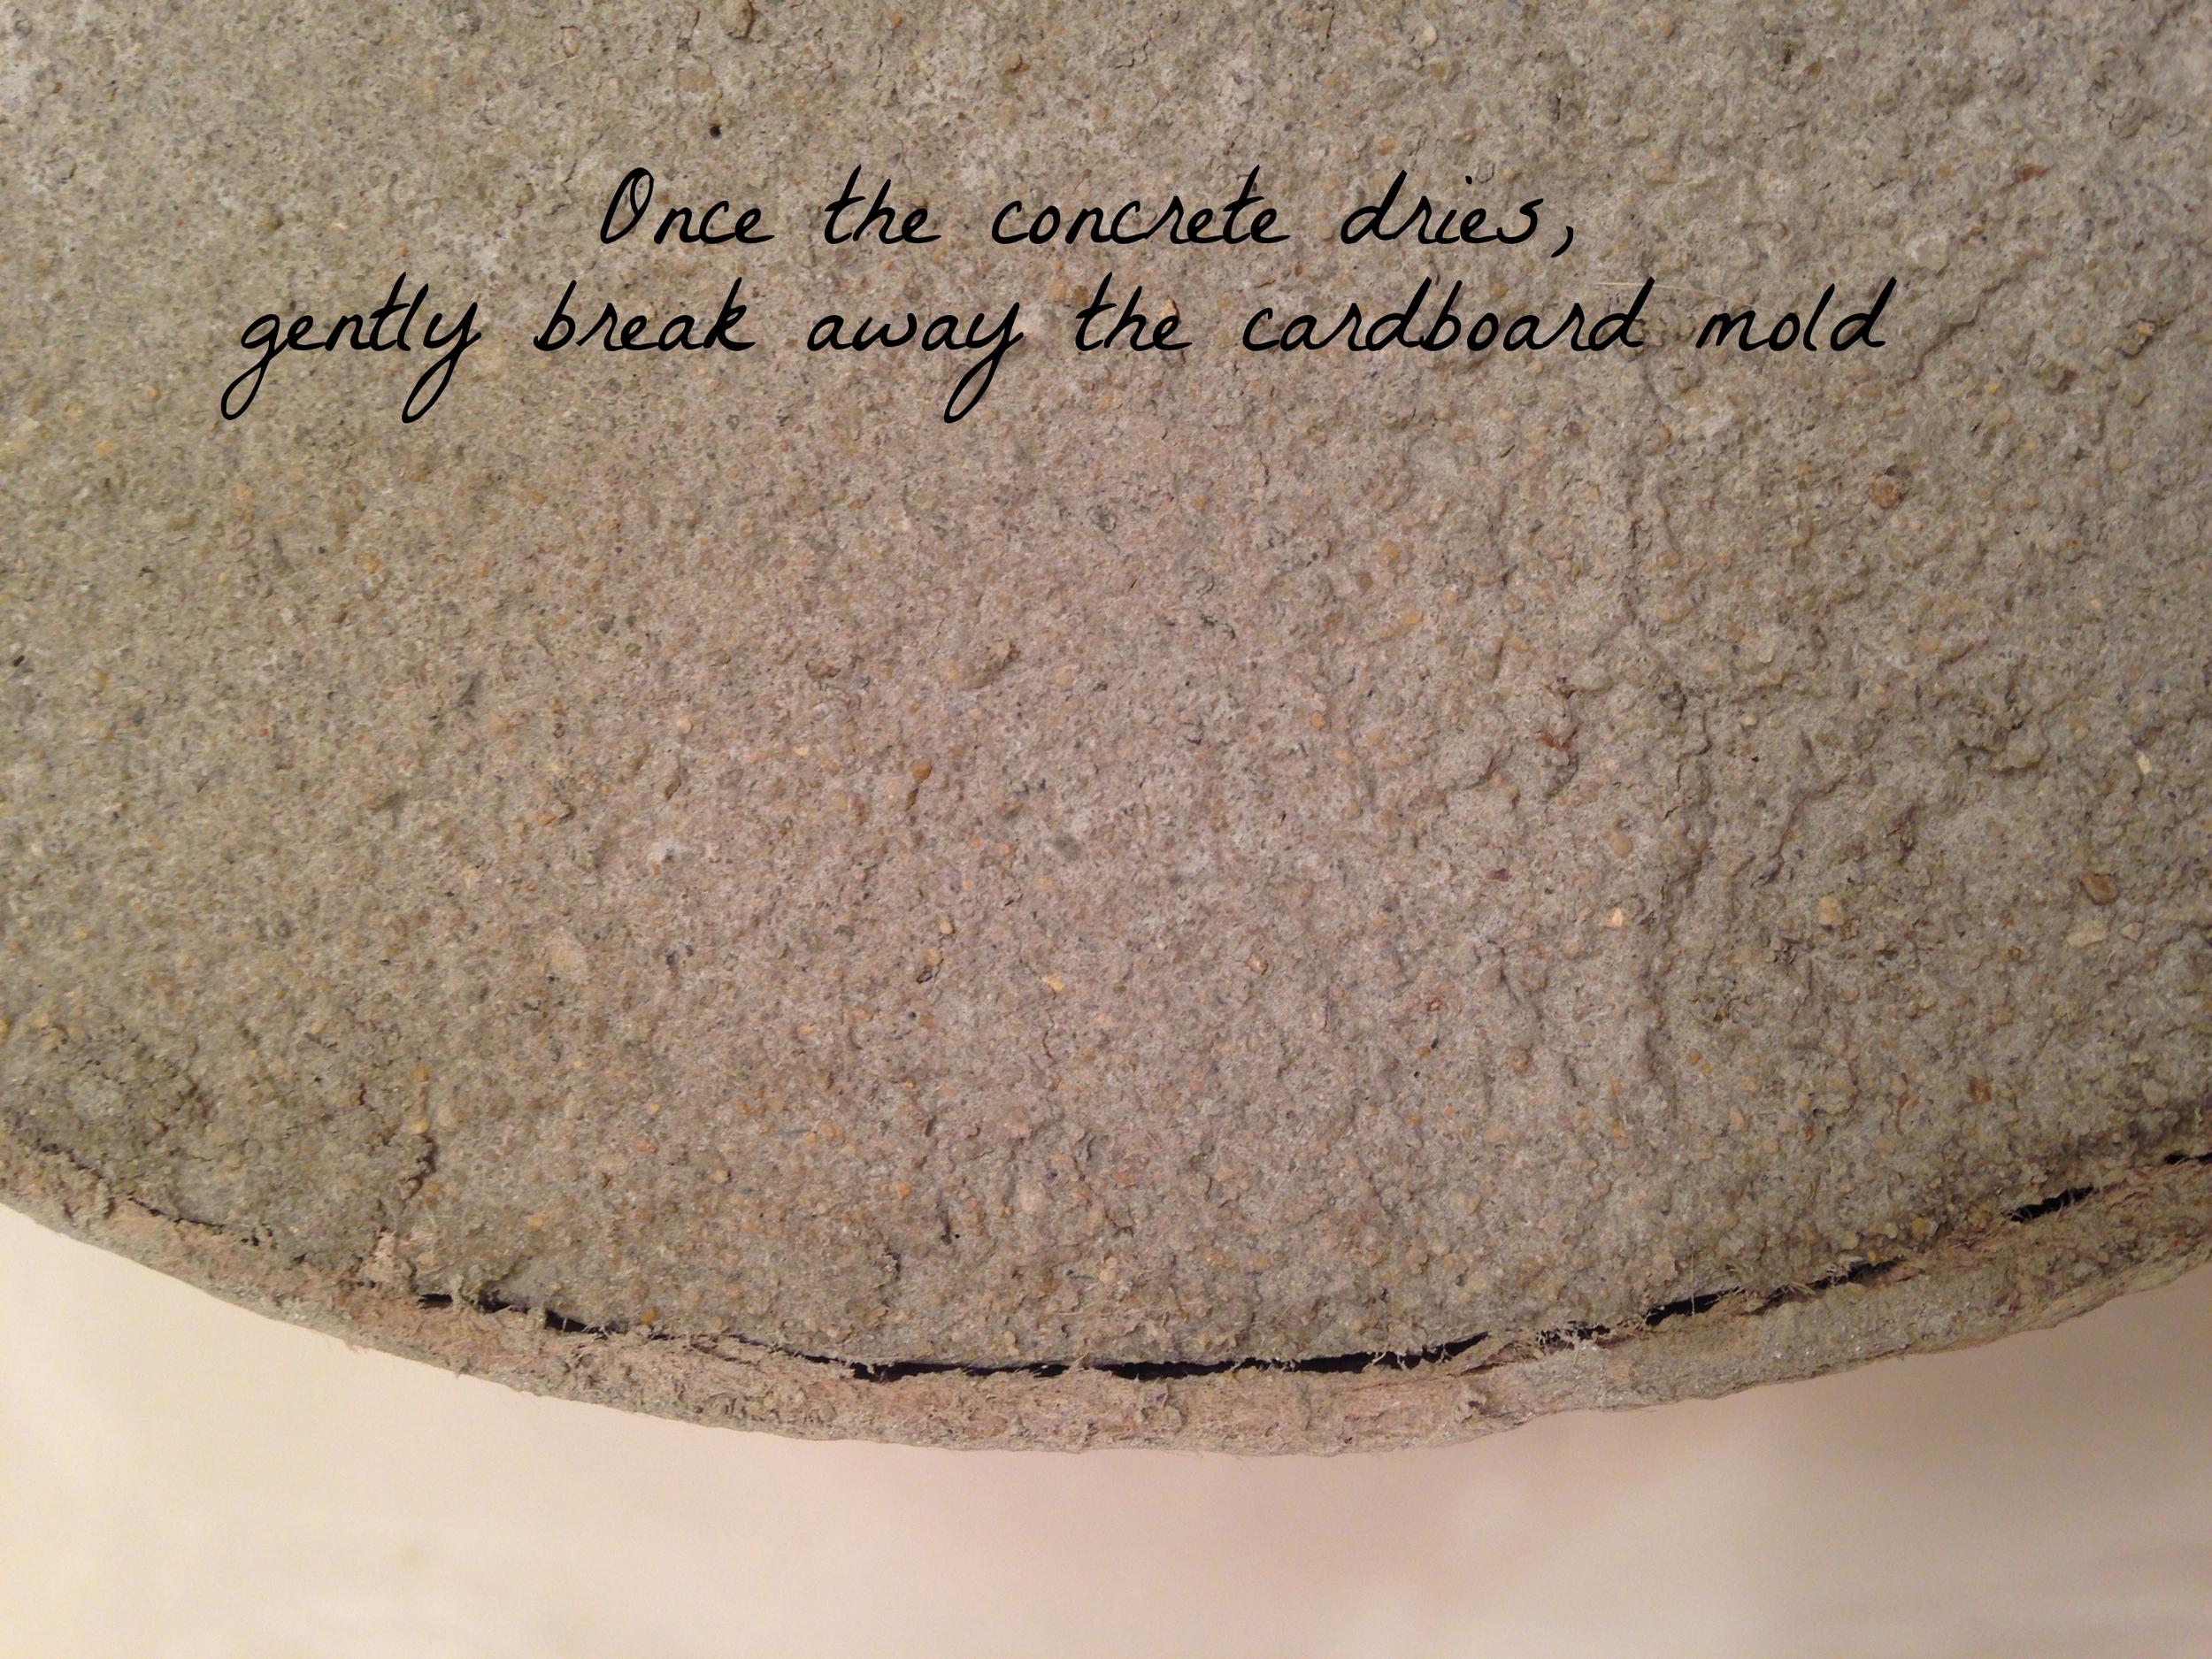
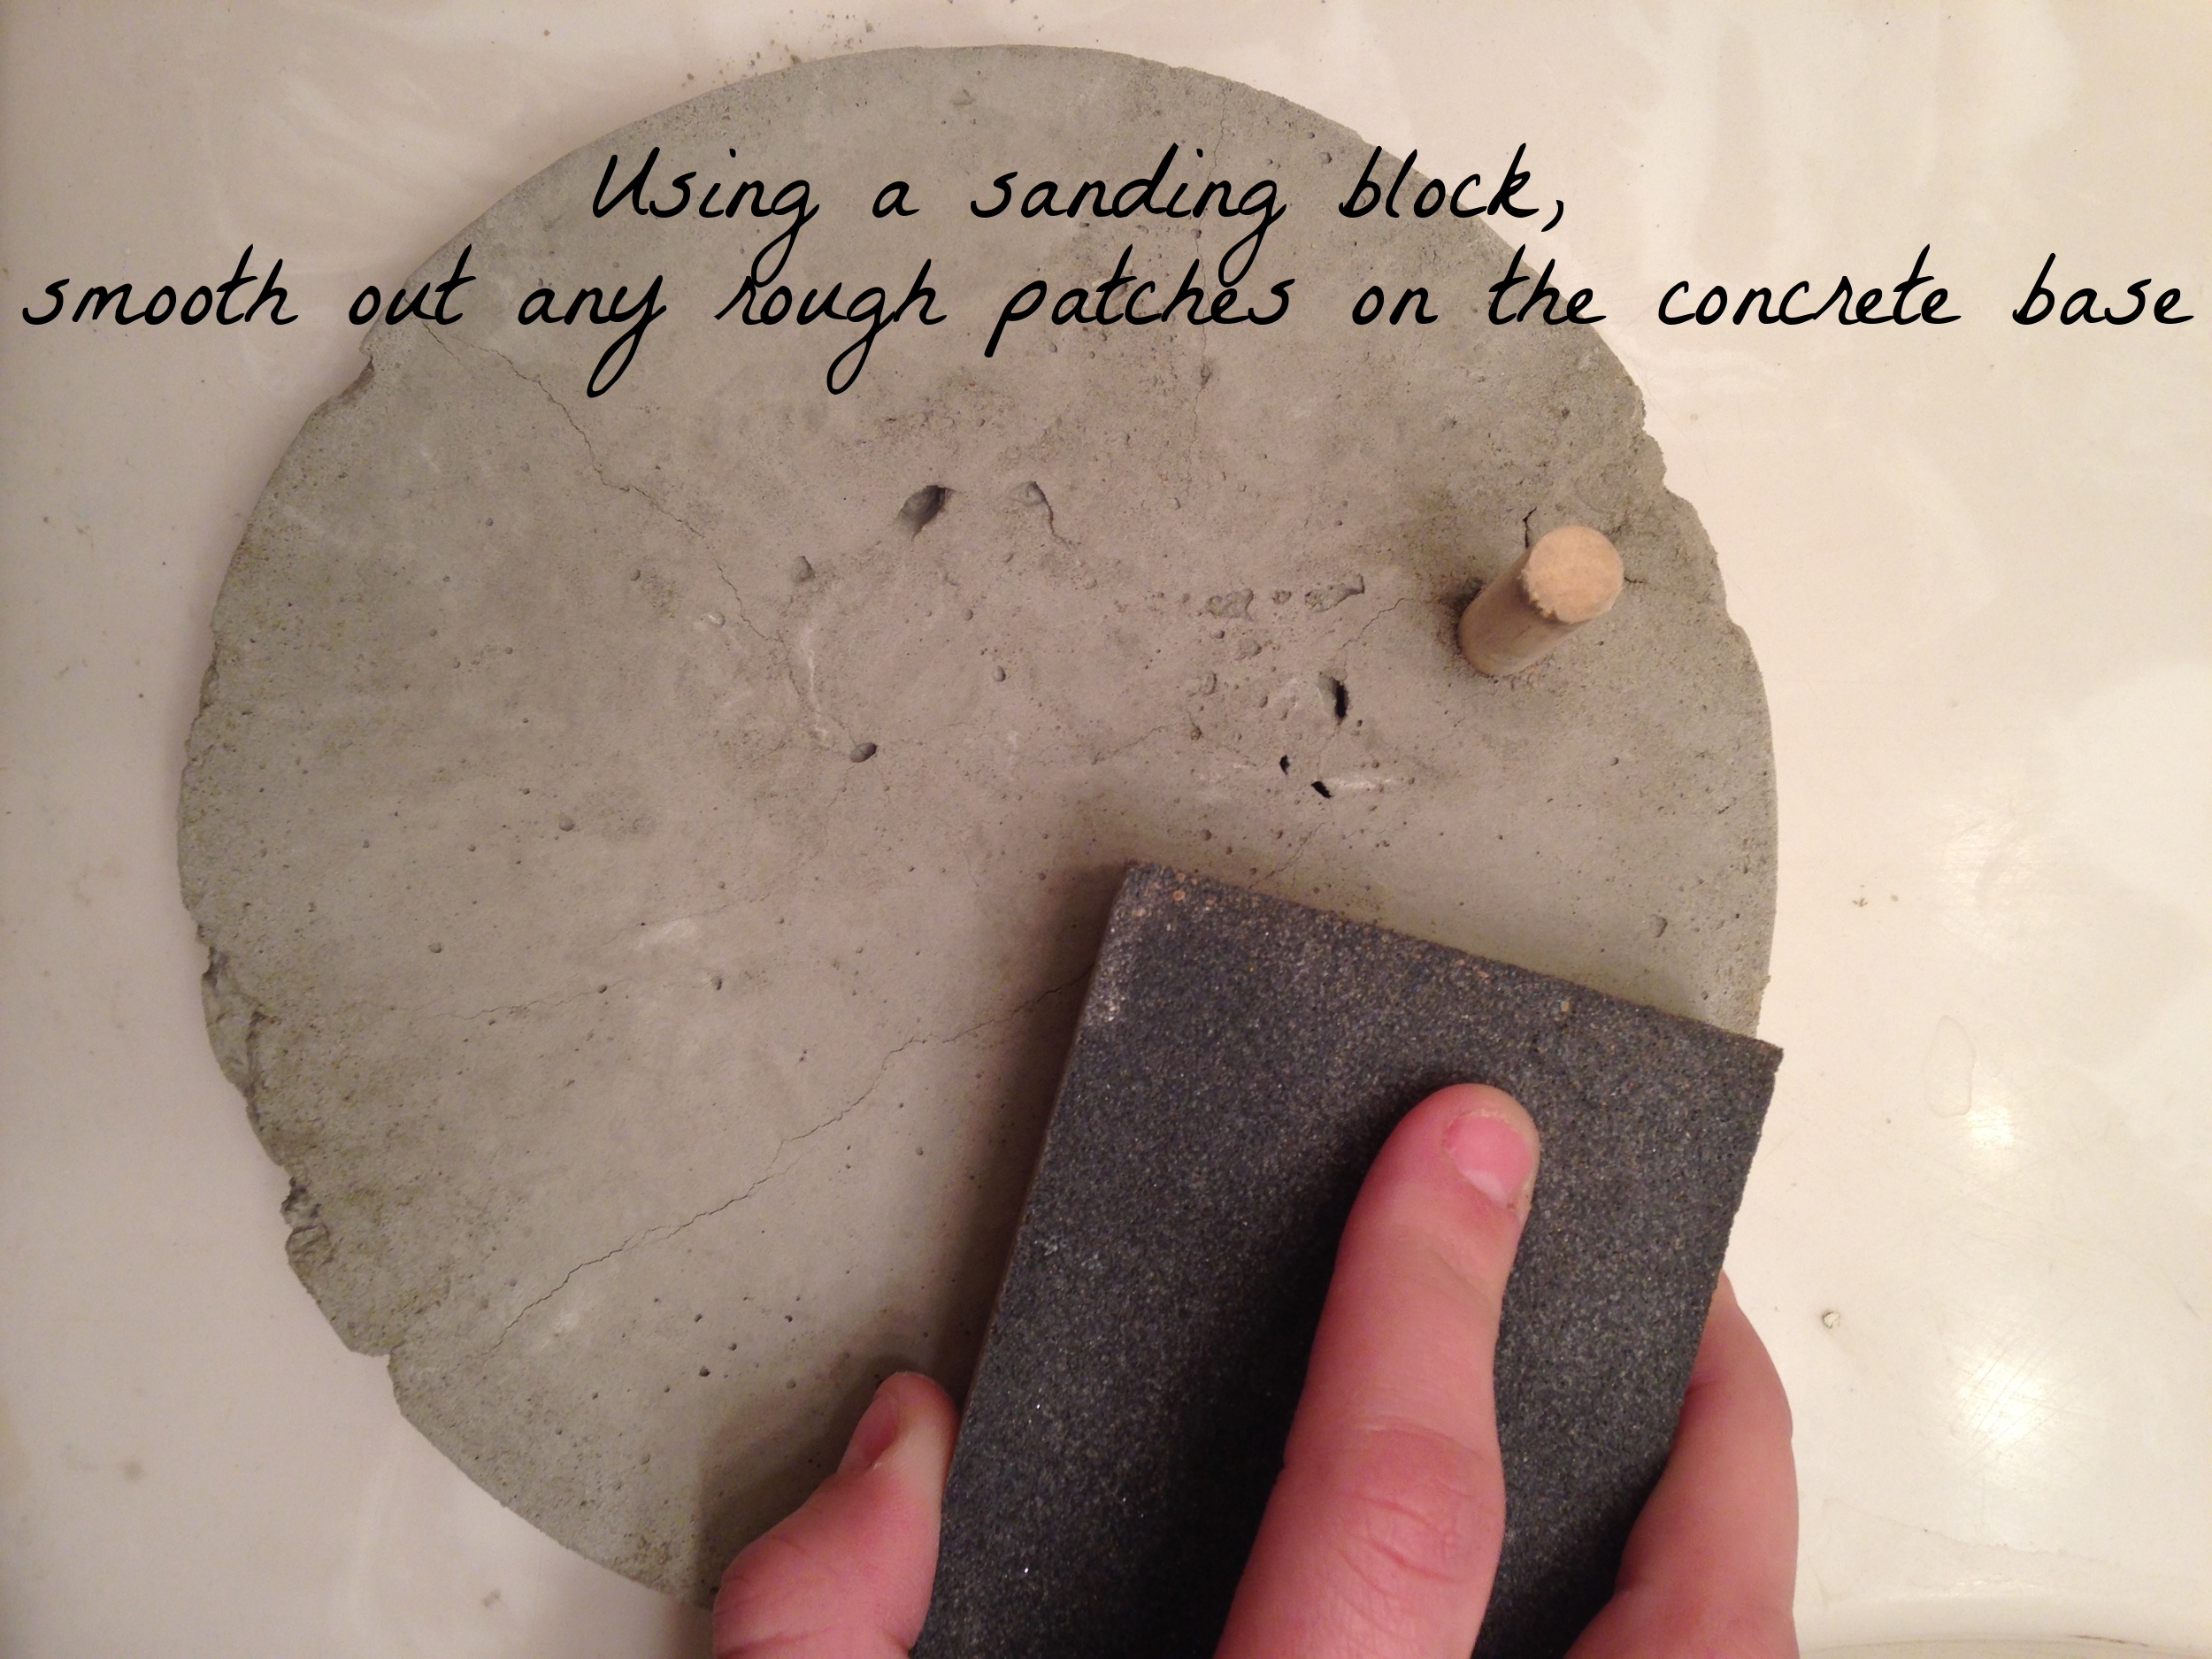
Scroll through the images below to see how to use  the cardboard box lid as a concrete mold.

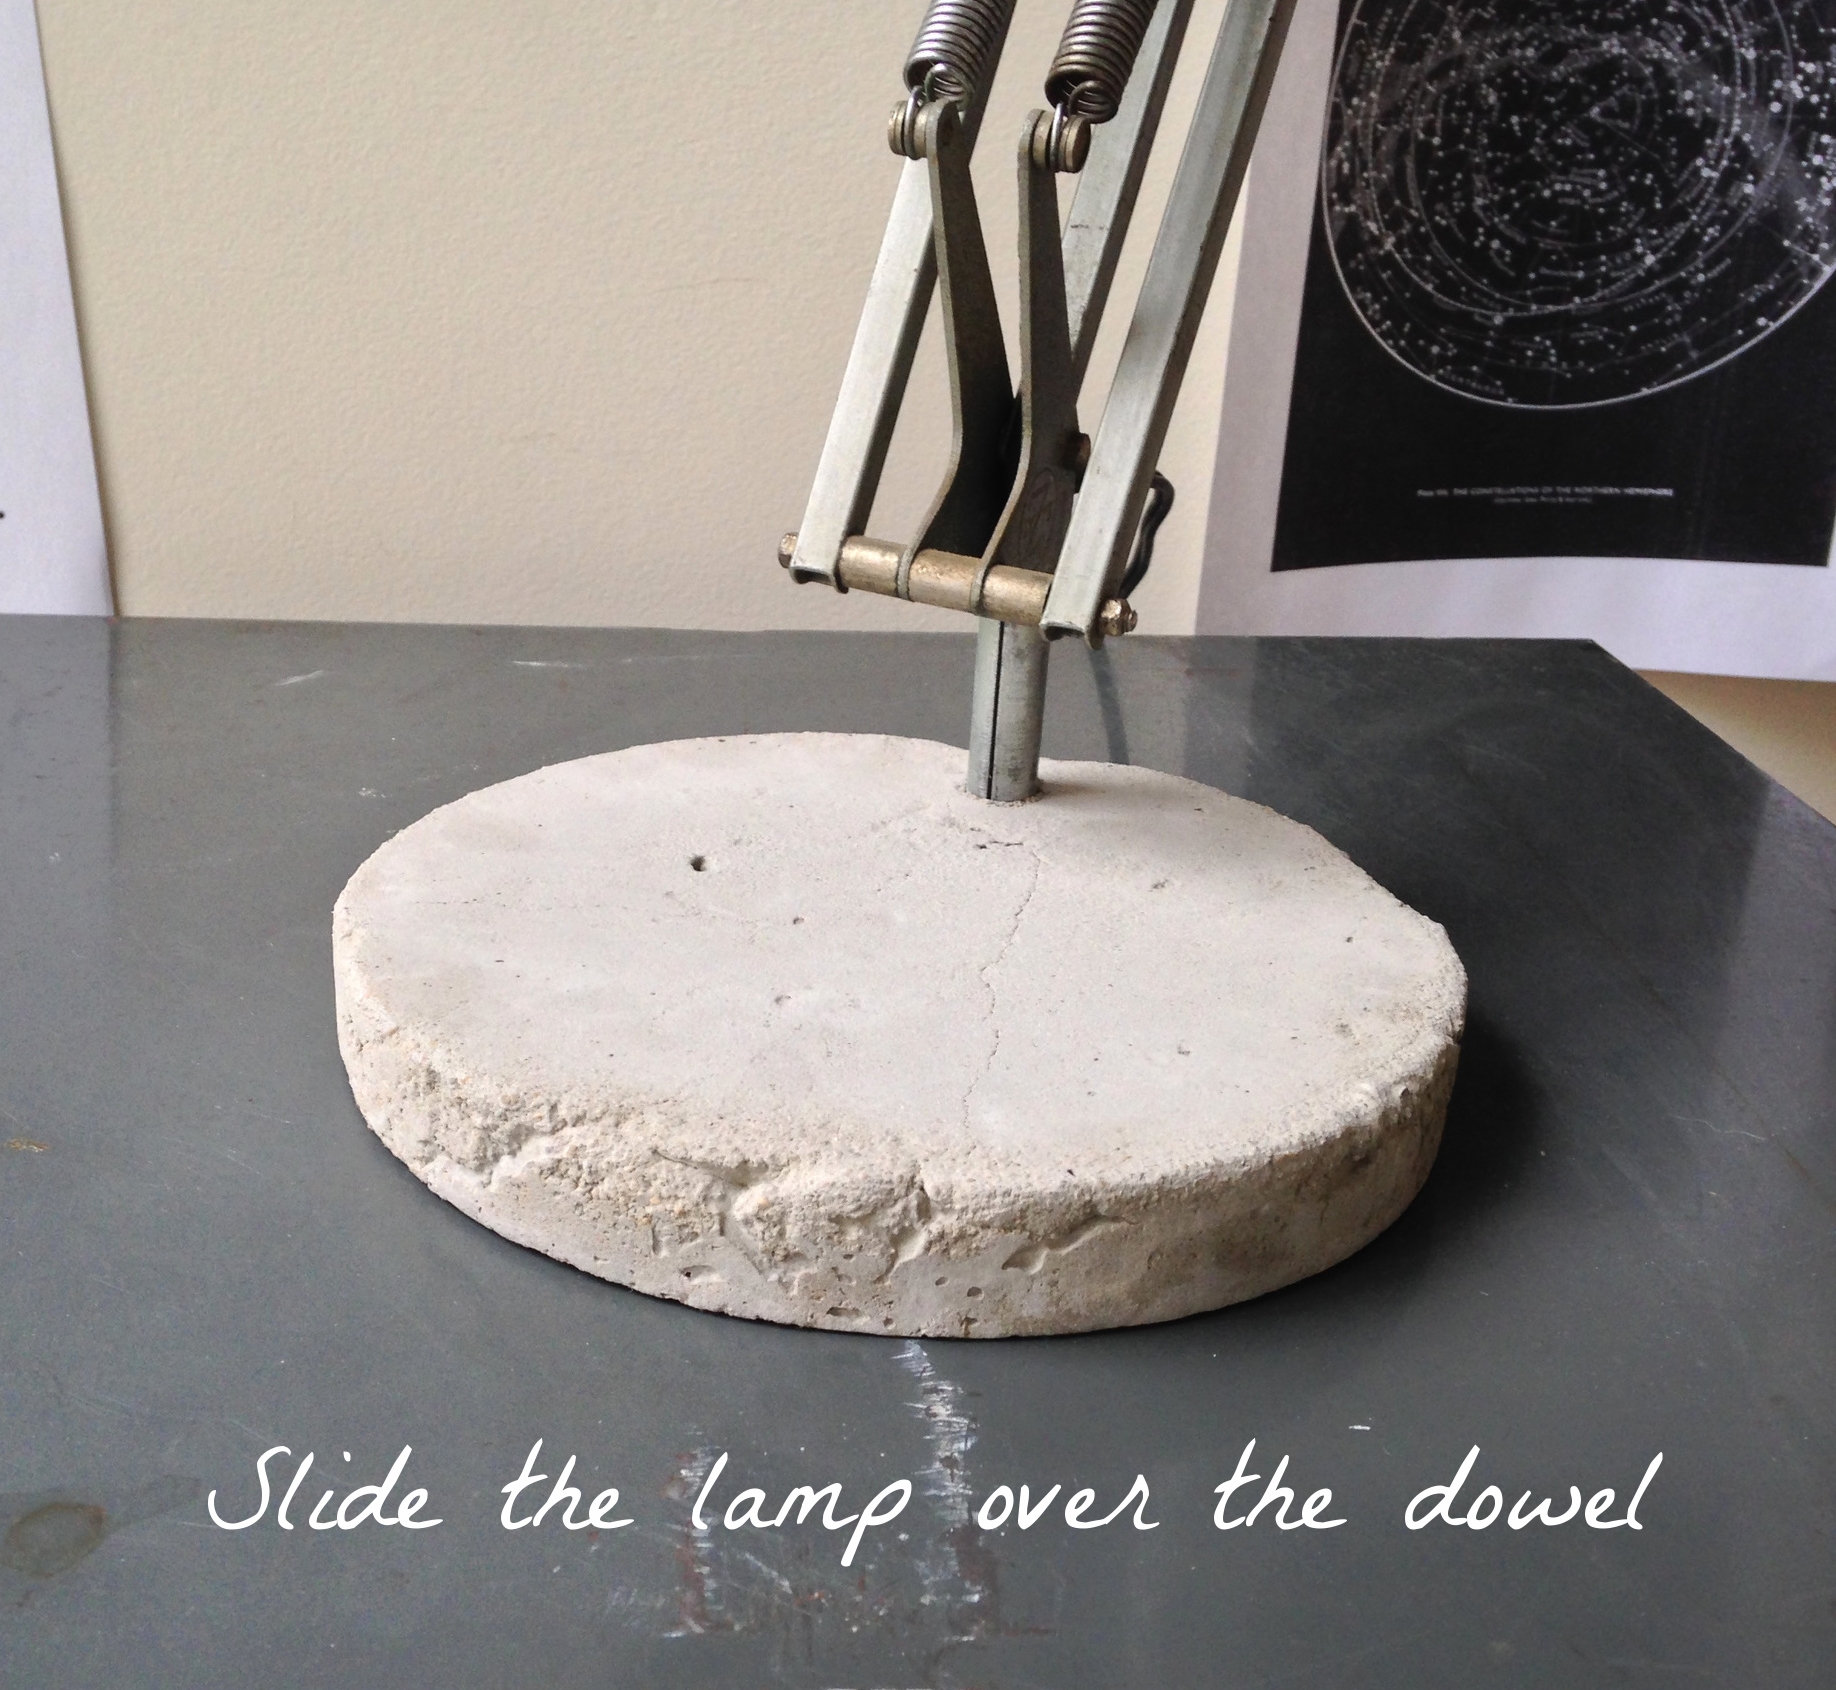
Surgery went well so are you ready to try standing up for the first time little lampie?

That's it girl!

Photo Mar 27, 12 21 11 PM.jpg

Keep going!

Now don't be shy!  Can you look up for the camera - show us who's my little number one?

The sun totally came out tomorrow for you didn't it little orphan lampie?

Even though this is old old news, I am happy to report that little orphan lampie went to live with her very own Daddy Warbucks (well actually it was city-living young professional, but same thing ;)

Have you rehabbed and orphaned item of your own?  I'd love to hear about it in the comments below or tag me in your pics on instagram!


Fall Leaves, Apples, and Two New Repurposed Pieces

So I'm not even gonna try to hide it -  fall is my FAVORITE time of year.  I think it's because it's the perfect storm for so many of my favorite things: leather boots, cute scarves, comfortable sweaters, crisp air, crunchy leaves, hot beverages, delicious soups, and best of all: family time. 

But I don't have a home to decorate for fall - and it's KILLING ME!  Well not really.  I admit I'm being dramatic.  What can I say, I'm in my tumultuous twenties where for the last 5 years my now husband and I have collectively lived in 8 total towns and bounced around 5 total jobs.  I'm so ready to have a house of my own to decorate/ experiment with/ work on furniture in, but Caleb and I are still SO young in our finances.  


But it's this time of year that also reminds me I need to give thanks for what Caleb and I do have:

Almost 2 years of marriage under our belt
An incredible dog named Thor
Jobs
A place to live
Both sets of parents in the area
All 8 of our grandparents
and last, but not least:

all of you fellow style mutts

So without a home of our own to decorate, I'm celebrating fall in my own ragamuffin way with a new pair of pieces in the garage shop:

Photo Sep 28, 5 41 37 PM-001.jpg

Psst do you recognize those table bases?  Maybe this instagram post about flotsam and jetsam will jog your memory:

Photo Sep 28, 5 43 52 PM (1)-001.jpg

It actually was a very simply upcycle: I made the bench seat out of wood planks and the trestle with a new piece of wood cut to length, all stained to match the harvested table bases [as always, pun SO intended]. Then I sealed the whole shebang with some polyurethane just in case someone out there is looking to furnish their orchard with some weather-proof benches...


Trestle Benches
$160 for the pair

SOLD

Cate sig.png

I hope you all are also savoring the season and thinking about all you've got to be grateful for friends.  And don't forget to stop by on Friday for another showstopping #stylemuttspaces Reader Design! 

Boys' Room Reveal + A Stencil Giveaway!

A stenciled room makeover - again!

After 8 months since my first stenciled room makeover, (which was followed by another a month later at my grandparents' assisted living home), it was only a matter of time before using Cutting Edge Stencils to transform another room in our house!

Colin and Mason's room!

After bunking the beds we had an entire wall to play with. My hope for this room was that it be a fun, open space where our imaginative wild things could let loose and be themselves. And like most wild things, they love being in their natural habitat where they're simply free to be. Our house backs into woods filled with all sorts of wildlife, and the kids enjoy finding interesting things back there every day. The Birch Forest stencil just seemed too perfect for bringing a bit of the carefree outdoors in!

As with the previous walls I've stenciled, this was a piece of cake! Cutting Edge Stencil's sheets are 26" x 48", which makes rolling the pattern on super easy! I blue tape the corners and edge of the stencil in place, use a foam roller, (with a bit of paint, not too much or it cakes inside the small details of the stencil), and roll the paint on in a matter of seconds. When finished with one area, I lay the roller down on the paint tray, gently peel off the stencil sheet, and line it up in the next spot.

Here is a quick tutorial video from CES that shows these steps in action!


This stencil is really the only major thing going on in the room! I considered a few different options for toy storage, but when this petite mid-century cabinet turned up at a yard sale for $30, I decided to reuse the guys' bookshelves which were previously painted blue, to flank the little piece. I love these pieces as a unit and it's exactly the right amount of room for their toys and books.

The funny little LED lights are exactly like the clip-on lights we have in our master bedroom. I found them at Lowes and sprayed them gold, (just like I did to ours). They don't ask for a lot of attention in the room which is just what I was looking for. :)

With so much going on on the opposite wall, I wanted to keep the beds simple. White comforters and homemade quilts from the boys' Nana, (my sweet Mother-In-Law), do the trick just fine. I also hung wire file baskets on the walls for bedside books, and hung simple reading lights, (both from Target), so my guys can have some quiet reading time at the beginning and end of the day. Our Colin's reading light goes on long before the sun comes up - I LOVE that he has this space to quietly read and play before getting ready for the day. It fills my heart to see this room getting loved and used so well.

Mr. Fox here came from H&M and I swear I catch him winking now and then. Such a sly guy. I found him in store on super sale for $5! I've looked for him online with no luck, but this guy is available, as well as his friends, Owl and Wolf. Love how these gorgeous pillows double as art!

This mid-century wicker chair is by far my best freebie find yet! I saw it sitting outside a thrift store with a modest price tag of $10, (!!!), but when I went inside to pay they told me I had accumulated enough customer loyalty points to take a piece for free!

Life is so much more fun with pattern, isn't it?!

If you agree then we've got a huge treat for ya! The ridiculously gracious team at Cutting Edge Stencils has offered to give another one of our readers a complimentary stencil of their choice! Last Spring we partnered together to give away a stencil, and our lucky winner, Julie, did this with her prize:

It's amazing what a little bit of pattern can do. You can turn any ordinary piece of furniture, or an entire room, into something extraordinary! We are completely smitten with Julie's use of pattern here and it's a great reminder that even if you're not into an allover wall pattern, there are still impactful projects you can do with a stencil!

1. Check out Cutting Edge Stencils and pick a favorite pattern
2. Leave a comment below with the name of your favorite stencil
3. That's it! For bonus entries you can like their Facebook page and follow their blog.

We'll take entries until Thursday, October 1 at 12 noon EST. We can't wait to see which patterns catch your eye!

Thank you all so much for stopping by!