Wood and |French| Linen Dresser

Well, we are in our 4th week of school here and only time will tell if I ever settle down and get used to the quiet of the house and the slower pace without my little ones around. Until then, I'll have a steady stream of things to share here! Turns out I'm finding comfort in creativity, just as I did years ago when my babies were new and I had that deer in the headlights look. Cate and I have had beautiful conversations about how we feel so connected with our Creator when we're creating. The joy we feel when creating something is just one way we've been made in His image, and this is where I've turned yet again during a difficult transition in life.

So today I'm sharing the third piece I've refinished since the kids have started school! You can catch up on the details of the first and second pieces if you'd like, but I'd say there is absolutely no trend from one piece to the next. I've been all over the place and have enjoyed myself immensely with each piece.

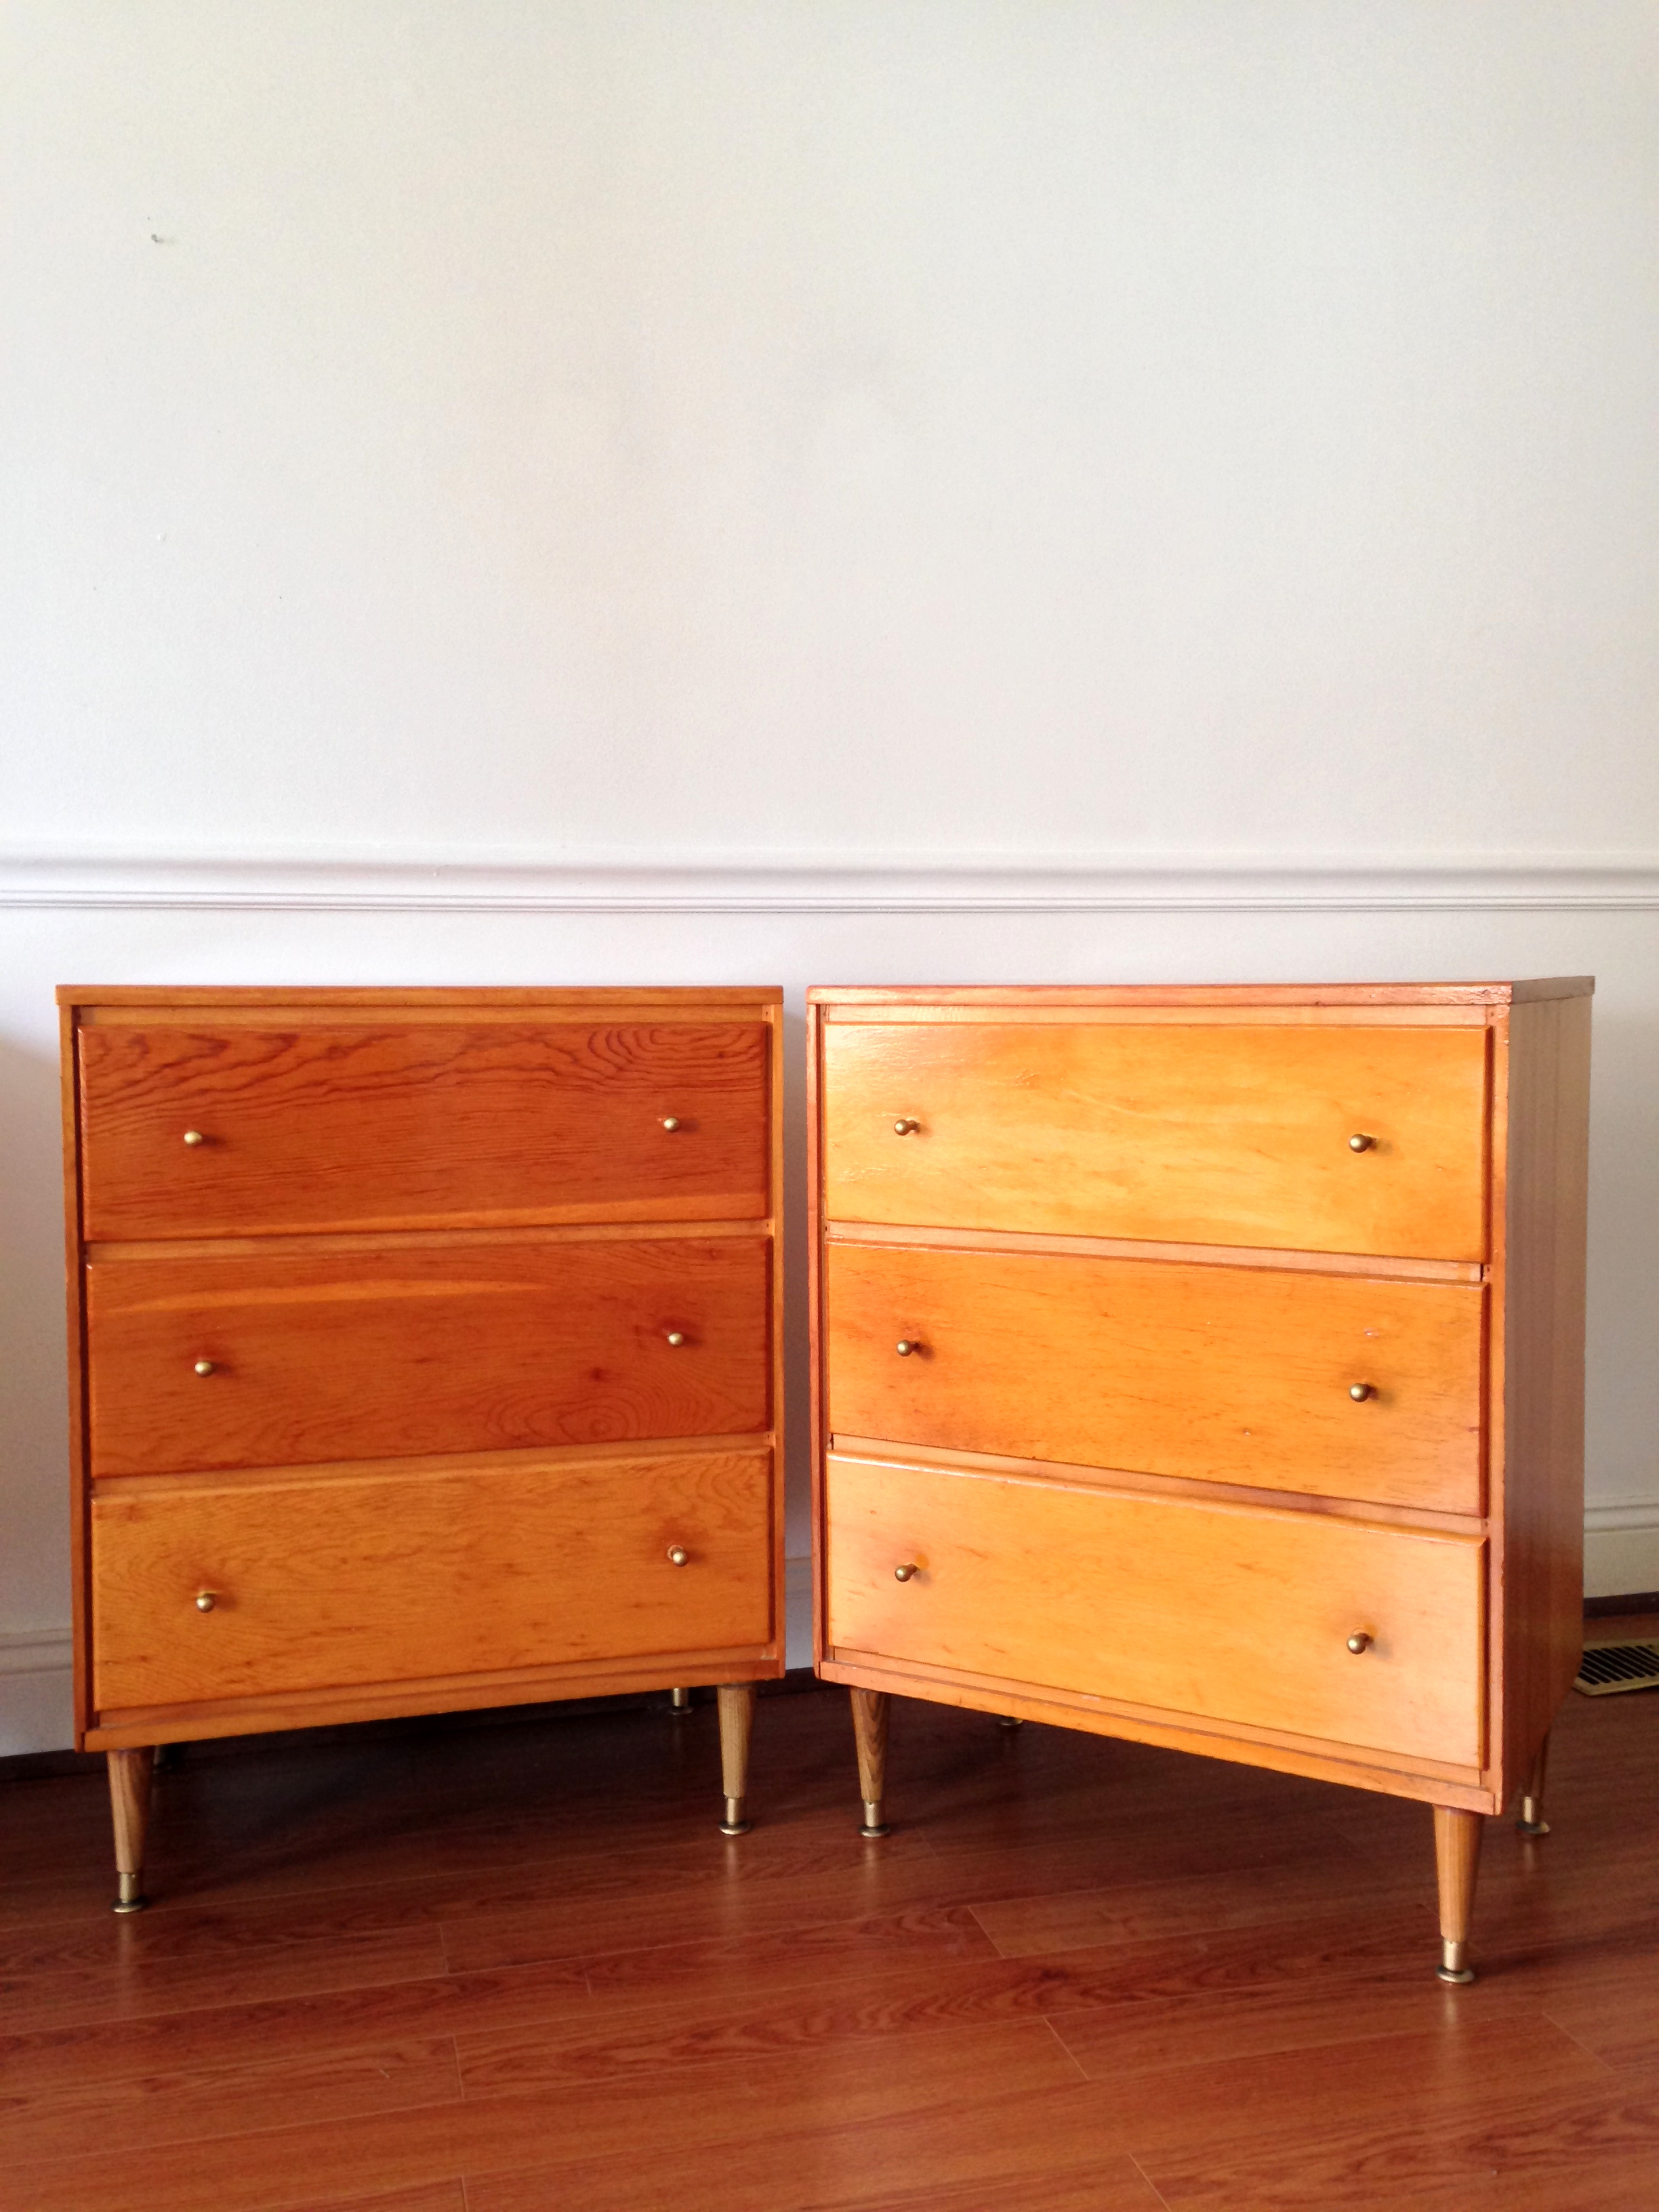
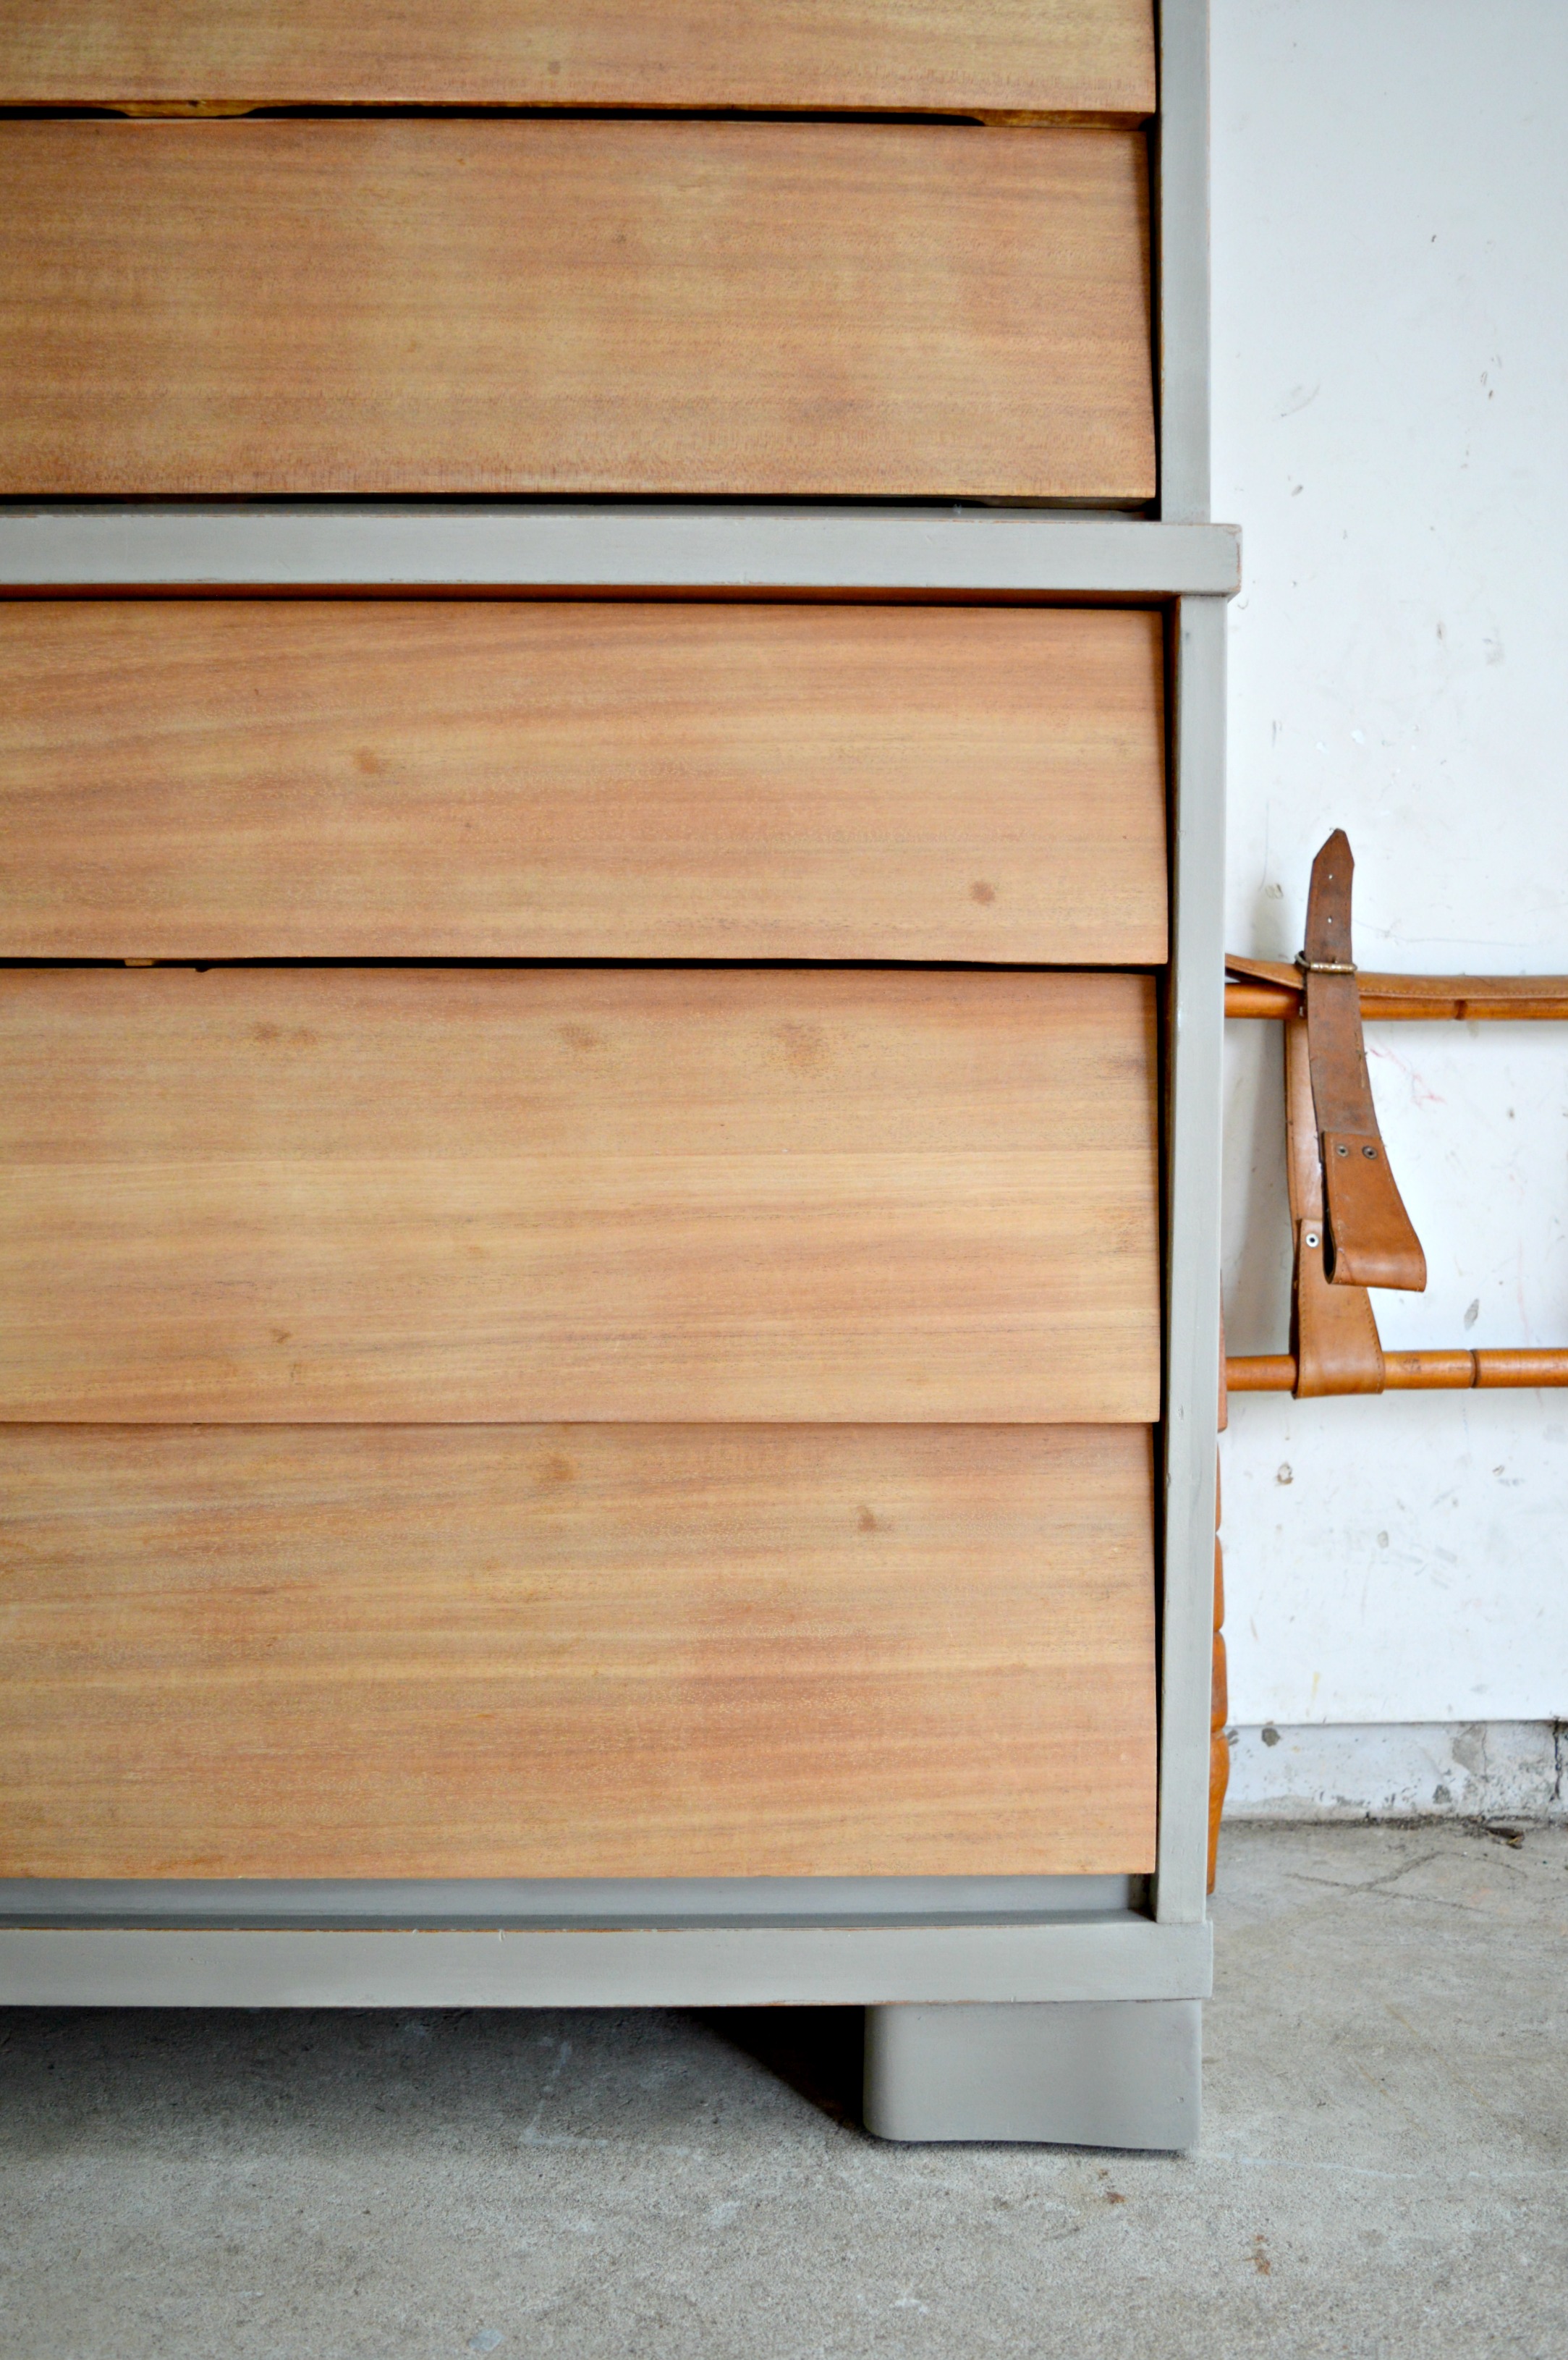
Today's piece leans a lot more rustic than the first two! I stripped the dark peeling stain from the beautifully angled drawer fronts and left that gorgeous wood alone!

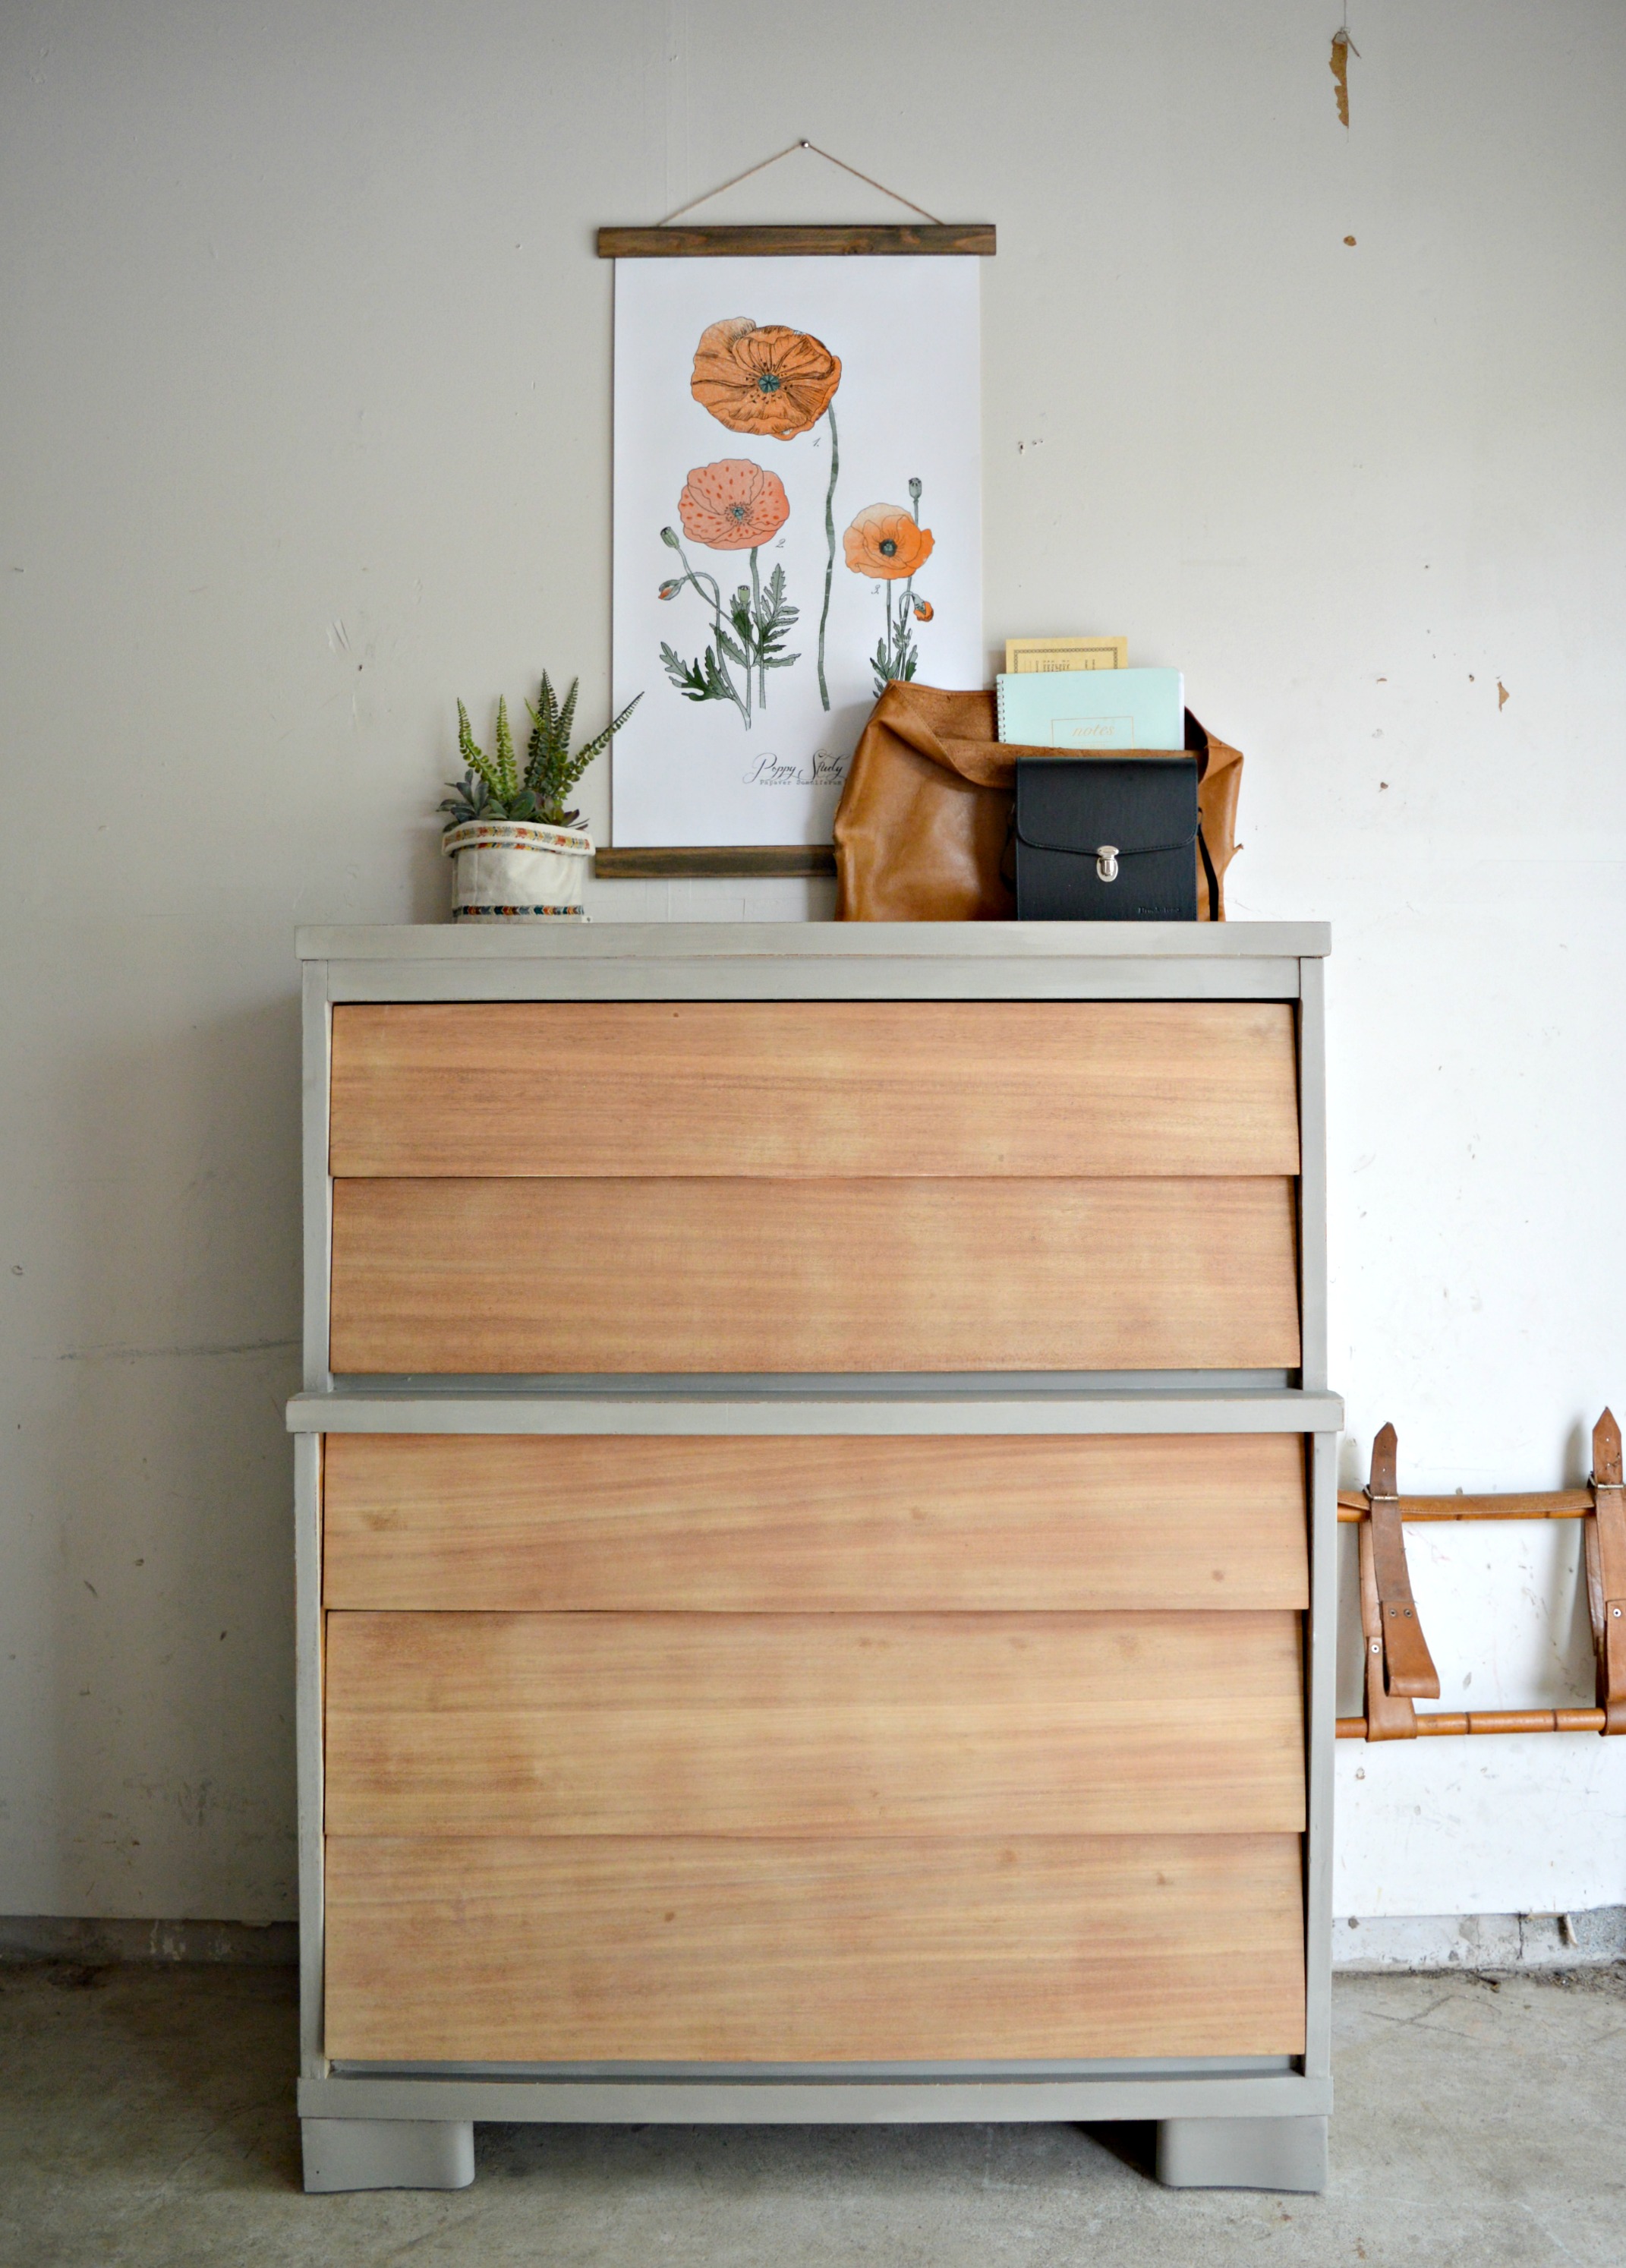
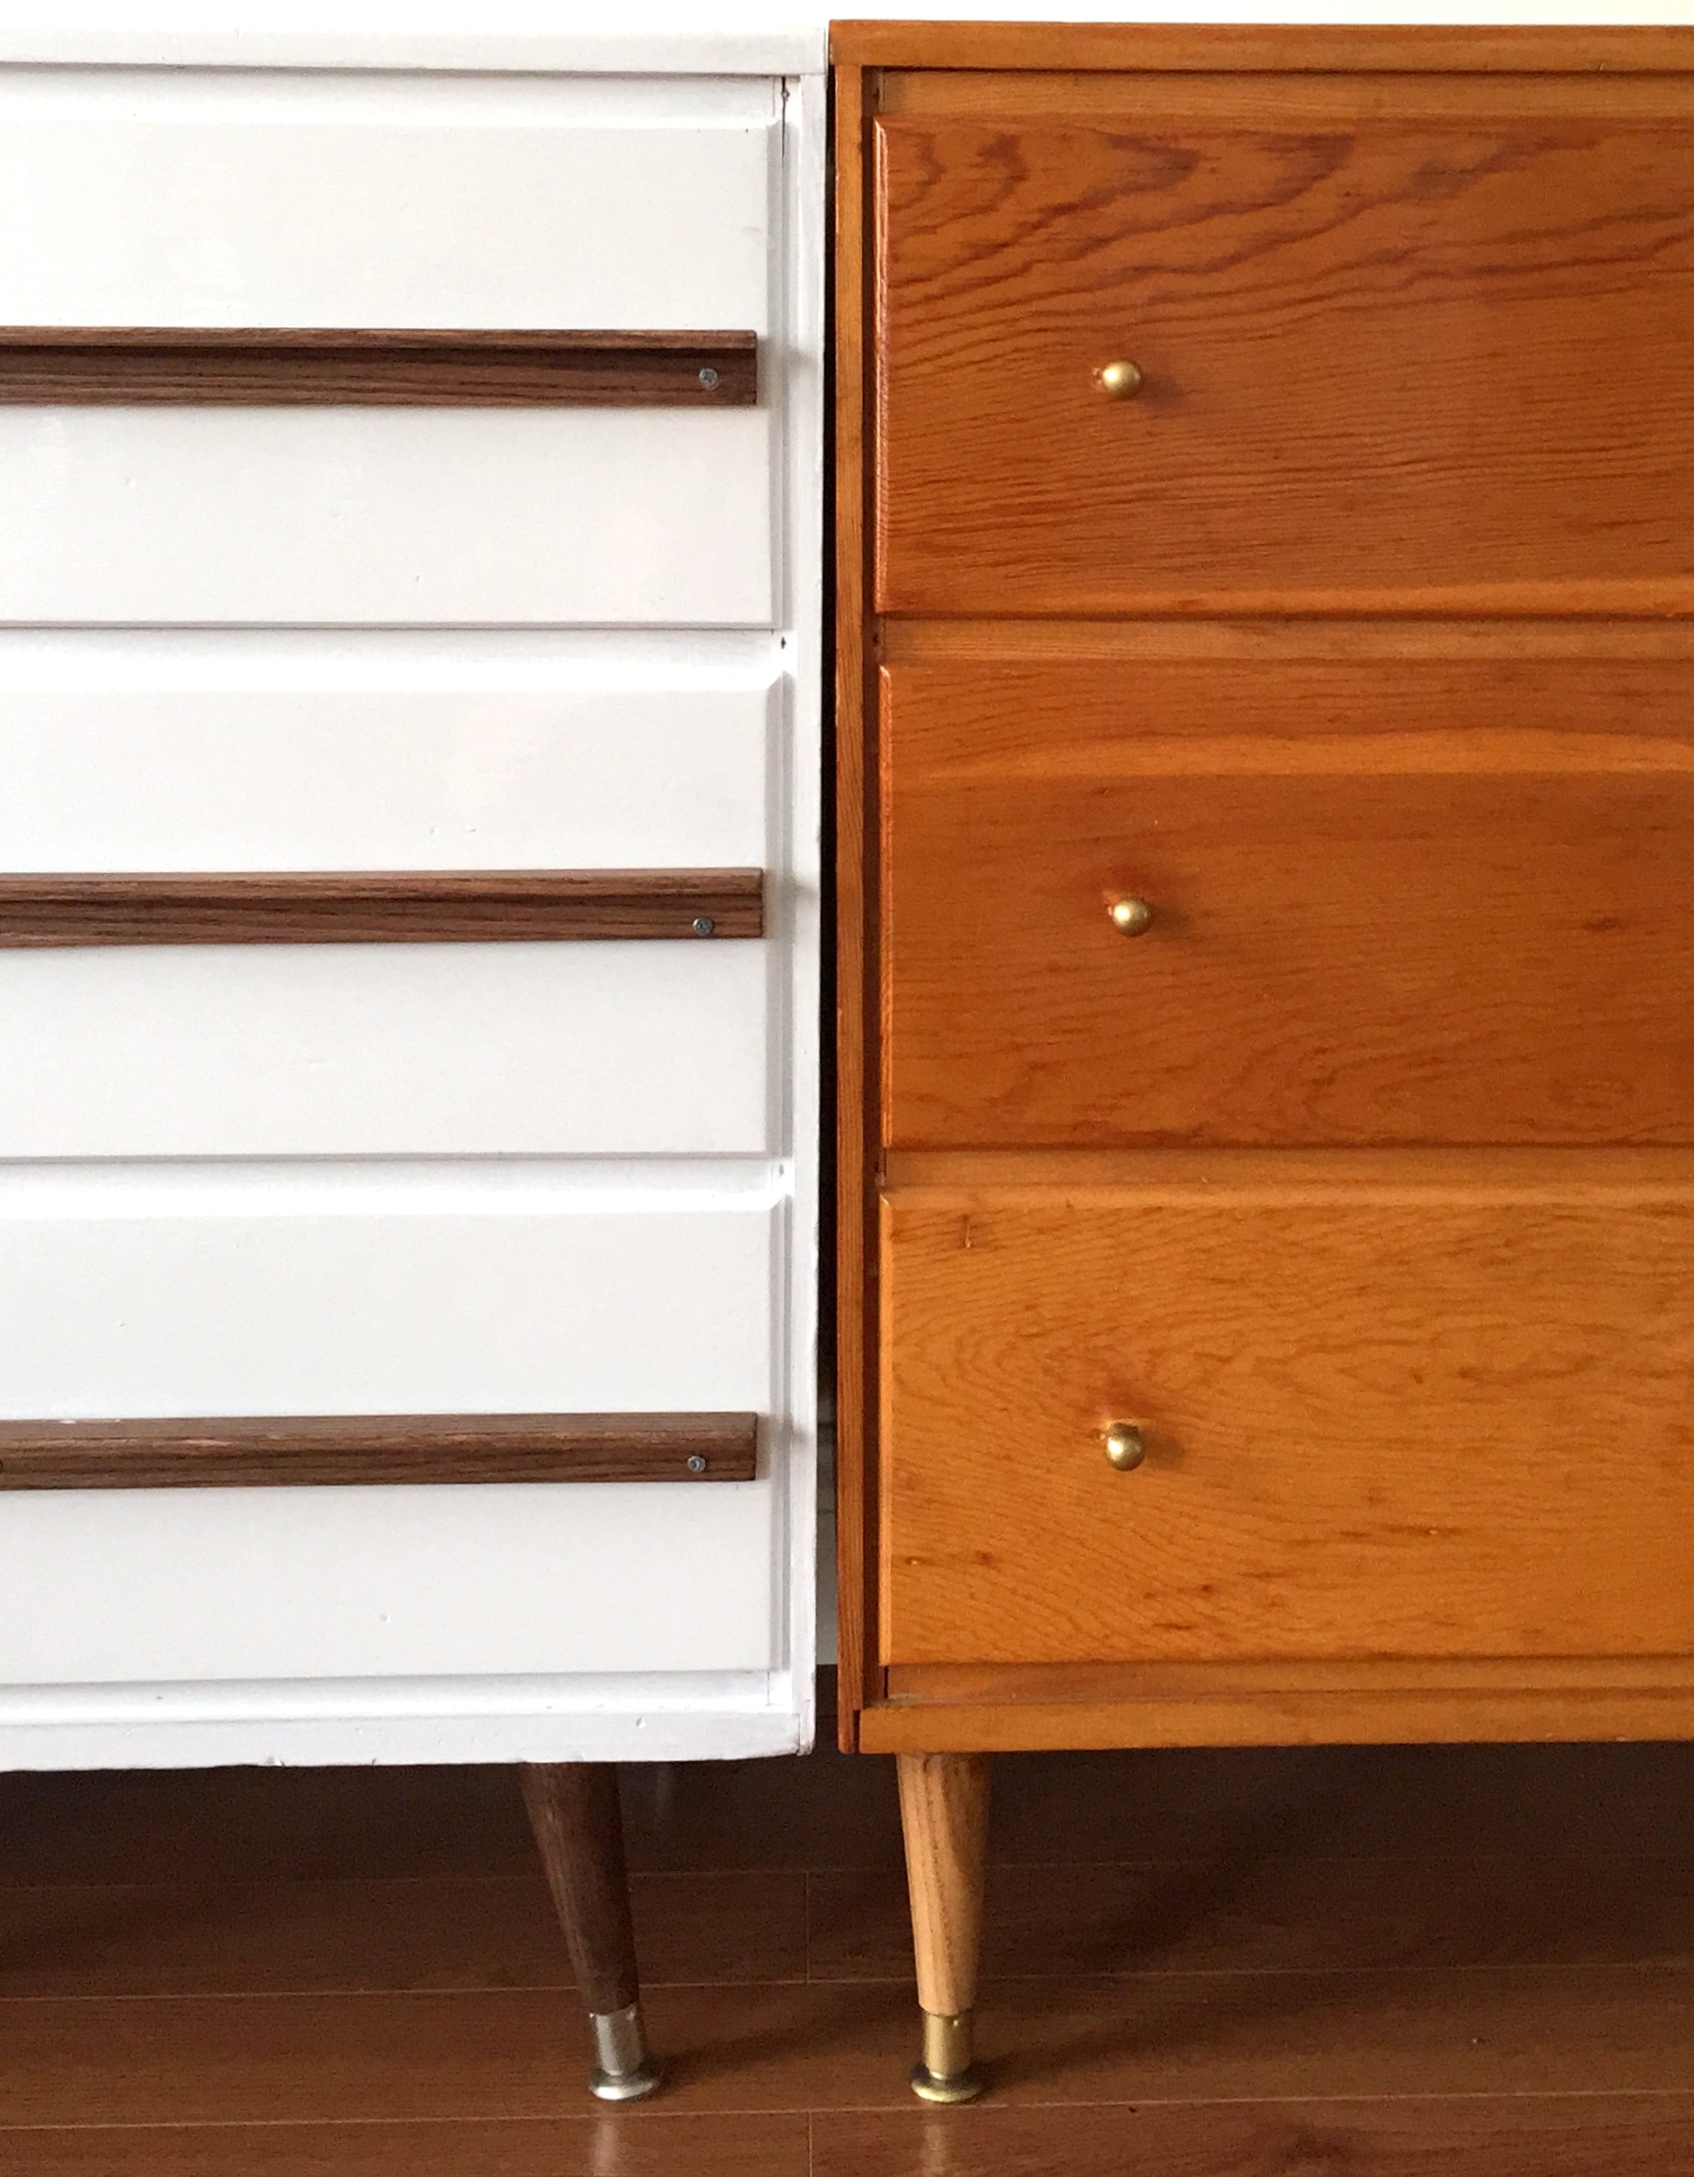
Over the weekend my girl Shire and I took a tiny trip out to historic downtown Leesburg, VA to The Cottage, where we snagged a can of French Linen chalk paint by Annie Sloan. I love this warm greige color - it reminds me of putty! It's one of those neutrals that's a striking contrast to black, navy, brown, charcoal - it's just gorgeous. And because of it's warmth I tend to use it every Fall when the air turns crisp.

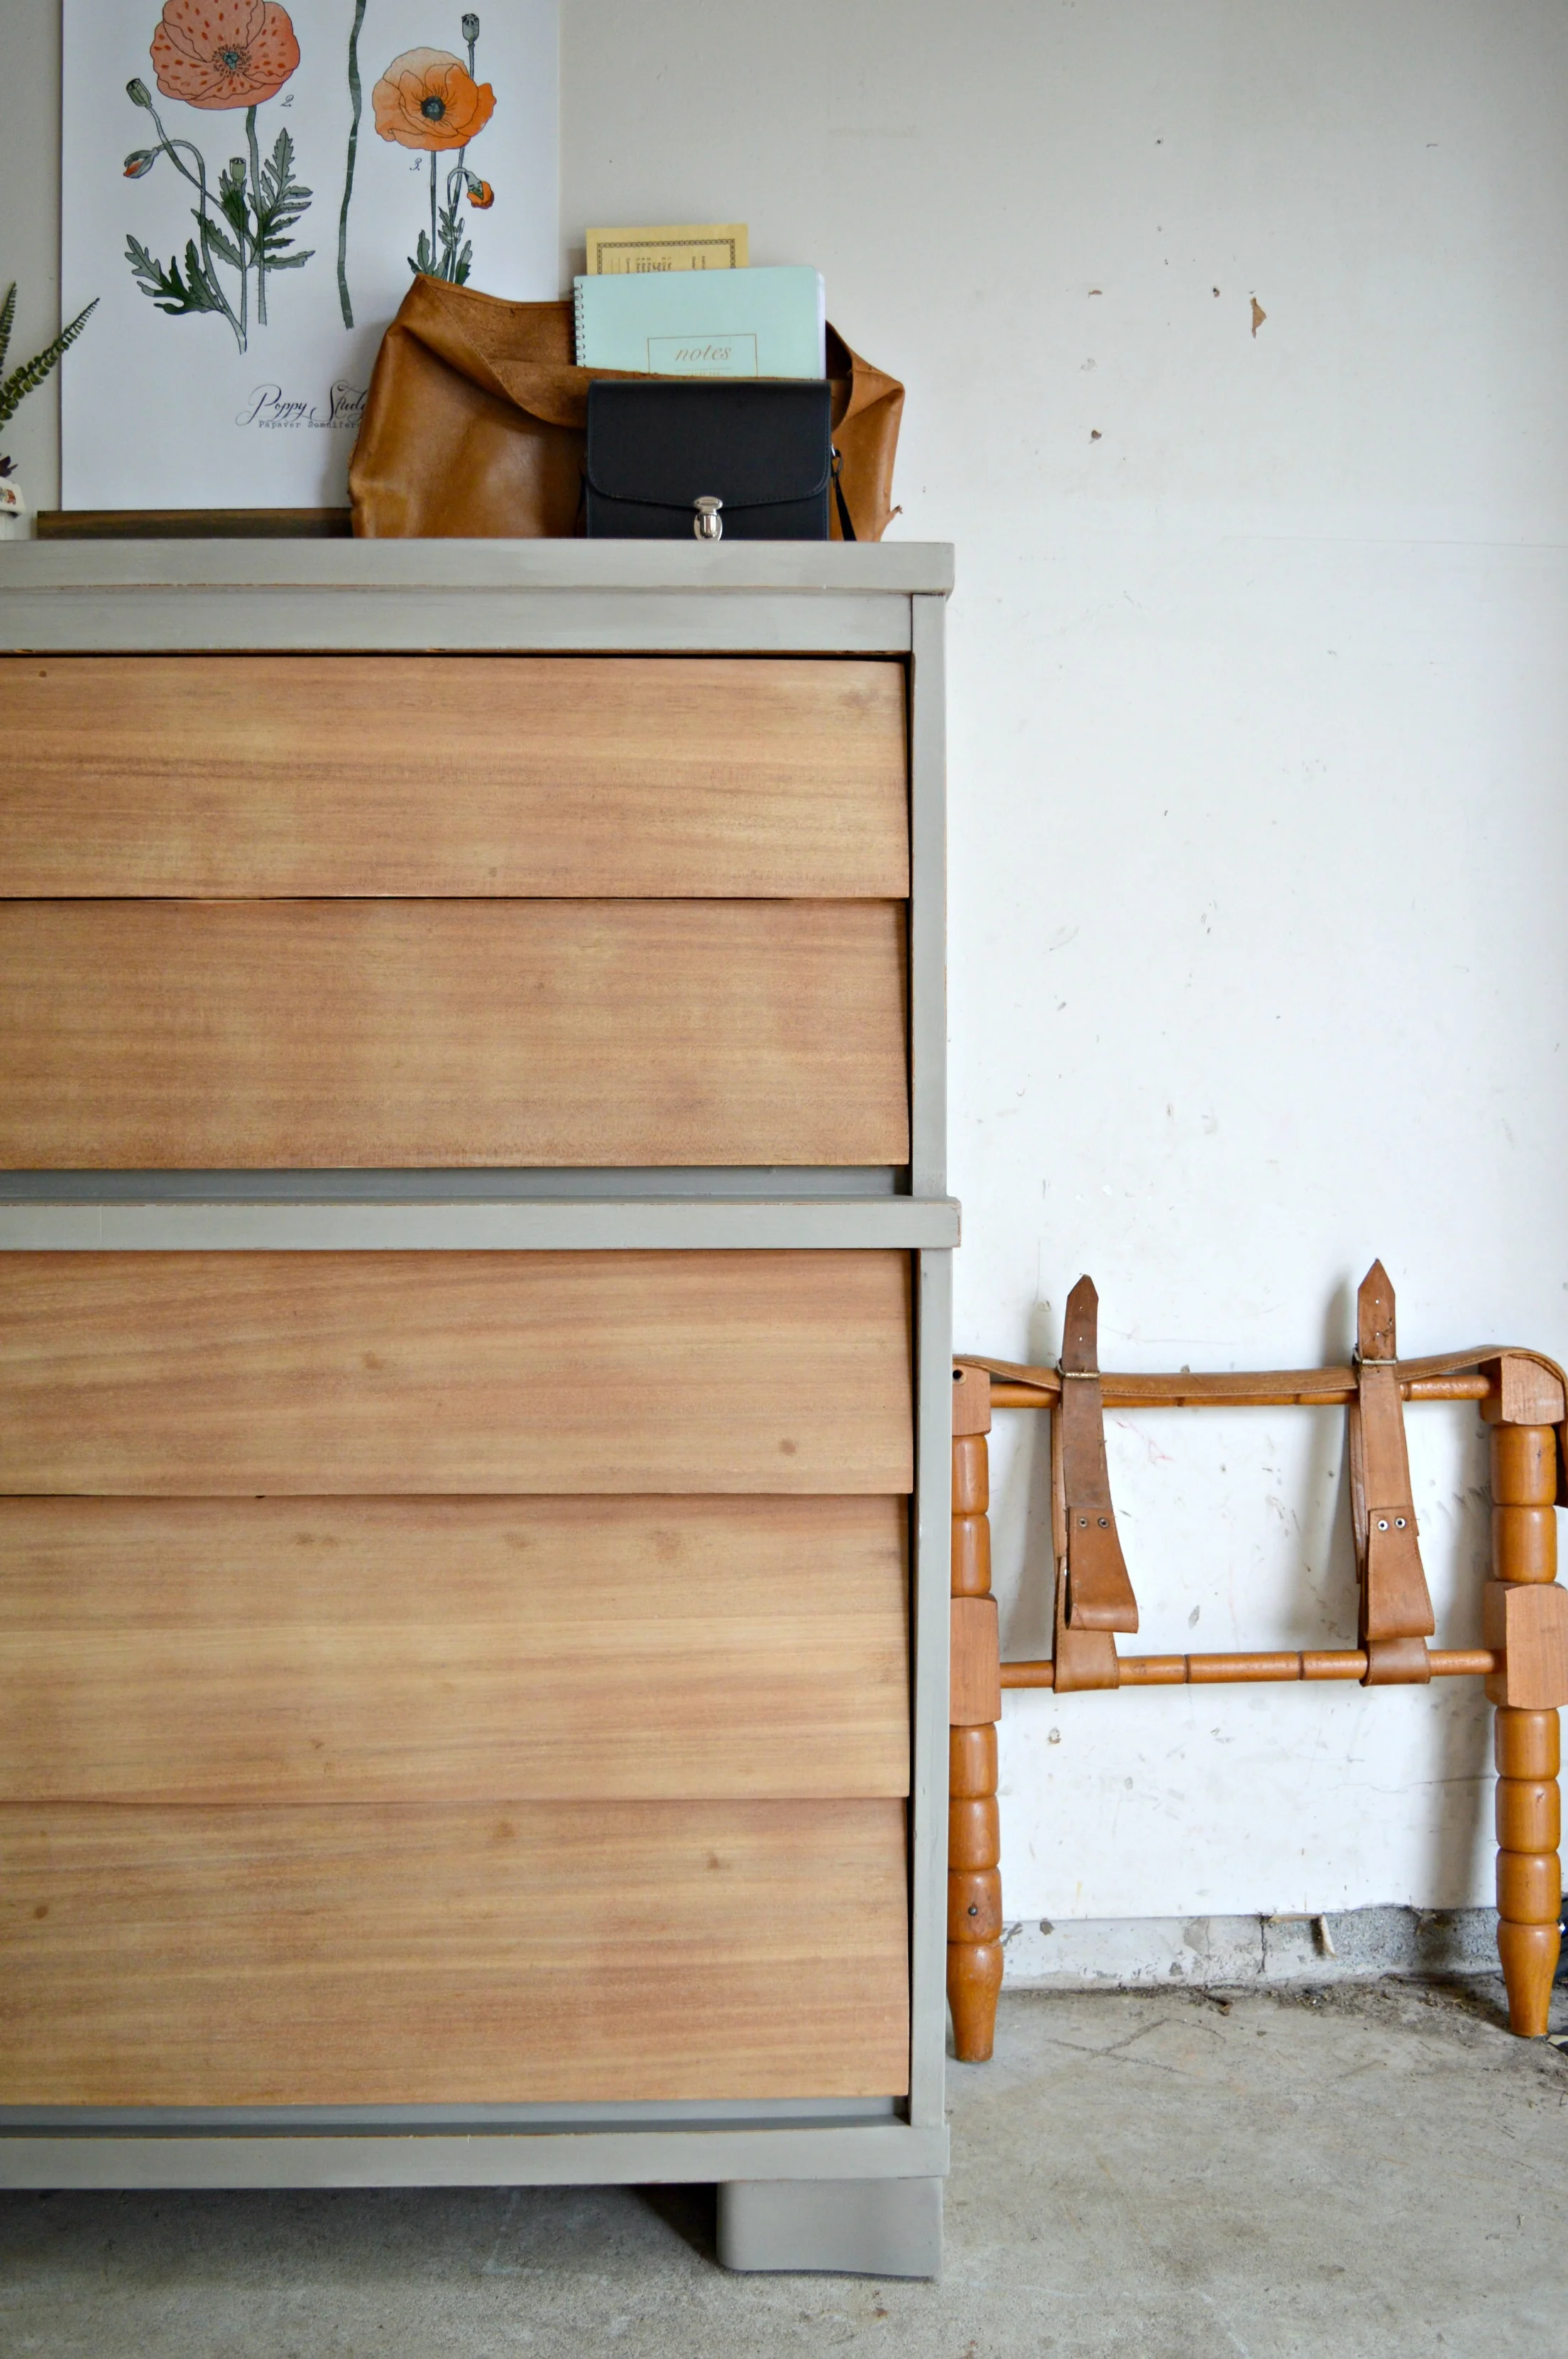
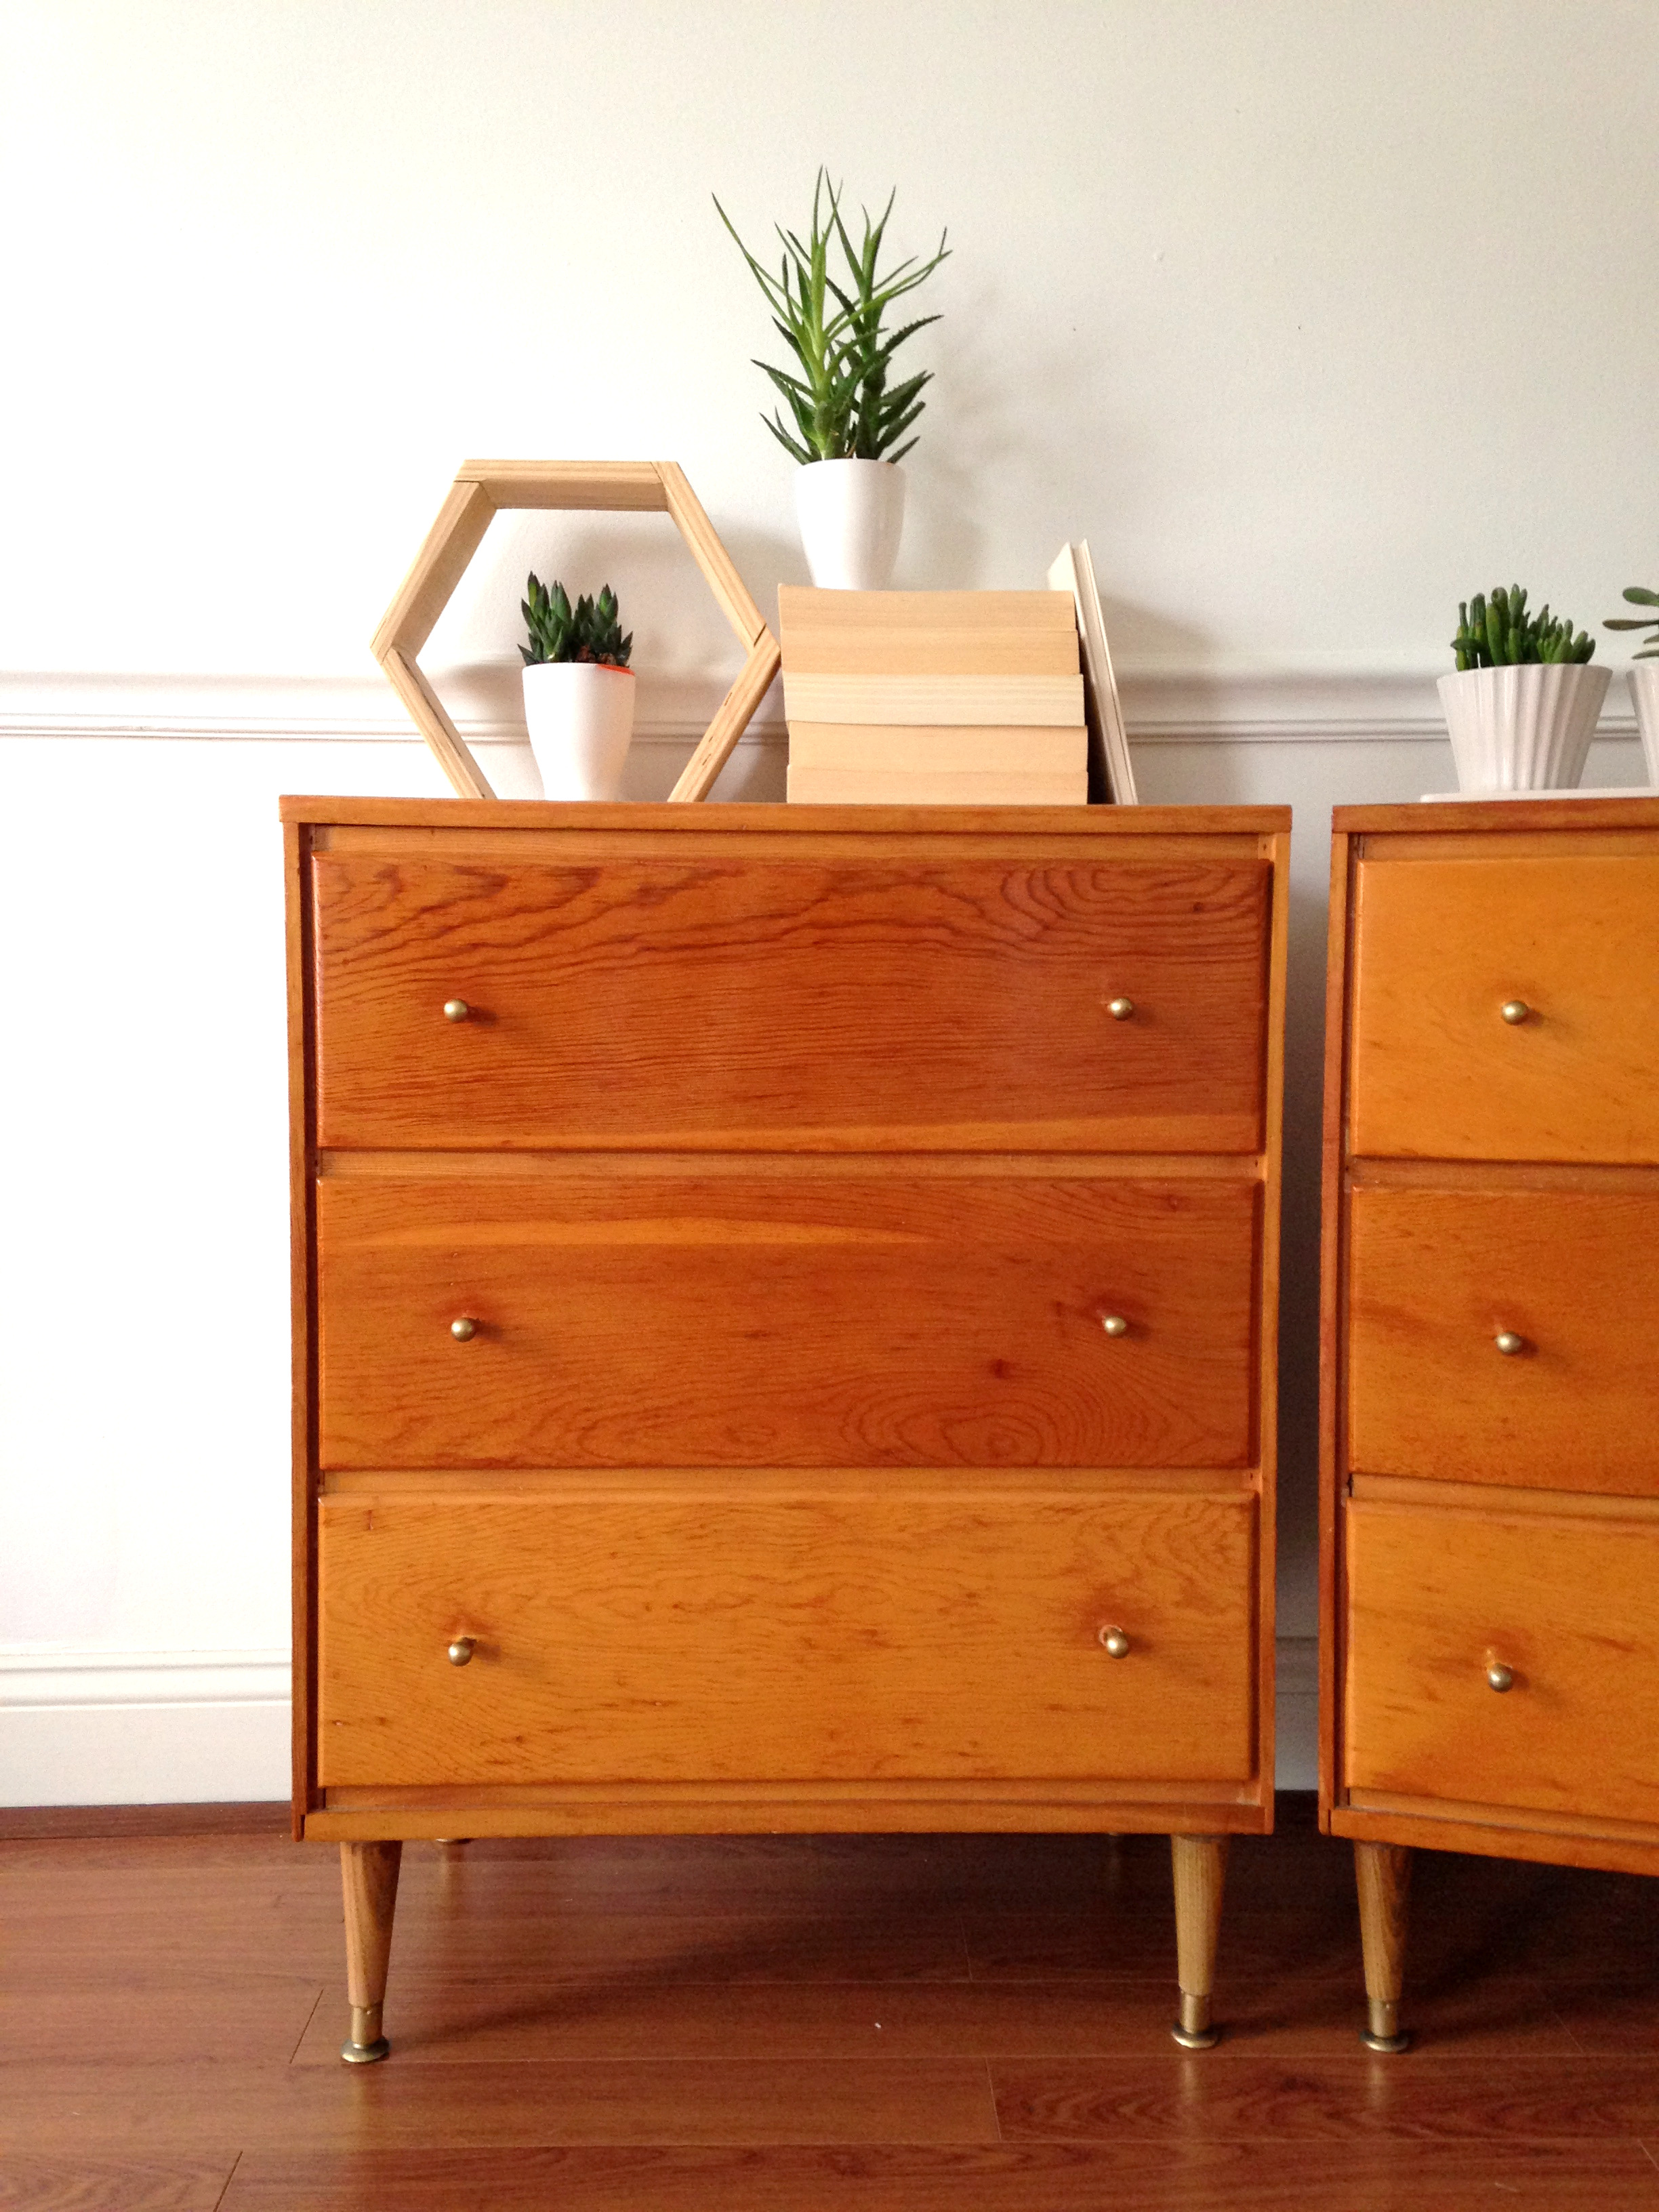
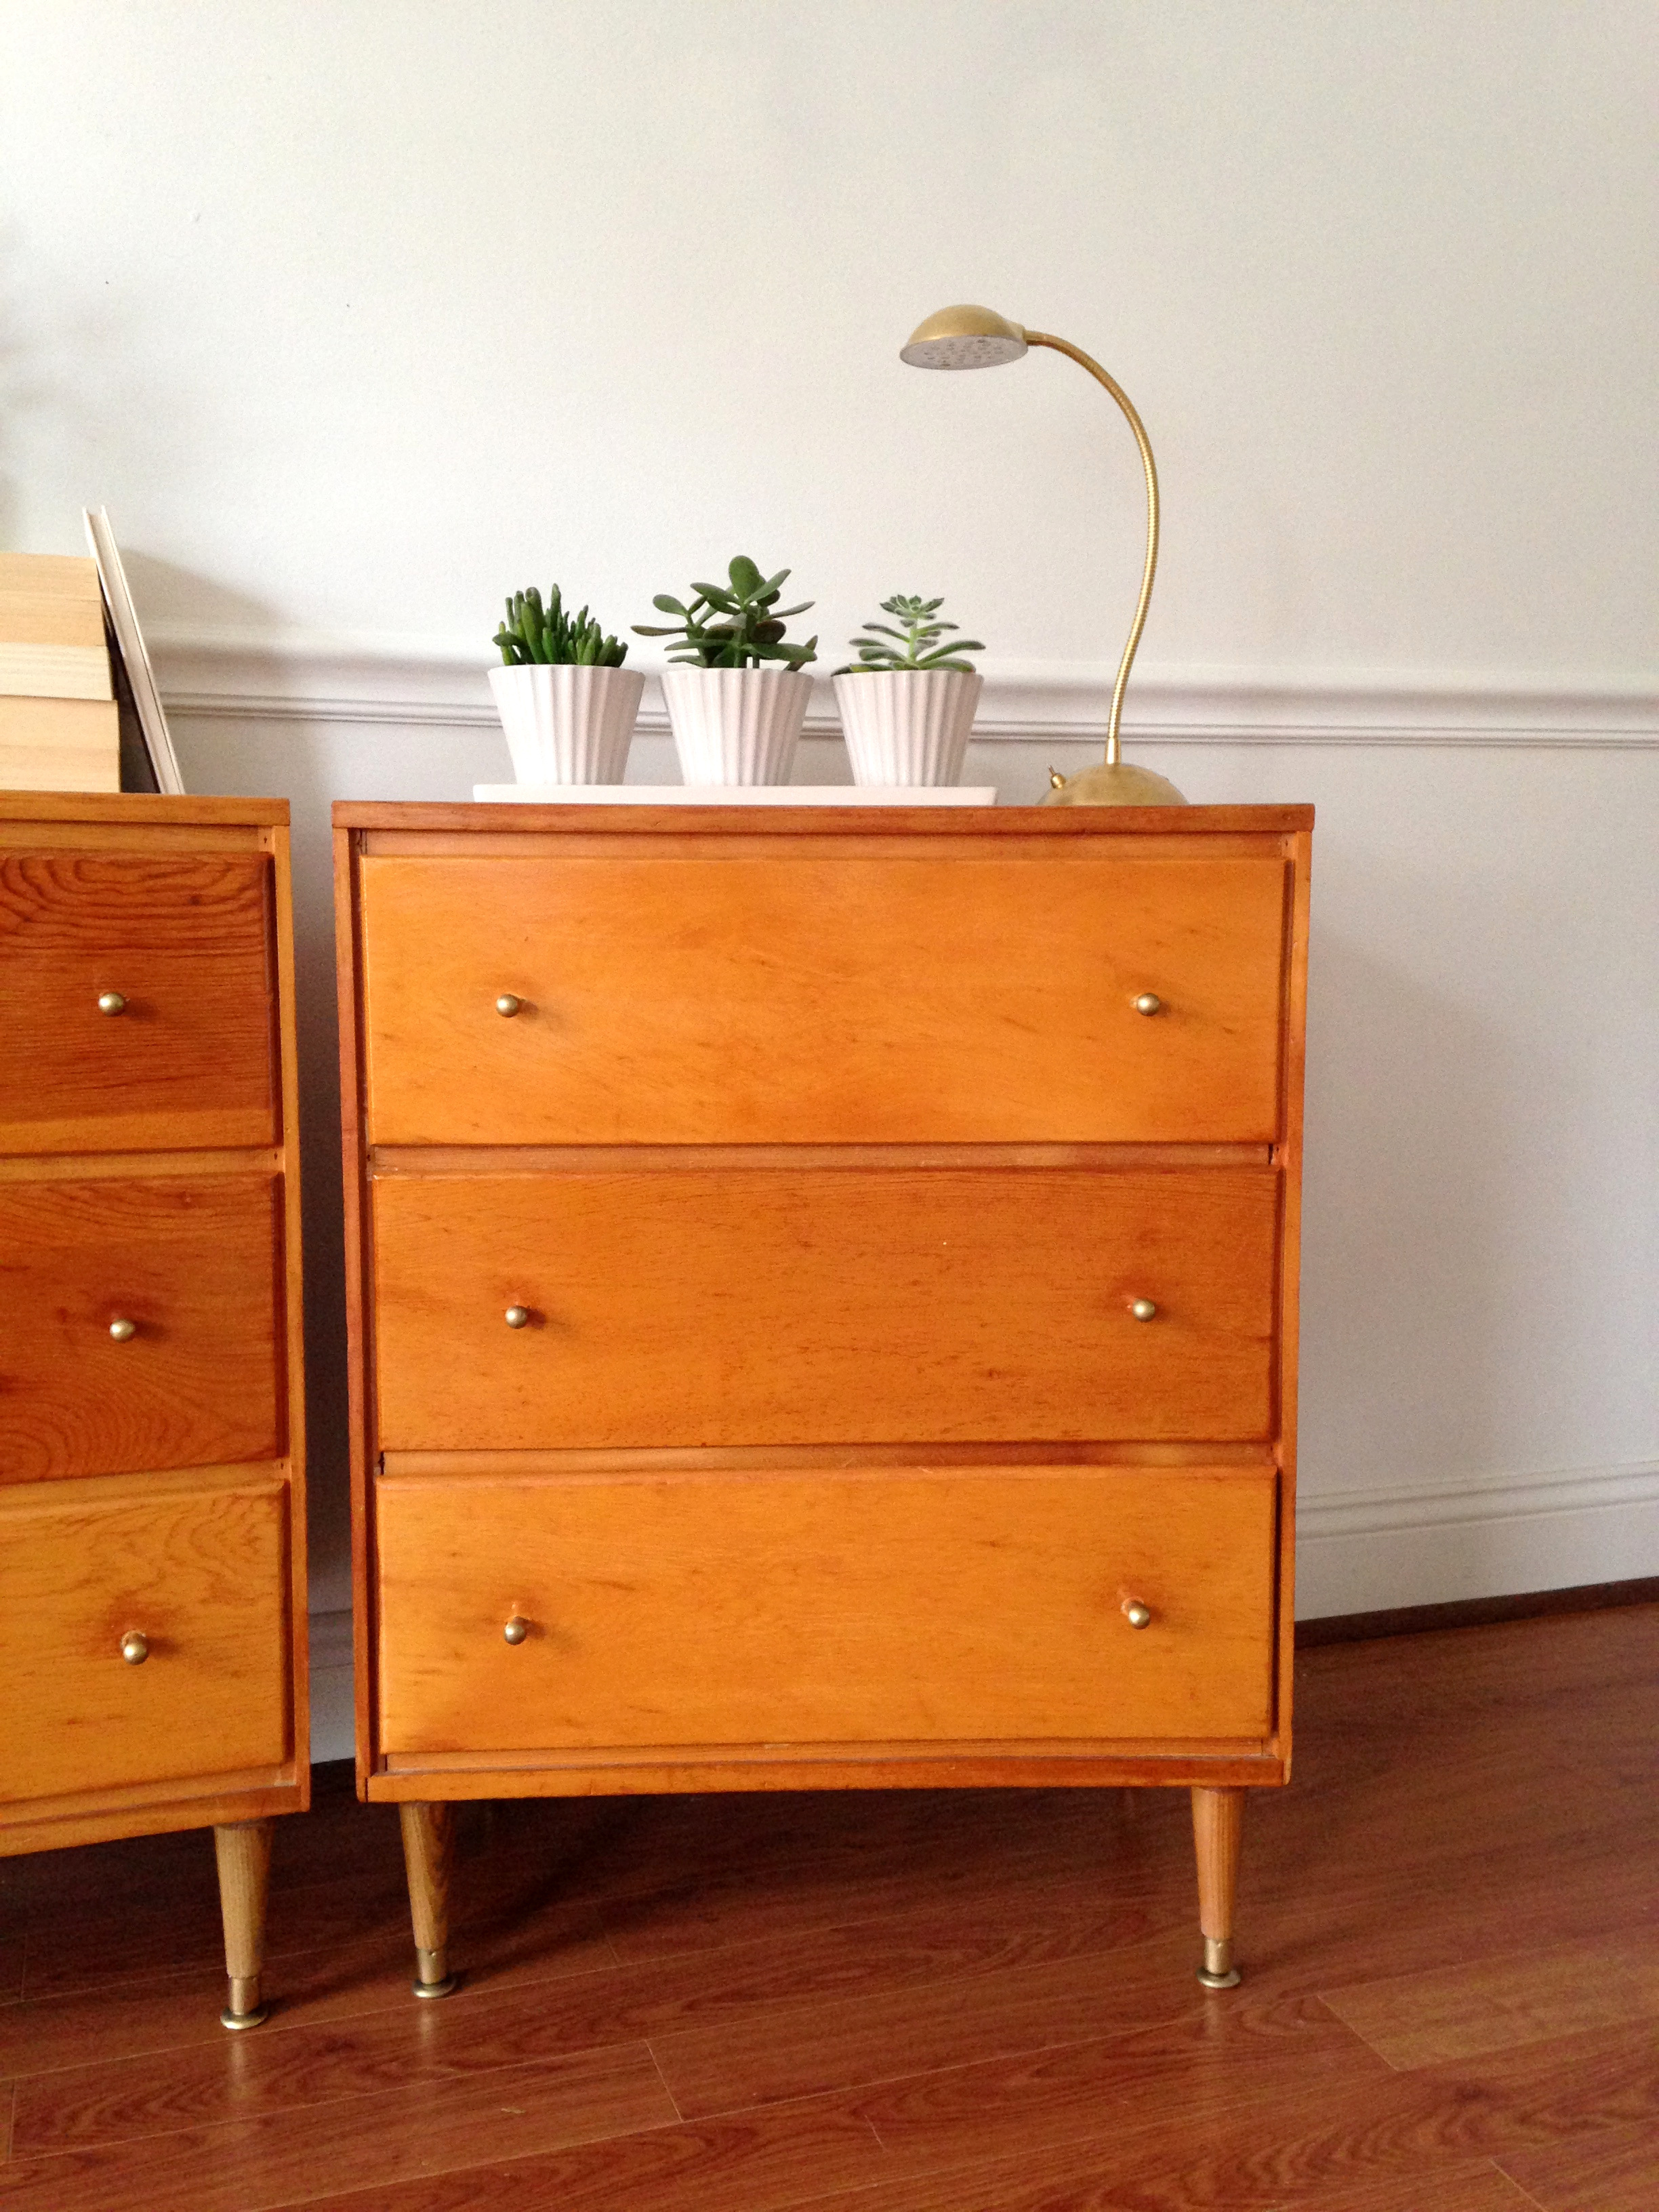
I styled this piece with a striking print from my friend Jessica over at Vol.25! The quality of her prints is really unparalleled. The designs are unique, the colors sharp, and she even sells them already attached to these wooden brackets. We actually just used a couple of her prints in a design project we're wrapping up this Fall! I'm sure you'll have no trouble spotting them when we reveal the space!

This piece is now available for sale!
48"H x 38.25"W x 18"D
$465
Please contact chelsea@stylemutthome.com if interested!

Thank you for stopping by!

Flip-Off: Cate's MCM Restoration

I'm driving down a country road and I'm hopelessly lost.  Typical.  But after reviewing google maps at quaint old-fashioned gas station, I'm on my way again practically chomping at the bit to see this craigslist find in person.  My GPS tells me to turn down a street that's not even paved - just gravel.  This is the moment where the banjo's from Deliverance start playing in my head.  Could some savvy psycho be luring me to my death with mid-century-modern furniture?  I'd have to hand it to them if so - MCM at a steal is the perfect bait.  I should really fear for my life more... but pieces are solid walnut...   By now I'm turning off the gravel road onto a gravel driveway.  It swoops around a shed and up a hill only to dead-end at the most adorable cottage with a charming garden.  I am greeted by kind smiles from the homeowners who have lined the chest quadruplets on their garden wall just for me - it feels like a homecoming parade.  

Quadruplets.jpg

Clearly I didn't need to have my husband on speed-dial in my pocket for this craigslist interaction.  Turns out Donna and her husband couldn't have been more welcoming or accommodating.  We start talking while they helped me load up all four beauties and it became obvious that we were kindred spirits.  Not only do they have a Younglife background like Caleb's family but they have a daughter who's a fellow home decor enthusiast and is also married to a Special Ed teacher/ coach.  Uncanny.  


I'm convinced that stumbling across this ad was a divine arrangement.  And as Chelsea explained in yesterday's post, we had big joint plans for these babies.  So what do you get when two sisters-in-law take identical pairs of furniture pieces to flip in total secrecy from each other?

Furniture-In-Laws!

[Or just two creative sets of furniture relatives]

So let's take a closer look at my restorative approach to the flip-off:

Driving over to pick them up, I had every drastic transformation idea rolling through my head.  But once I saw them in person at Donna's house, I fell in love.  I just wanted them to see them returned to their former glory.

For starters, they need gold double-breasted-button-like hardware.  It just so happened that I had some I could harvest from the "white monster" and all I had to do was deepen the original yellowy/brassy finish with our favorite faux gold technique.  I also debated doing an angled tapered leg like Chelsea did but had four straight mounting brackets already lying around.  So convenience won out all around.

And of course I couldn't wait to grab Chelsea's Axel Co. reclaimed wood hexagon shelf to style with.  

Other than the hardware and legs, all I really needed to do was restore the glassy finish [I applied a coat of minwax polyshades in pecan with a foam brush].  Ugh look at that juicy wood grain shine!!

As we are in the throws of moving, and I'm scrambling to furbish our new 800 sq.ft. apartment with functional pieces, these dapper gentlemen are now flanking our bed for some much needed extra storage.  I'm still unpacking so more photos will be coming soon once the sea of cardboard subsides.  

And don't forget to stop by tomorrow to get more deets from Chelsea on her show-stopping two-tone flip!


Salvaged, Rustic Farm Table - Do It Yourself!

Hi friends! Just stopping by to share a quick and easy 'how-to' for achieving that weathered, salvaged finish for almost any dining table! We've all seen the gorgeous farm tables filling antique stores and box stores alike, but did you know that achieving that time-worn, storied finish doesn't take as many decades as you'd think?! In fact, it takes about 30 minutes.

I found this octagon table at a thrift store a few weeks ago and was drawn to it's shape and base more than anything.

My plan was to strip the top completely and then re-stain it in something rich, like an Espresso. But, upon closer inspection it looked like a fun piece to IMperfect, rather than perfect.

The first step was thinning out the stain on the surface, which I did by dampening a rag with mineral spirits and giving the top surface a good wipe down.

While the surface was still damp, I used fine 220 grit sandpaper in the electric sander to further lighten the surface and remove some of the stain.

The final product! A perfectly imperfect, uneven, textured looking surface. Sanding with a fine paper gave the table a completely smooth and glassy surface, despite it's rustic, weathered look.

For the base, I used Rustoleum Flat White spray paint to paint the inside white, then used Annie Sloan's Pure White Chalk Paint to complete the outside of the base and apron.

Before + After

geo table3.jpg

Two-tone Octagon Dining Table
Available for sale
$395

Thank you for stopping by!