A New Kind of Play for an Old Toy Chest

Grandpas are special.  They let you eat sugary cereals and watch early morning cartoons when you’re parents are out of town.  They slip you gas money before you drive back to school.  They build things in their basement workshop and teach you all about their tools.  And sometimes they even give you the old family toy chest he built for your mom and her siblings and tells you to “have at it!”

Photo Aug 28, 5 37 29 PM.jpg
 
 If you’re popping by from Apartment Therapy, welcome!  We are StyleMutt Home, a sister-in-law duo  (Chelsea & Cate) who love to mix and match a myriad of styles in the pieces we refinish and the spaces we design...

Now my husband (Chelsea's brother) and I don't have any kids of our own yet so I was challenged to rethink what else I could do with this piece of family lore.  So I got to thinking... what if it could still be used for a more grown-up sort of play...

DSC02215.jpg

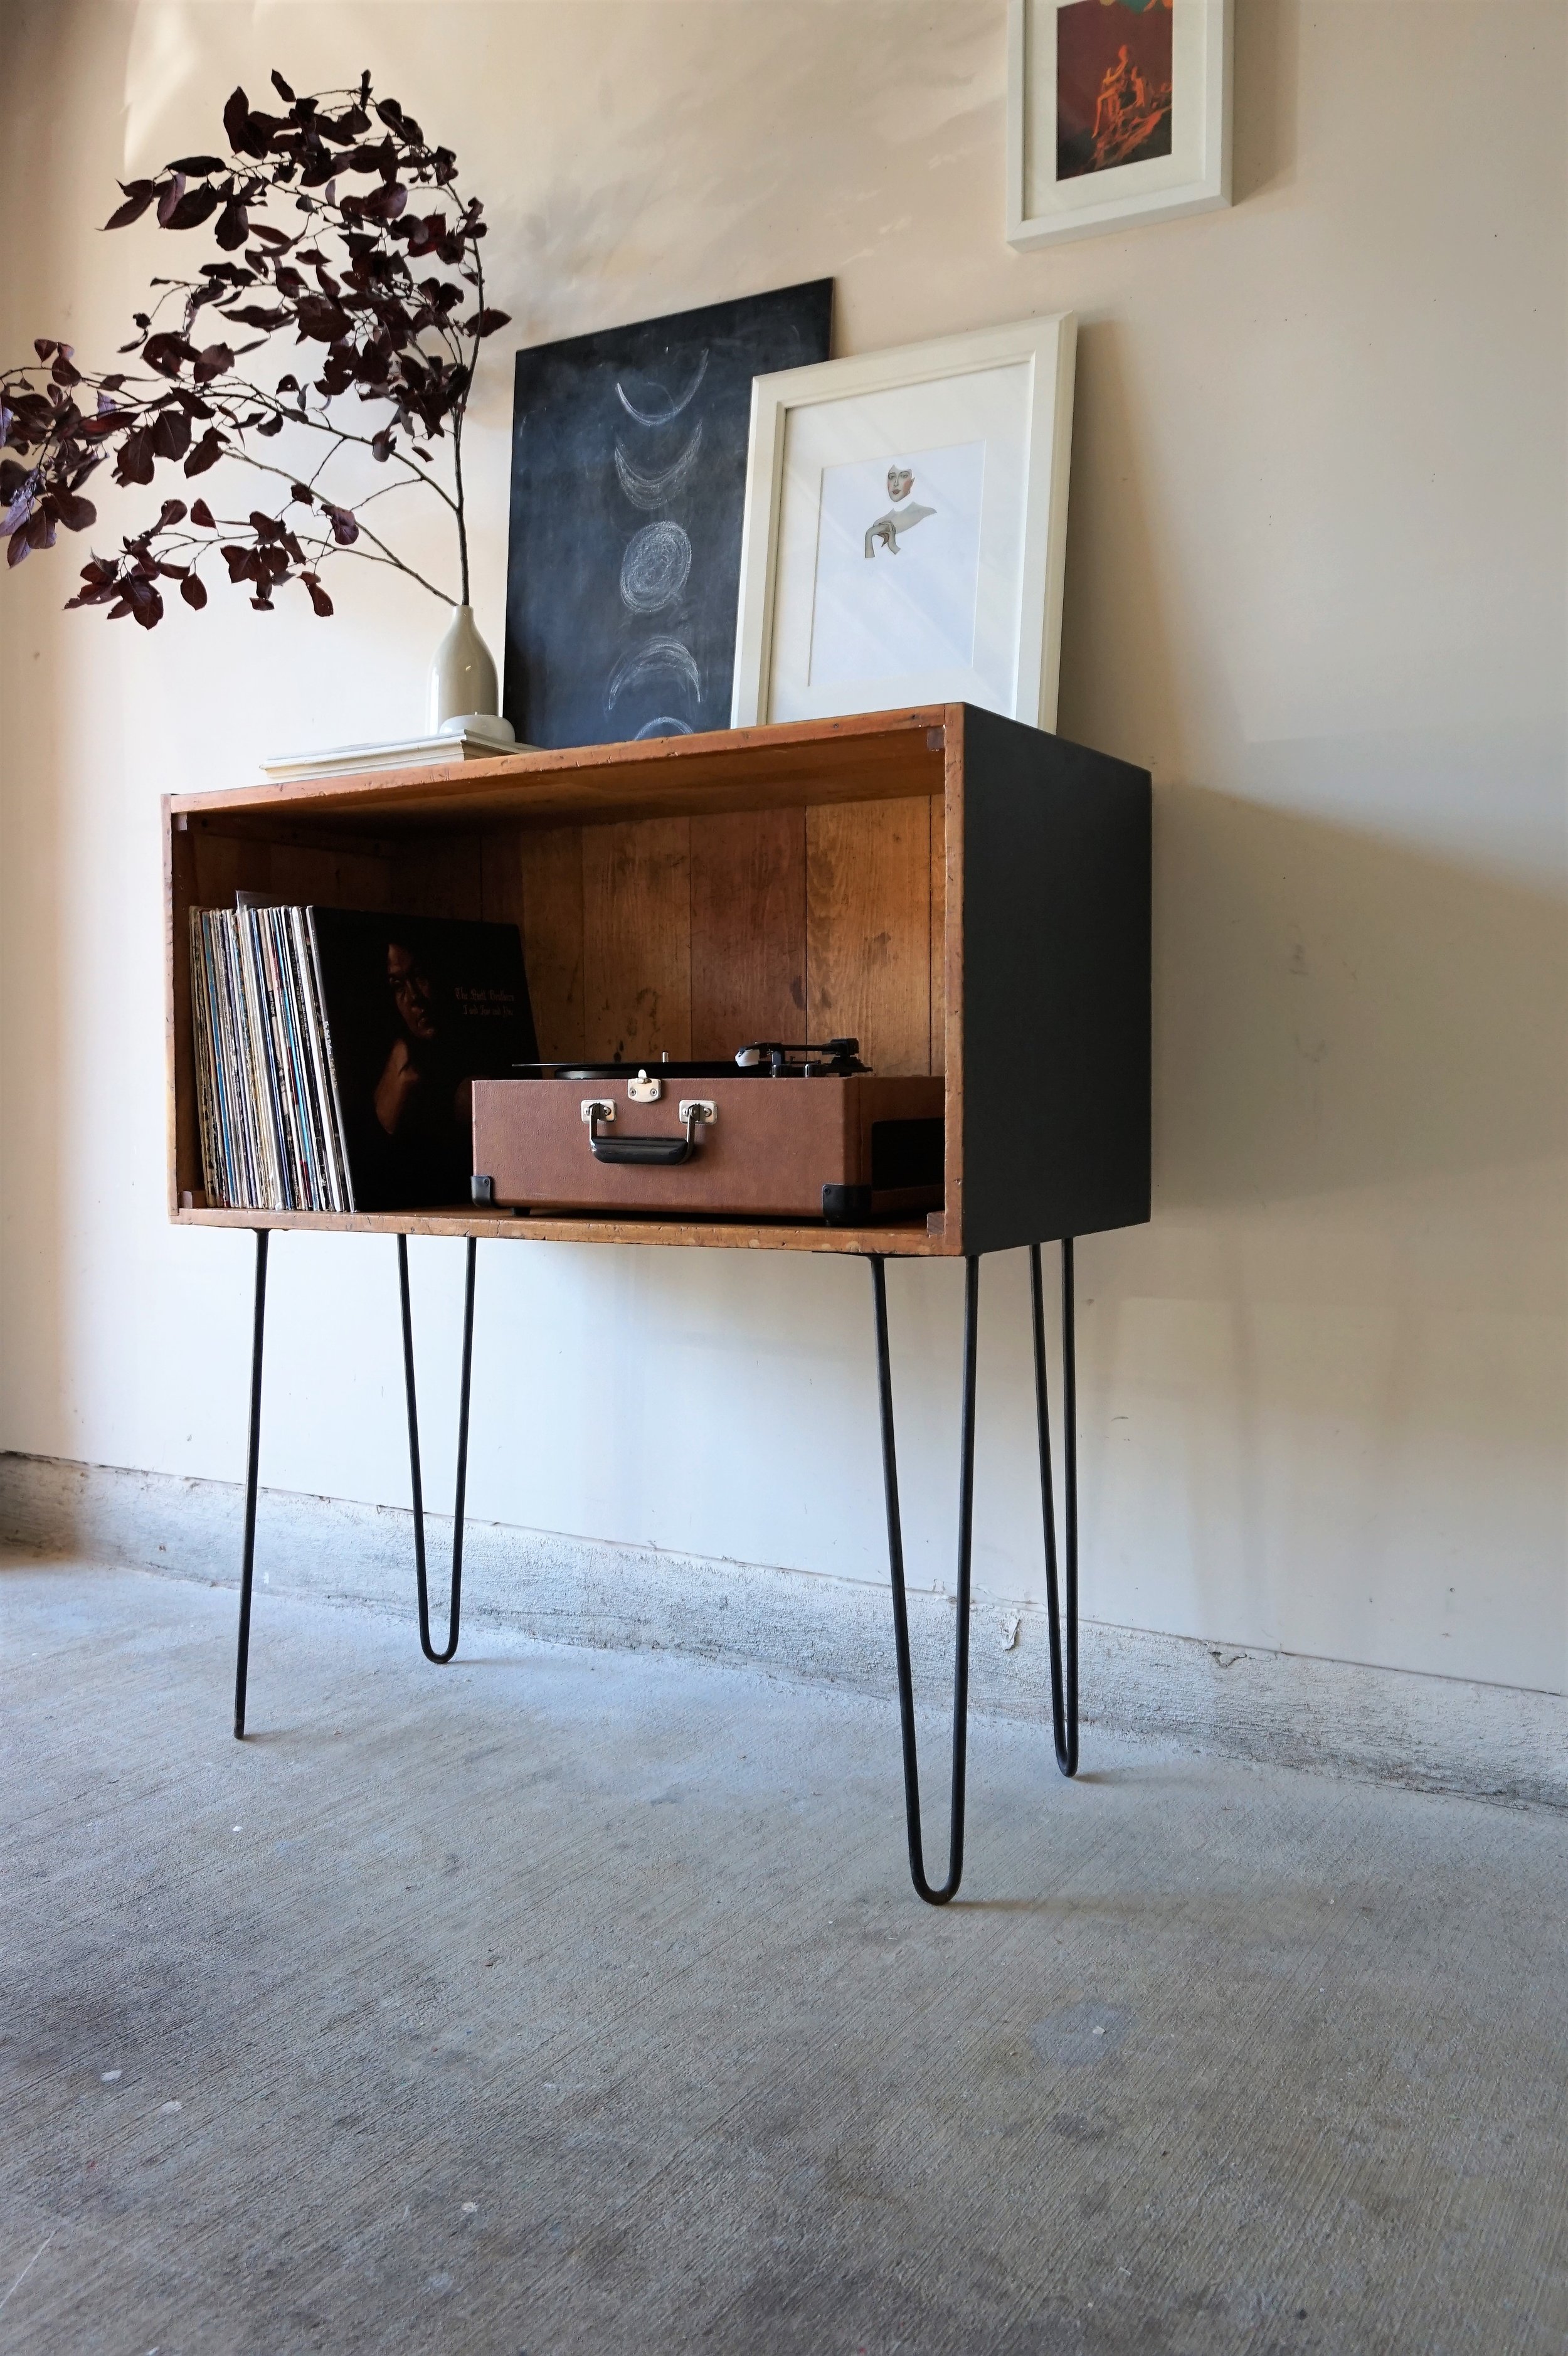
It was a simple transformation really.  I took the lid off the toy chest and flipped it on it’s side to screw in some hairpin legs I had from a thrifted find and boom: record player stand.

DSC02172.jpg

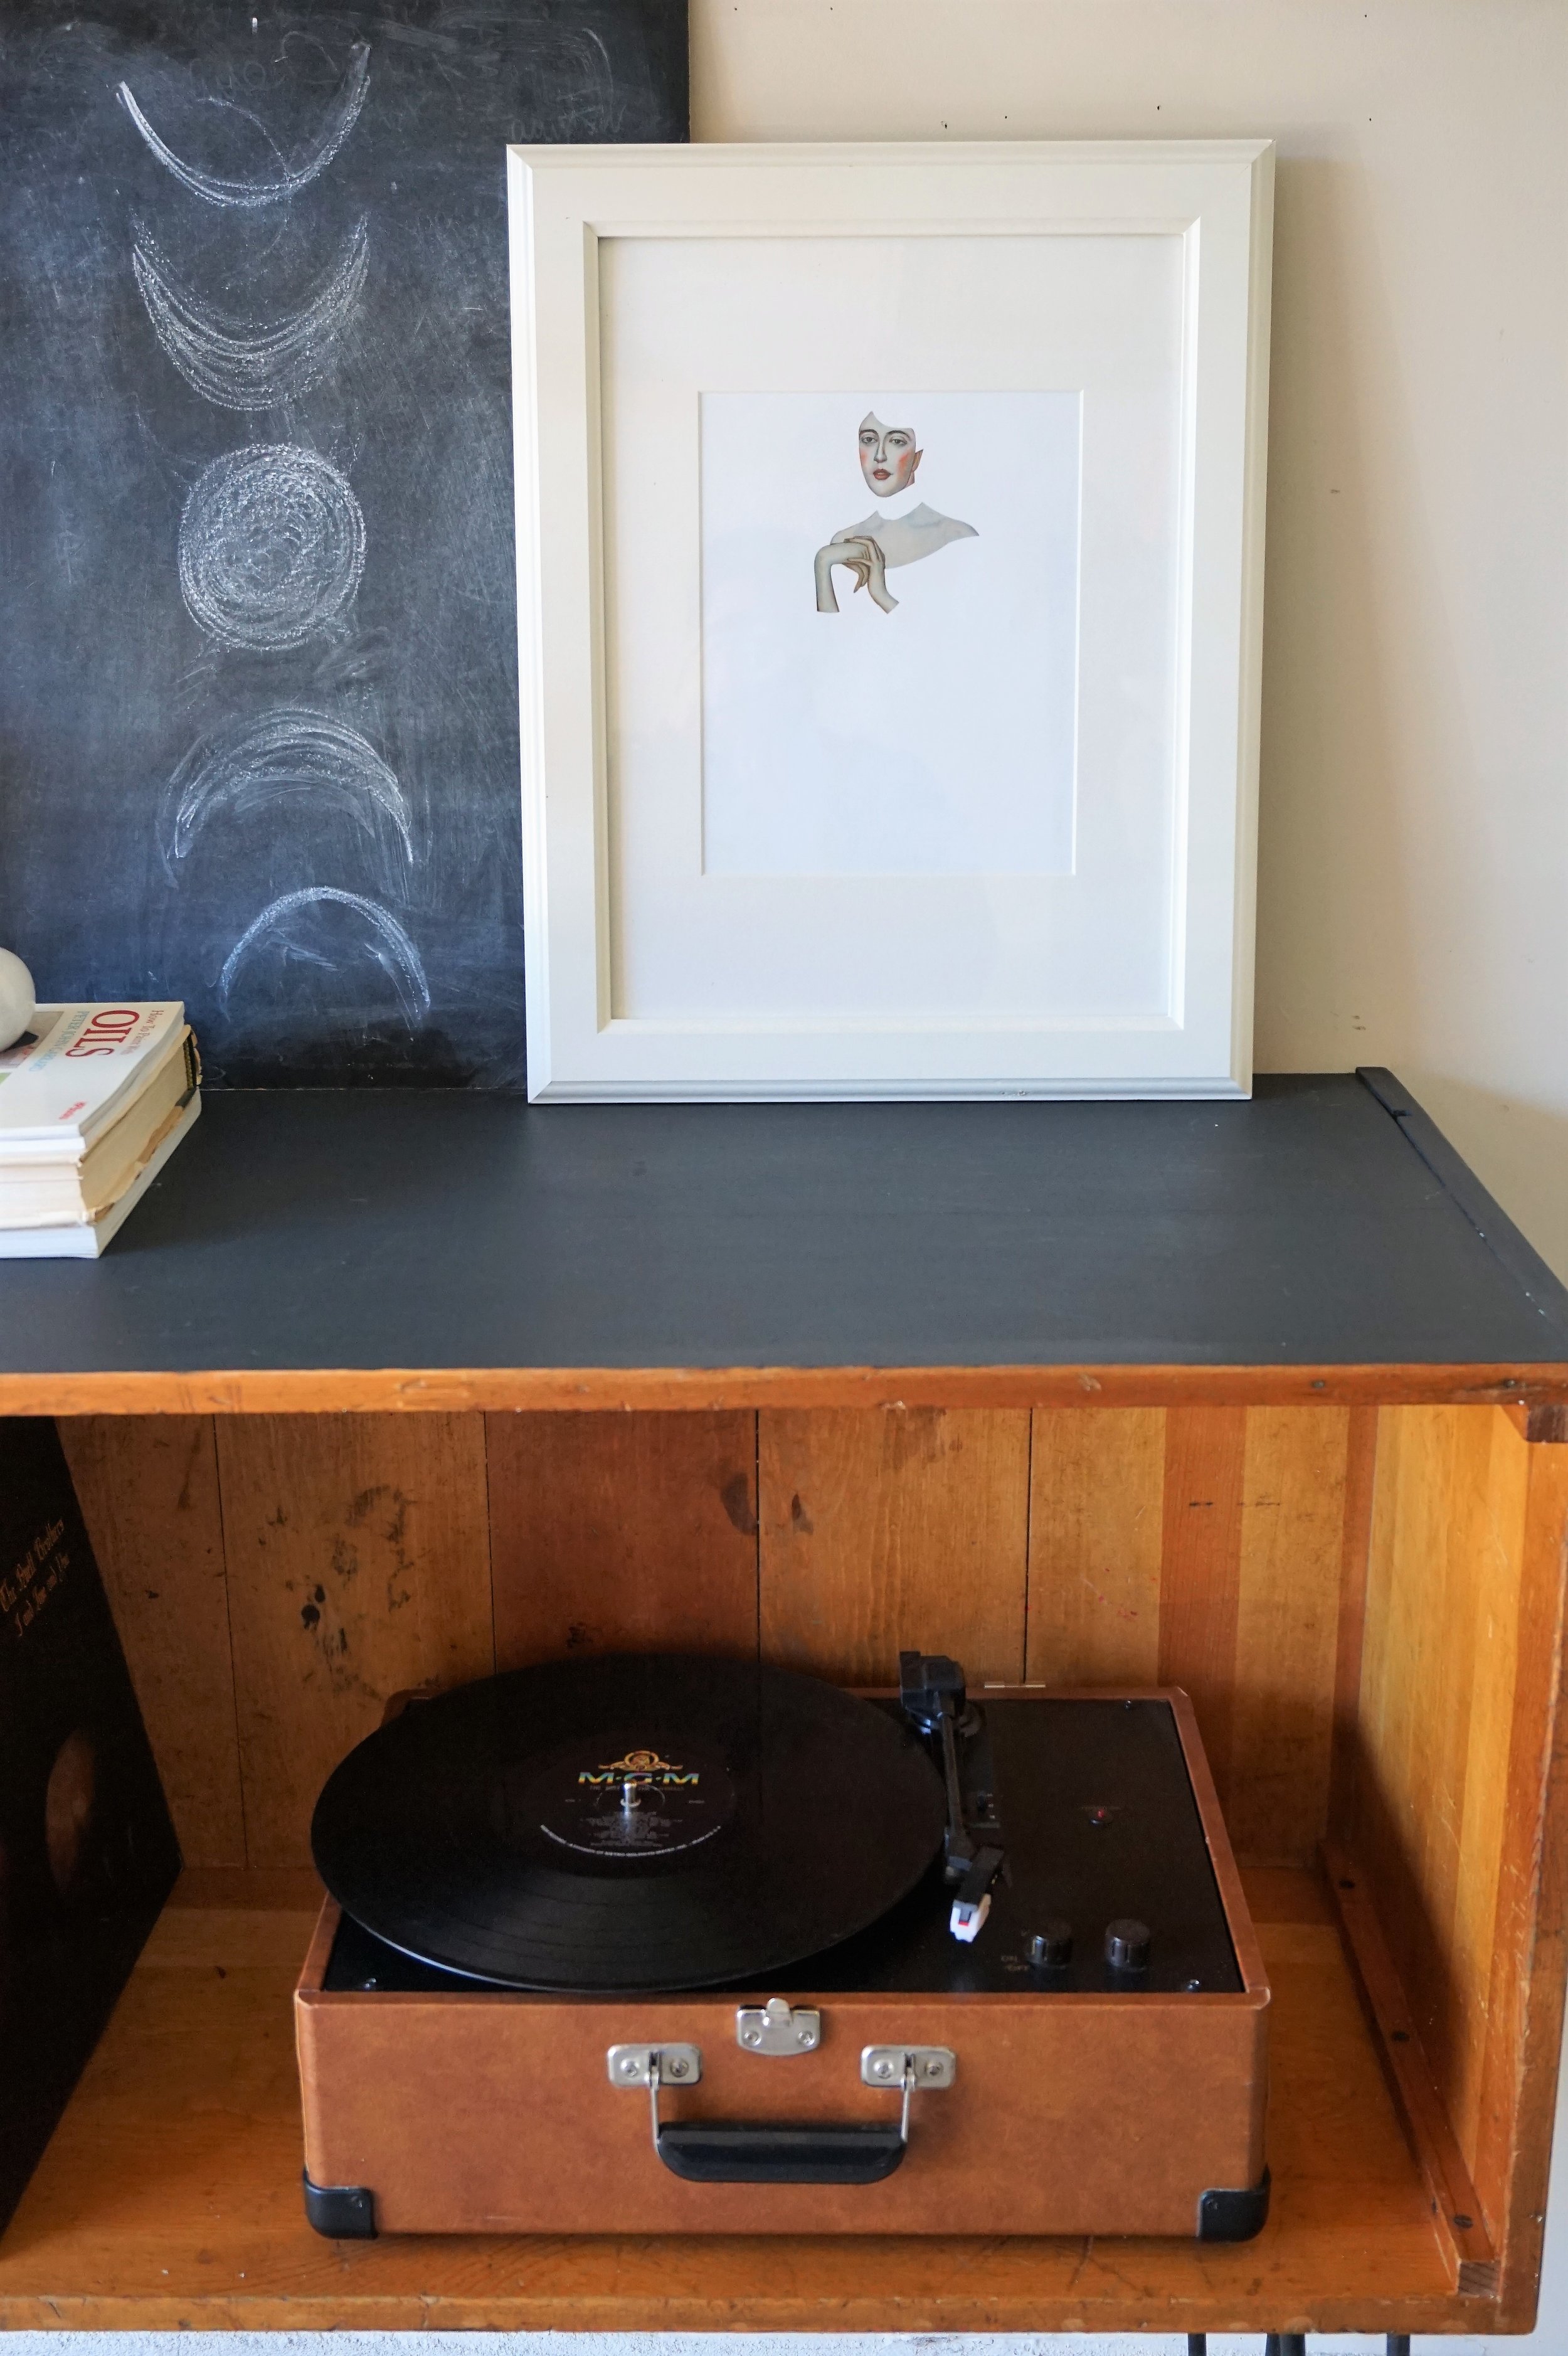
Inspired by grandpa's original paint color, I refreshed the muted black paint on the exterior. of the box.

DSC02212.jpg
DSC02240.jpg

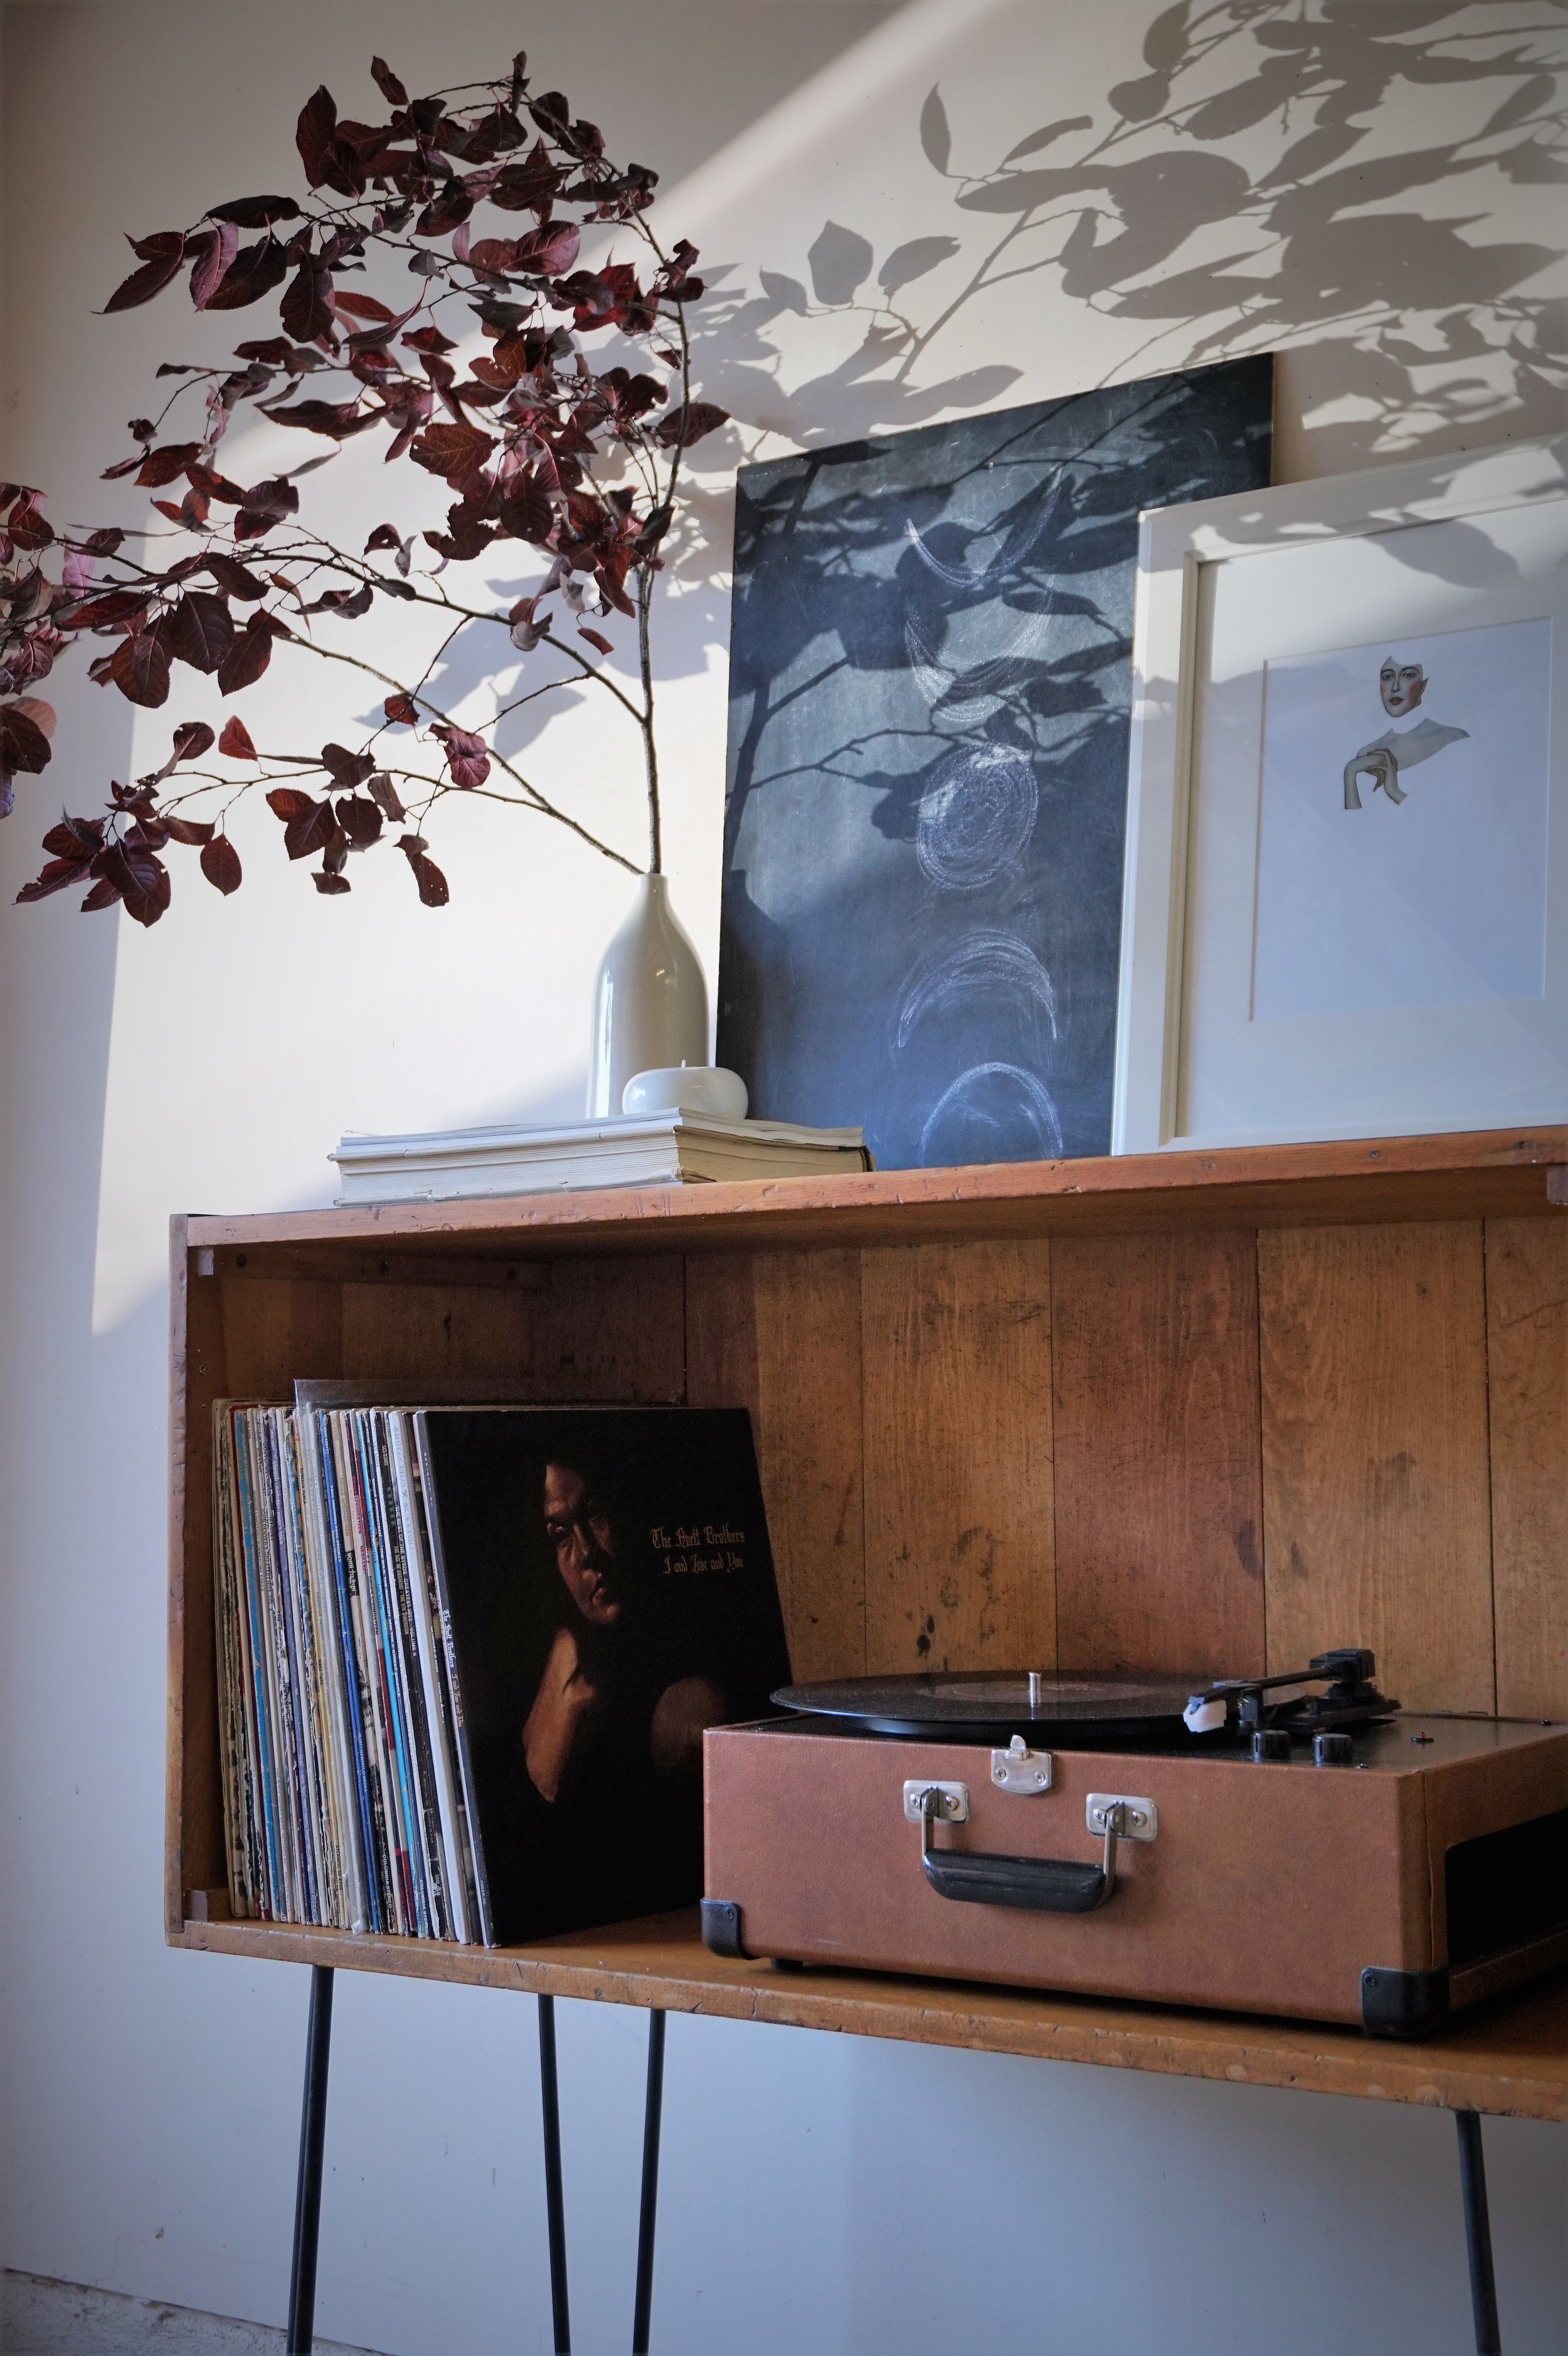
But for the interior I couldn’t bring myself to sand out the assortment of dings.  To me, they are the map of a playful childhood.  

DSC02238.jpg

So I just waxed the wood to at least give it back its buttery sheen.

DSC02260.jpg

It turns out that the chest is the perfect size for a standard LP sleeve!

DSC02204.jpg
DSC02227.jpg

For the styling, I used plumb foliage (scavenged from the parking lot no less) + DIY moon phase chalkboard art + a framed floating ghost lady (taken from Gustav Klimt's Portrait of Adele Bloch-Bauer ).  To me, they all subtlety tip their witches' hats to Halloween without being overly ghoulish.

DSC02228.jpg
DSC02235.jpg

Adding legs gave it the height it needed to be used as a record cabinet or even a bar - either way it's ready for a more grown-up type of play.

DSC02245.jpg
DSC02189.jpg
 
And as much as I’d love to keep this bad boy in the family, we simply don’t have the space!  So DC Metro area: my loss is your gain.  If you are interested in this piece - pop over to our shop to get more info.  
DSC02197.jpg

Hairpin Legged Record Cabinet
Now Available for Sale

Cate.jpg

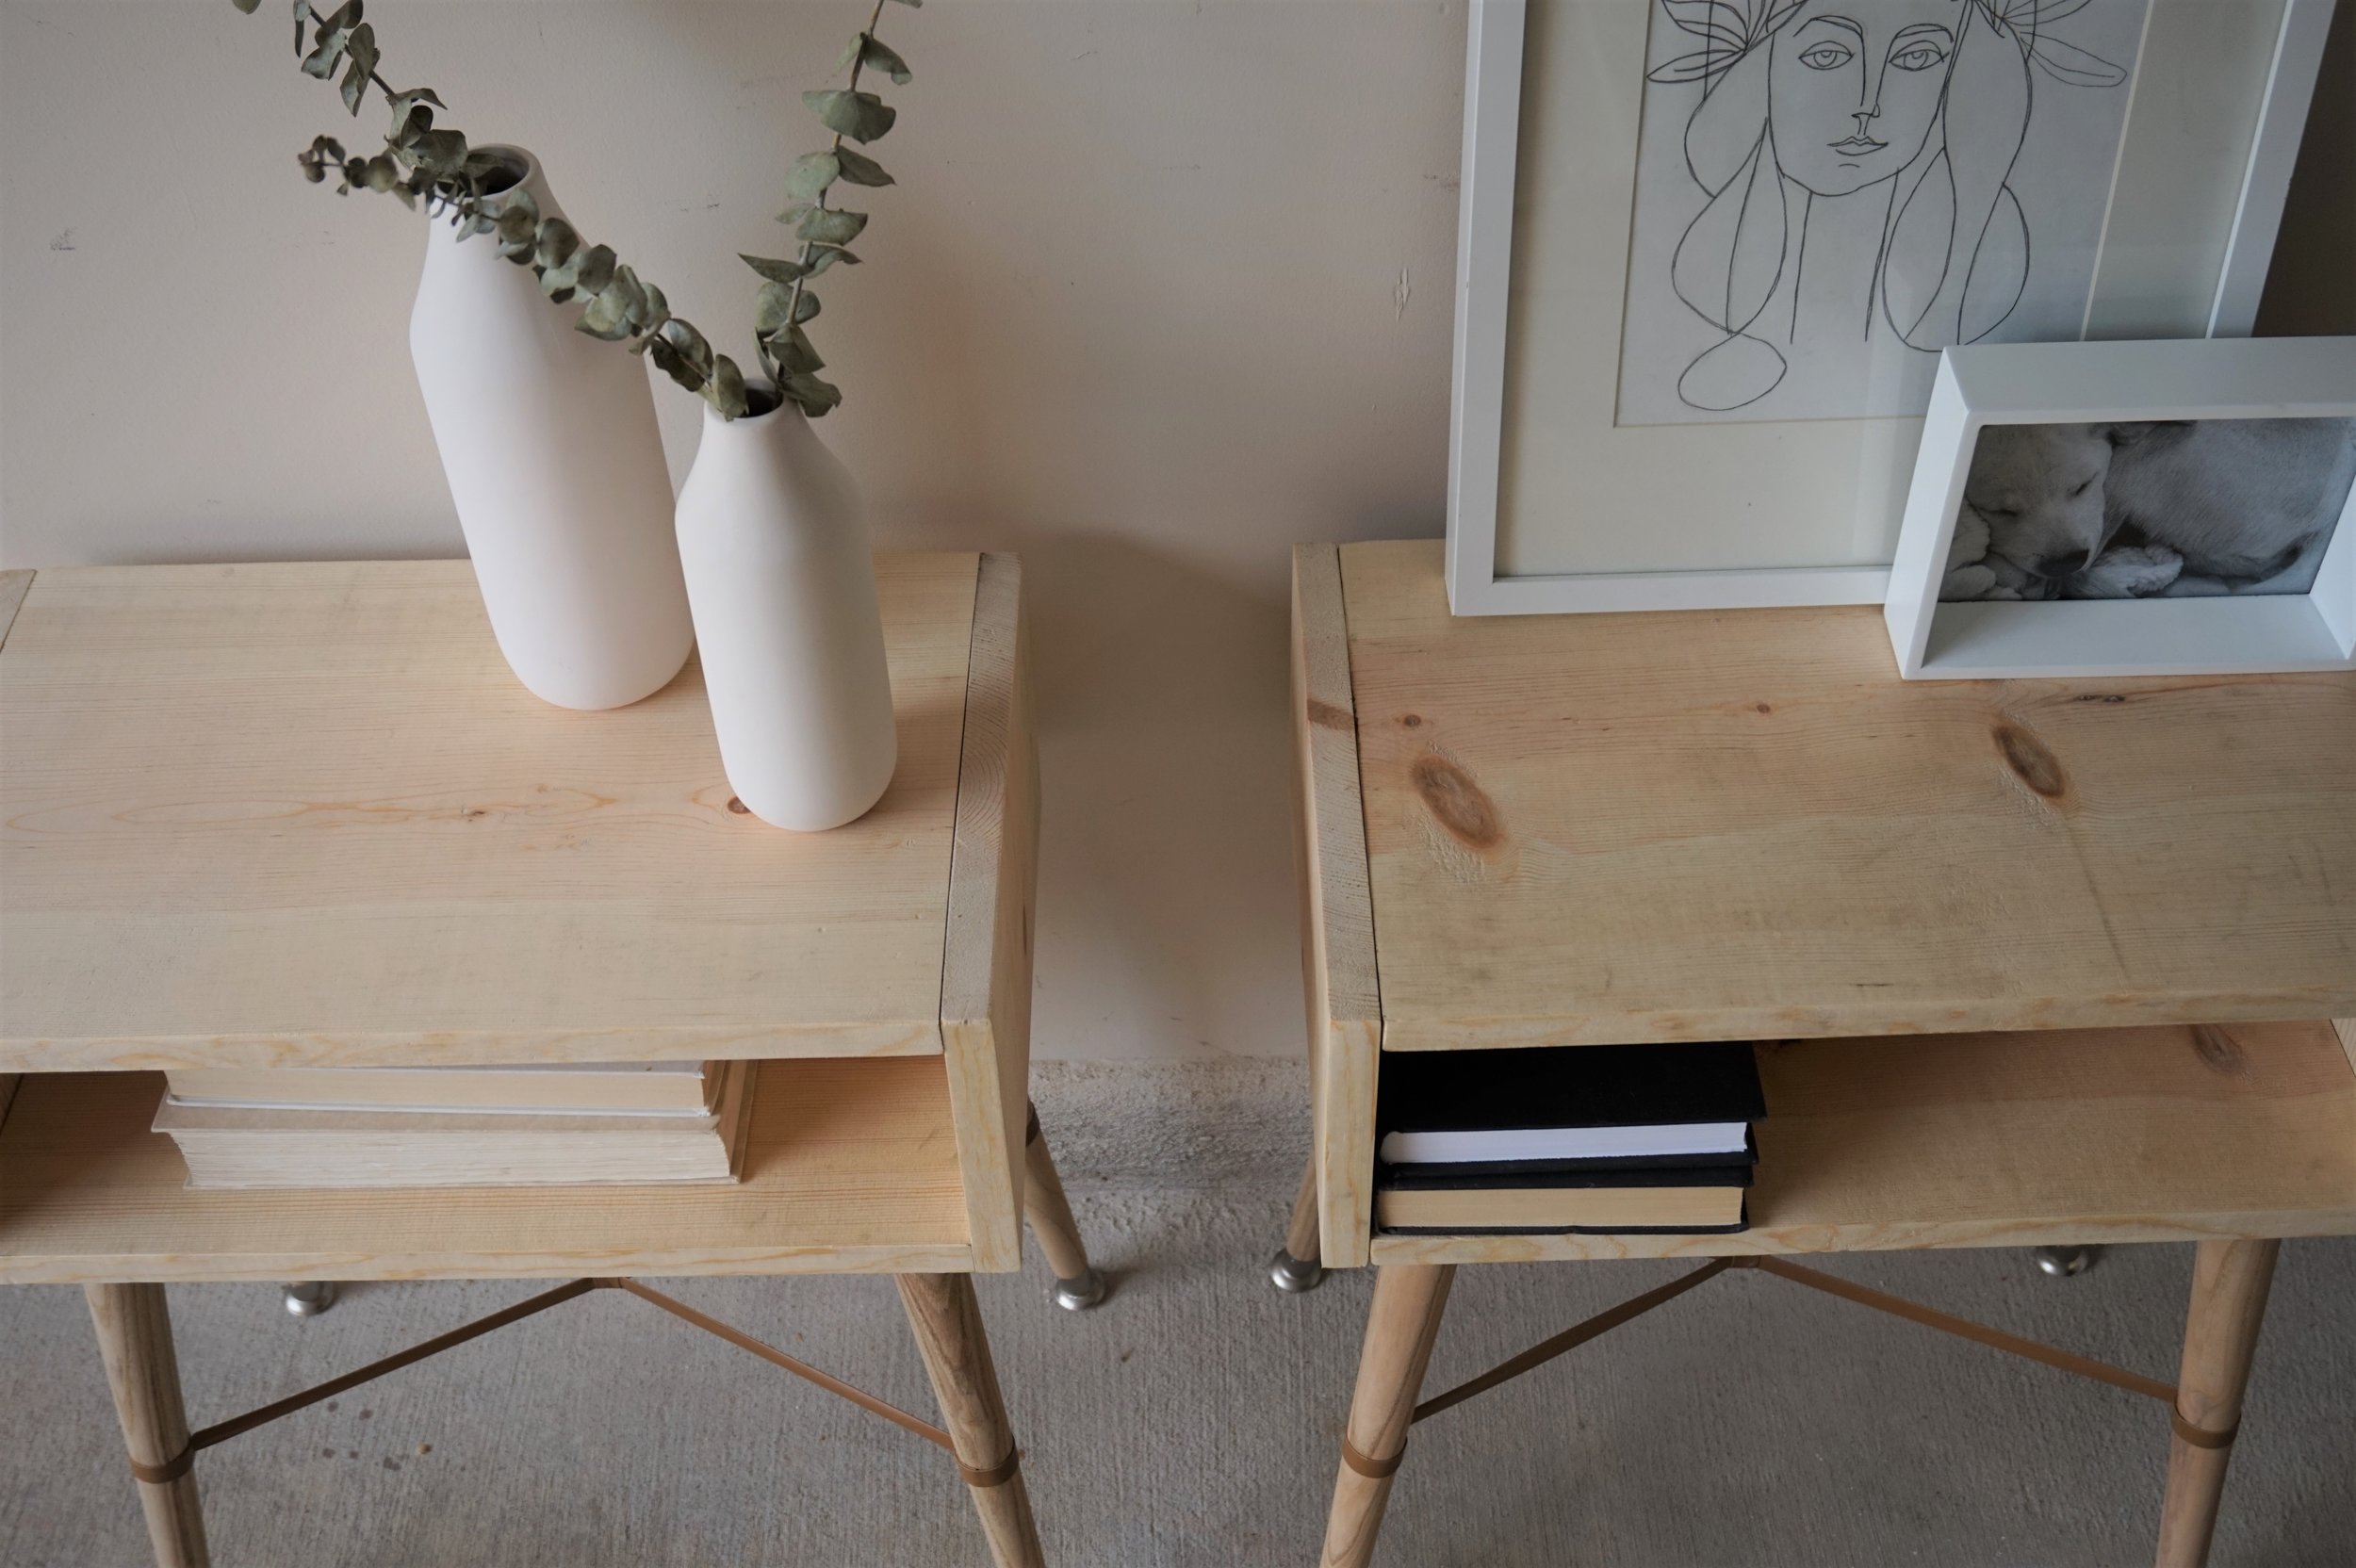
DIY Nightstands || Flip List Item No.7 ||

Remember in 2015 when I vowed to build my own bakers rack and then flaked out?  Or when I tried again in 2016 and this happened:

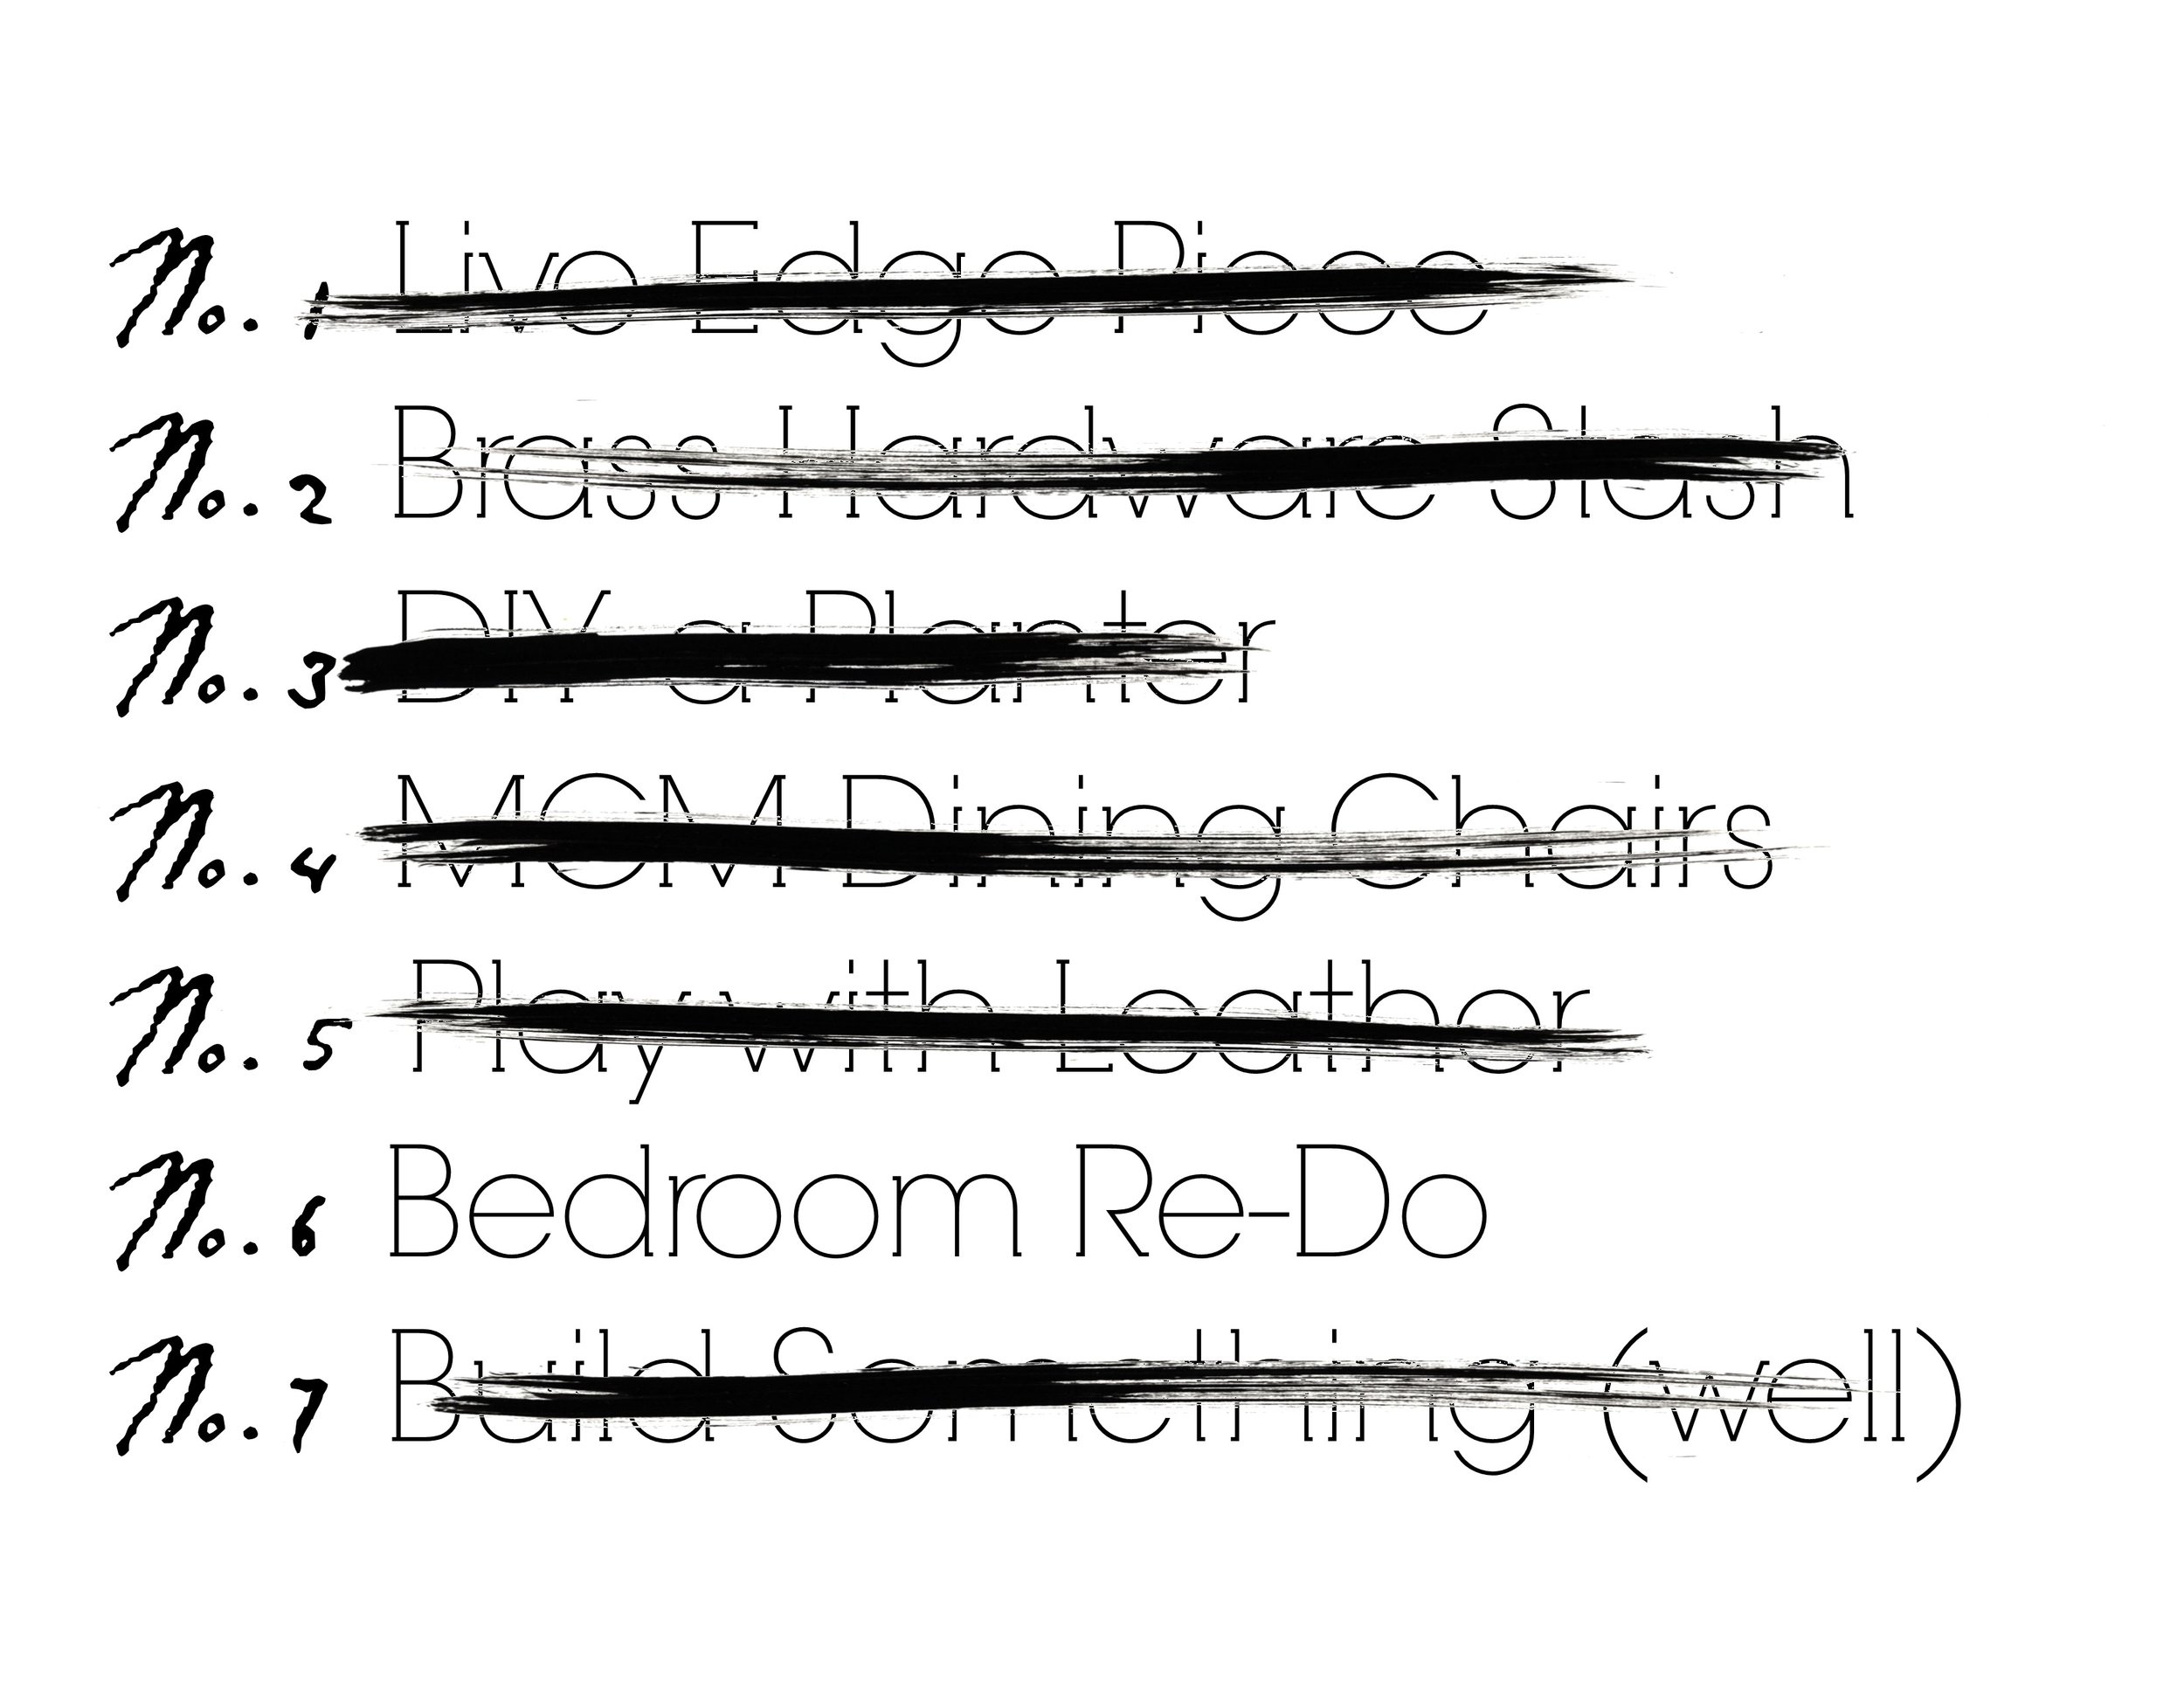
Well after this unfortunate fail, I realized lofty goals are all well and good but I should really build my carpentry skills from the ground up.  Hence item No.7 on my 2017 Furniture Flip Bucket List.


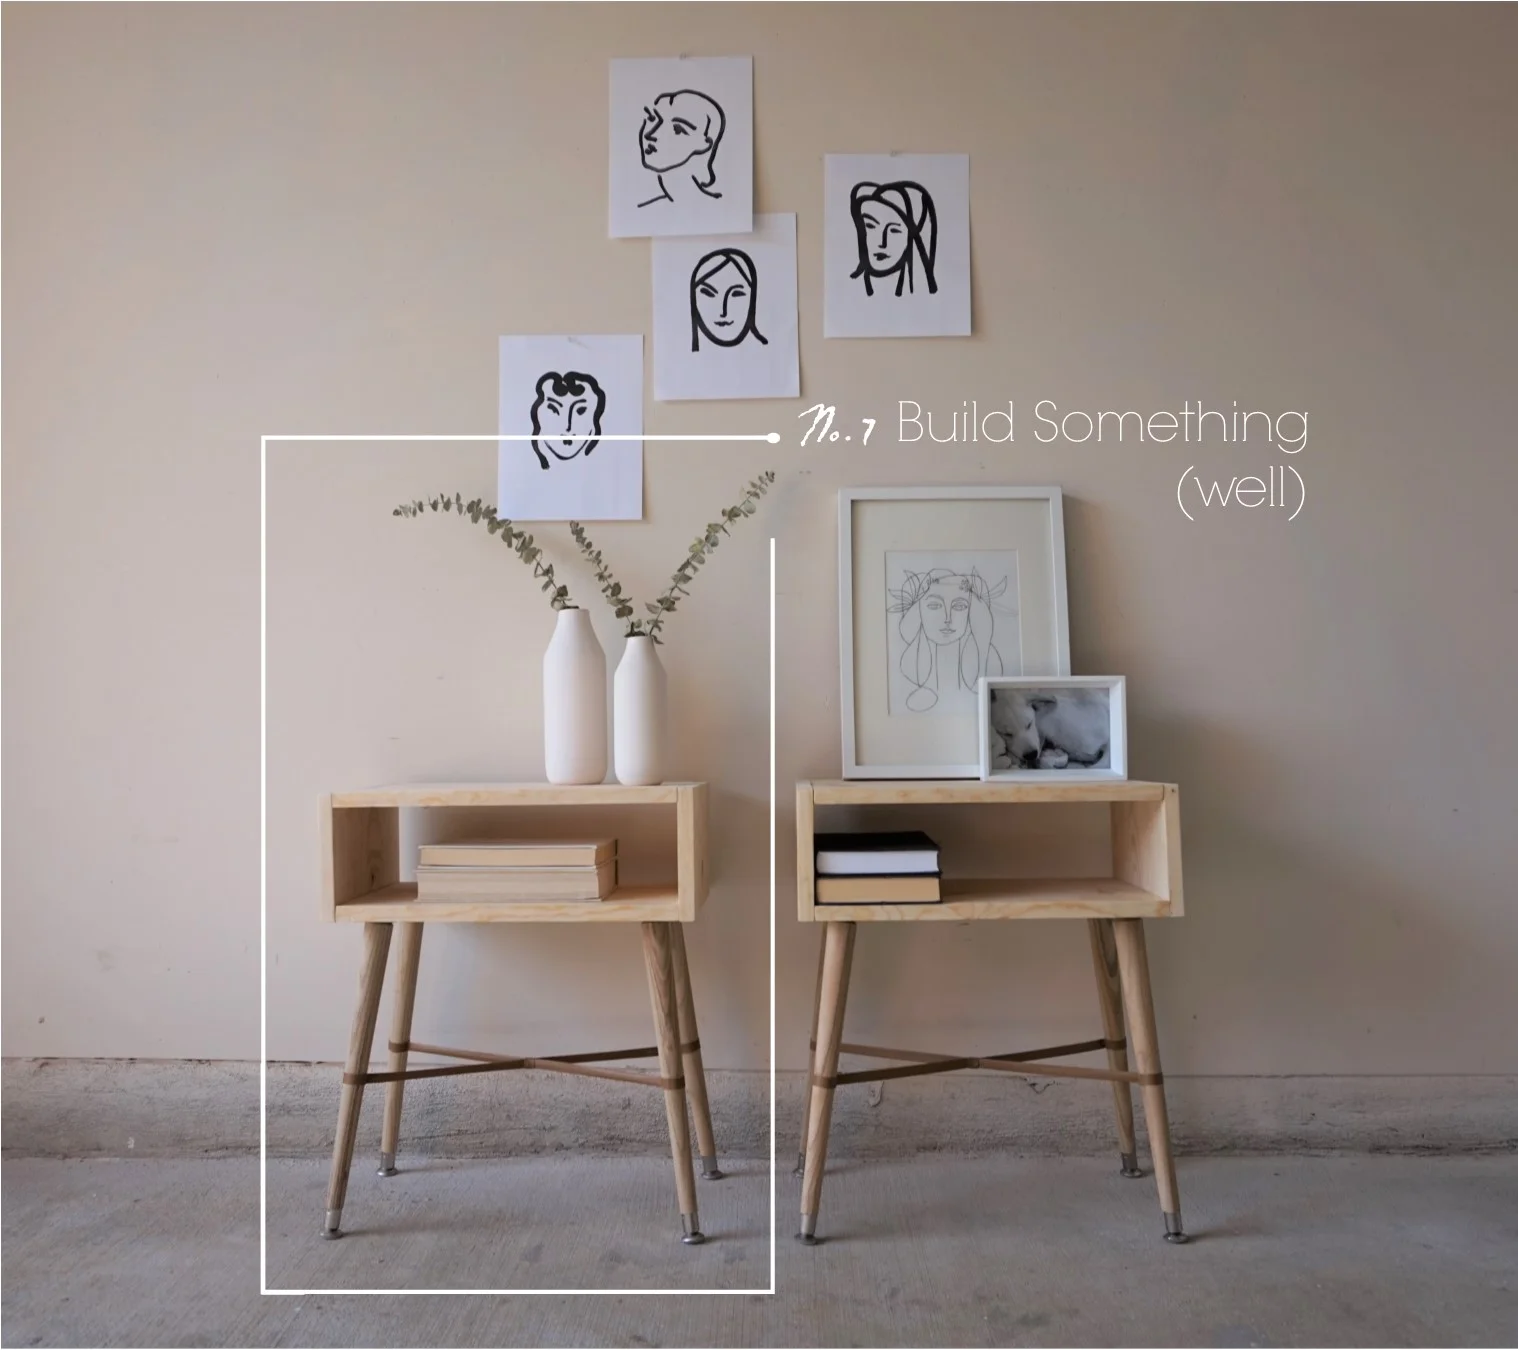
 But guess what guys...  I built something!  No really - I BUILT something (well).

No.7.jpg

I used all the right tools in all the right places and I can't help but be so proud of how they turned out!  And the best part is, you can build these bad boys too.  I'm sharing the full tutorial over on Apartment Therapy today if you're game to hone your carpentry skills too.

Final 3.jpg
DSC02123.jpg
DSC02091.jpg

And if you're local to the DC Metro area (but not quite ready to roll up your sleeves and build your own), this pair is available for purchase!

Final 1.jpg

Pair of Scandi-Style Nightstands
Now Available for Sale
19"W x 11"D x 22"H each
$345 for the pair

If you are interested in this pair or a custom order like it, please contact me at cate@stylemutthome.com.

Cate.jpg

Six down, one to go.  Catch up on the 2017 Furniture Flip Bucket List.

Reveal: The Concrete Cave

Hi friends! Jumpin' on with another eDesign reveal today - this week's space is tucked inside Chicago's Wicker Park neighborhood and was a real test to my cozier sensibilities. Last week's space I did in Boston was easy peasy- exposed brick, large windows, warm wood floors - all the ingredients to go cozy to the max! The space I'm sharing today gave me a bit of a chill when I first saw the photos the client sent over:

5.jpg
6.jpg

The window-less room above is the bedroom. So what to do? Embrace the uber modern elements or go against the grain and add warmth and texture? I settled on both and found some helpful inspo images before finding the right mix of pieces!

With the influx of eDesign reveals here I cannot express enough how much I value floorplans! They are the least visually appealing aspect of a job but allow me to really understand the space. I play with various arrangements until I find one that enhances the elements of the room best. Here's a peek at the final arrangement and the floorplan we stuck to the closest.

Floorplan.jpg

And to help the client 'see' the space, an example of one of the design boards used for this project:

Chicago Sonder 404 Living Room.jpg

Without further adieu, welcome to Chi town!

IMG_0364.jpg
IMG_0332.jpg
IMG_0340.jpg

The physical space is unlike anything I've ever worked with; it's industrial, yes, but also modern in an almost sterile way. My objective was to embrace both the industrial and modern, but also to warm things up, (without going all bohemian with layers).

IMG_0357.jpg

If you can't beat em', join em'! I really love how this concrete coffee table pulls it all together; like it was grown right from the floor!

IMG_0359.jpg

The bedroom was really exciting to me! A room without windows - no problemo! I chose a dark charcoal gray for the walls and my favorite CB2 Mantis sconce in nickel and wood. A leather headboard finishes it off and it's transformed into a sleek hideout cave complete with concrete bedside tables.

IMG_0371.jpg
IMG_0377(1).jpg
IMG_0399.jpg

That's it! A short and sweet tour for today. Thank you to the installation team up there who hammered it out and got it done! I always have a feeling of anticipation when I know a design is getting installed and I'm hundreds of miles away waiting to see how it turns out! It's exciting, indeed, and good for my blood pressure, too. ;)

Thank you so much for coming by today!

Chelesa.jpg