Hi All! On Monday I shared our Holiday Home Tour! Click here in case you missed it and want to look around - I'm still excited about it! I went a little simpler this year and for us, it's just right. Any Office fans out there? Remember K-I-S-S; Keep It Simple Stupid? Well that's been my motto lately. But even simple can be lovely and cozy and cause warm fuzzy feelings.
I'm kind of sad, (and kind of glad), to say it, but this is the last Holiday DIY project I'll be sharing before Christmas! I know we're still a chunk of days away, but I'm parkin' this DIY bus a bit early to devote the remainder of this special time to my nearest and dearest. I don't even remember what DIYs I said we'd be covering, but I know there are a few we didn't check off. I think we made our way through some good ones though, yea?! All are linked in our sidebar to the right if you want to go back and recap.
For the grand Holiday 2014 DIY finale, we're making ornaments! A little sparklier than the scrapbook paper ornaments we did last year, but just as easy!

Geometric patterns are really trending right now, and I loved the idea of using gold pipe cleaners for a healthy dose of sparkle! Ever since our youngest became a giant wrecking ball, we have not hung our glass ball ornaments on the Christmas tree. I've used them elsewhere over the years, but not dangling helplessly and vulnerable from our trees. I do miss the shine they add, so I thought these gold geometric diamonds would be a perfect replacement! Best part is, they can't break! Do your worst, my wild little man!
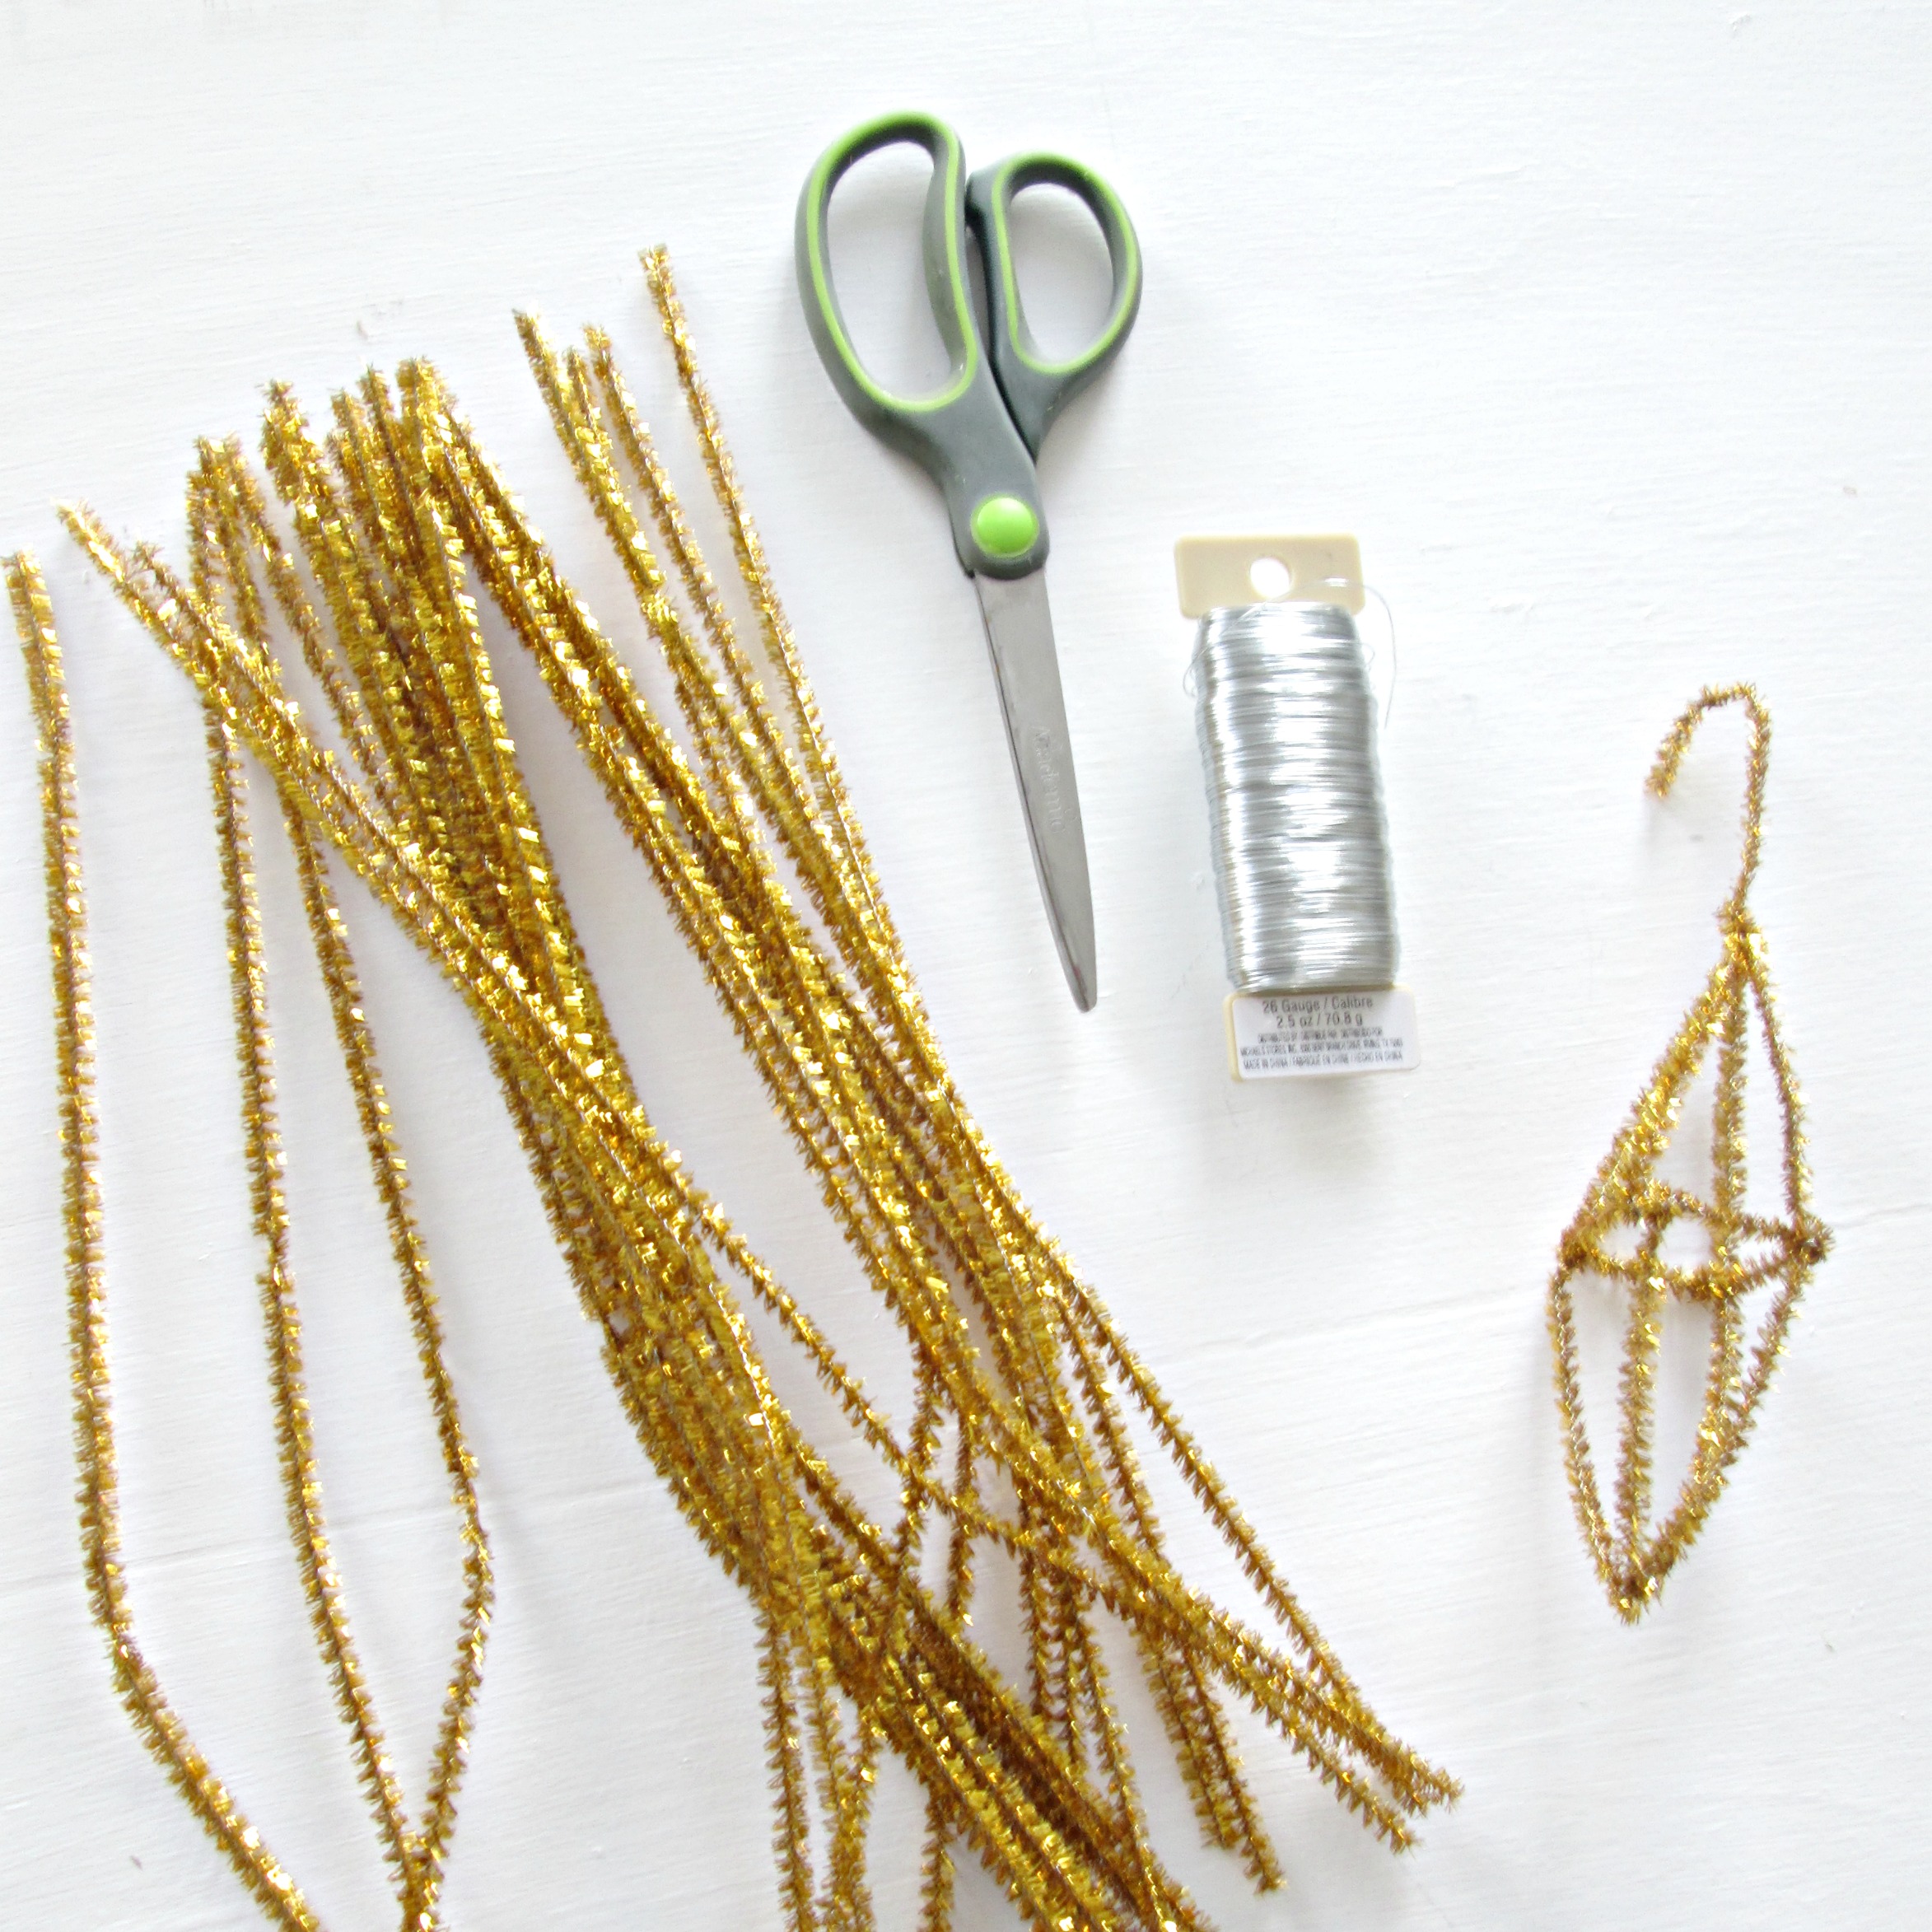
These ornaments are really very easy to make. Here's how!

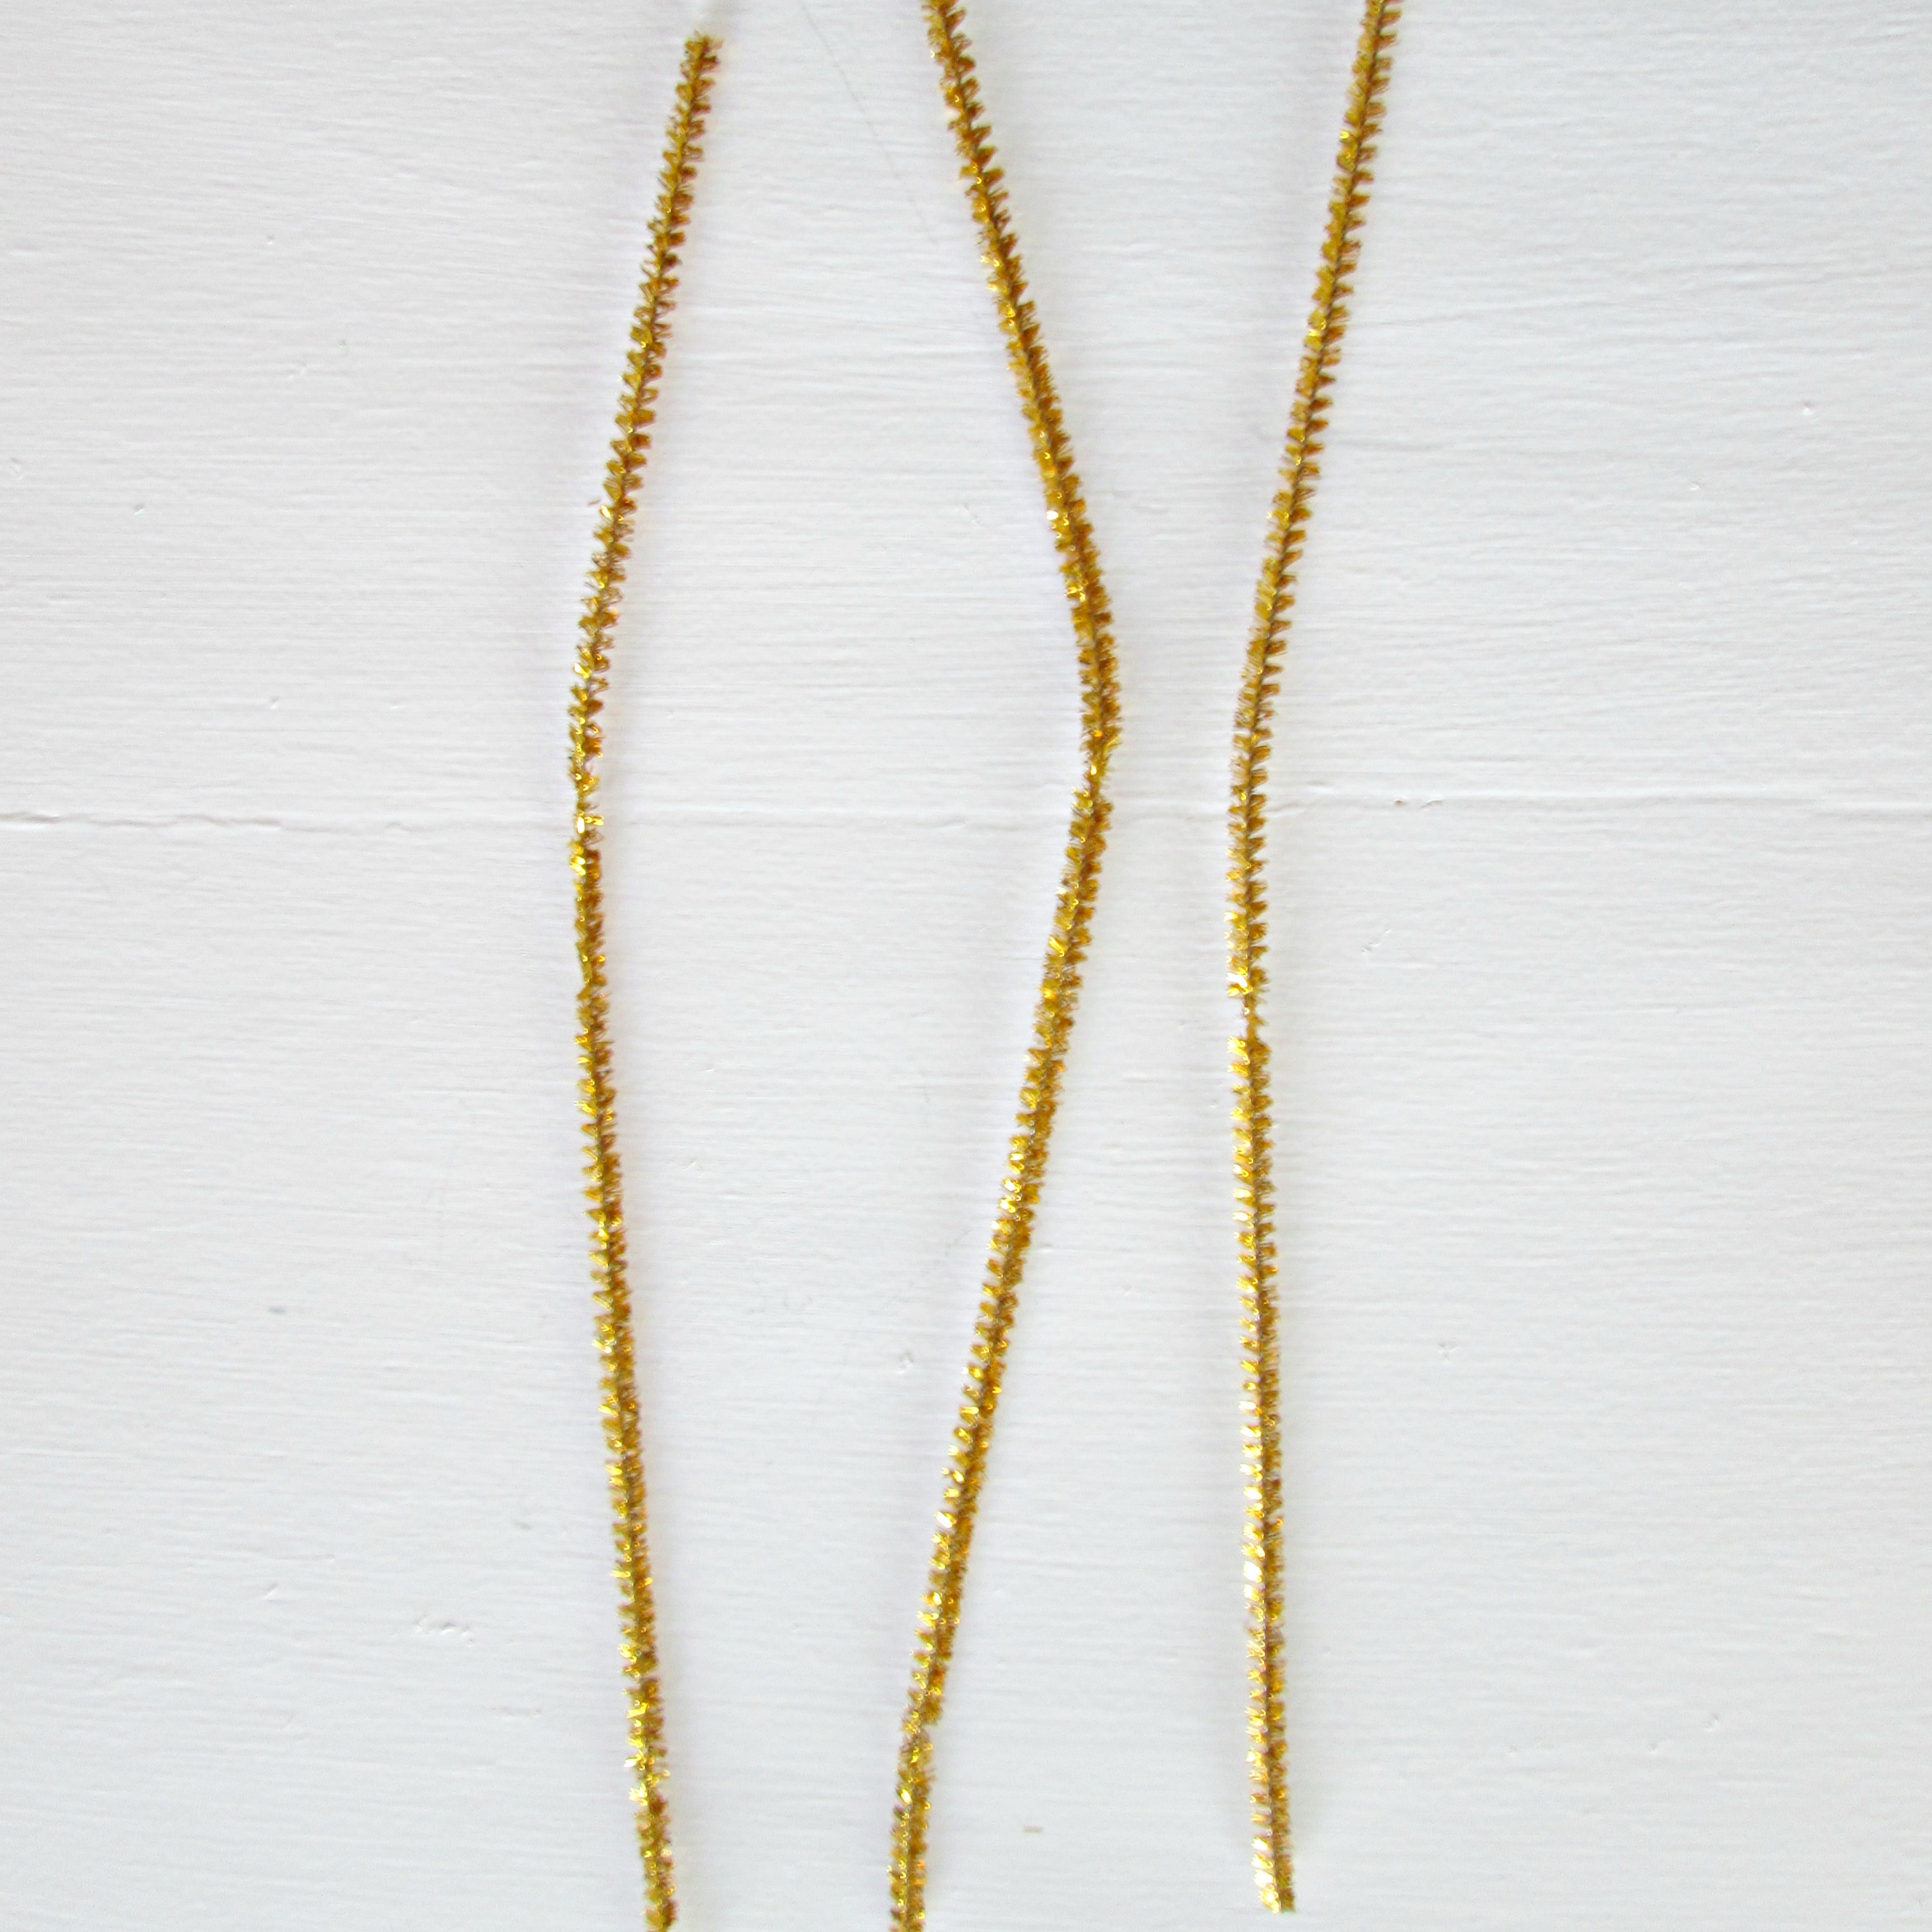
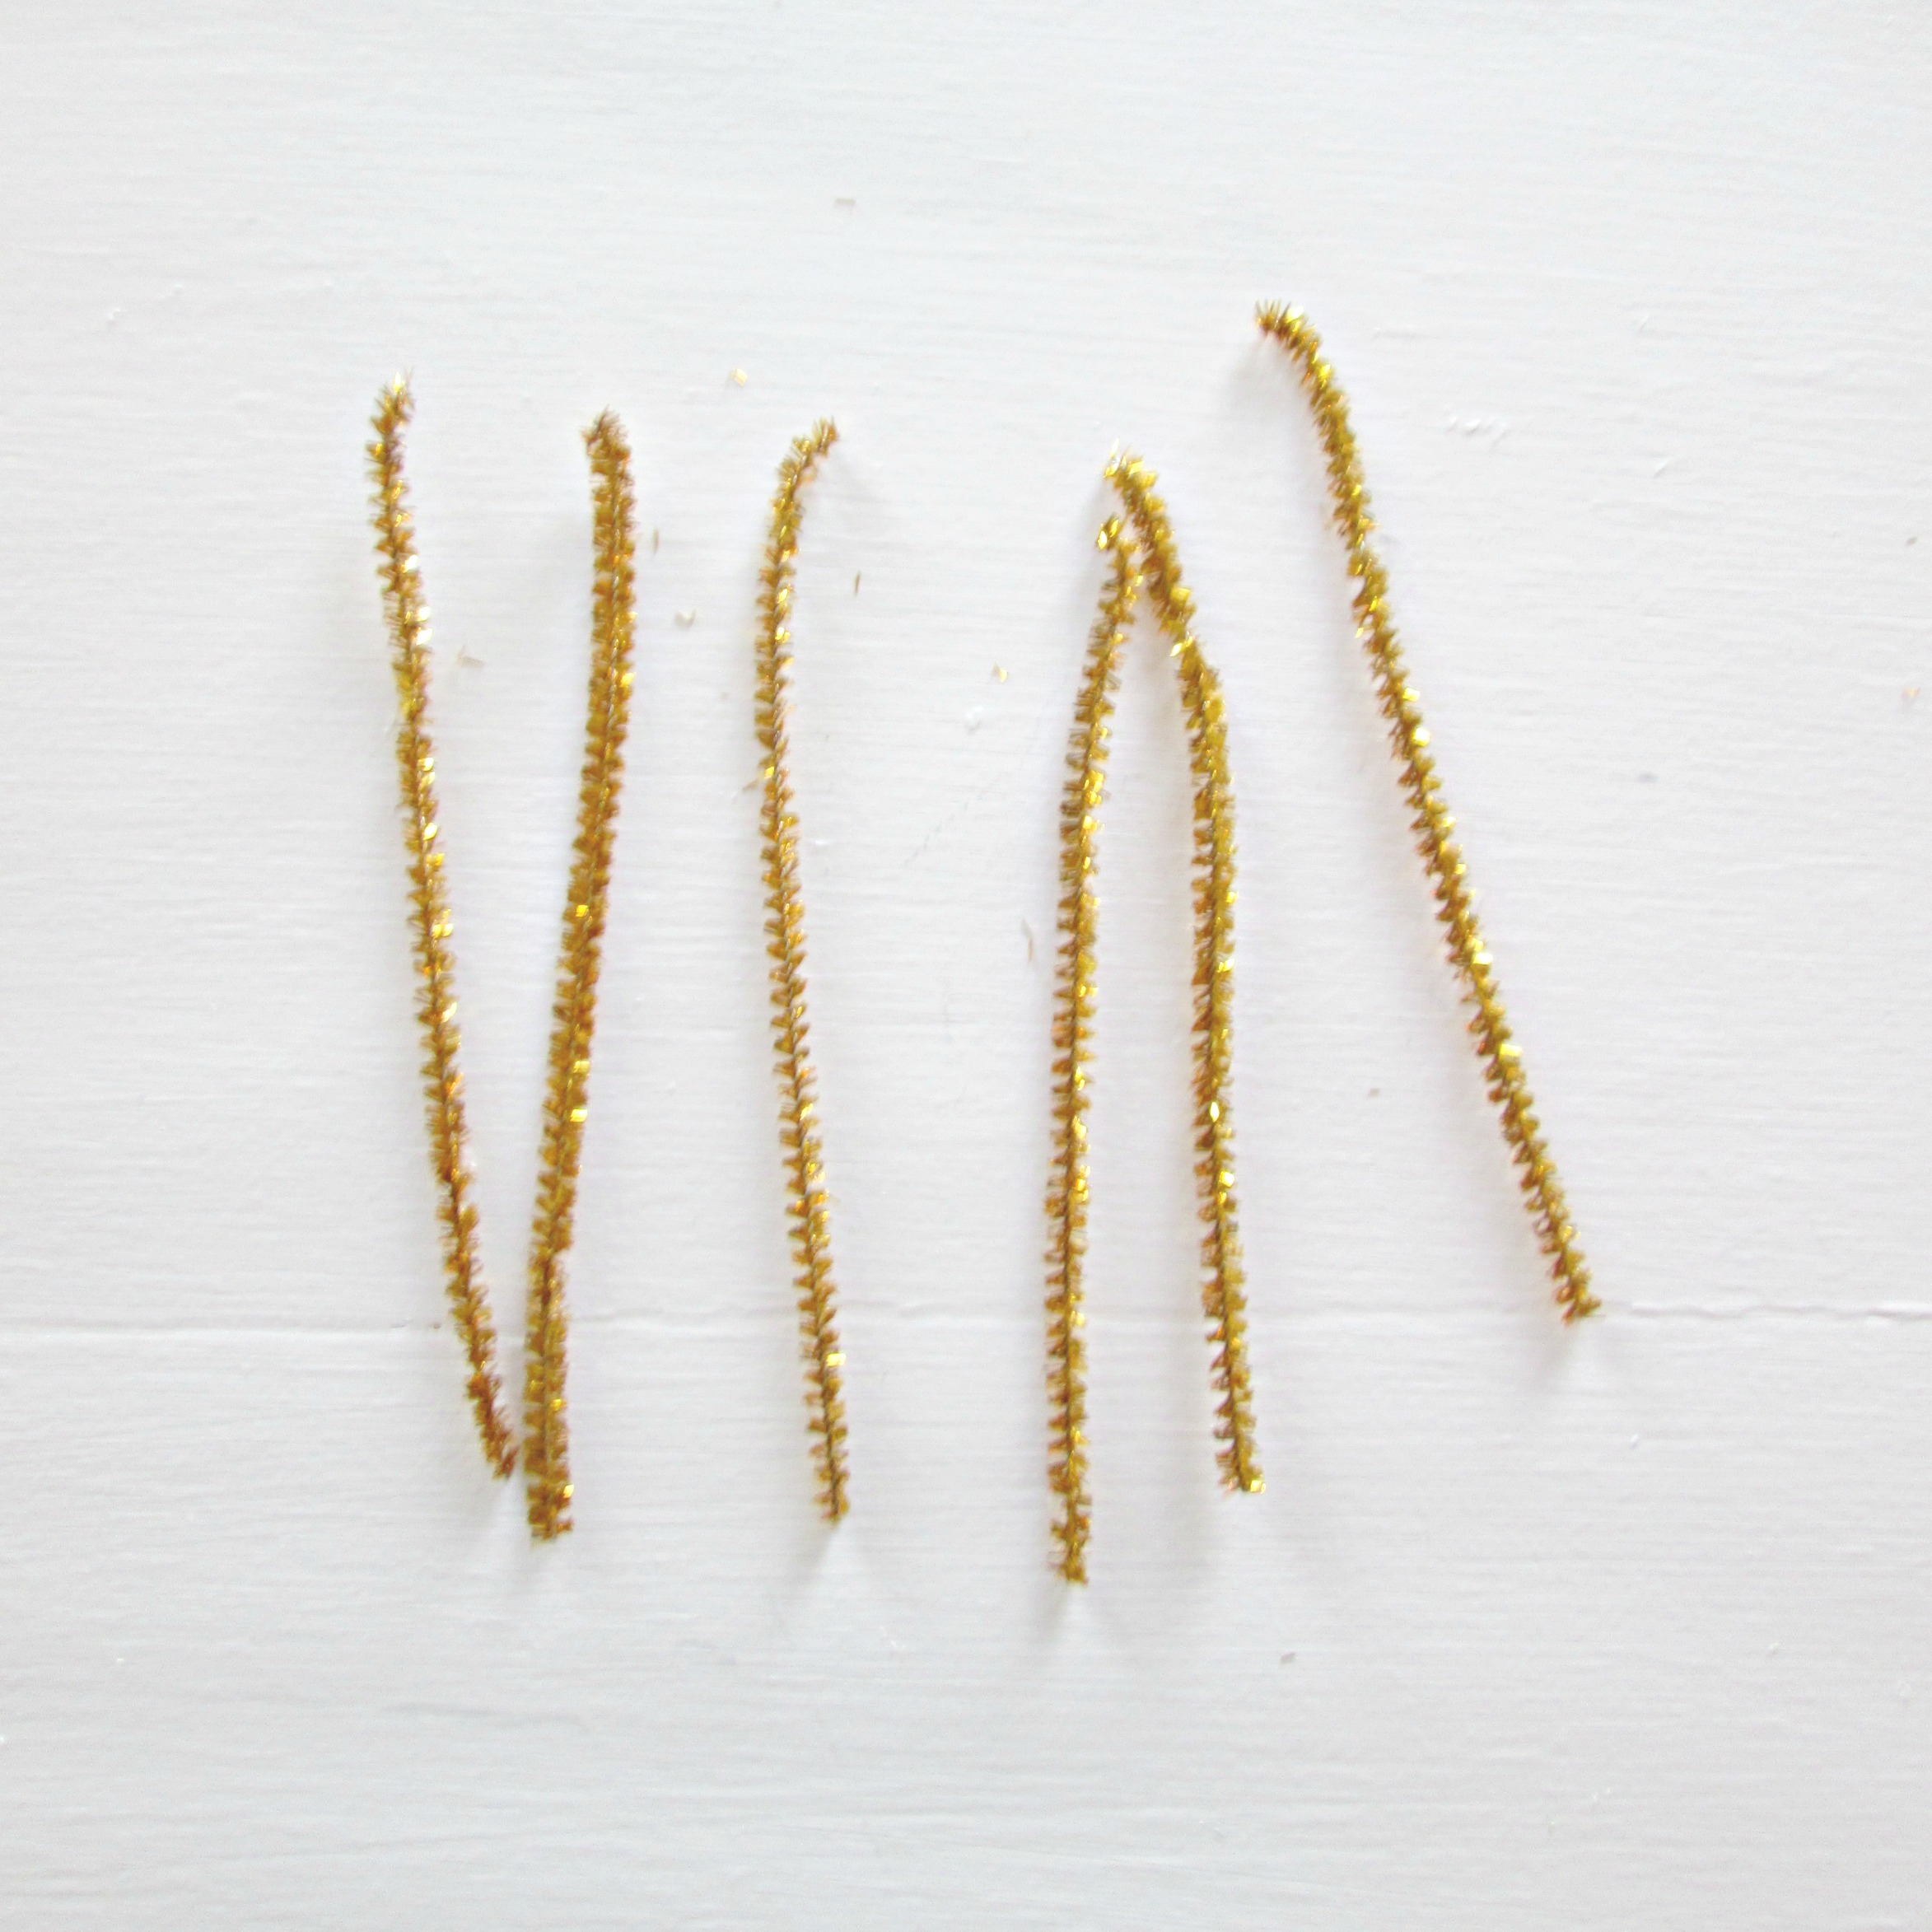
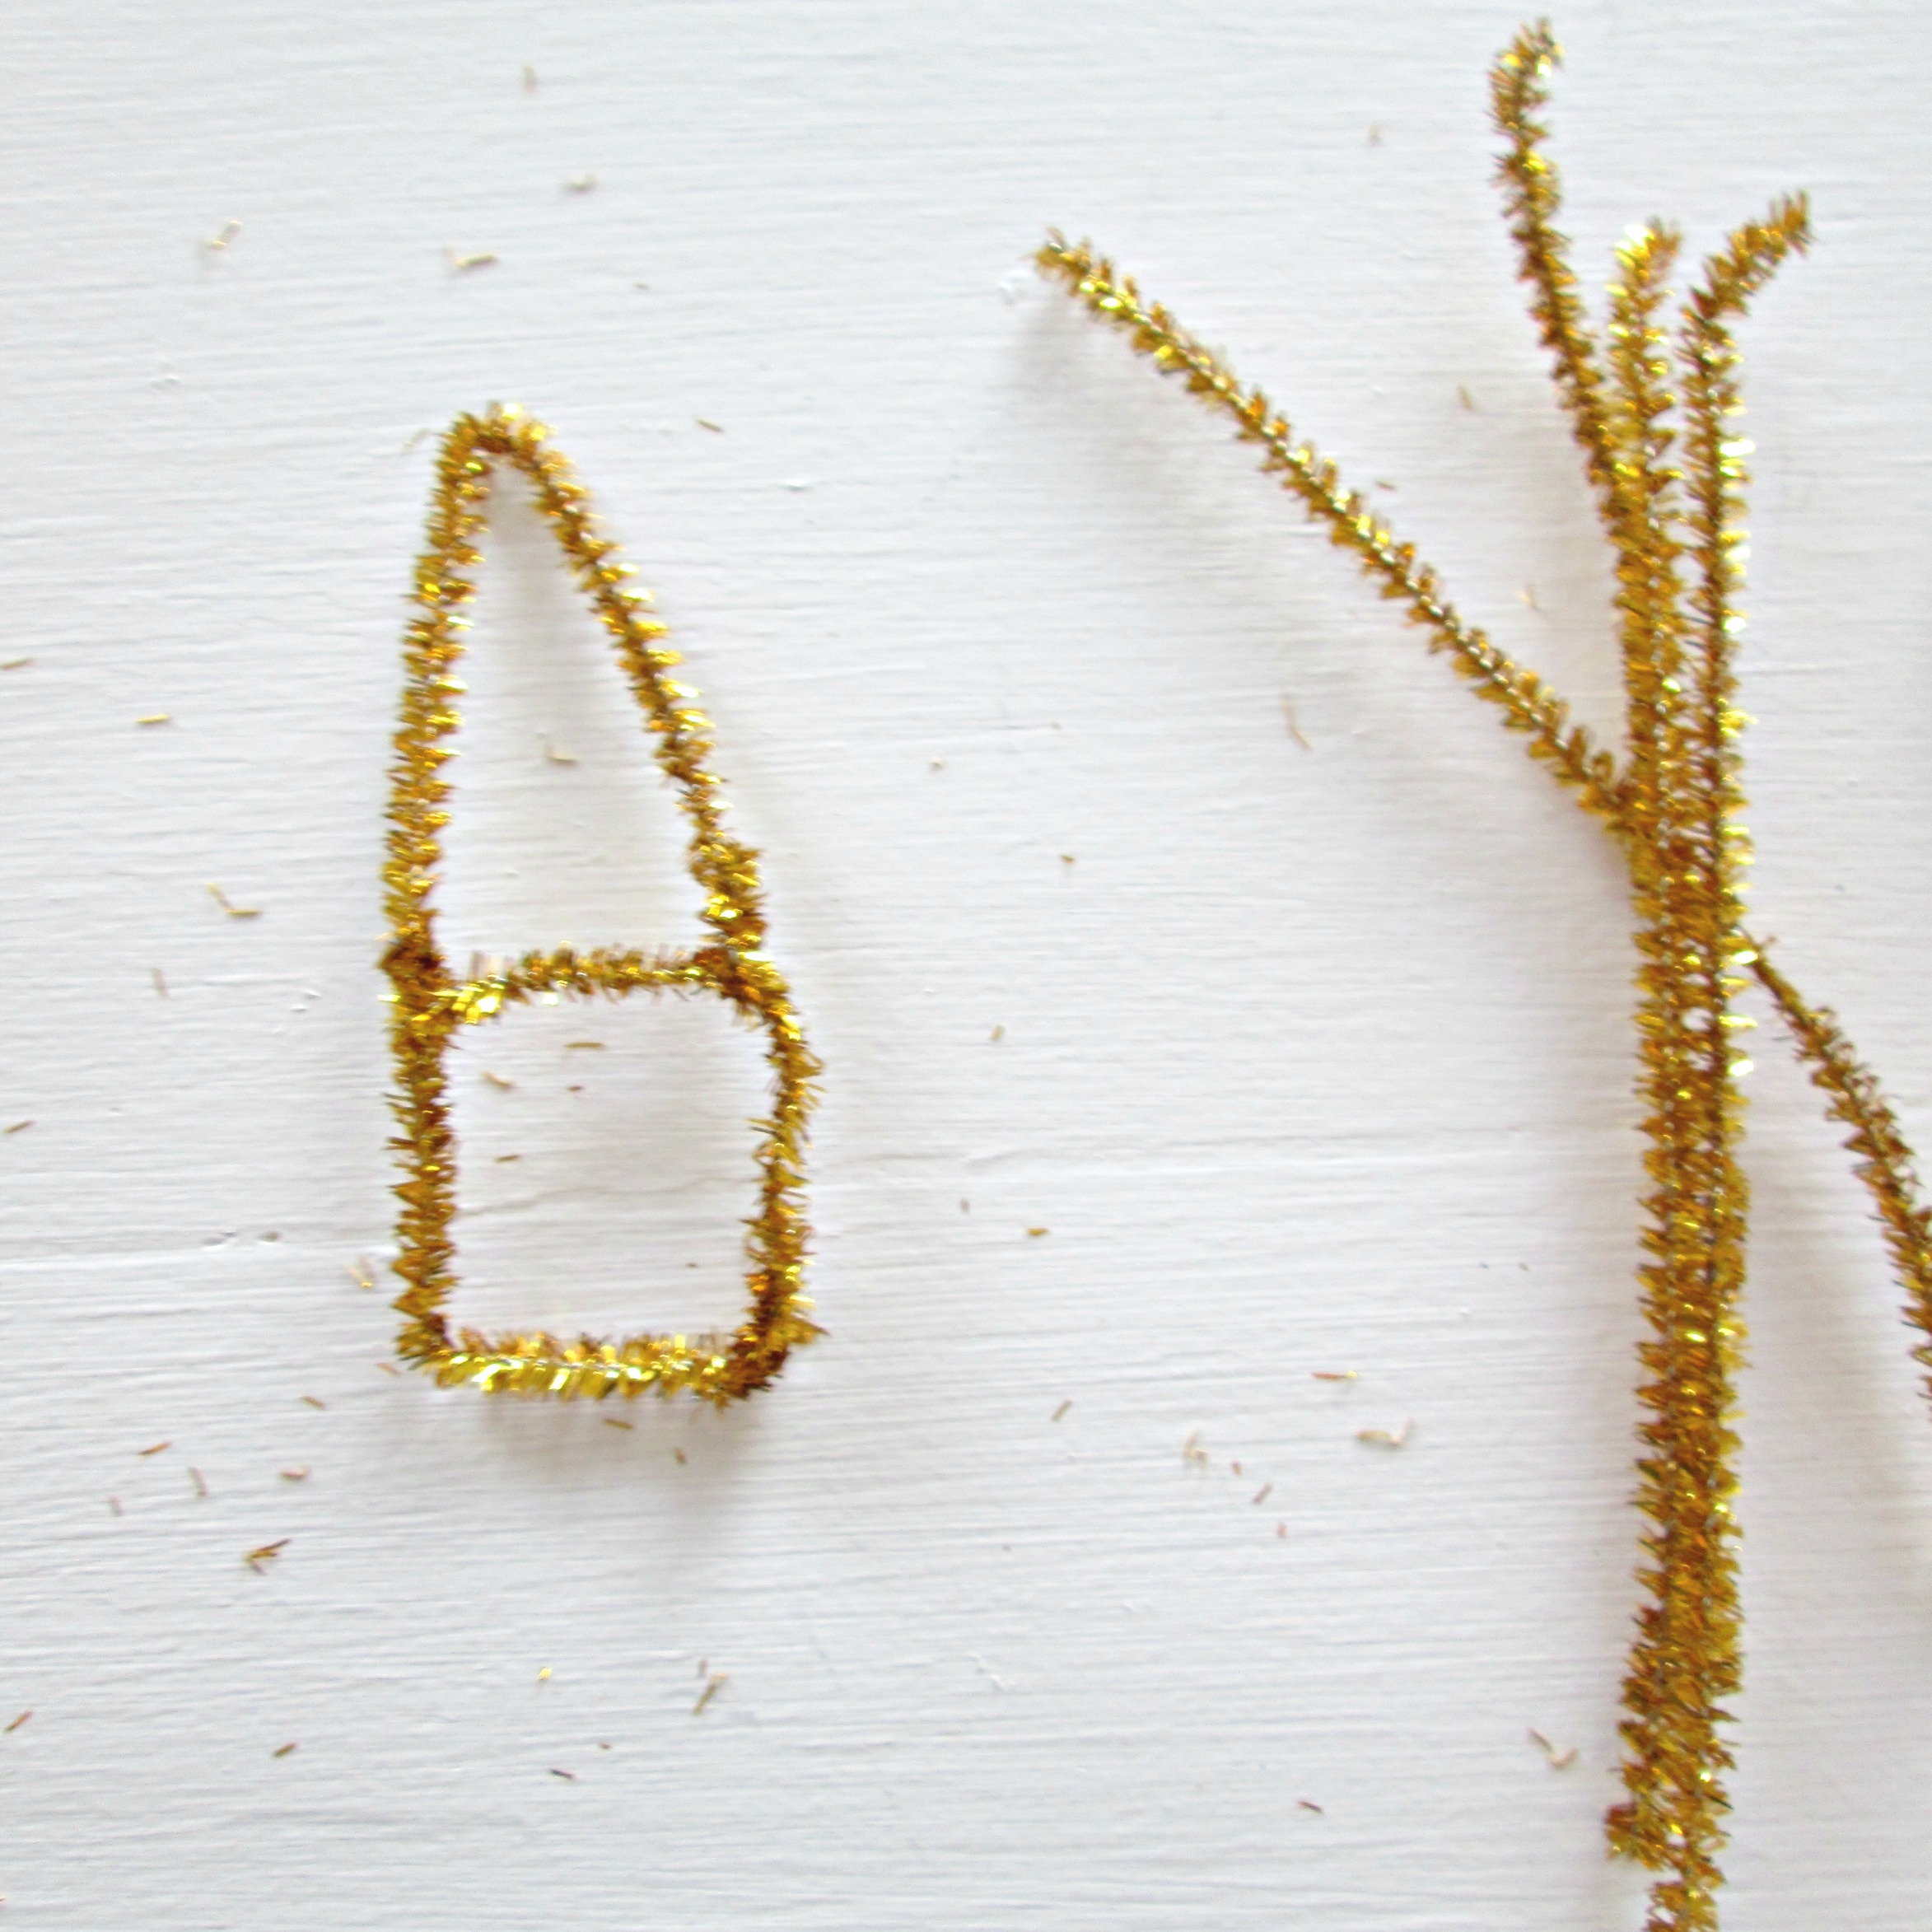
1. Take three pipe cleaners and cut them clean in half, (or in thirds if you want to make them smaller - I did an assortment of both).
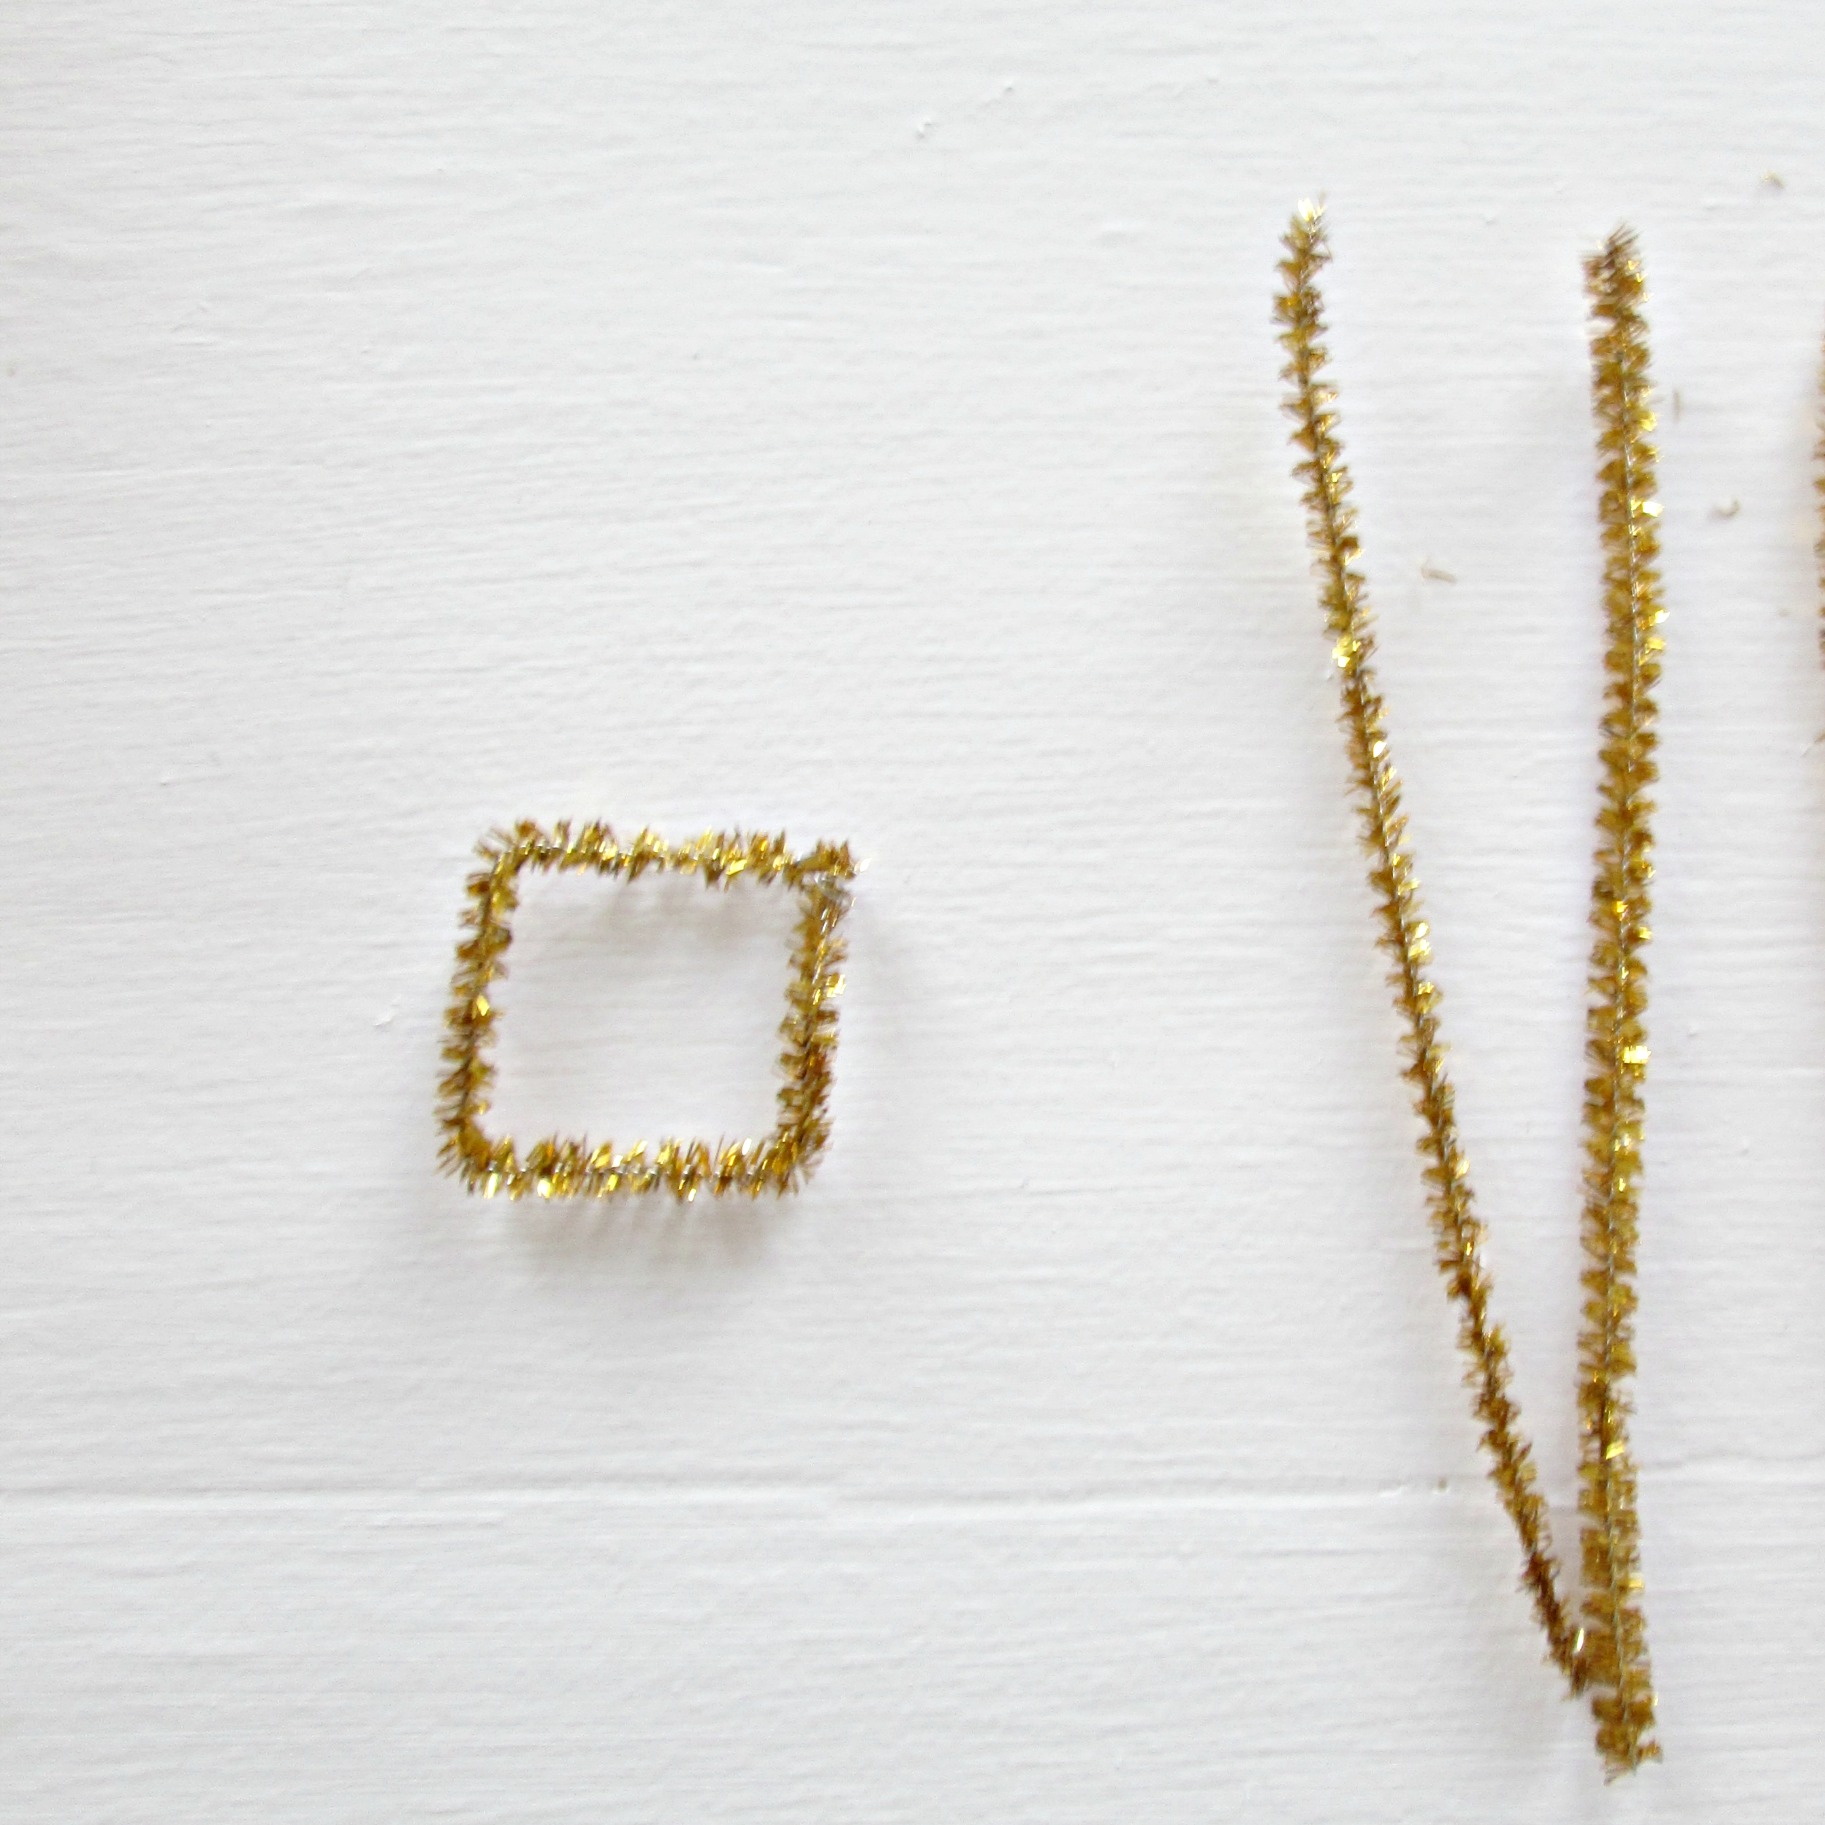
2. Use one 'stem' to make a square. Secure the ends by twisting them together, or securing with floral wire.
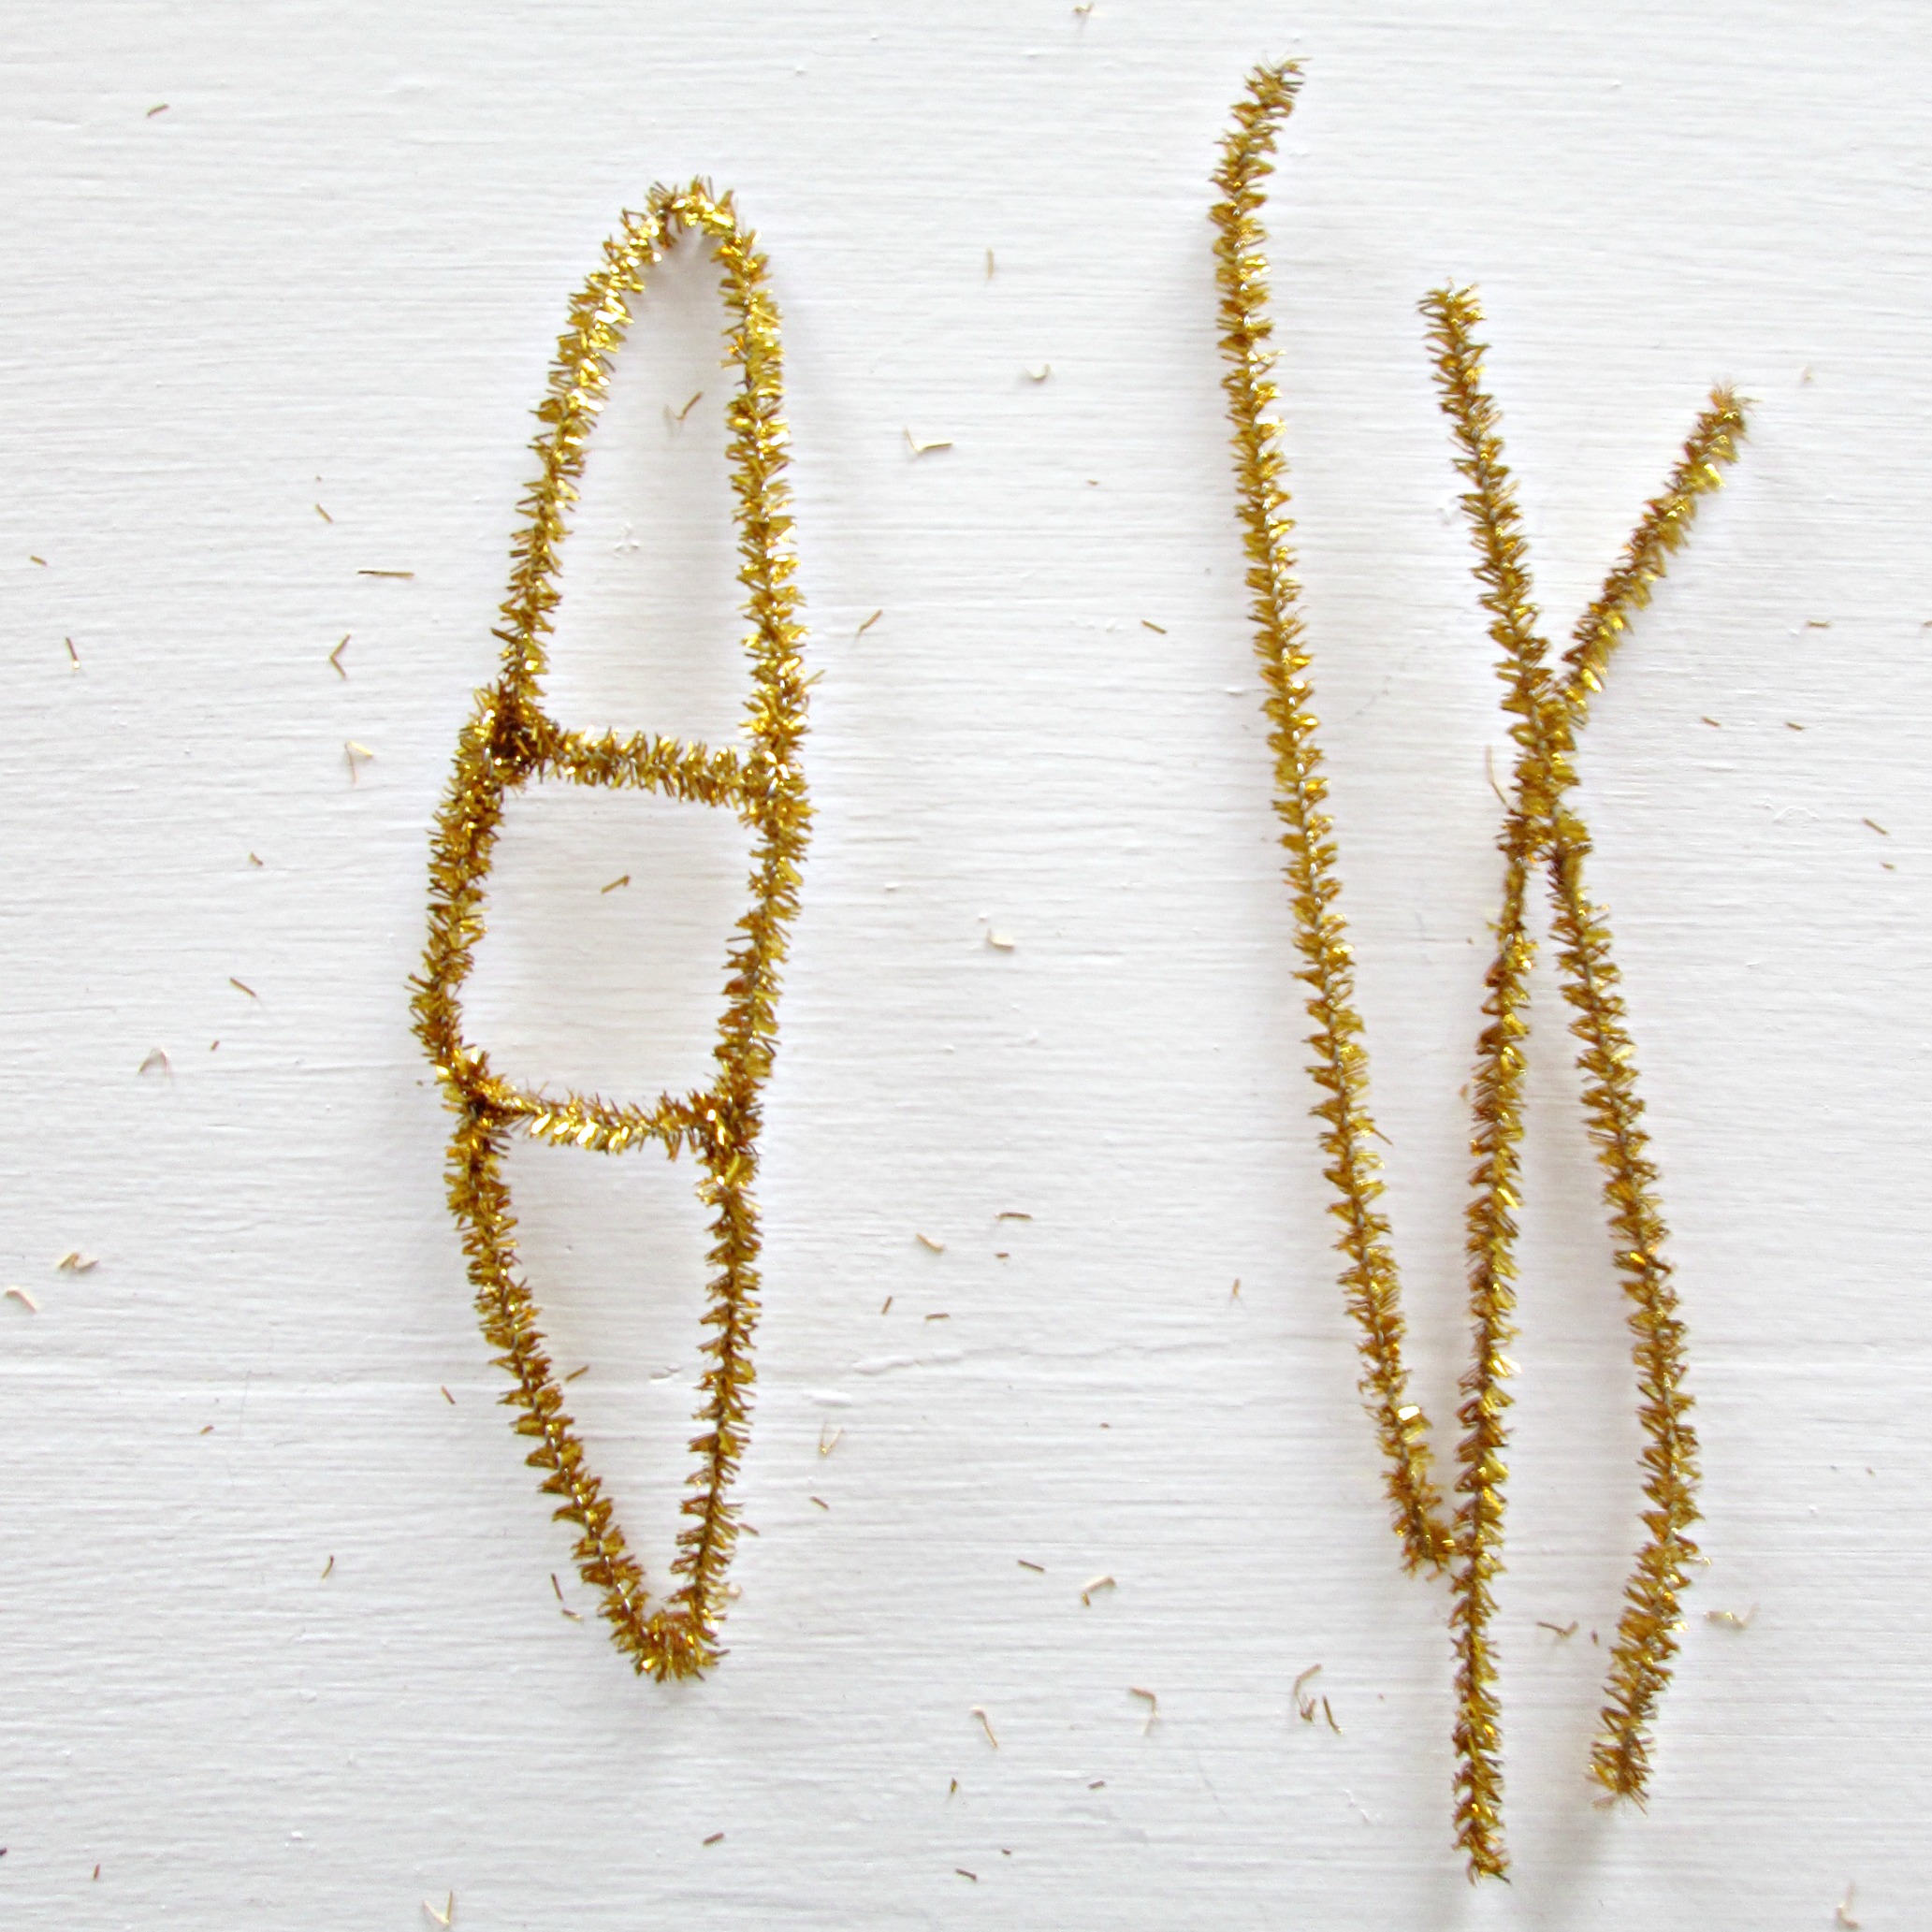
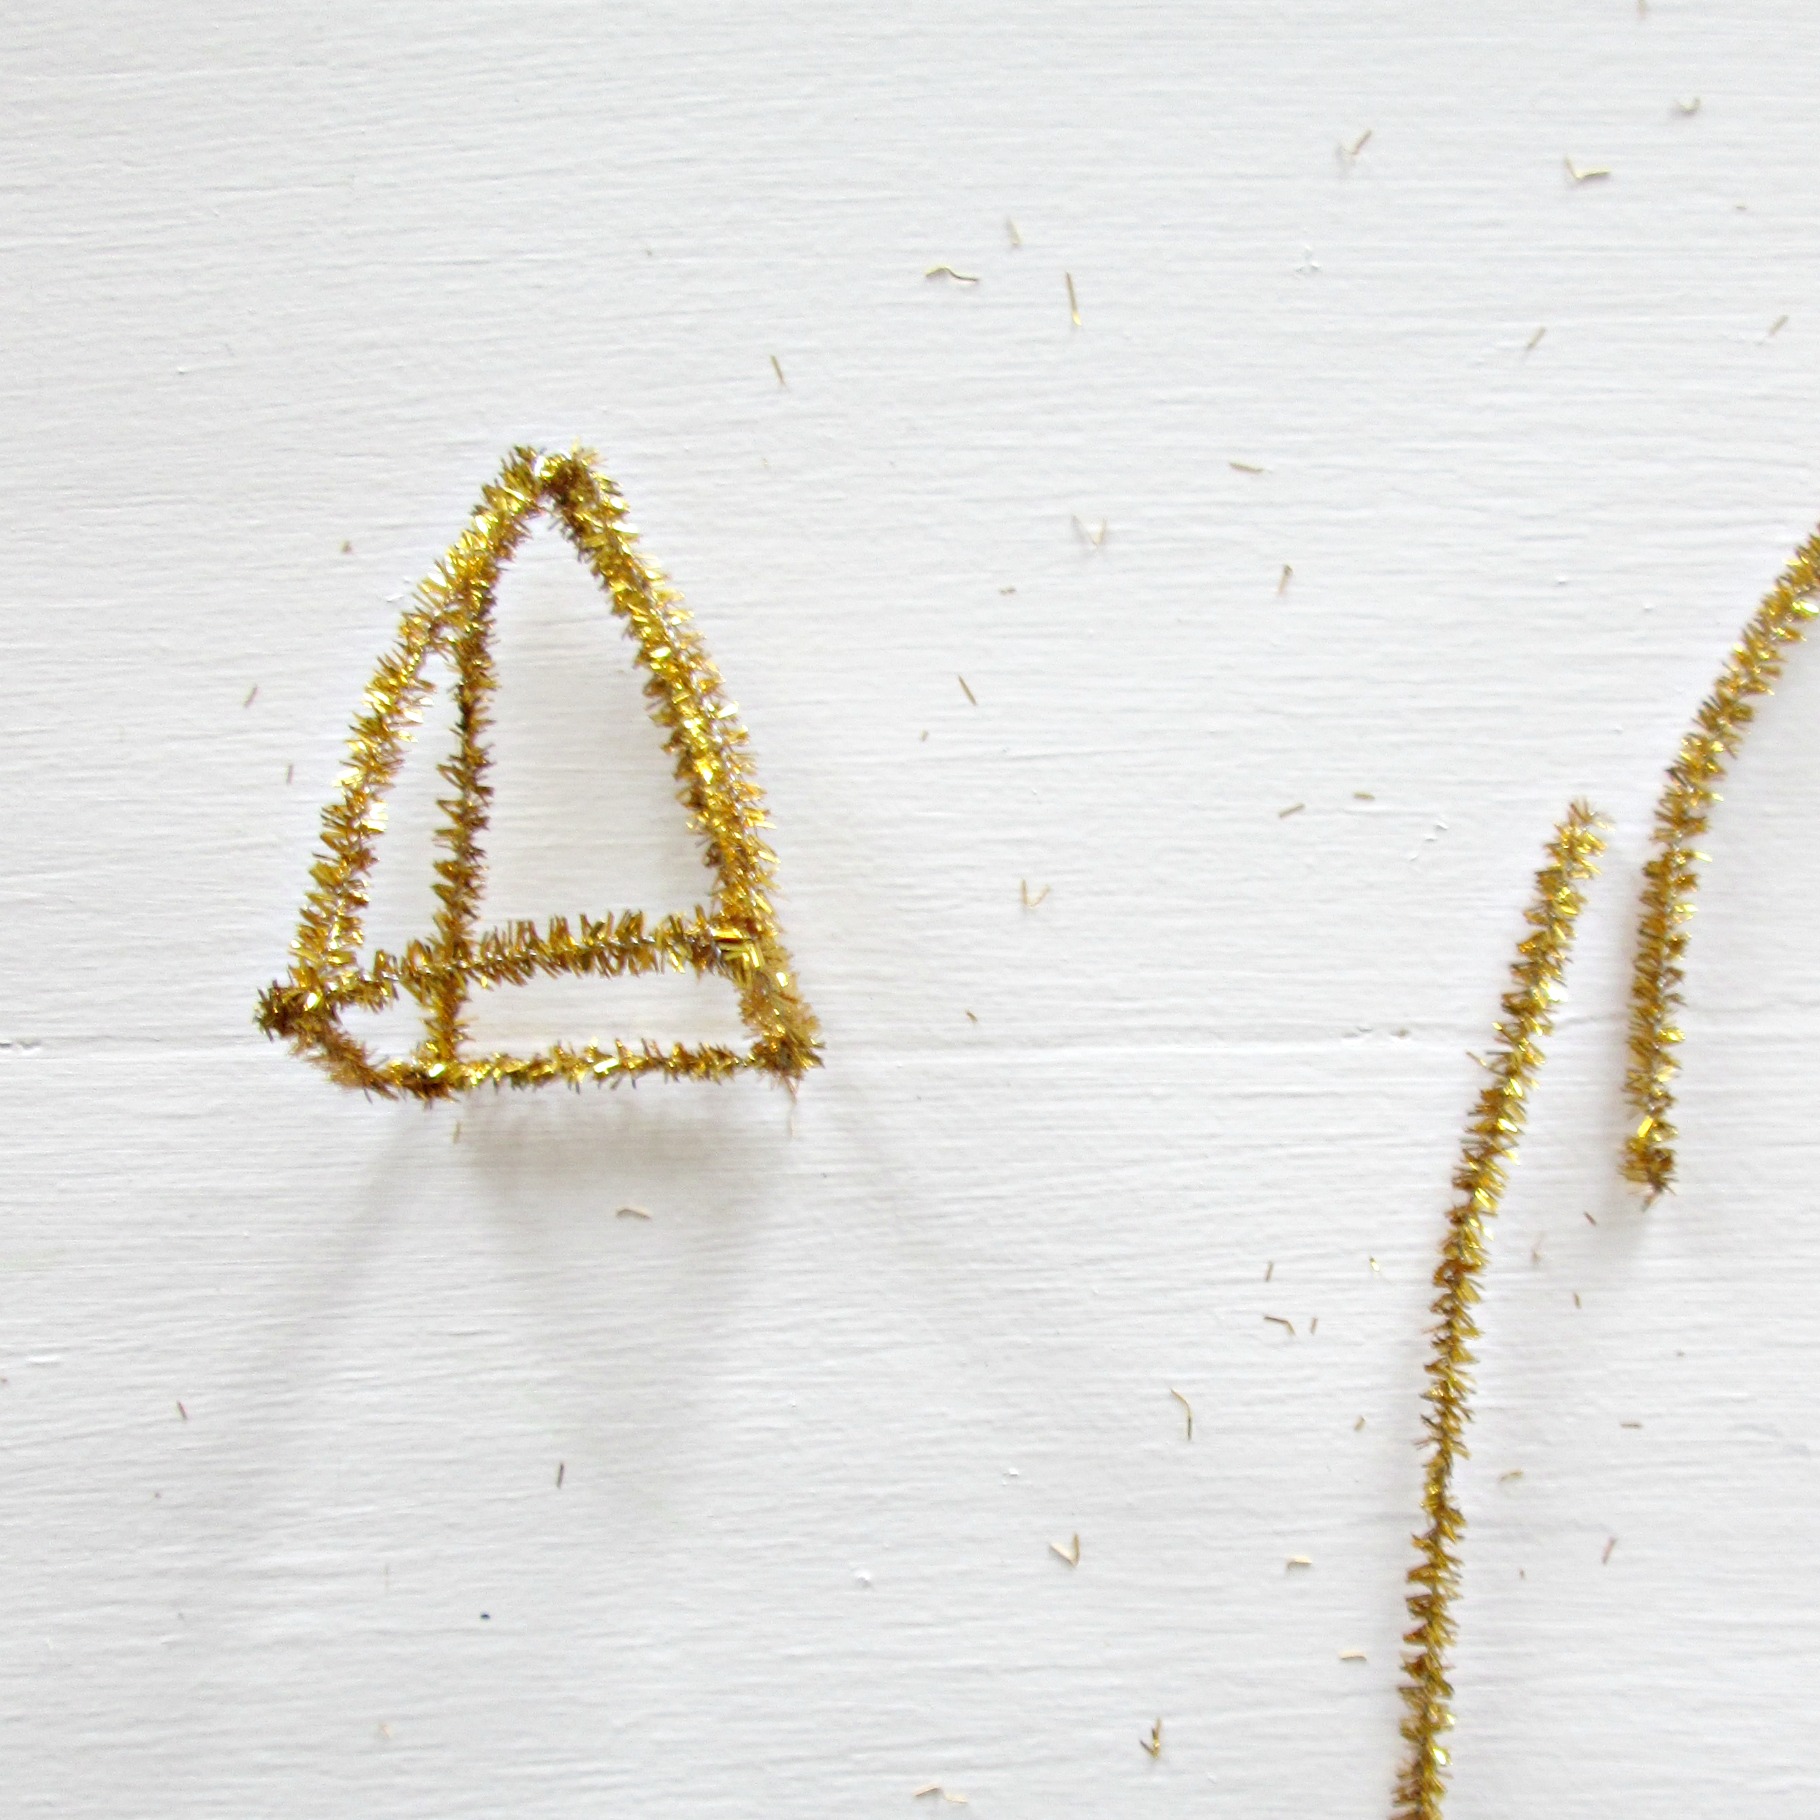
3. Use another stem and bend it into an open bottom triangle. Attach the ends to one side of the square.
4. Make another open bottom triangle and attach it to the opposite side of the square.
5. Bring the tips of your two triangles together and secure with floral wire. Now you should have a pyramid.
Repeat these steps on the other side of your square to form a diamond! Use floral wire to make a small hook for hanging.
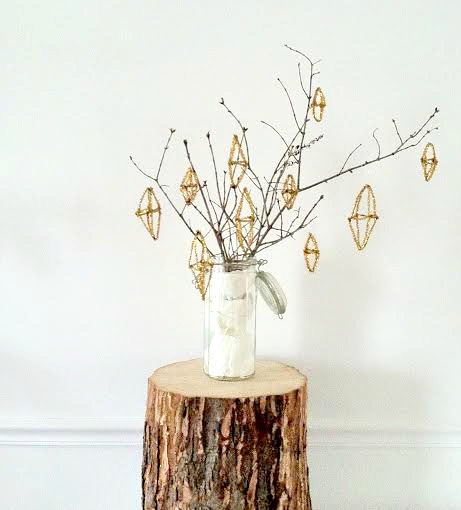

I'm really diggin' these on our tree! I've already stepped on one that 'fell', (haha, right), and just tweaked the form back into shape, and rehung! I love finding ways to make my style more child friendly. What an interesting challenge, indeed!
Rather BUY than DIY?
Check these out from KelsoDoesntDance on Etsy!

You have yourselves a merry little weekend! Thanks a lot for stopping by!