Hi guys! Just stopping by today with a really fun DIY that would fit into just about any decor style! This hanging belted clock got a really fun response on Instagram a couple weeks ago and I've been excited to share the deets here on our blog!
We may be on the brink of Spring, but there's never a time that I turn my nose to a touch of leather. It's one of those materials that charms a space with it's sexy edginess! It doesn't follow rules; it pairs well with hard industrial elements as well as softer bohemian touches. It's never inappropriate at a party. :)
The hanging belted clock is just a subtle way to add a little leather into your home without breaking the bank or making a huge commitment.
Supplies:
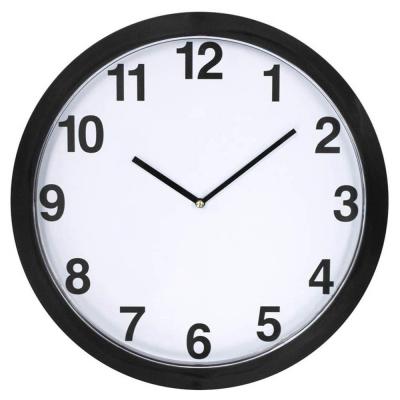
Clock - I used an 8" wall clock from Home Depot, (less than $10)
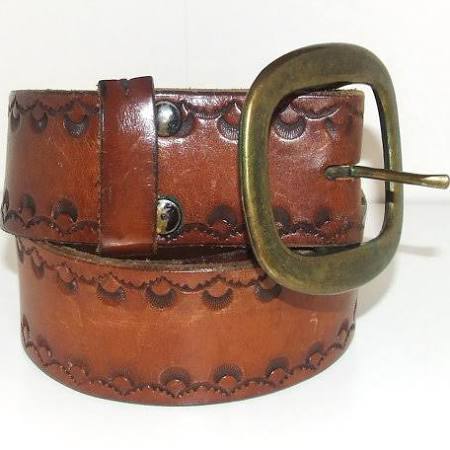
Belt - Find one with a width less than the clock's frame - if the belt is wider, the clock won't hang flush against the wall. Check your local thrift store for a plethora of cheap belts! (less than $4)
Hot glue gun (around $10)
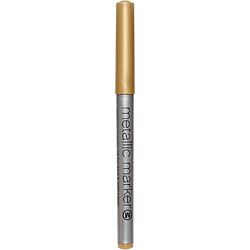
Metallic paint marker, *optional - I used one from AC Moore to cover my face numbers in gold (less than $2)
Step one: Remove the frame of your clock by unscrewing it from the back. Color over the face numbers in the metallic marker, then replace clock frame.
Step two: Trace hot glue around the bottom two thirds of your clock and pull the belt around. Do this with the clock lying flat on a protected surface so that you can make sure the clock and belt are both flush.
Step three: Thread the belt through the buckle. Remember, you want the buckle to be seen from the side as it hangs, so take that into account when deciding how much hang room you want between the belt and the top of the clock..
Step four: Find a winning spot and hang this gem up!
Step five (IMPORTANT): Invite some friends over and ask them if they know the time so they're sure to notice your kickin' clock.
See, nothing major! It's just a fun little touch that makes a space that much more unique!
Thank you so much for stopping by today!


