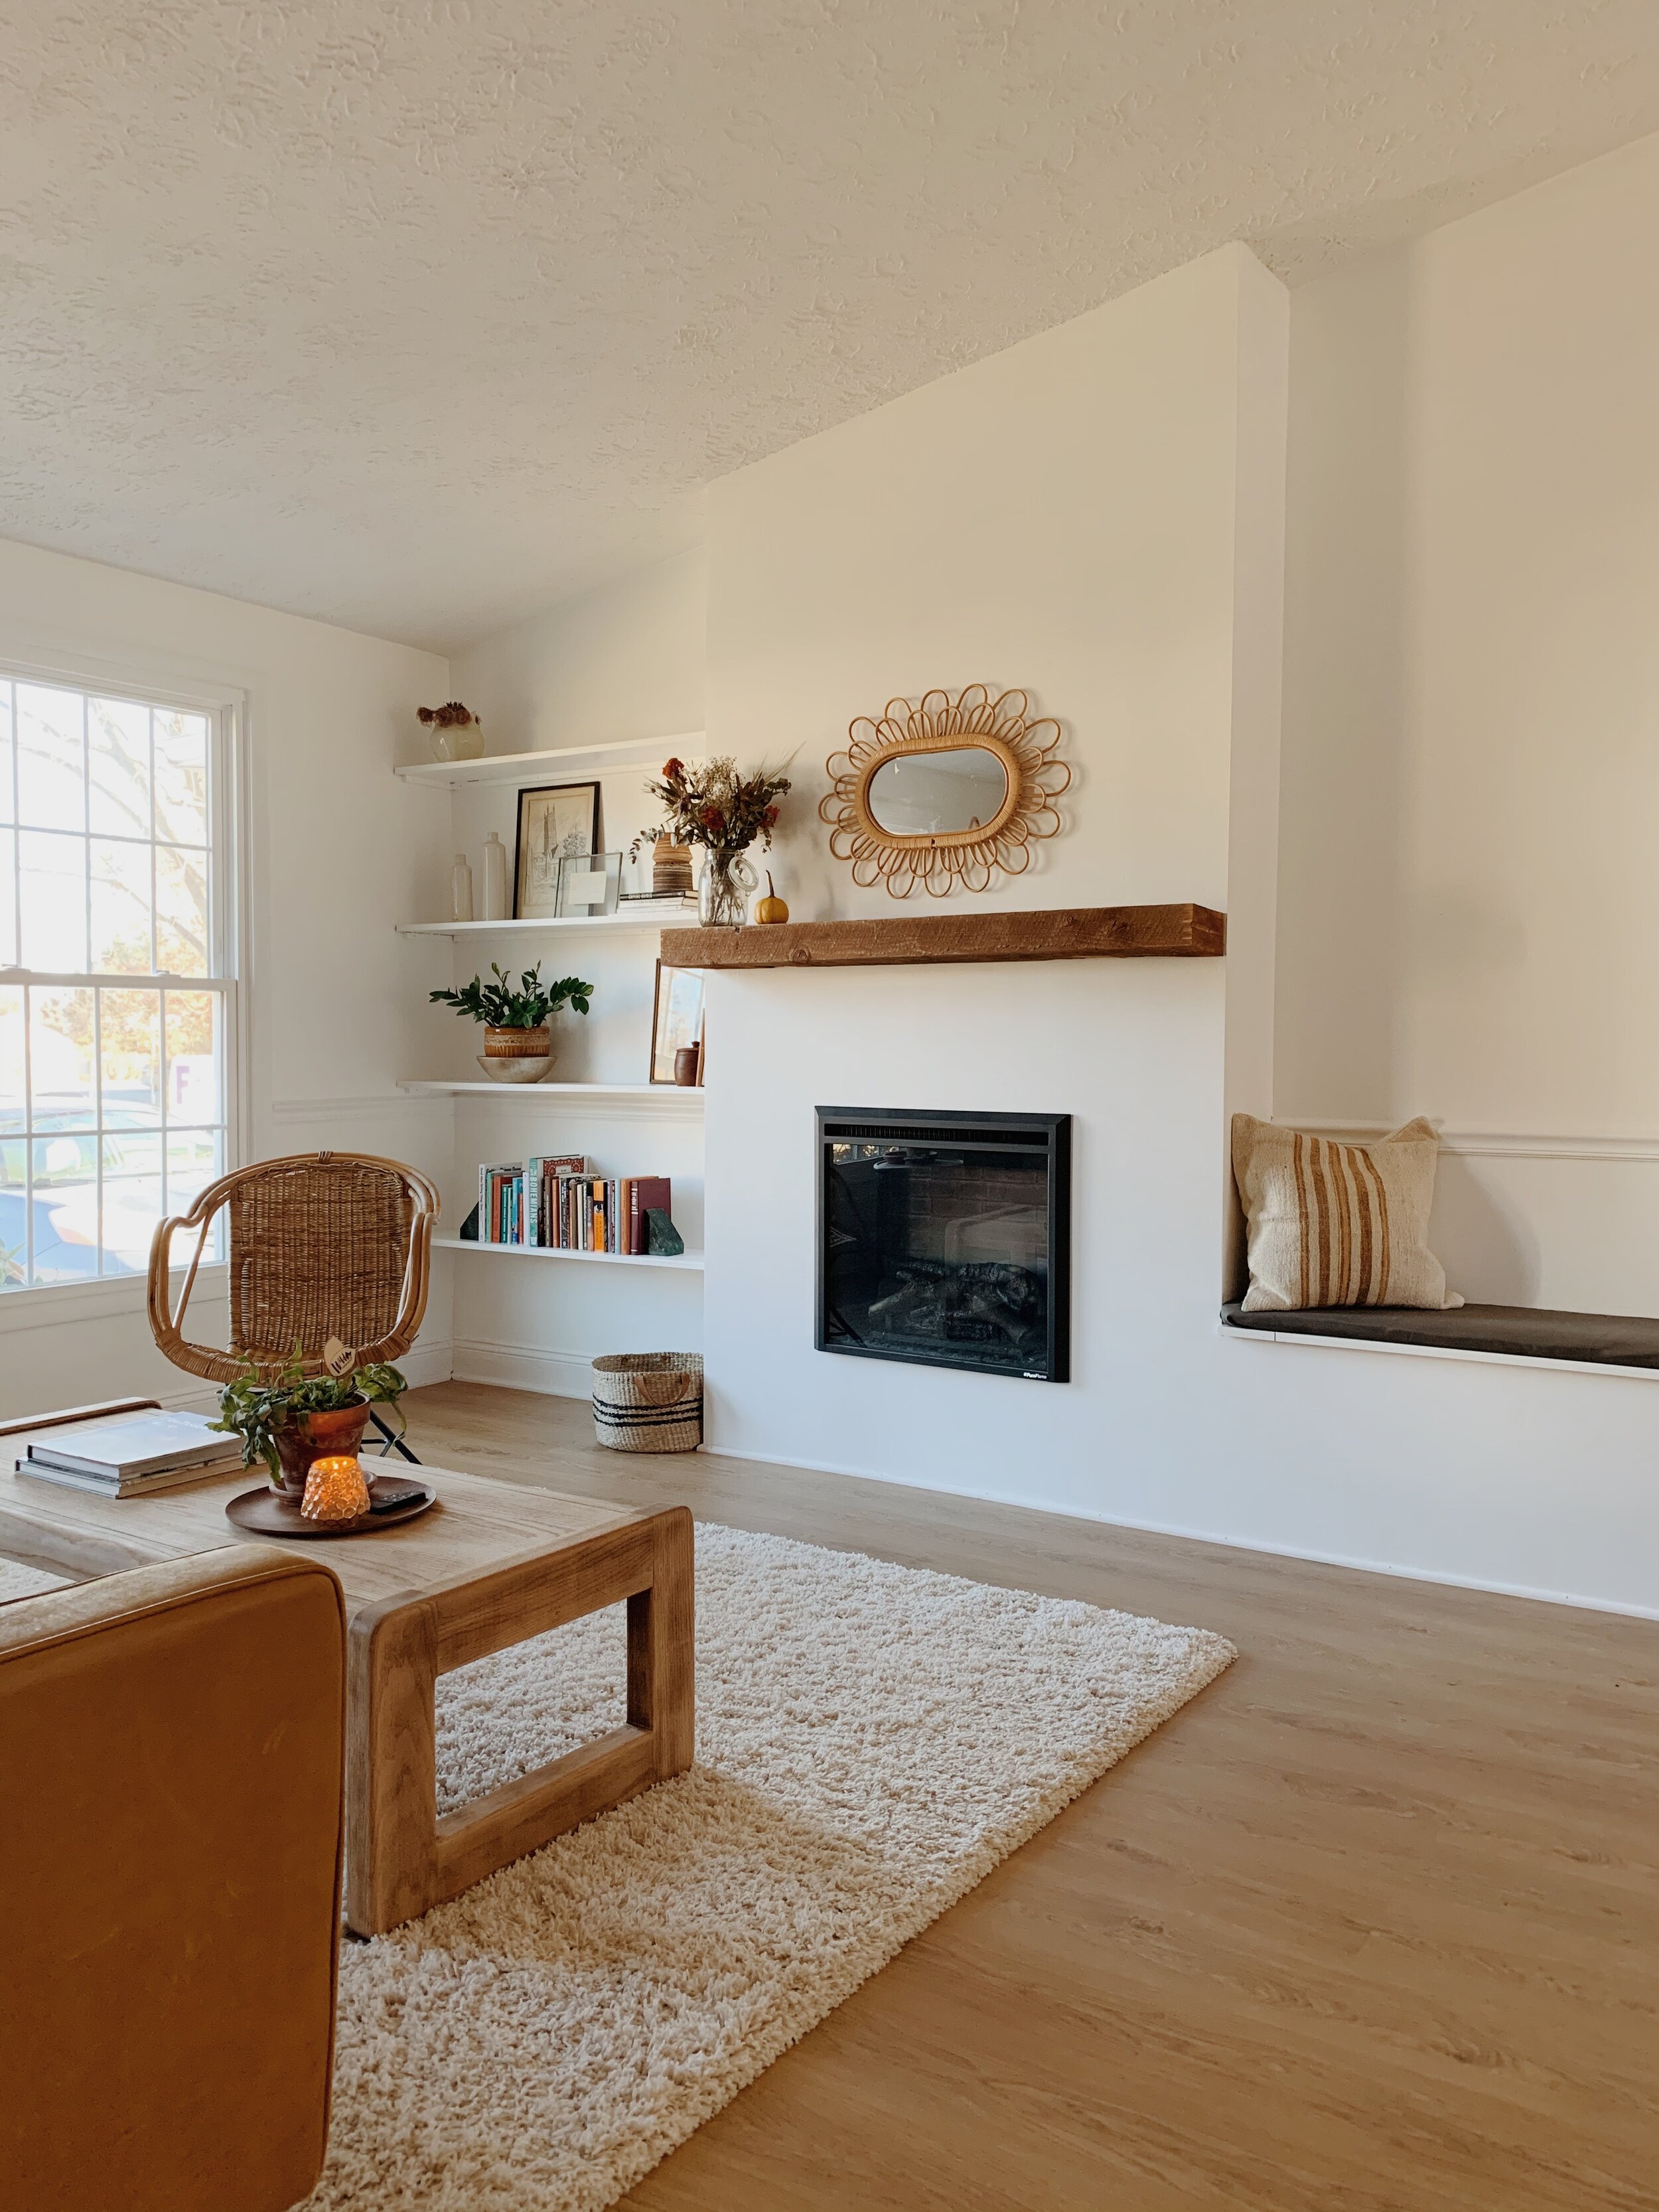
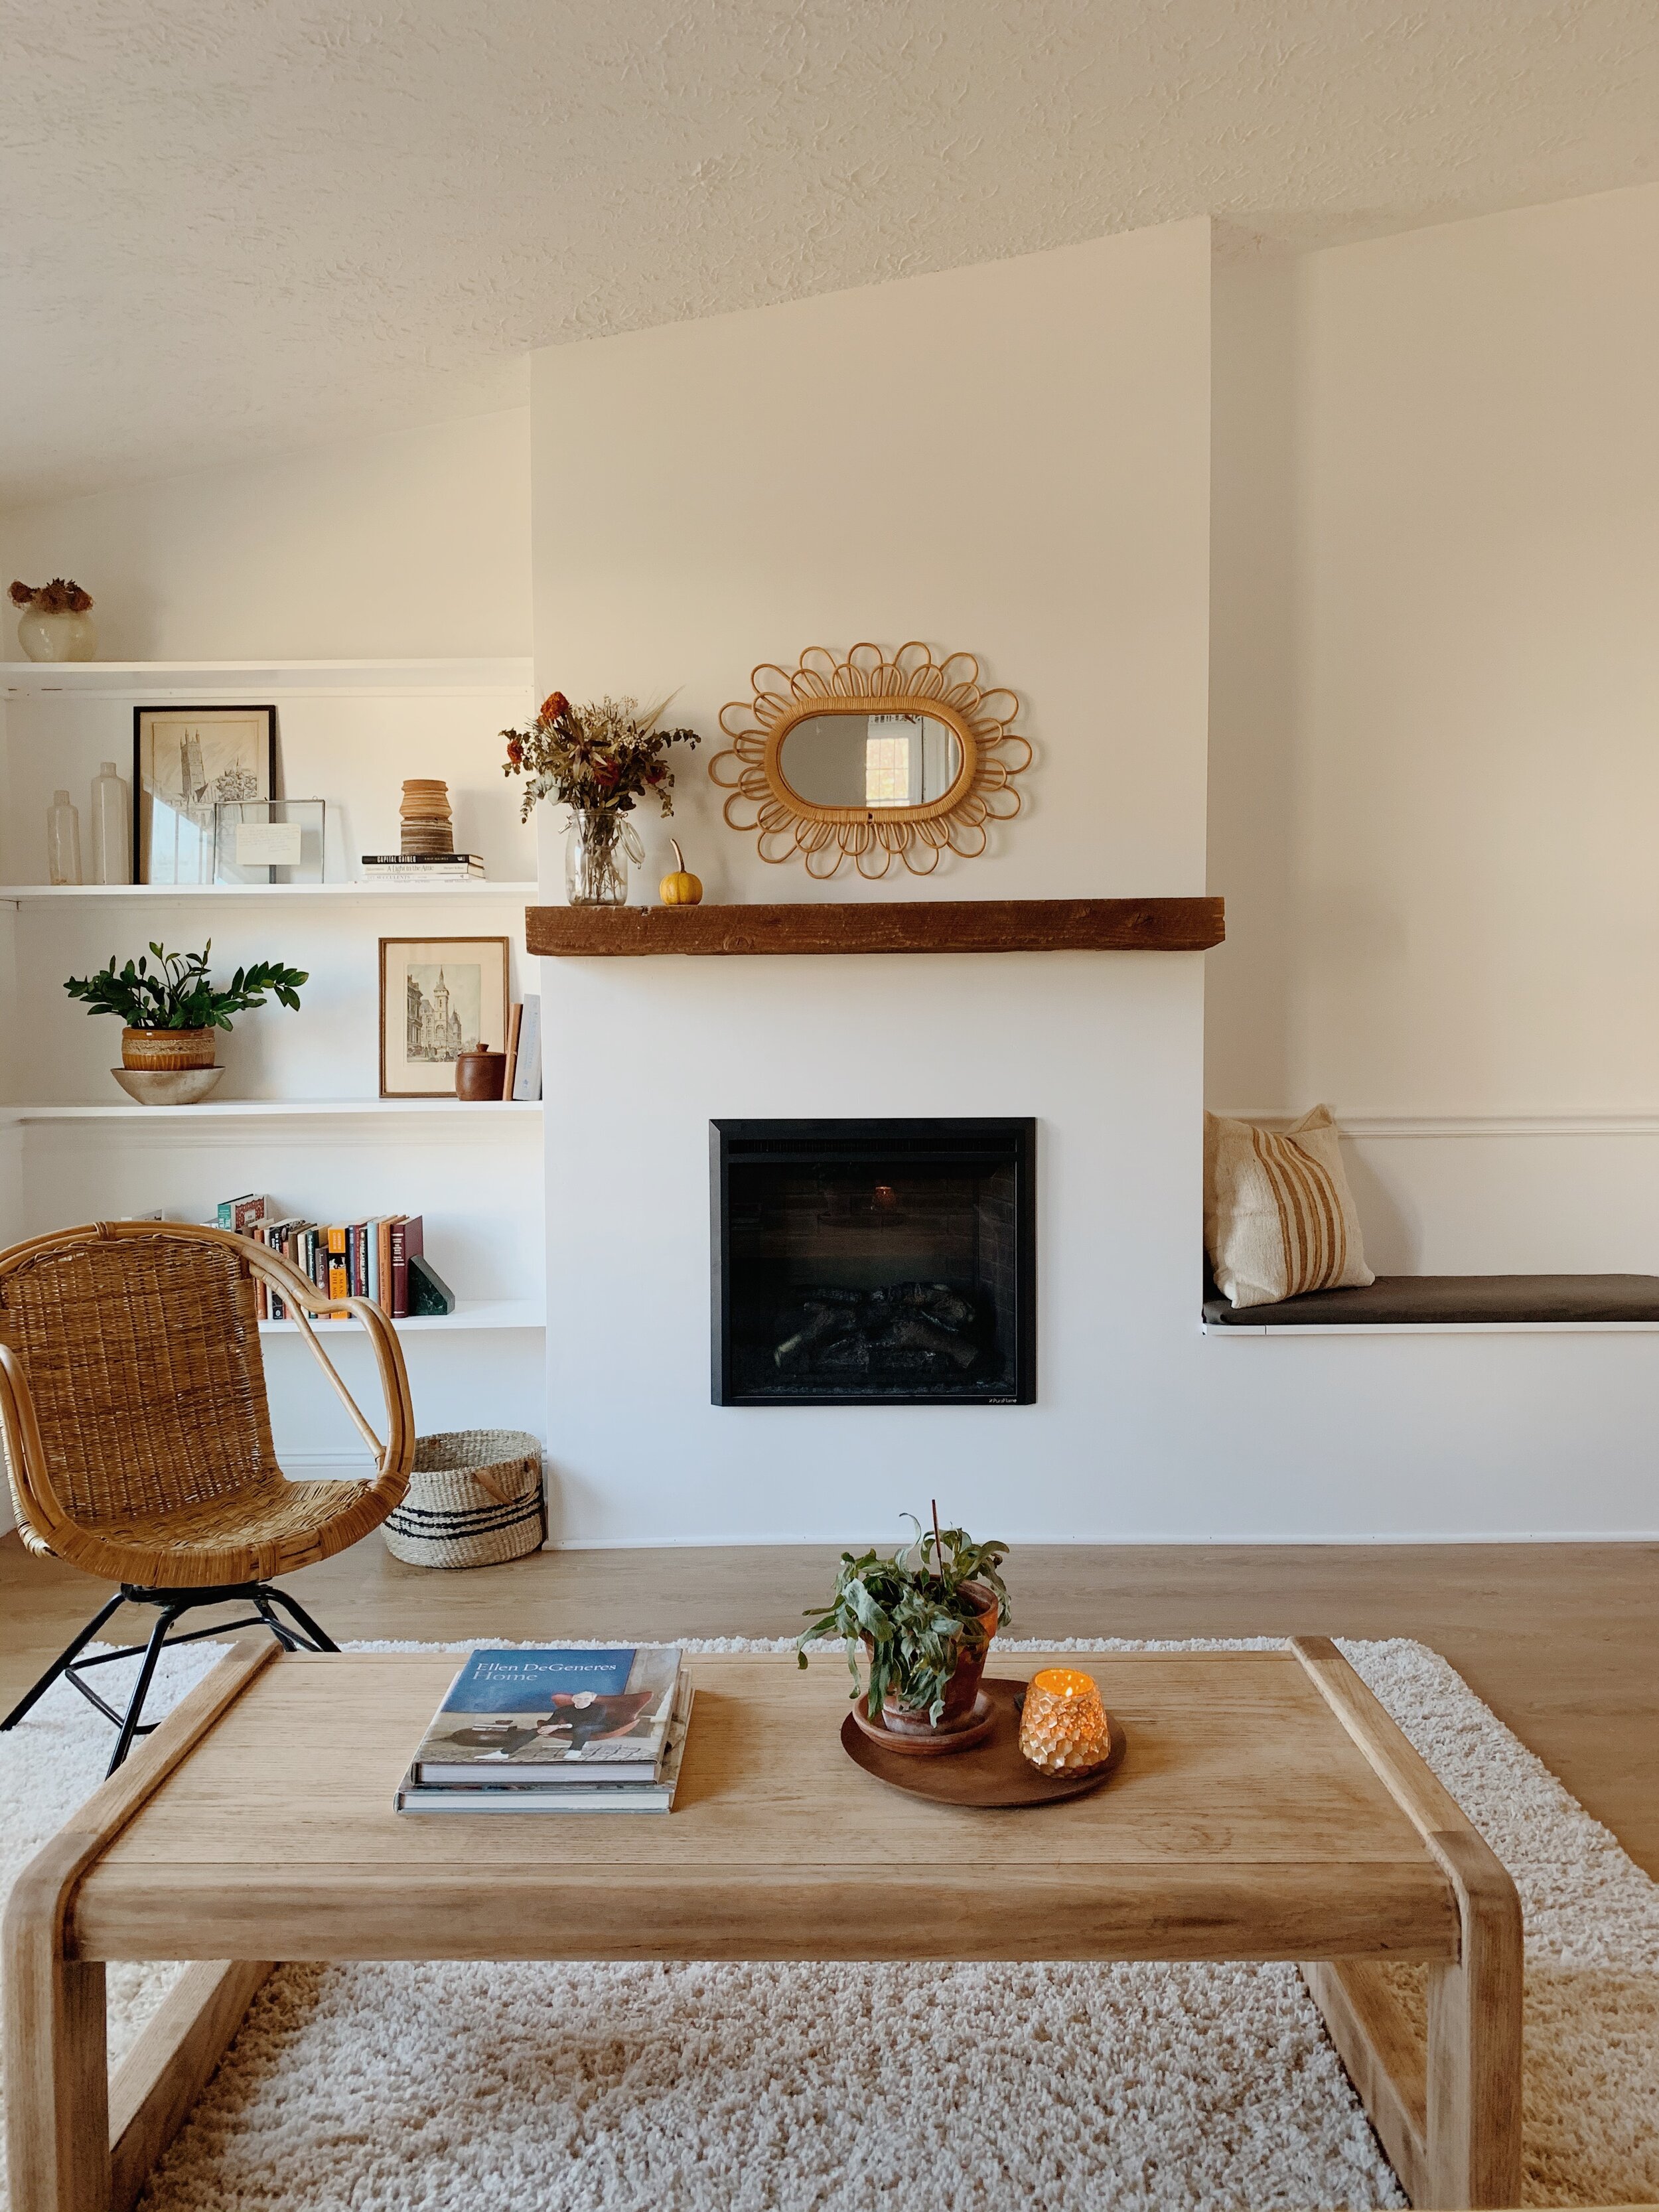
So tickled to finally get to share our finished fireplace with you all today! It is an absolute dream; I can’t believe this is the same house we moved into 9+ years ago! A few weeks ago I shared our plan and inspiration here, and now that it’s finished it’s even better than I had expected. As with most projects, some of the details evolved as the build came together, but I think it’s worth sharing the plan I had laid out last January. So almost a year ago!
And here’s where we ended up:
We could not be more grateful to our dear friend, Bill, who spent the better part of 3 weekends coming over to help us with this. To say he is incredibly skilled is a massive understatement, but beyond that even is his generosity. We were so blessed by his knowledge and willingness to help - and all I did was send him home with bacon! Listen, there’s more where that came from for anyone out there who wants to help the Biebers with home projects. Lol!
At the last minute we decided to paint the shelves and bench seat white to let the mantle really stand out. The mantle was removed from our dear friends’ 1960-something fireplace when they started their home renovation. They decided to replace it during their own home reno process, so we lucked out big time - it is SUCH a gorgeous, chunky piece of wood. The years of use have banged it up and faded it’s color and that kind of character is just what our new structure needed.
Funny, we moved the sofa to this side of the room, (it was previously against the windows), just to get it out of the way during the construction. It didn’t take long for us to love it this way! The kids said they prefer it here, facing the fireplace, so I think we’ll leave it! Plus, we’ve got to make space for the Christmas tree this weekend. No idea where it’ll go. Send any suggestions my way because I am stumped! Hah!
Adding a bench to the side was one of my favorite ideas that helped the whole thing come together for me, visually. We didn’t know whether to add shelves to this side, cabinets, or what. It was really tricky to figure this side out! When the thought of a bench with storage inside came into play it was just perfect. Bill created a lid that comes up like a piano bench, and it’s the easiest access to our new hidden storage.
I think I mentioned this in my last post, but link to our actual insert is here, and we are really pleased with the unit. It warms our large open space up very well and is completely safe for little ones, (the glass doesn’t get hot because the warm air is pushed out of a vent only at the top of the unit). The insert itself does not heat up, making it completely safe inside its frame of drywall and 2x4s. The unit is plugged into an outlet accessed inside the storage bench, and we can slide the unit out of the frame anytime we need.
That’s it! Hard to measure what a difference this has made to our home. With such an open floor plan I have already been enjoying having the fireplace on while in the kitchen, during homework time, dinner; it’s just been wonderfully cozy.
Speaking of, here’s a sneak peek at our Christmas mantle…
More Christmas coming soon!
Thank you so much for stopping by today!


